A Week in the Shop
Published 22 Jul 2023
Tags: hästen, neck, offset, routing, verkstaden
Some days I’m really eager to get back into the workshop, and some days I look at my todo list and feel a bit overwhelmed. This week was one of the later weeks, but thankfully, whilst most of my builds of late are prototypes for new models, I do still have one client build, and that provided the focus for getting going this week.
Client work isn’t just nice because it pays the bills, but also because building an instrument for someone else is generally more inspiring that building an instrument for the sake of it - to enable someone to express themselves or to be creative is an absolute honour, and one of the main hooks that got me into this guitar building jam. Working with clients will also pull you in directions you might not have gone down otherwise too, and so in general it’s why I like to know who a guitar is for when I start it. Whilst building prototypes to show what I can do is necessary, client work is always much better at pulling me through those days when it all feels a bit much.
Hästen
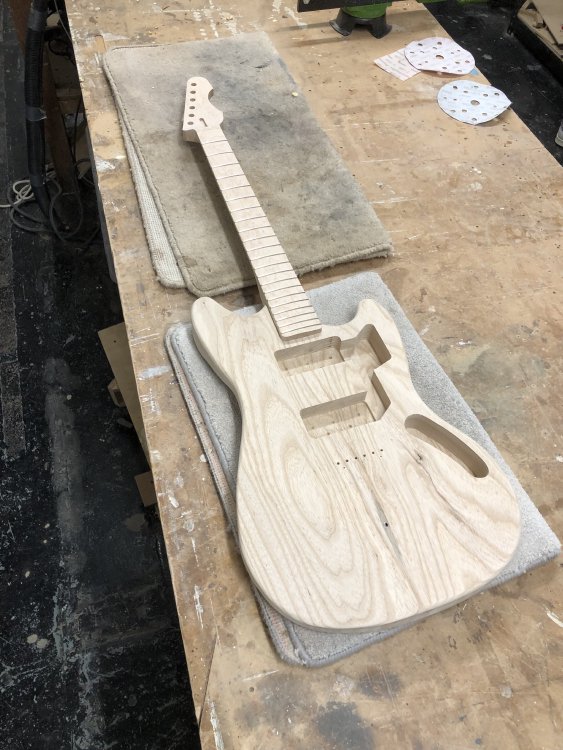
When I was last in the workshop I was carving the neck for Hästen, the aforementioned client build. Back then I’d got the shape roughly where I wanted it to be, but there was still some fine tuning to do, so back onto the trestle with it (apologies for the blurry shot here):
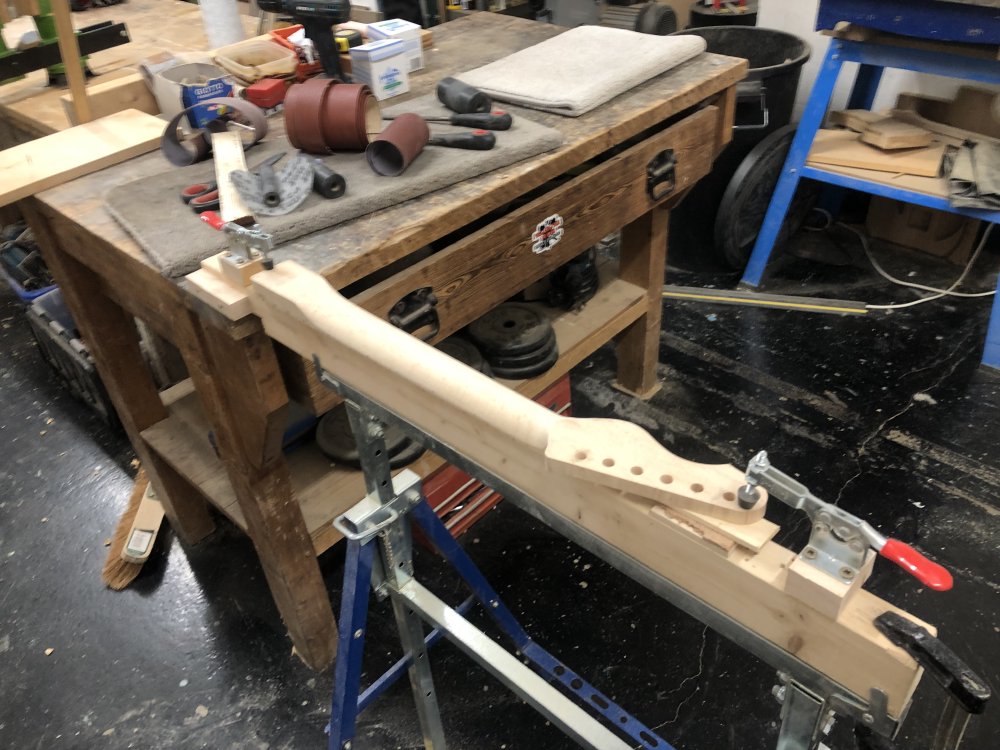
In particular, I wanted to reduce the thickness a bit more at the headstock end of the neck, and get the area where it transitions into the headstock to feel good, so when you’re playing at the top end of the fret board it feels good in the hand:
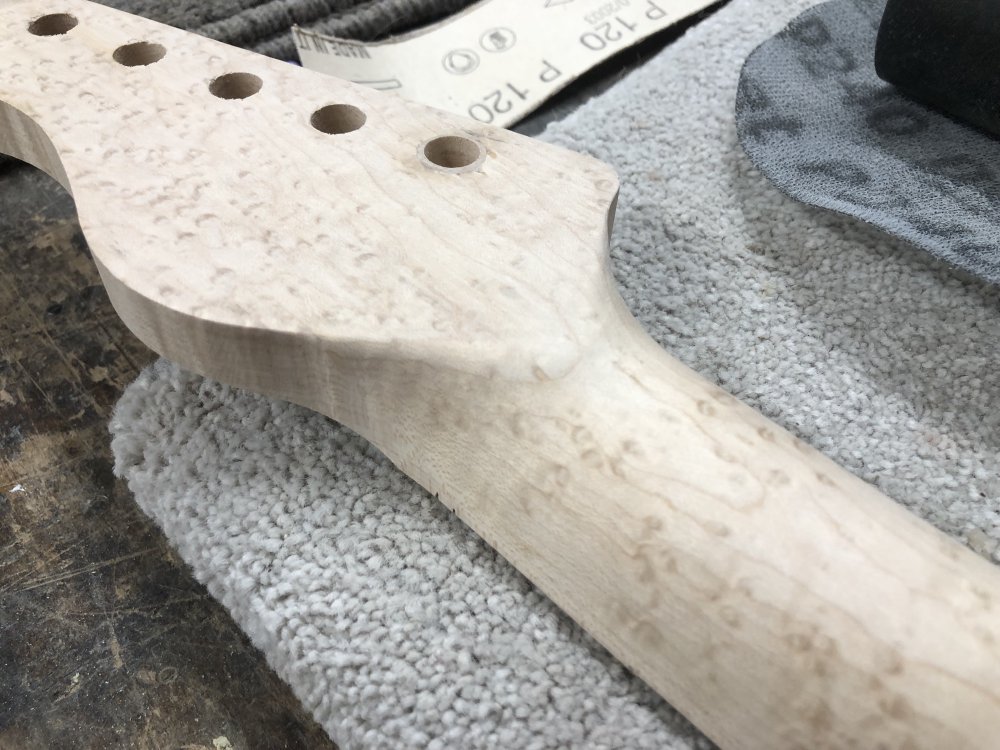
For all my talk of making my guitar building more empirical and measurement driven, this is still one bit where it comes down to “does it feel good in the hand?”, and iterating until it does. I’m sure technically I could measure it, but it’s such a complex shape that my brain just understands it better by feeling than by callipers.
After a bit of effort I got the shape to where I wanted it to be, and then spent some time with various bands of sand-paper git getting most the rasp marks out the neck, before putting it to one side as my arms got tired. Next week I’ll finish tidying it up, particularly the headstock transition on the front which needs a bit of love, and move onto the fret work.
With the neck carve getting there, my other objective was to get “hole complete” on the body: that is to get to the stage where I’ve finished removing material from the body (the term is a riff from code complete, an important milestone in software dev, which is my other hat).
The first set of holes I needed to add were the holes for the screws that hold on the neck. Or are they bolts? If you’re buying them, you look for neck screws, but this style of guitar is referred to as having a “bolt-on neck” (as opposed to a glued on neck). It seems the delineation between screws and bolts is a bit murky anyway, and made worse here in that the fasteners only thread into the neck (which would make them a screw) and just pass through the body (making them a bolt). Clear? I guess it depends on whether you’re looking from the perspective of the neck or the body. The main thing is to ensure the holes in the body are wider than the screw thread, which is a mistake I made early on as I started building guitars, threading both, which can cause problems ensuring the neck is tightly pressed into the pocket.
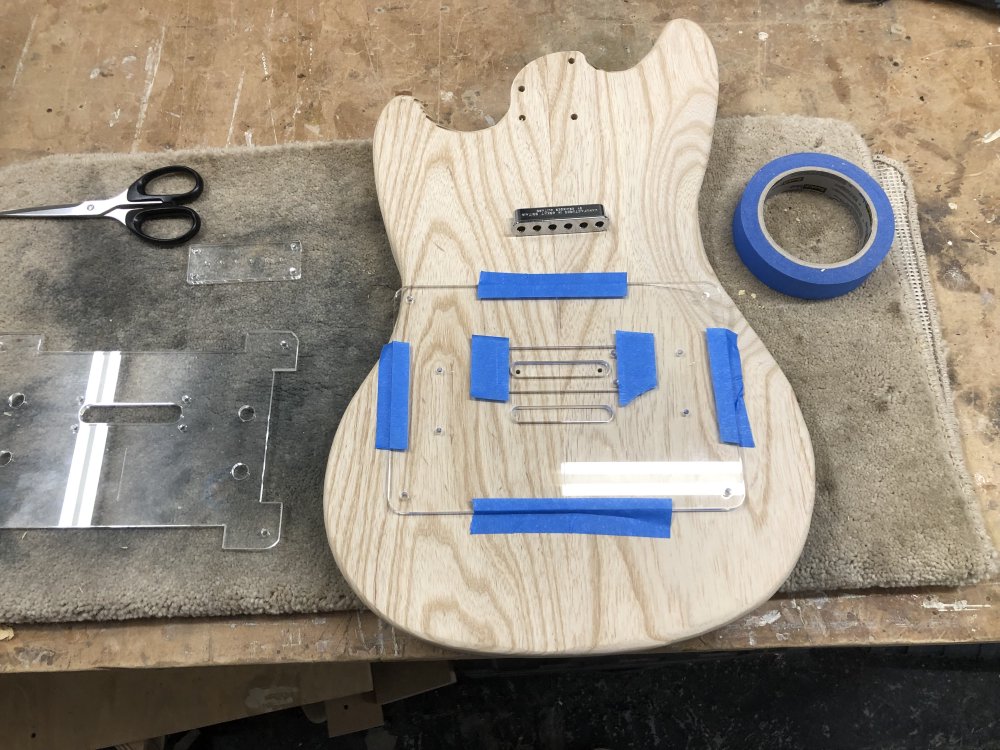
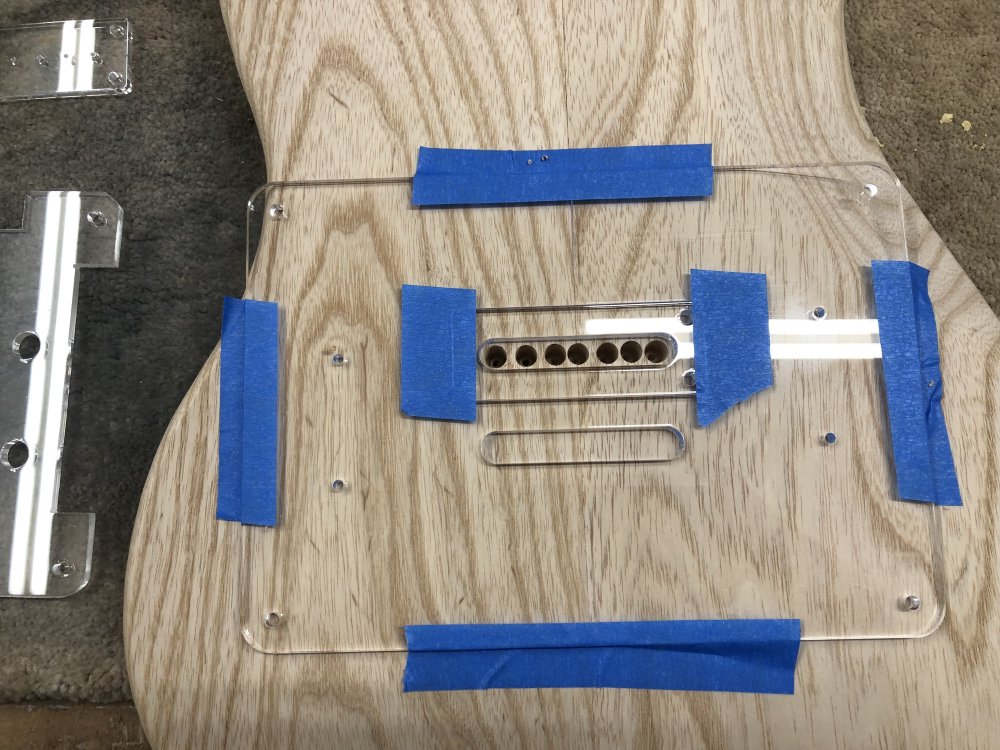
Once those were done, it was the return of the as-complicated-as-it-needs-to-be template I have for routing out the recess for the string-ferrule block, finishing off the job I started a few notes back when I drilled the string holes from the front. Most of the holes I only drilled part way through, except the outer two which I did all the way through to give me a reference for this next step.
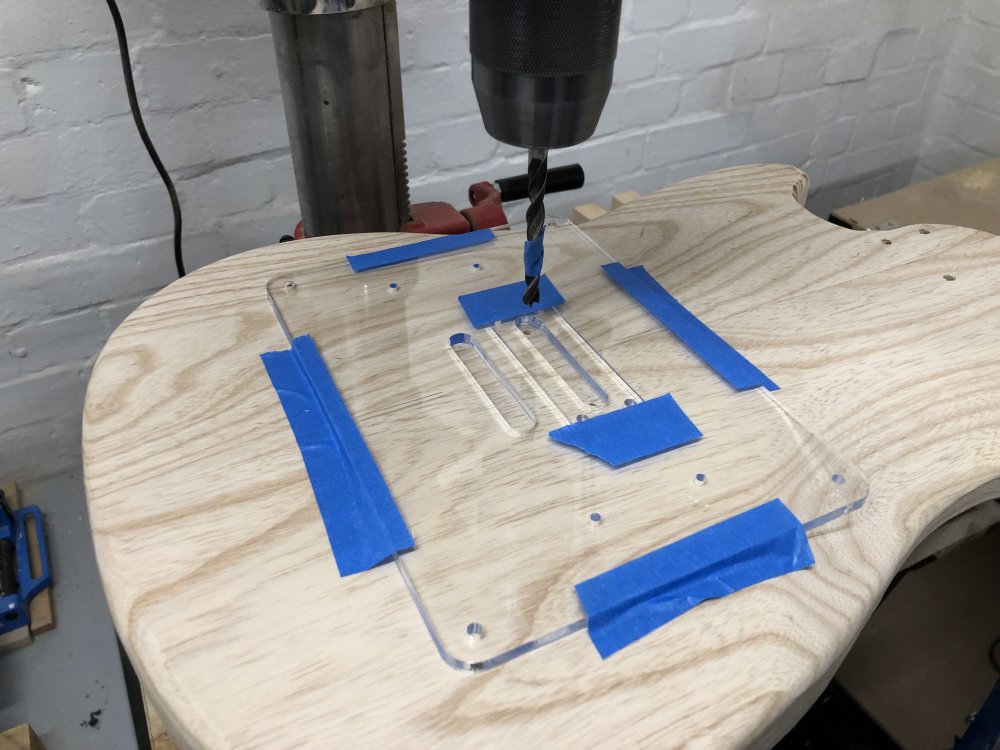
Before I moved on to the palm-router to make a nice tidy recess, it was first a quick stop by the pillar drill to remove as much material as possible, as routers are best treated as finishing tools, not bulk removal tools. It’s hard to see in this picture, but if you look closely you can see that rather than use the nice depth stop this pillar drill has, I’d gone for the tried-and-test masking-tape-on-the-drill-bit approach to know how deep to go :)
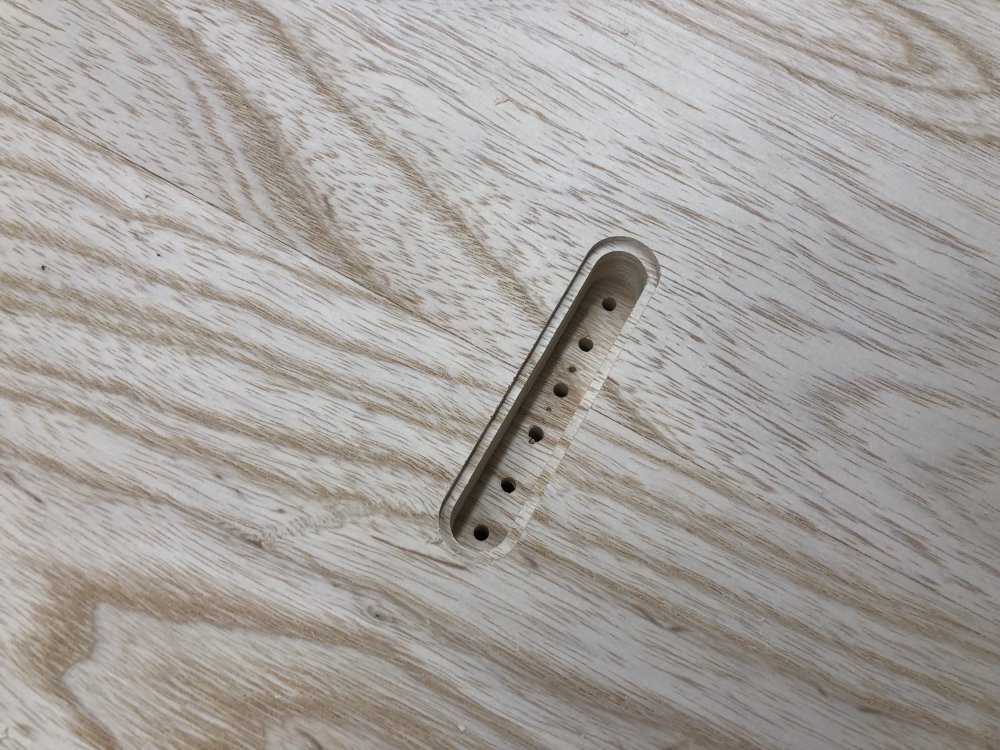
A few holes later and I’d cut out a good chunk of the material that needs to be removed:
I’ve documented using the template in detail before, so I’ll save you all that, save to say that now that this is the third time I’ve used the template, it’s now at least getting to be something I can use without too much trouble, despite it causing people to question why I don’t use CNC-routing every time I bring it out :) Still, the results imply I must be doing something correct here:
With the ferrule recess routed, there just remained one final set of holes to drill, those for the strap buttons (also used to attach the hook you see that is used for hanging the body up during finishing):
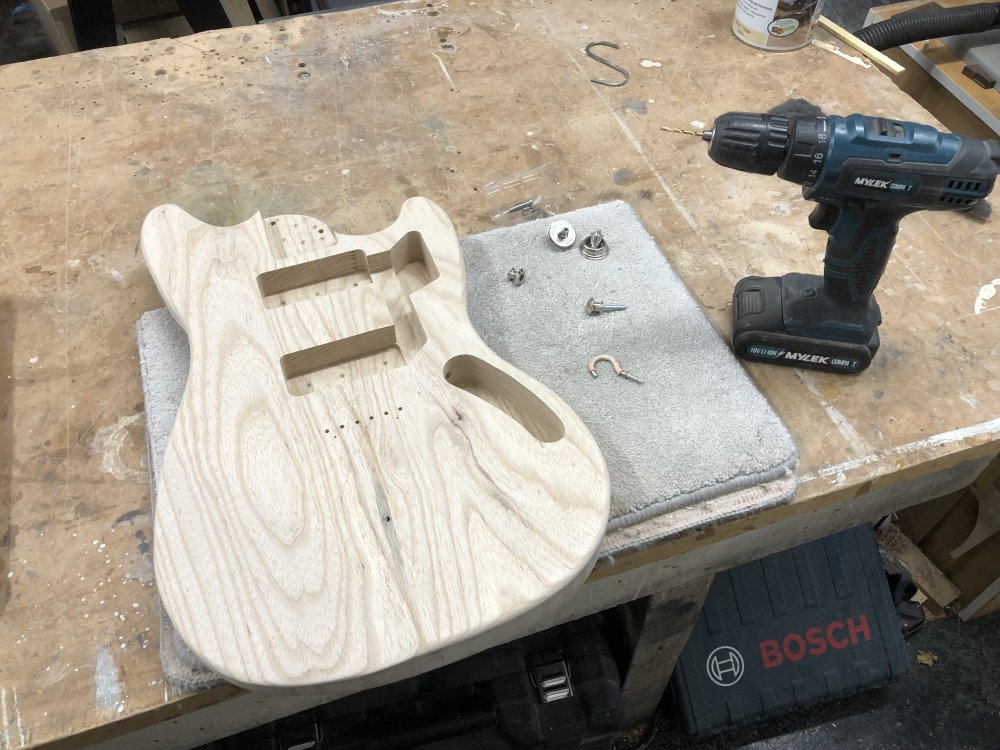
And that’s it, the body is now “hole complete”!
With the body now done modification wise, I spent a bit of time tidying it up getting it ready for finishing work. This mostly was sorting out any remaining marks from where it was routed, and ensuring the rounding on the edges was nice and smooth.
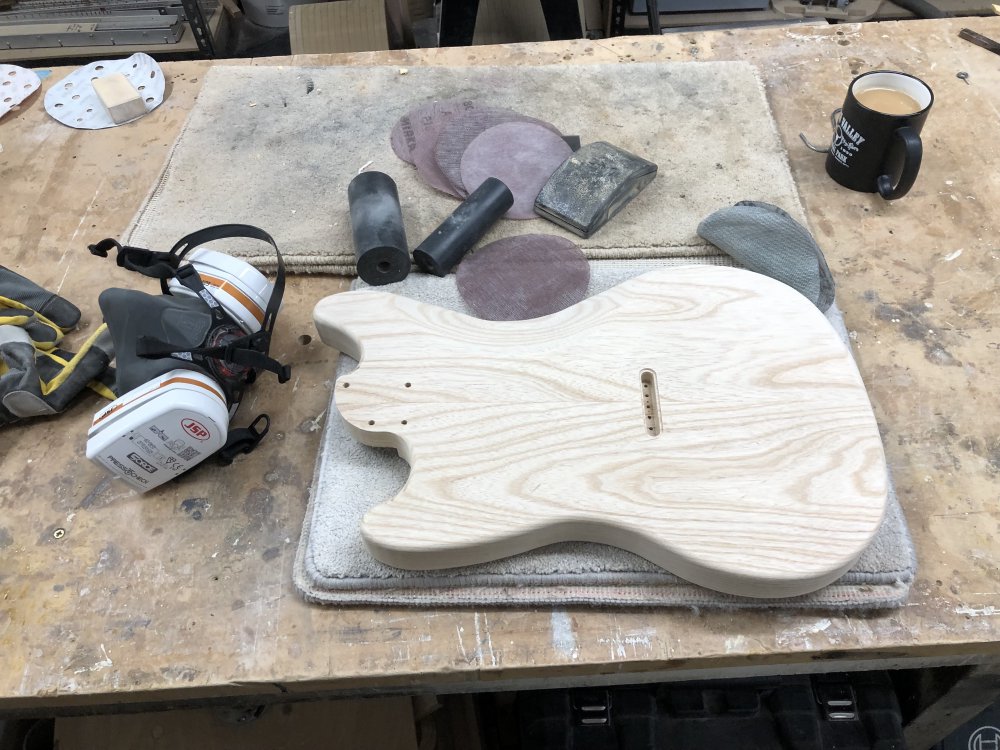
Paired with the neck, it’s really coming together:
So I decided now was the time to check in with the client again and see if they still wanted it finish wise the way it was when we last spoke. When the original order was made, they requested the guitar body be painted sonic blue, but I’d had to talk them out of that as I didn’t have access to a spray-booth at the time, and so we’d agreed on staining it. However, now I do have access to a spray booth and I’ve started learning to use it, I felt I should put that option back on the table, and unsurprisingly they opted for a painted body in sonic blue, just as they had done. They did however like the black pick-guard I’d suggested in the last render I put together, so I updated that and this the new plan:
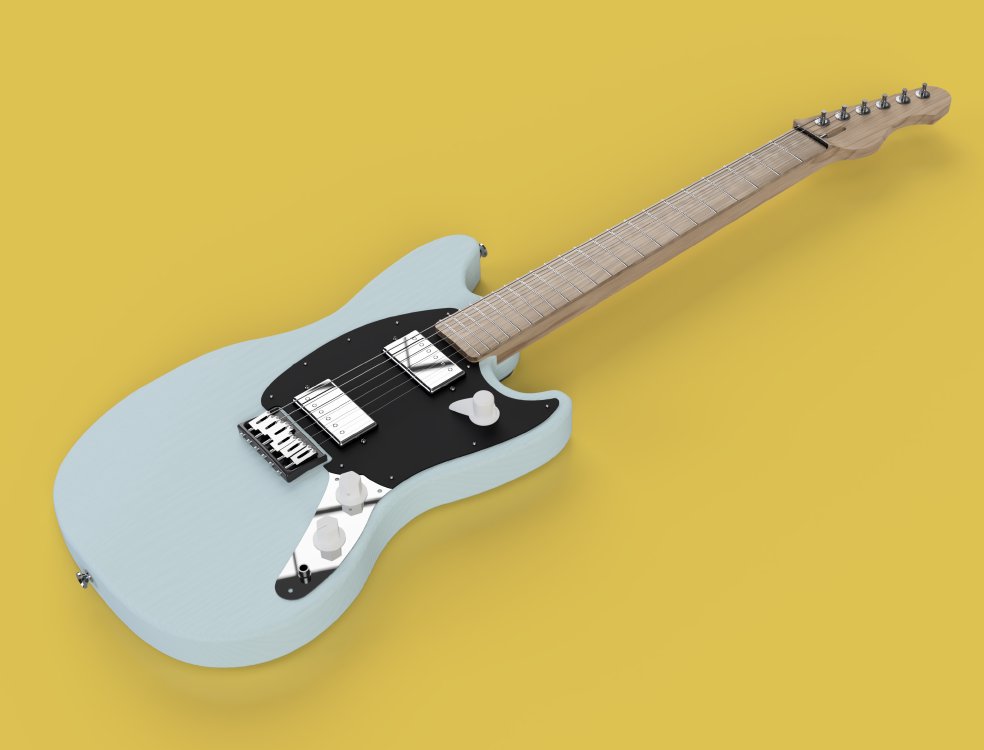
Whilst this means I have to quickly get some practice on in terms of painting a guitar-body, I am glad that I went back to them and gave them the option, as clearly this is what their heart was set on.
Verkstaden
On the topic of painting, my plan was to dip my toe into the water by spraying the back and sides of Verkstaden - it’ll have a stained yellow front, with a clean maple “natural binding” effect, and then the rest of the sides and back will be painted dark brown or black.
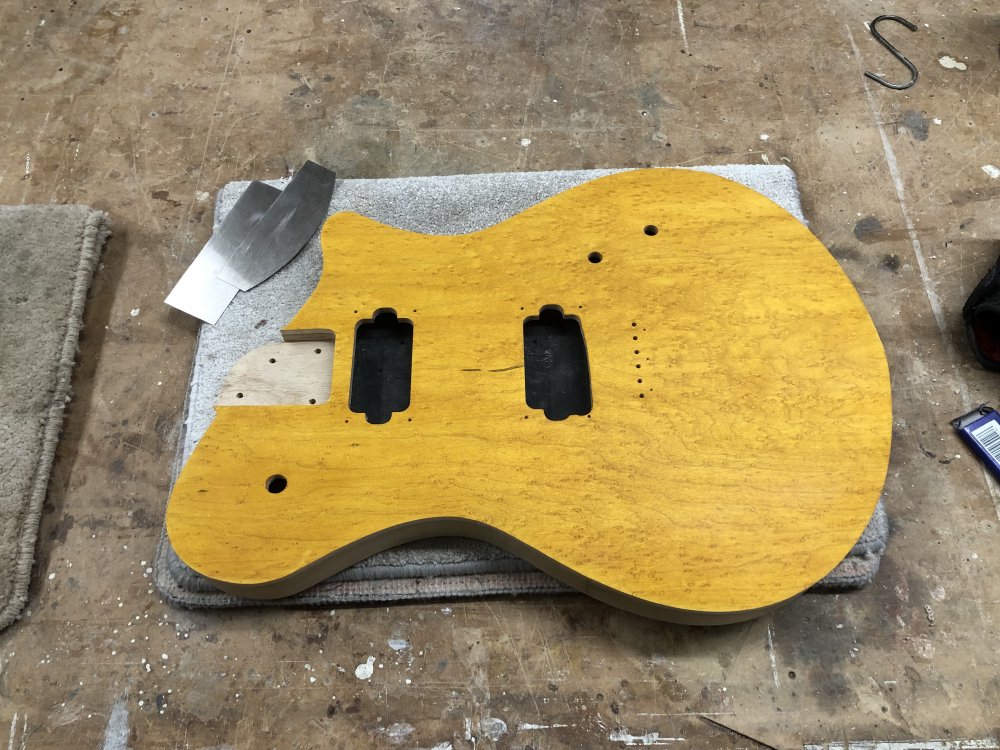
As prep for the painting, I needed to tidy up the natural binding from where the stain had seeped down the side of the tape I’d put on to protect it. For the most part the tape had done a good job, but in a few small areas the stain had seeped a little:
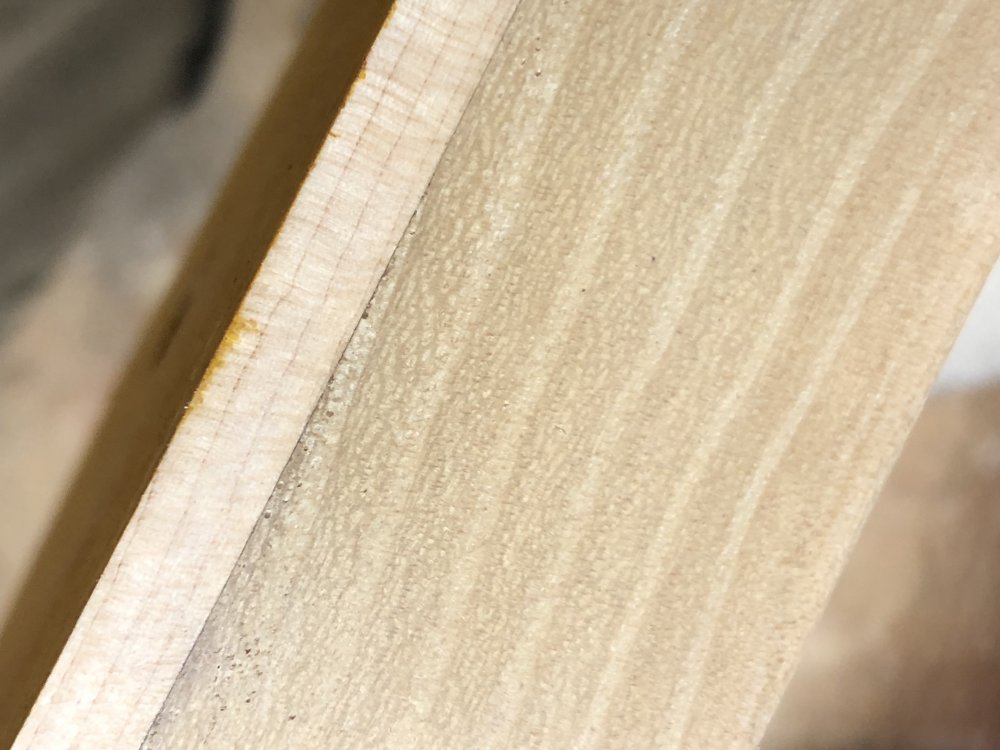
This also hopefully gives you some idea of the natural binding look: the paint will go up to the join line of the maple cap, but not over it, giving the impression of binding, but with the nice maple wood texture instead of white plastic.
I didn’t want to use sand-paper to remove this, as I was worried that sand-paper, being flexible, would too easily catch the top side and remove stain from there, and so instead I used a scraper (the metal things you can see beside the body in the first picture). A few minutes with a wood-scraper and I’d tidied up all the little bleed overs like this.
Next week I’ll tape up the top, and hopefully start painting the back, and then if that works I’ll be much happier painting a client guitar having practiced on one of my prototypes!