A Week in the Shop
Published 30 Jul 2023
Tags: fretwork, grain filler, hästen
This week was just a getting on with it week, nothing exciting or new (at least if you’ve kept up with this blog for any length of time), but just putting in the time as I try to get Hästen moved along. It’s in the stage of “looks close to done” but there’s still a bunch of doing to be done, so that’s what I did.
The Body
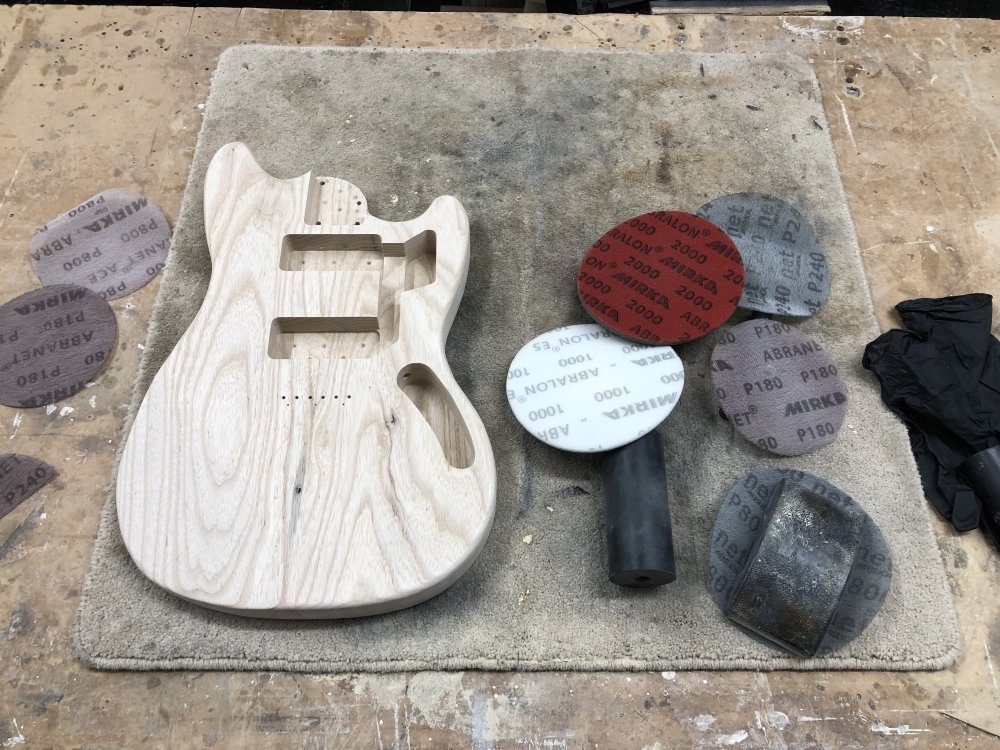
I started out with the body. As discussed last week, I’d talked to the person who commissioned this build, and checked on what kind of finish they wanted, and they opted for a sonic blue paint job. This has two impacts on the work I have to do from the “nearly done” stage. Firstly, because it’s going to be painted, I don’t need to be so obsessive about finding all the faint marks and blemishes that whilst not visible at a cursory glance, will be the kind of thing that would drive me insane if I found it after doing a clear oil finish - these will not show up after the guitar has been undercoated and painted, so I save a bit of work there.
However, on the flip side of that, to get a good finish I will need to apply grain filler, as the dark bands you see on swamp ash are very porous. On a stain guitar this is great, as they really soak in the colour and give it the kind of tiger stripe effect you see on some of my other builds, but with paint this is less great.
Still, before I got to that stage, there was still a bit of work to do regardless of how it was being finished.
The main thing I’d noticed as I sanded the body last week was that there were still some artefacts in the profile from where I’d initially routed out the body using the template I’d made. This confused me at first as to why this could be: I’ve commented in the past how I had an issue at some point with the laser-cut templates having facetted edges due to a hiccup somewhere in the profile export from CAD and into the laser-cutter software, but my memory was that this shouldn’t have been the case for the mustang-style bodies I made, as I thought for those I’d used MDF based CNC-routed templates which had smooth edges. However, thanks to keeping this running build journal, if I look far back in my weeknotes I can see that I used one of the aforementioned acrylic templates on this very body, and so mystery solved!
So although at some point since I sanded the worse of the facetting out of the body, what I was seeing as I reviewed my work this week was that there’s still some low points where the sanding still hadn’t quite reached:
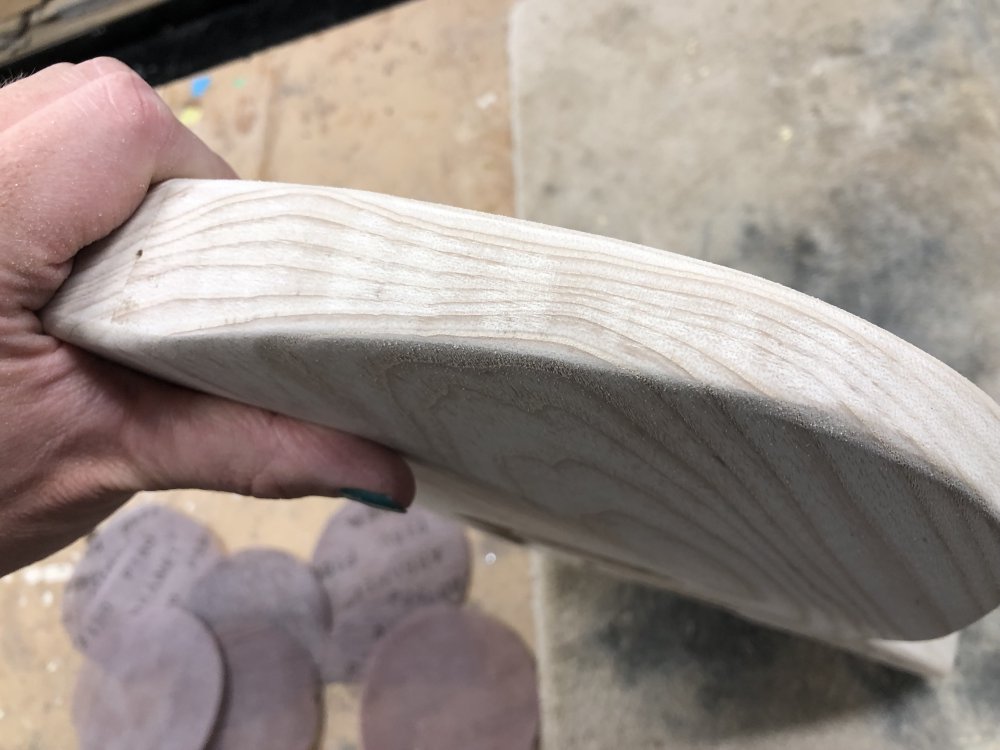
So it took a bit of elbow-grease to get those sorted, and then it was over to applying the grain filler.
I’ve not photos for the grain filler stage I’m afraid - I’ll try do better next time. It’s a messy process where you have to keep making a two part paste, which is like a small lump of hummus to which you add tiny amount of activating agent, then mix it, and quickly try to apply it to the body before it gets too solid to be workable. Then repeat about a dozen times. It’s also very noxious in terms of fumes, so I had the full heavy-duty respirator on and gloves, and so between being PPE’d up and feeling this constant time pressure, photos were not on my mind.
It is, to me at least, a fairly hateful process, and I suspect I prefer the trying to remove all small scuffs in the body for staining and oiling than I do applying grain filler. My one tip is that as you work the mix into the body, it seems to stiffen as you work it, so it’s better to mix some, and apply it in smaller amounts than you mixed, rather than hope to keep re-spreading the bit you used over a further area. I’m sure there must be better ways to do this, or perhaps I’m mixing my quantities wrong: the tin literally says take a golfball sized lump of the filler and add a pea sized amount of activator, to which I can only refer them to Hames Joffman:

And that’s before I get annoyed about the prerequisite that I take up a new sort pursuit in order to use their product.
Still, the job got done, and it can now dry and next week I’ll can sand it back and see if I managed to get it in all the nooks and crannies of the grain. There were a couple of small features in the wood that I hopefully have filled this way, but I’ll get to see next week.
The Neck
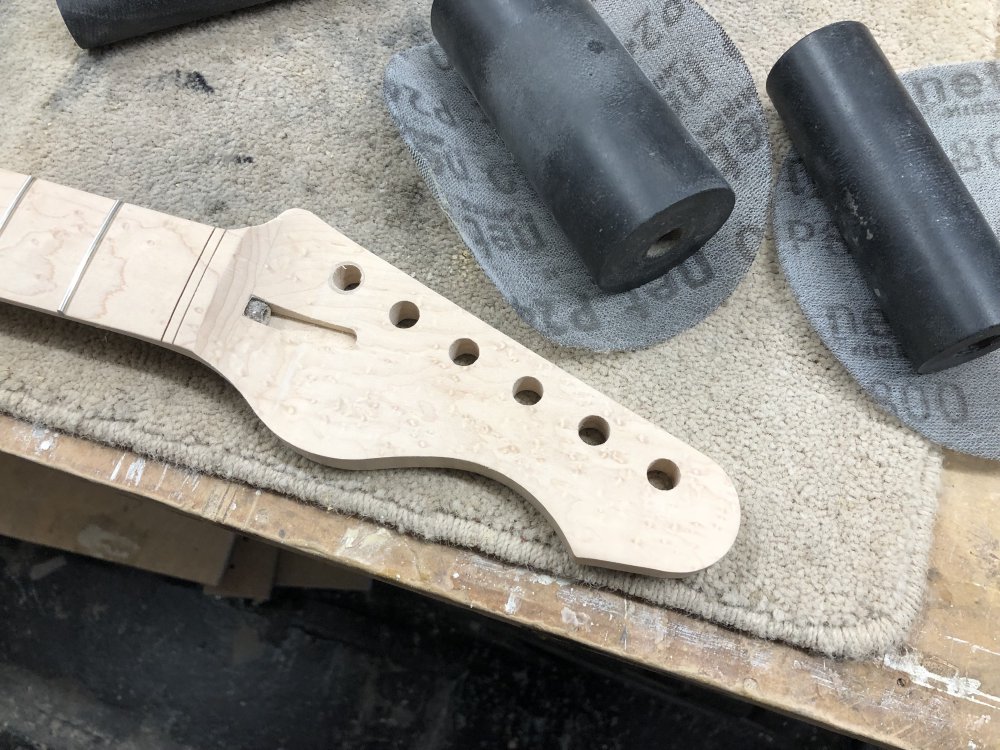
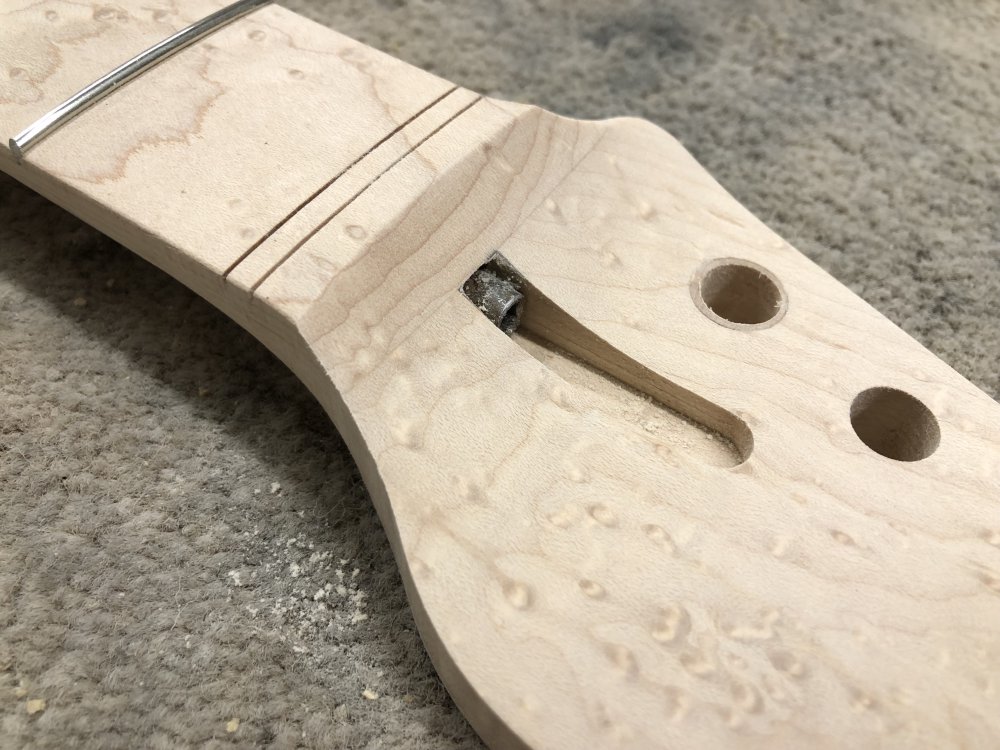
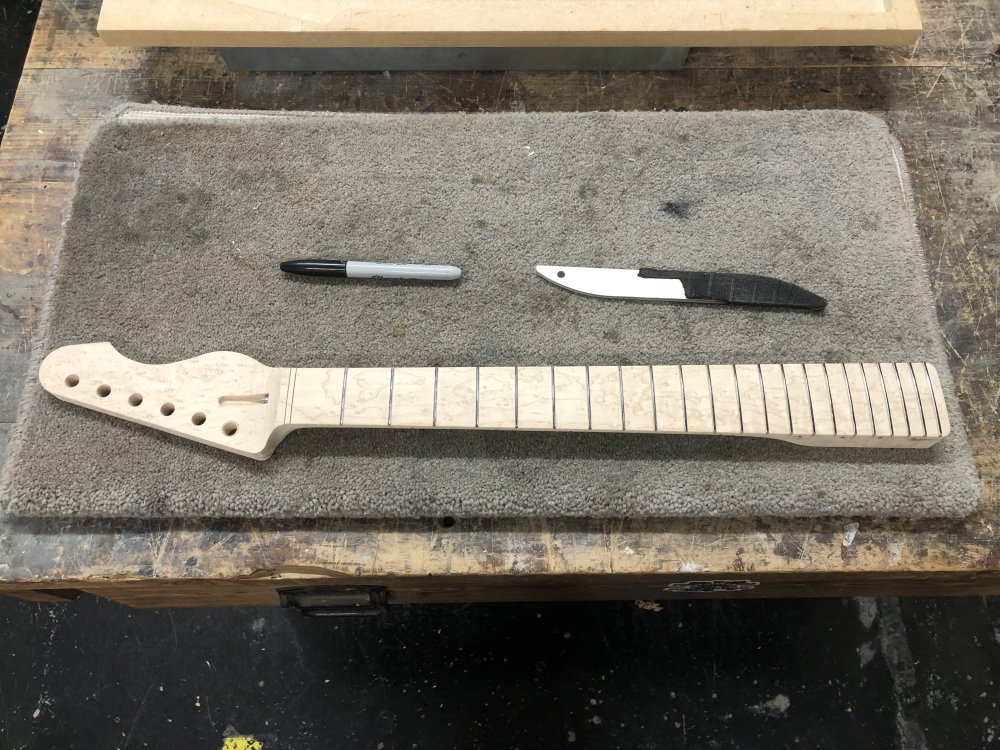
With the body of Hästen now curing, I went back once more to the neck. The first job was to tidy up the headstock, which was still showing marks from the early stages of production:
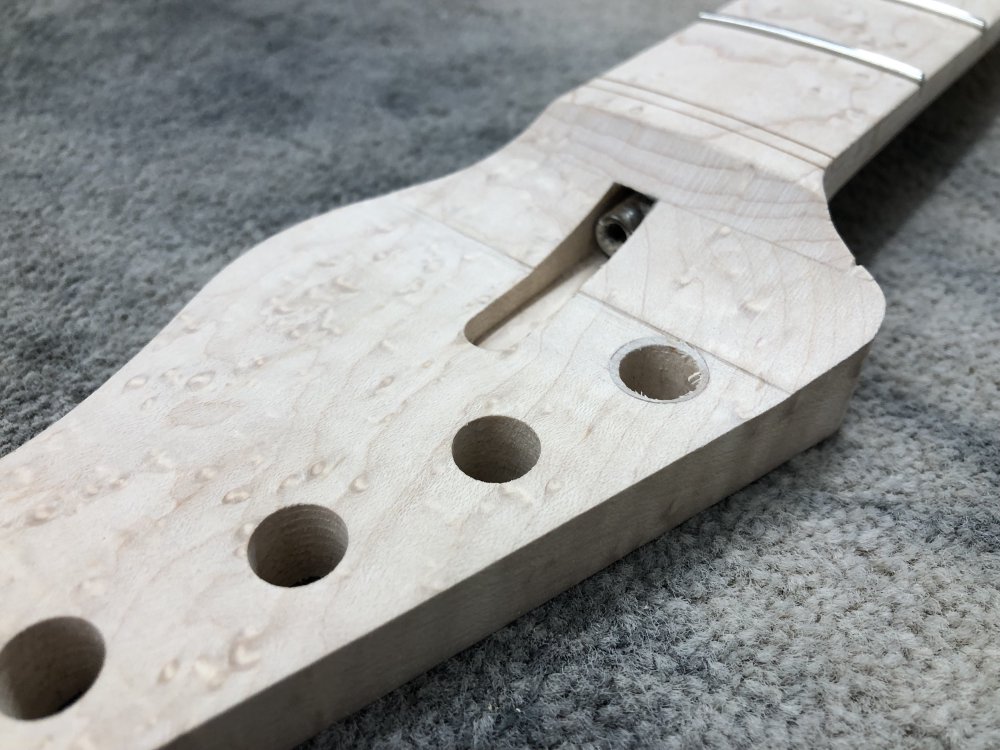
The most obvious is the line from where the headstock was initially stepped after I cut it on the bandsaw and when I rounded that step out on the spindle-sander, but couldn’t quite take it any lower without risking over sanding it. In addition to that you can see there’s a small nick in the profile on the right of transition, and not obvious in the photo, glue managed to get into the truss rod access area, which whilst not a functional impediment, doesn’t look good, so I needed to try tidy that up.
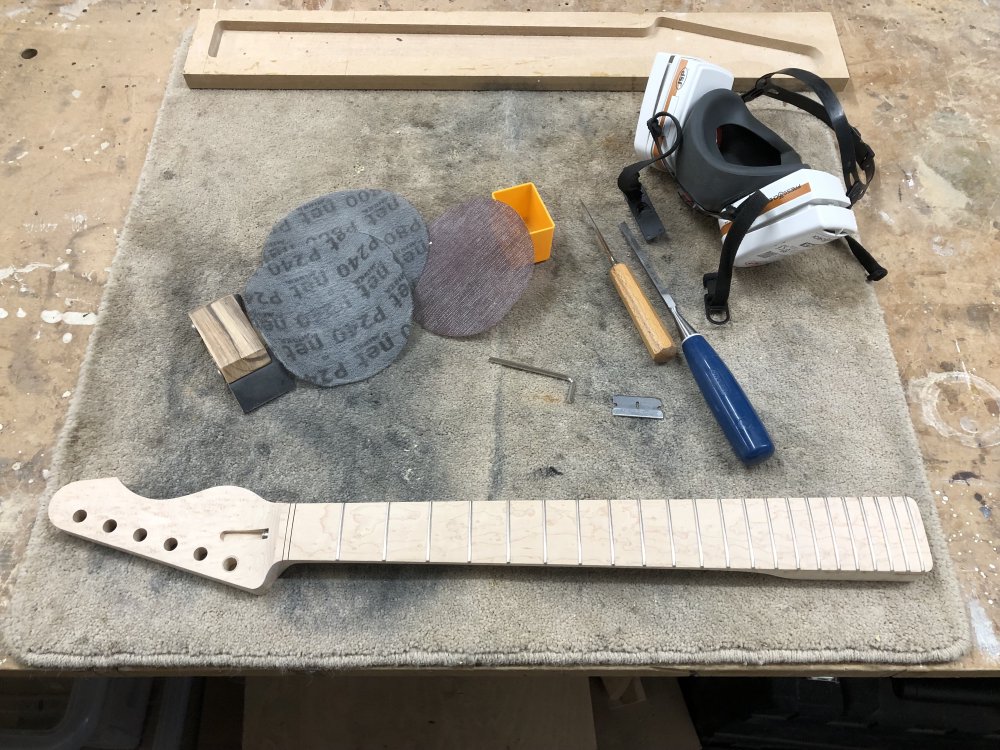
Thus, we have the usual posse out again:
I’m starting to think this blog is mostly a hidden advertising front for sanding disk manufacturers. If you work for a sanding disk manufacturer and would like to make that reality, let me know, as they’re not cheap. Still, some careful work later, and the neck was looking a bit neater:
Modulo the glue of course, which is now more obvious. I did some careful work using a mix of a razor blade, a couple of small chisels, and some tiny scrapers of the sort you might find in a dentists, and I managed to mostly clear it up. It was slow work, as it’d have been very easy to accidentally dig into the fretboard wood at the top which is taped to a thin point there. A lesson to me about not forgetting to mask of that area when applying glue.
Going from looking rough to looking finished was one of those jobs that takes a lot longer than you expect it to, but that’s just how these things go: guitar building has a lot of fun quick win stages, but it also has a lot of slow and careful stages, which are retrospectively what makes the finished product satisfying, even if I do just grumble at the time :)
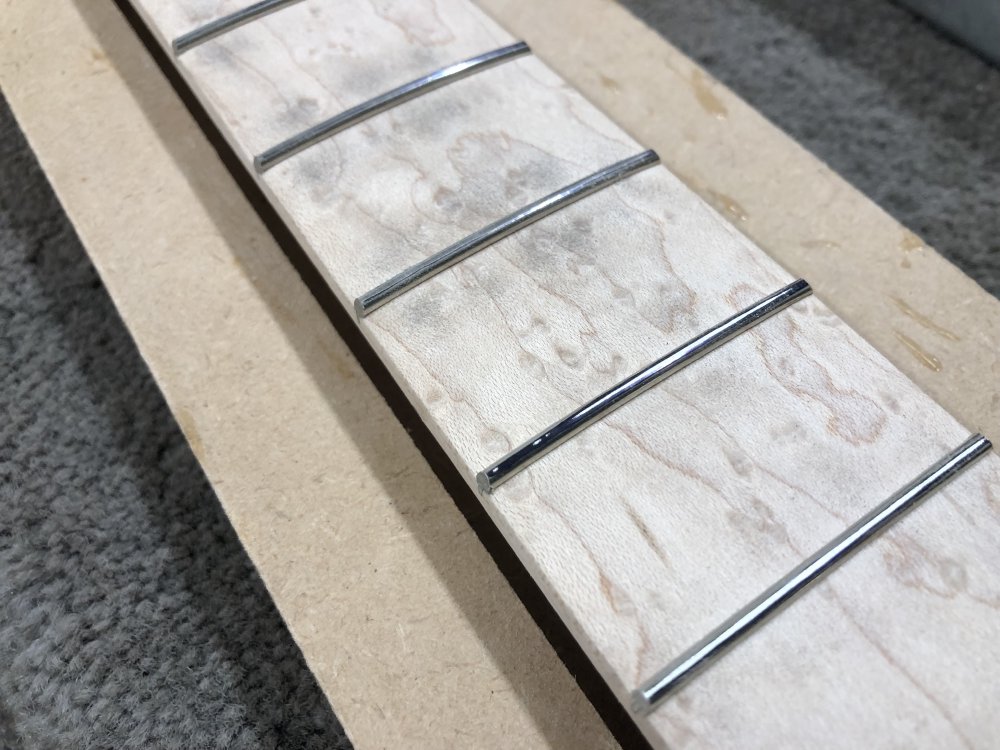
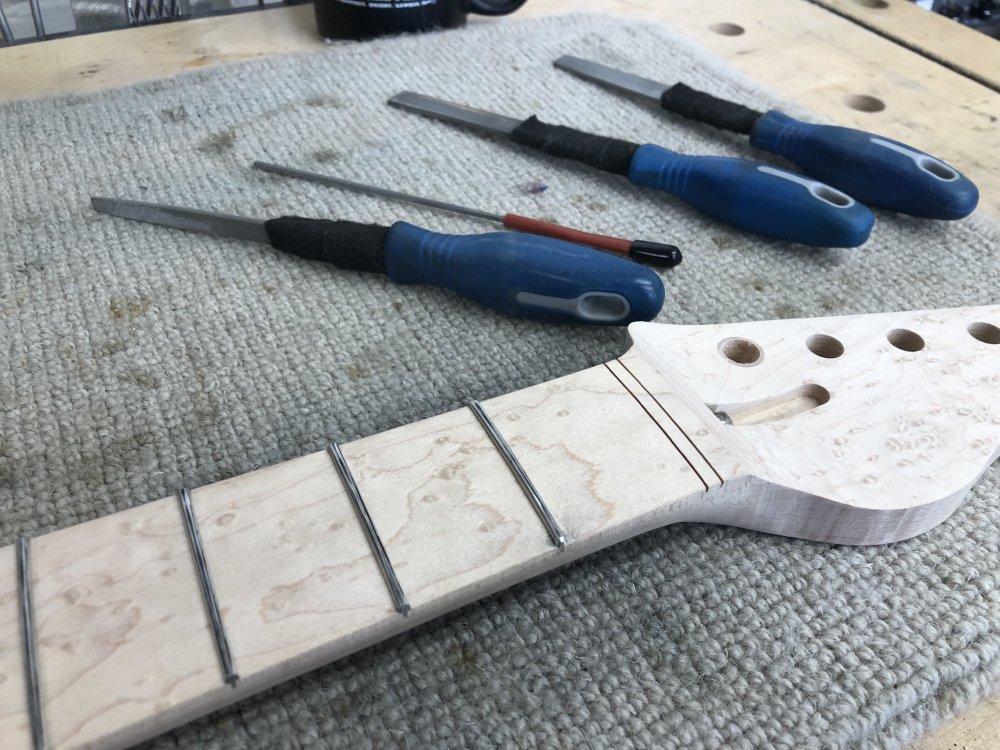
With the headstock looking neater, it was onto the fret levelling stage:
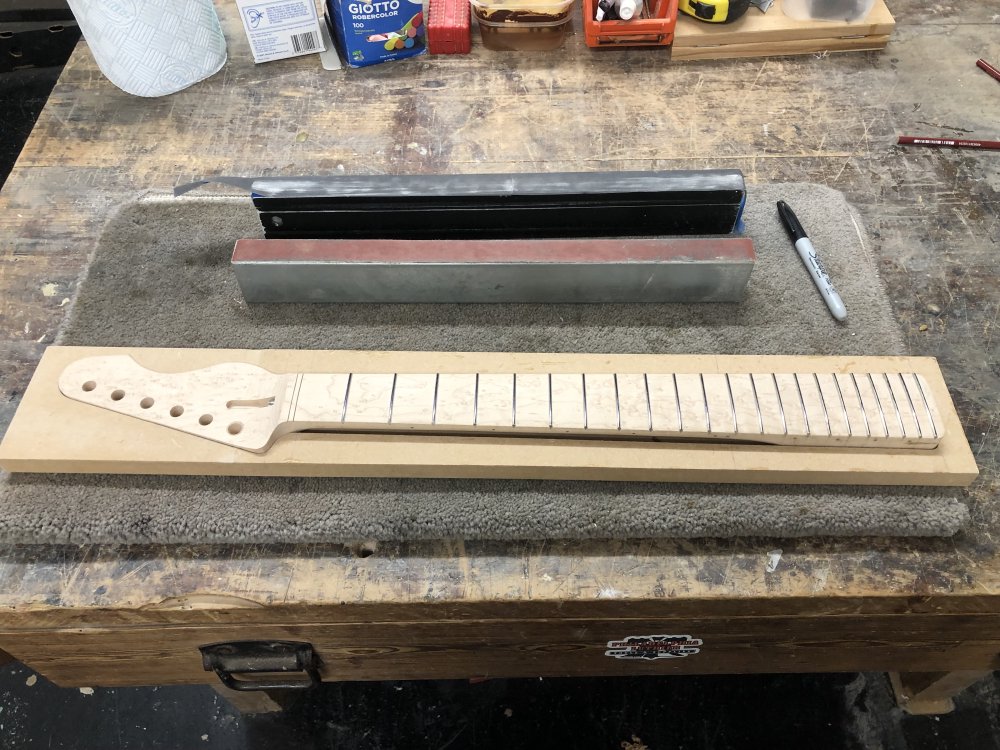
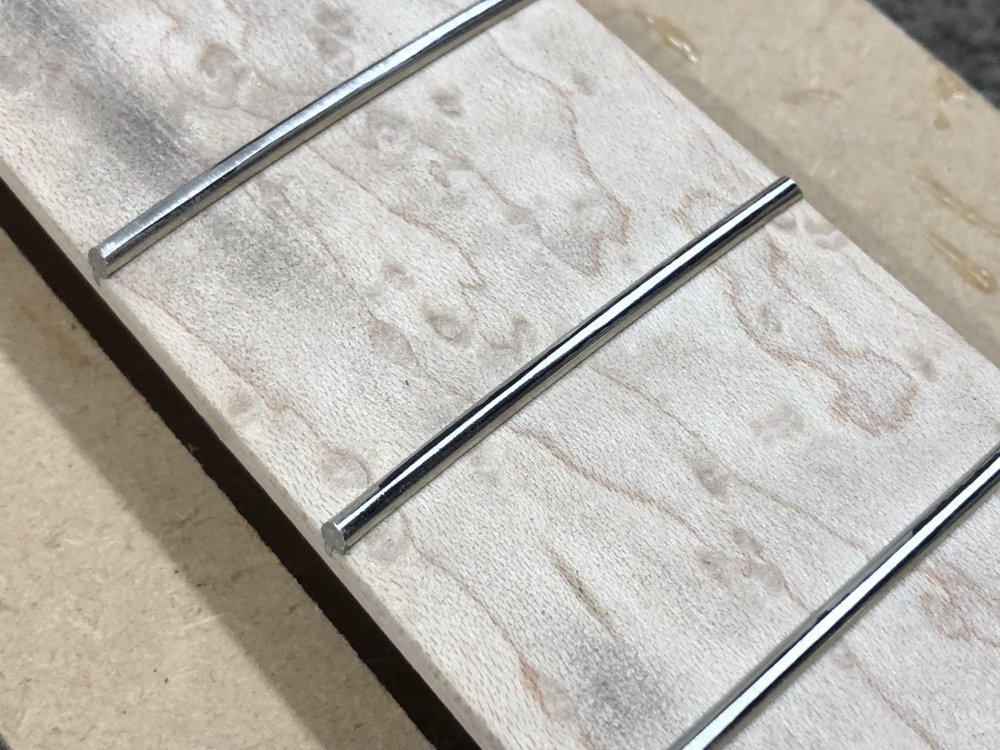
The idea here is that after inserting all the frets, they’re not all going to be perfectly level, as although I used a press to insert them, and I used a router to radius the fretboard, the wood will perhaps compress a bit more under some frets than others, and the act of inserting the frets will cause the neck to bow slightly. So having adjusted the truss-rod to counter that bowing as much as possible, I mark up each fret with sharpie, and then give them a light sand using a sanding bar, looking to ensure all frets get the sharpie removed. Here for instance, in this next photo, you can see that one end of this fret is a little lower than its neighbours:
After you’ve identified these spots, given you can’t add fret, only take away, you then continue to sand the entire fretboard along the axis of the strings until those spots are just touched:
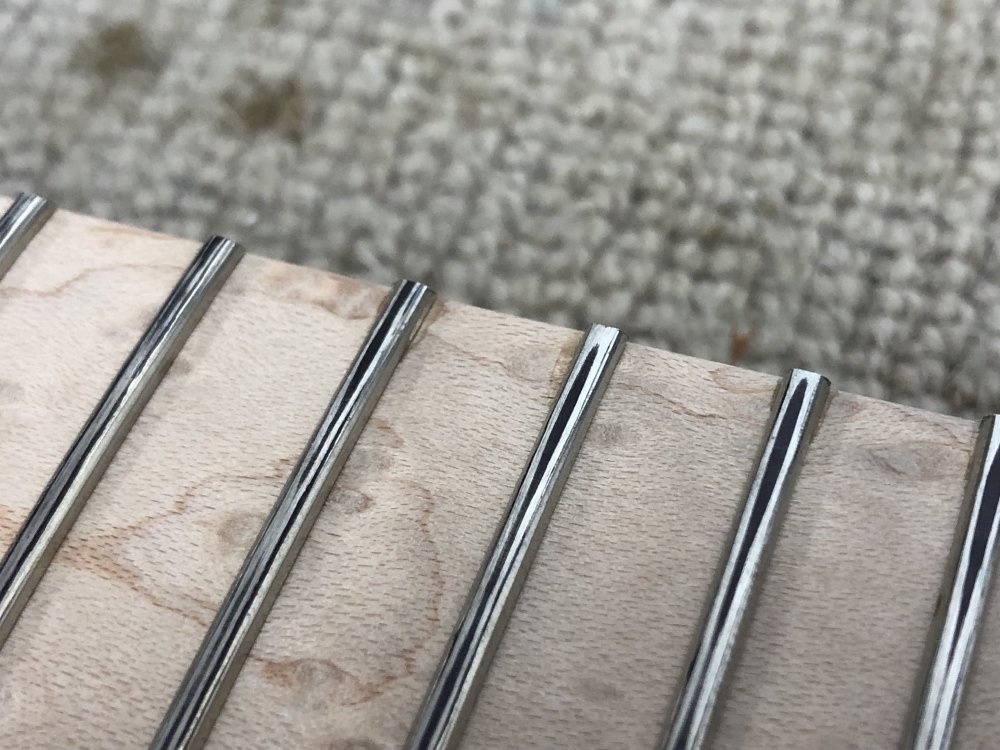
Once you have it so that a light pass over the entire fretboard leaves no untouched frets, you’re done with the first stage. As you can see from the earlier photos, you’ve now flattened off the tops of the once nice round frets, so next up you have to re-crown them:
This involves once again covering each fret with sharpie, but this time you’re using a concaved file along the length of the fret, and trying to leave just the thinnest of lines along the centre. Here’s an in progress shot that hopefully gives you a rough idea:
Once all frets are re-crowned, then we can move on to dressing the fret ends:
I have to confess, I only managed to do a metric half a dozen (5 :-) of the frets before my attention was drifting, and so I stopped for the week. At this stage I don’t want to rush things and get sloppy and make a mistake I’ll regret later.
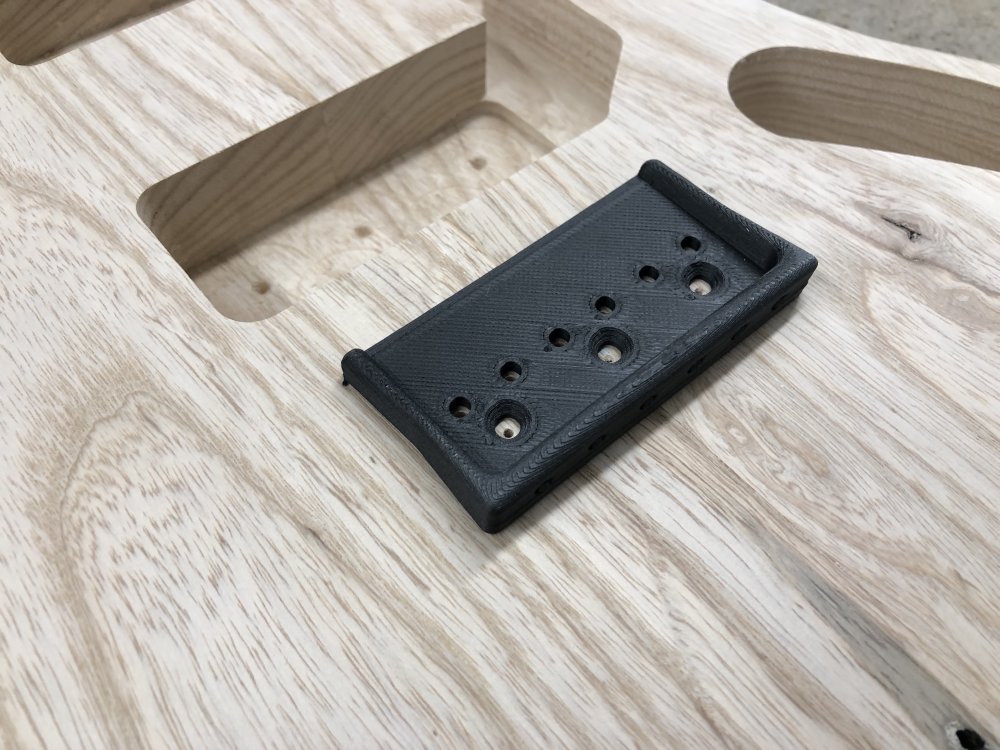
The Bridge
The only other bit I did on the guitar this week was print it a new bridge, as I gave the last one away at Liverpool Makefest to another luthier who was interested in it.
And that’s it. Not a particularly exciting week, but progress was made, and that’s what counts regardless of whether it was exciting or not :)