A Few Weeks in and Out the Shop
Published 17 Sep 2023
Tags: Älgen, Delfinen, Hästen, Wuthering Bytes
Where did the last month go? It’s been one of those where I kept thinking I didn’t have much to write about because of travelling, work, and other things, and now I realise it’s been a few weeks since I last put fingers to keyboard. So here’s an update of the mix of things that’s been going on since then.
Wuthering Bytes
One reason I’ve not been in the workshop much is we went up to Yorkshire for the Wuthering Bytes festival, both for the main festival day, and then sticking around for the Open Source Hardware User Group Camp where I gave one of the talks, discussing the various different 3D-printing technologies that go into making Älgen:
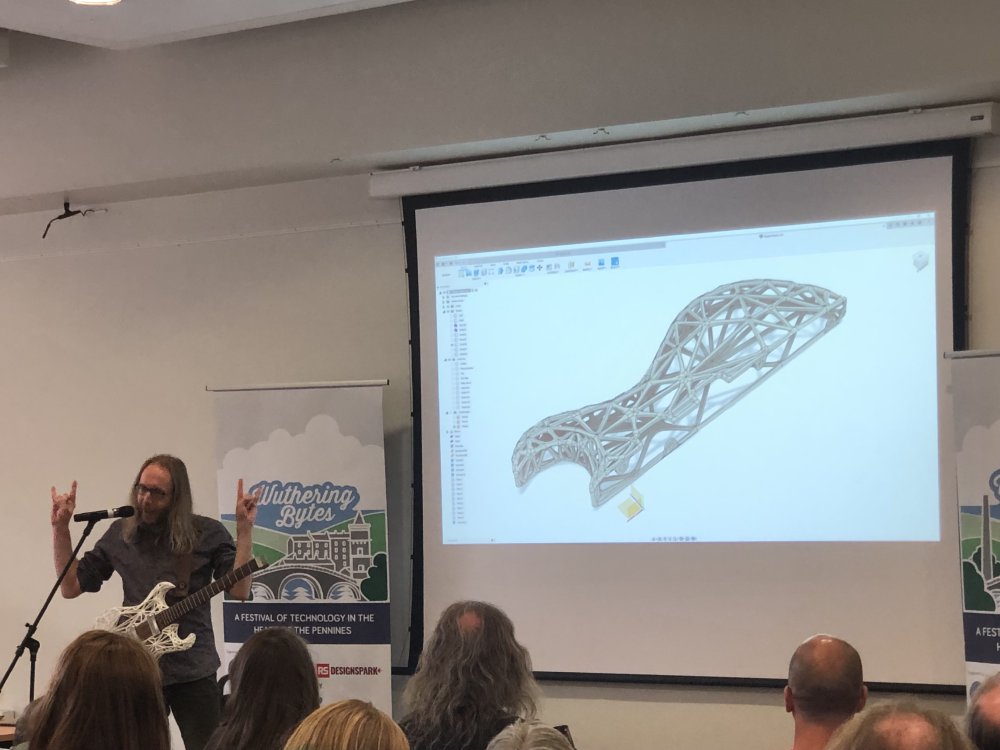
The talk went okay I think, but I have to confess that I cringe when I think back to my attempt to play in front of an audience. It was important to me to establish that Älgen isn’t just a technical achievement, but it’s first and foremost a working instrument, and for that I wanted to play the guitar. I did a little bit at the intro, but I was so nervous about speaking that I fluffed up the bits I wanted to play, and quickly cut that short, and then at the end I was asked to play out, and I just forgot how to play well, managing to play out of tune terribly. I guess the lesson is that if you want to show a guitar is good then you also need a good guitarist behind it 🤦🏼
Still, talking to other speakers, I suspect quite a few of us were nervous being back in front of an audience after so long away - this was the first Wuthering Bytes/OSHCamp since 2019. But I also think that lead to a wonderfully warm atmosphere at the event. Everyone was just kinda happy to be back at Wuthering Bytes, back in Hebden Bridge, and back with that crowd again. My thanks to Andrew and crew for putting the show back on, and I look forward to going back in 2024.
Part the reason I put off doing week notes was I kept meaning to process my photos from the rest of the event and write up some of the more interesting/relevant talks, but I’ve yet to face the photo processing task, and so that will come at some point later.
Delfinen
In the last few weekntoes I’ve been focussing on painting both Hästen and Verkstaden, but the start of September was so hot the couple of days I did make it into the workshop that the advice I got from Matt was that unless I really needed to get them painted those days, to wait for it to cool down again. There’s no technical reason not to do the painting when it’s hot out, but given this was my first go at the paint layer (I’ve done all the primer so far), it’d be unpleasant under all the PPE, and I’d find it easier to focus another day. So I put those two metaphotically to one side (literally I left them on the drying wrack for another week), and instead picked up Delfinen again and worked to get that to finishing state.
Last ‘week’ about getting almost all the holes complete on this body, and so it was time to finish that job. The first task was to route out the lips for the control cavity covers, where the original template I’d made wasn’t deep enough for me to be able to use a follow bit to route them out. Ideally I’d have made the original in thicker material, but I’d only used 6mm acrylic, and I could have done with using 10mm. The solution then was to just double up! I had some 6mm ply kicking around spare, and so I cut the same template shape again, literally just stuck them together with tape (trust me, I know what I’m doing…)
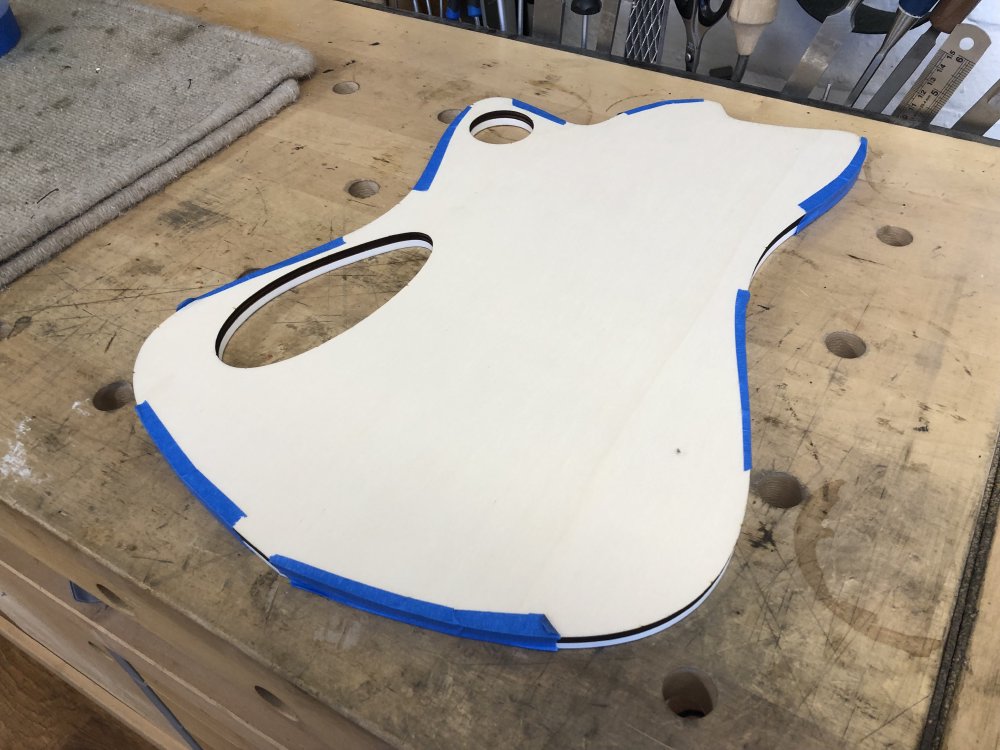
And because I’m addicted to masking tape, I then proceeded to use this to stick the new double-decker template to the guitar body. Again, I’d not normally advise people to use masking tape for templates when using a router, but I know that in this instance (as other times I’ve used it) I’m only taking off a very small amount of material, and so the forces from the router to the template will be very small, and perfectly within the holding ability of tape.
It’s worth noting that the outer edge of the guitar body isn’t the same as the template shape by this point. Even though I used the acrylic layer of this pair of templates to route out the body originally, it’s since been sanded and worked, and so the body is lightly smaller than the template, and as such I had to be careful with how I aligned the template with the actual cavities in the body. This is what I get for not doing this stage earlier in the build process.
With that done, I then check the depth of the template, so I know how deep I need to cut:
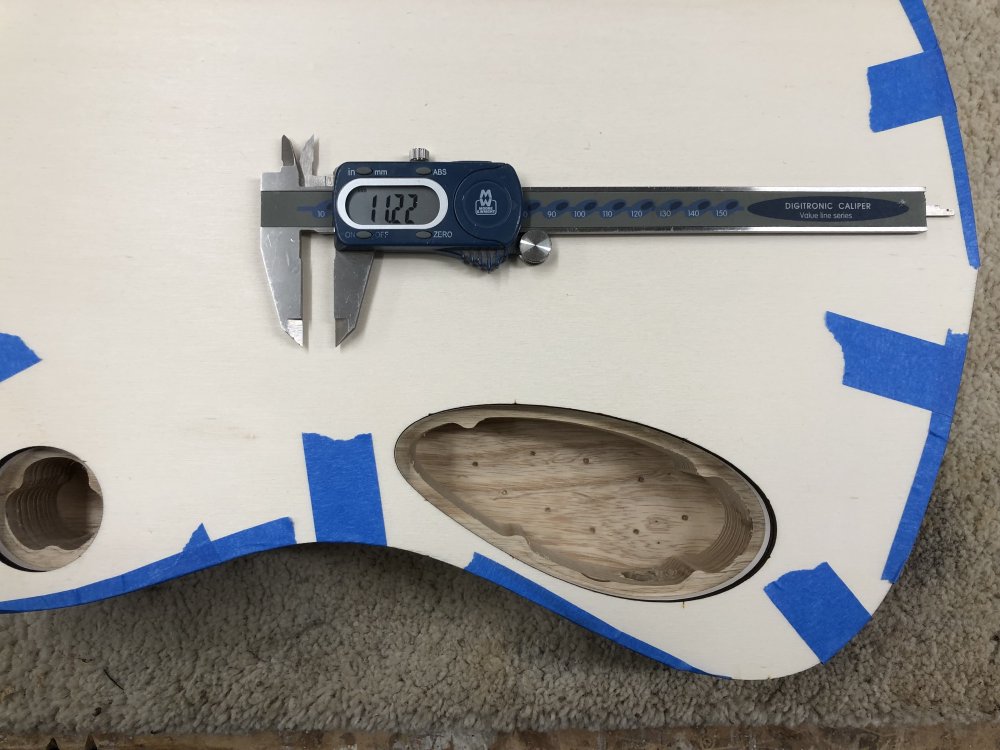
The templates come to 11mm, and I’ll be making cavity covers out of 3mm acrylic, so I knew I needed to go down to 14mm.
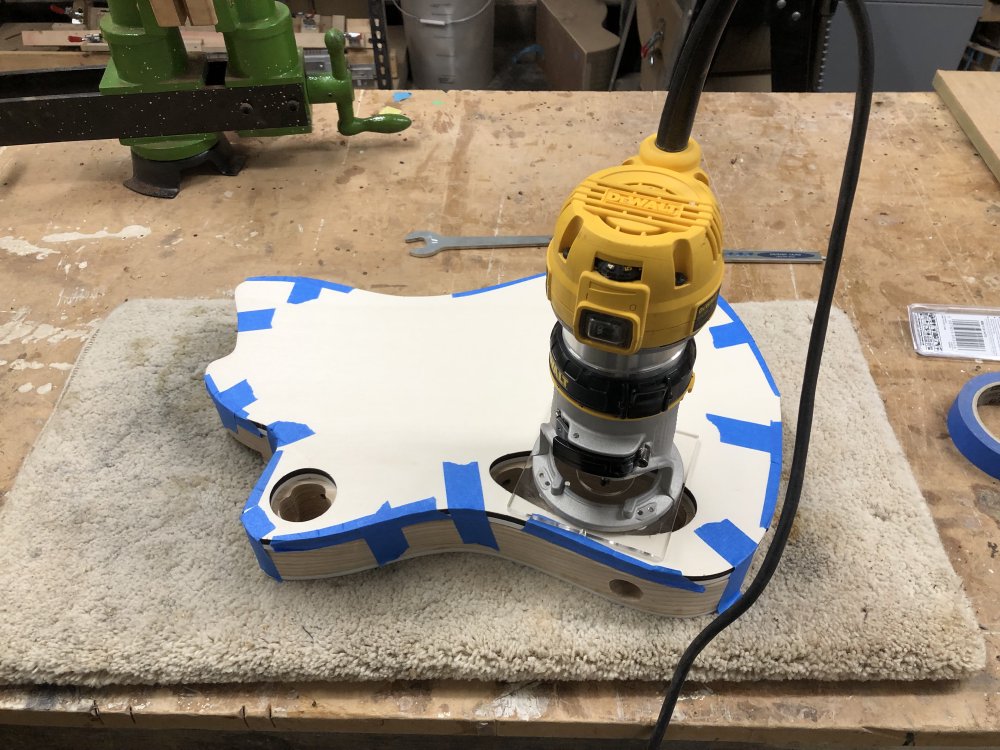
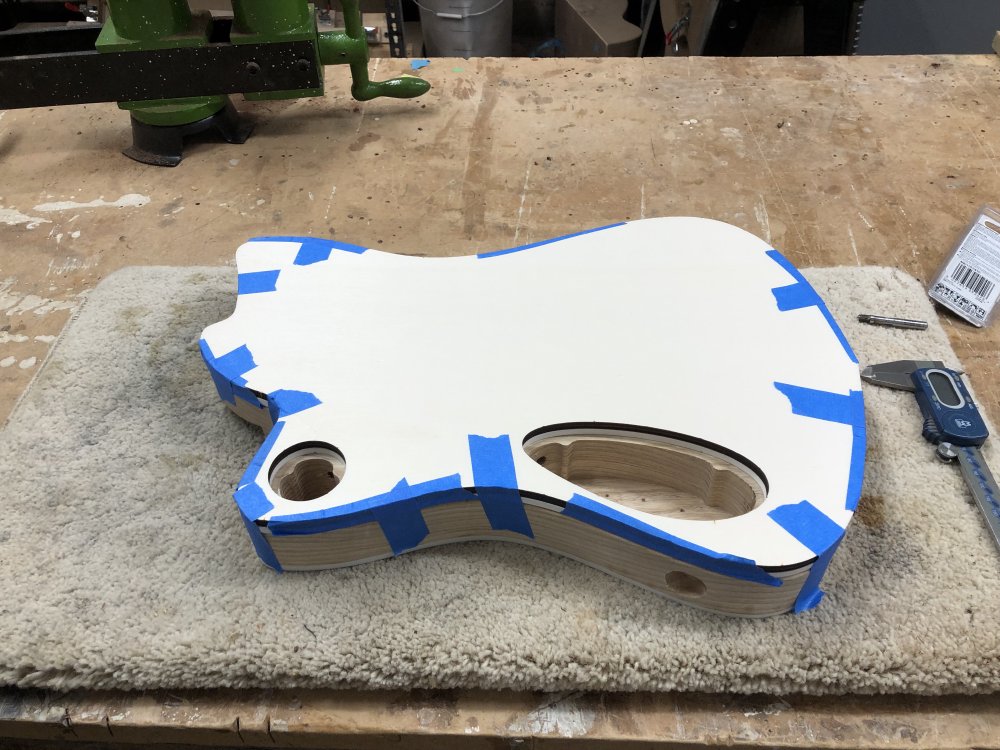
Then it was out with the Dewalt palm router to trim the lip. For this I used a 1/2" diameter bit. One nice feature about the Dewalt is that it has a little guide on the collar that you turn to raise and lower the bit, which indicates how many millimetres you’ve turned:

Whilst I’d take this with a little caution, it’s a handy rough guide, and useful for jobs like this one. After ten or so minutes I had cut the lips for both cavities:
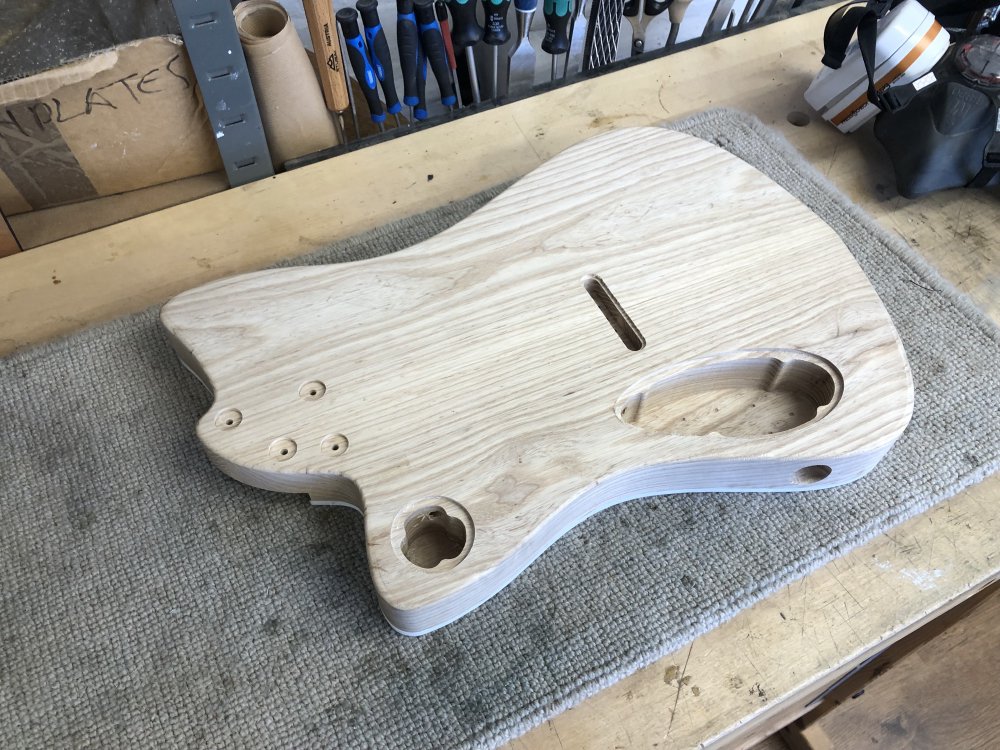
With the lips cut, I was finished with templates for this body, which meant I could finally carve the read of the body for belly-cut.
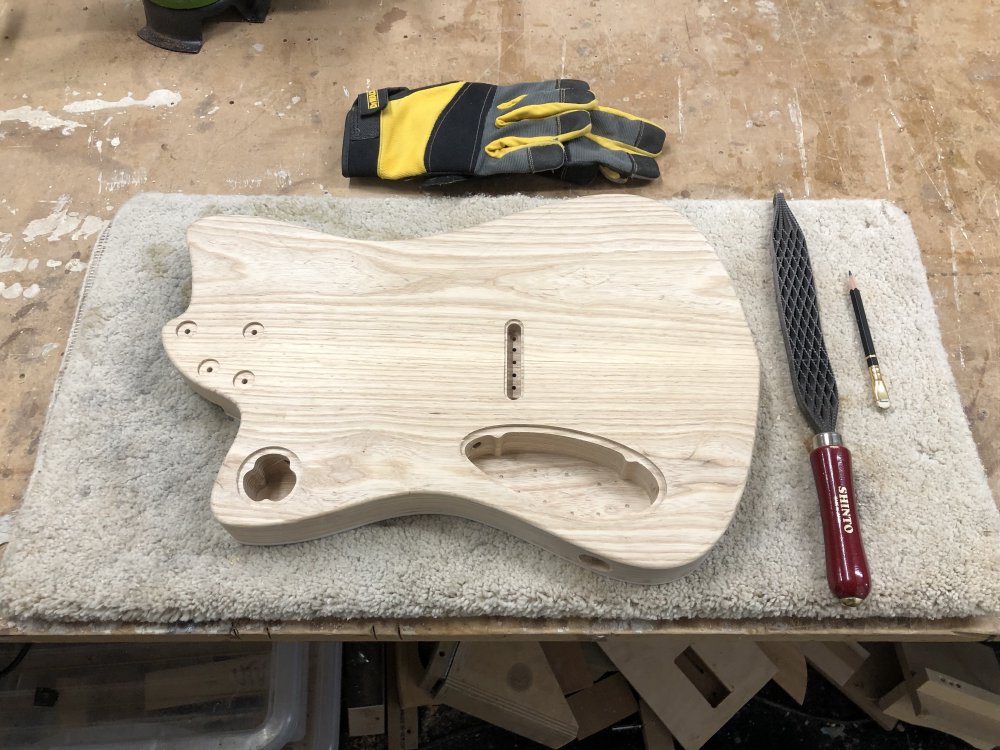
One upper-body workout later, and I had a more ergonomic body shape, and a lot of swamp-ash dust.
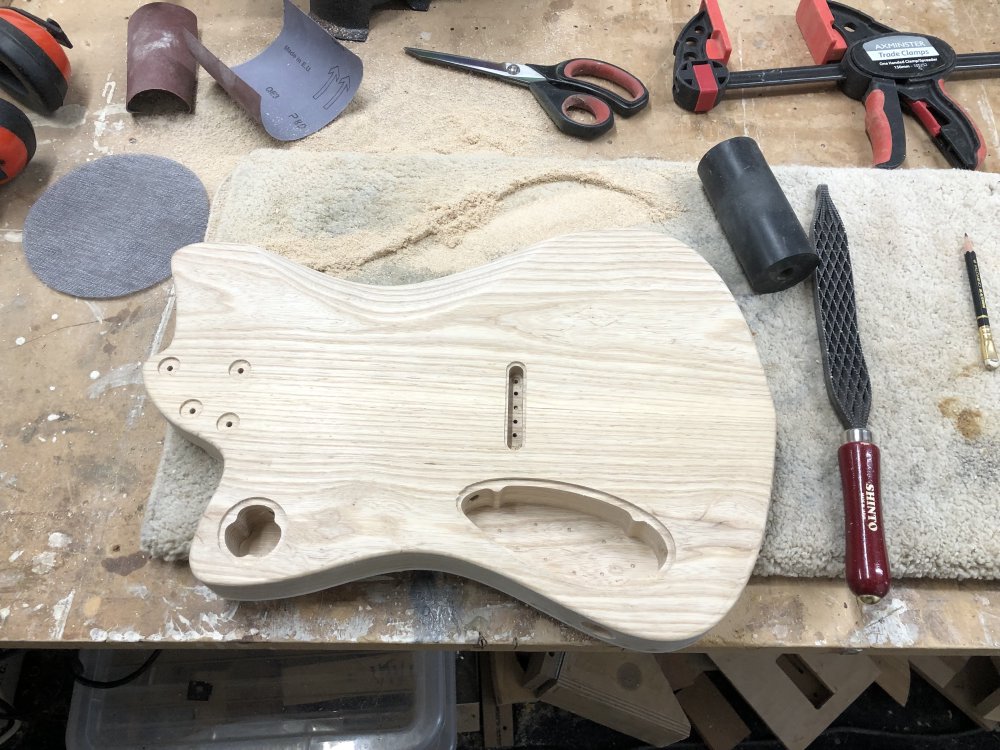
Once that was done, it was time to both sand out the rasp marks and and generally finish sanding the body to the point where it was ready for staining. This took the better part of an afternoon to get done - suddenly the idea of painting the body seemed quite appealing, but I stuck with it :)
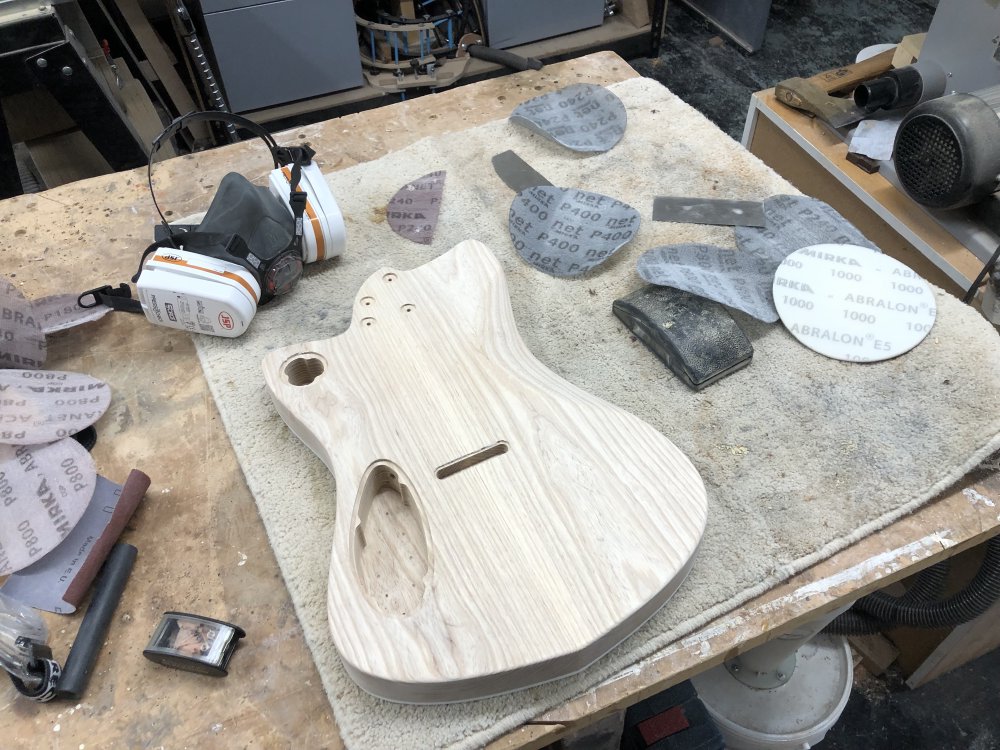
Whilst using the shinto rasp for things like this means you make quick progress, it does leave you with a bunch of afterwork to remove all the scratches. Even after a lot of sanding you keep finding bits like this:

The other challenge with this body is that I put binding on it, and some of the glue from the binding process was still there, having gotten into the grain a little. In retrospect putting binding on this body was a bit of a foolish move, but I was keen to learn how it was done so jumped at the chance when Matt had offered to show me how it was done. I’d not really thought about how the glue might impact the staining, and if I was to go back I’d probably put on masking tape under where I was gluing the binding. Still, it’s all learning, and I’ll just have to see how it goes.
The most frustrating part about it is that the glue is only sometimes visible, as you can hopefully see from this little video. You’ll think you have it all licked as it looks clean, but then you catch the light just right and it looks a mess again.
Given this is just a prototype and not a build for a specific customer, then I ultimately have the get out clause that if the staining doesn’t look good due to the glue I can still paint it afterwards.
Headstocks
The other thing I did last time was settle on a design for the next batch of headstocks. This was my first test piece of the new design:
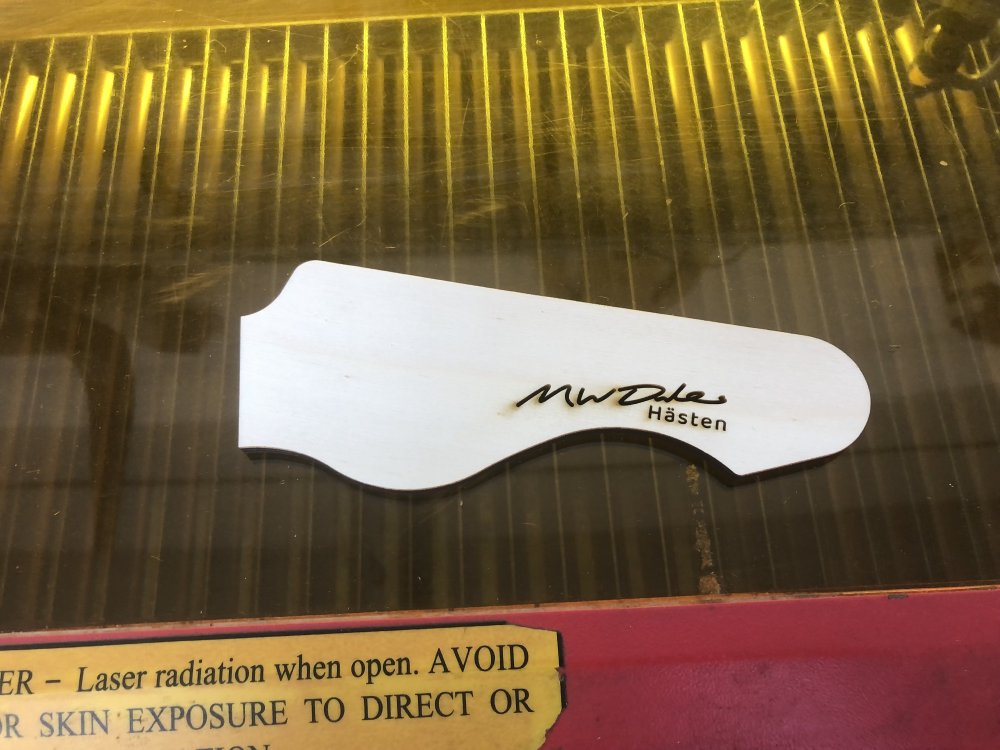
I showed this to my friend and laser-cutting expert Jonathan and he gave me a few suggestions for improvements, particularly making the final ’s’ of my name a bit more distinct. So I went back to Illustrator and fiddled with my signature, and took another pass:
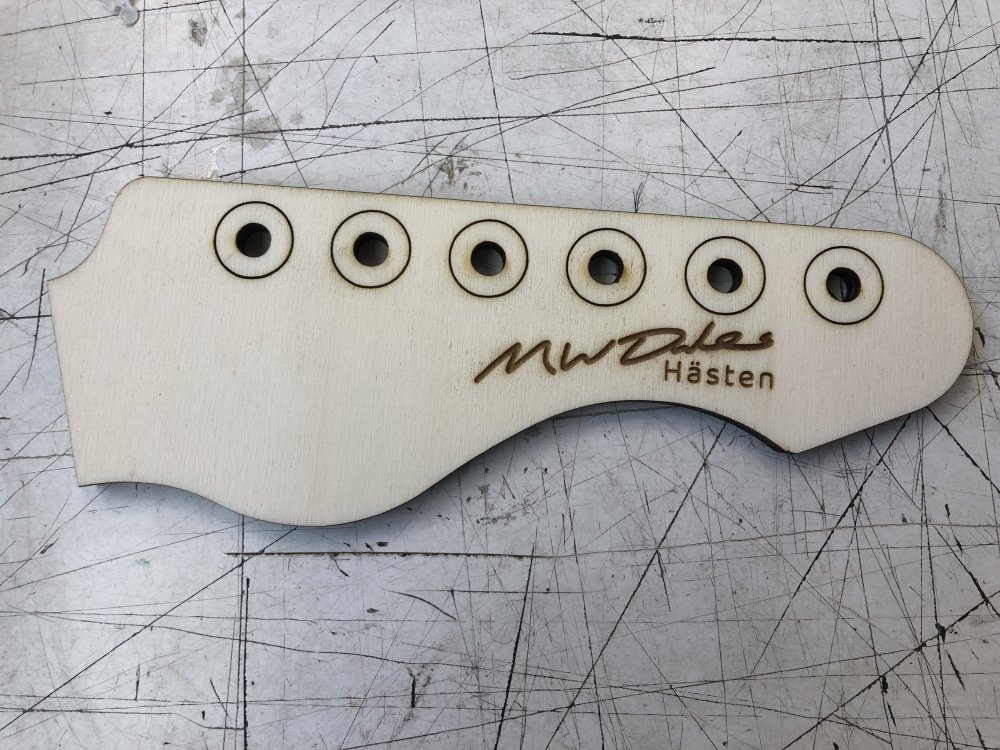
It’s not perfect, but I could tweak this indefinitely and not be happy with it, so I’ll roll with this after a few people have given it the thumbs up. So now I just have to pluck up the nerve to put three completed guitar necks under the laser for the etching process 😬