A Brief Week in the Shop
Published 20 Aug 2023
Tags: delfinen, hästen, painting, spray-booth, verkstaden
I didn’t get much time in the workshop this week, in part due to needing to work on my OSHCamp talk, and in part because at the moment there’s limited things I can do in the workshop given where the guitars are in the build process. Still, I was happy with what progress there was, so let’s get to it!
Delfinen
Continuing from last week’s progress, where I routed out the remaining cavities on the body for Delfinen, this week I threaded all the different cavities together by drilling out the tunnels through which I’d run the wiring. This is done using a combination of a very-long drill bit, and a bunch of confidence that you’ve eye-balled the angles correctly. I do model these tunnels, and the drill bit, in my CAD models, so I know that it’s all technically feasible, but when you’re stood their trying to work out how to apply the drill by hand, that CAD model feels quite remote.
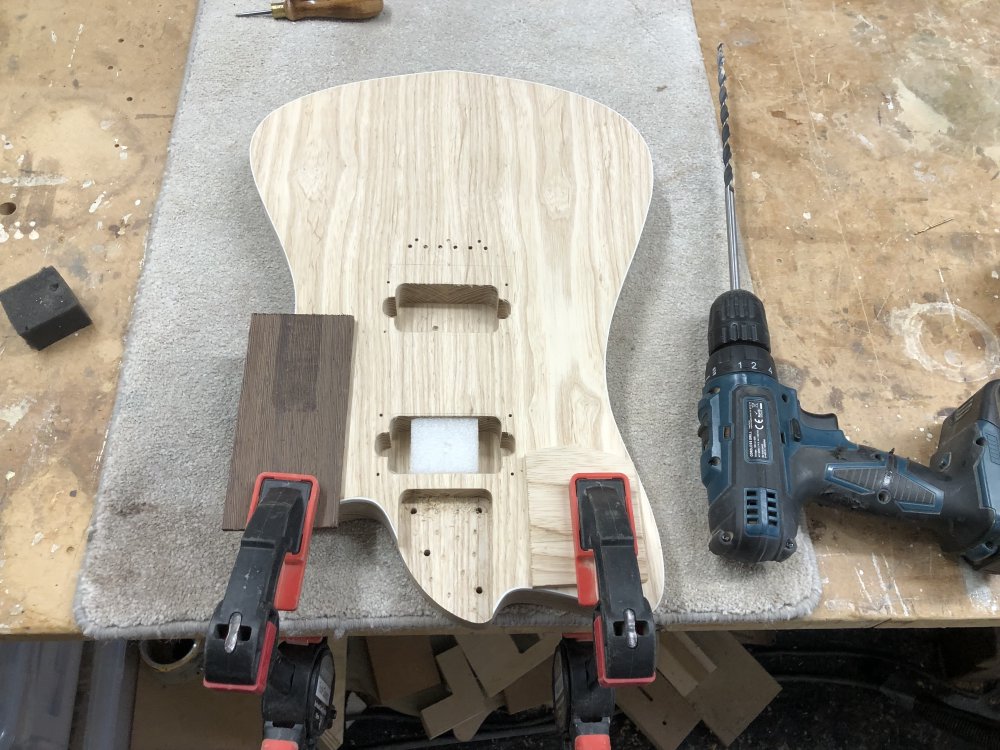
For the tunnel to run between the two pickup cavities I actually go in from the neck pocket first, which lets me make the tunnel between the two cavities start lower down than it otherwise would. As ever when doing tricky drilling, I also have a block of foam to cushion the exit: the ash on this body is particularly dense, and so I had to put quite a bit of weight behind the drill bit, and the last thing you want is for it to explode out the other side and mess up areas you don’t want messed up.
I started with connecting the pickup cavities as it’s the easiest one to eyeball, as you can see both ends. But next up was the tunnel from the rear pickup-cavity to the control cavity on the rear, where I just have to trust that I’ve done my CAD part right in terms of where my exit is. I did stick some masking tape on the top as to where I was aiming at, but otherwise I’m drilling blind. The other bit of wood you see stuck on here is just to let me get a very shallow angle on the drill without fear of nicking the guitar-body with the drill.
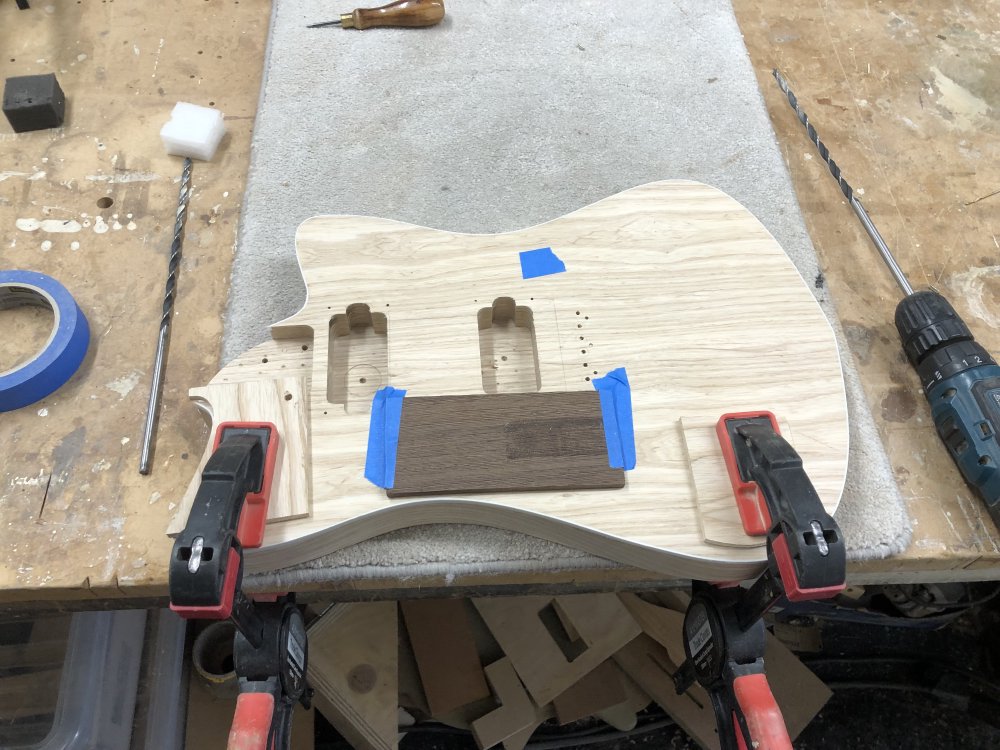
Thankfully, my trust in past Michael’s calculations paid off, and the hole through came out about where I expected. All the time you’re drilling you feel convinced the angle is too steep and you’re going to burst through the bottom, but the exit was about half way up the control-cavity wall, which is what I’d had in my CAD model.
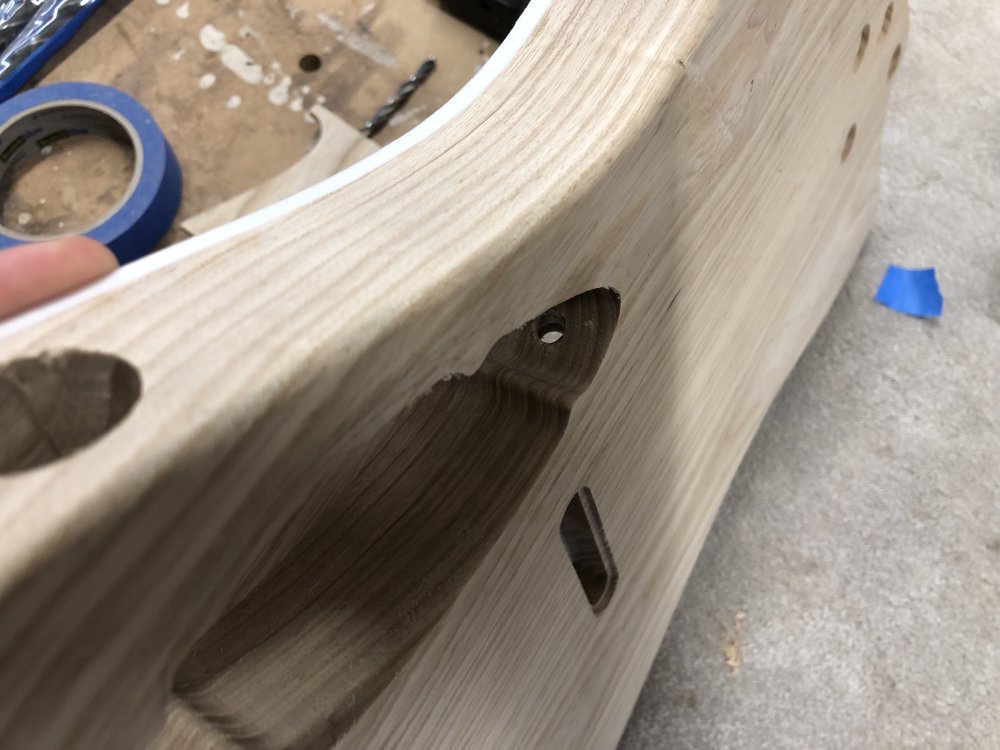
The same was true for the pickup-selector switch cavity access via neck pickup-cavity: lots of distrust, but it worked out fine.
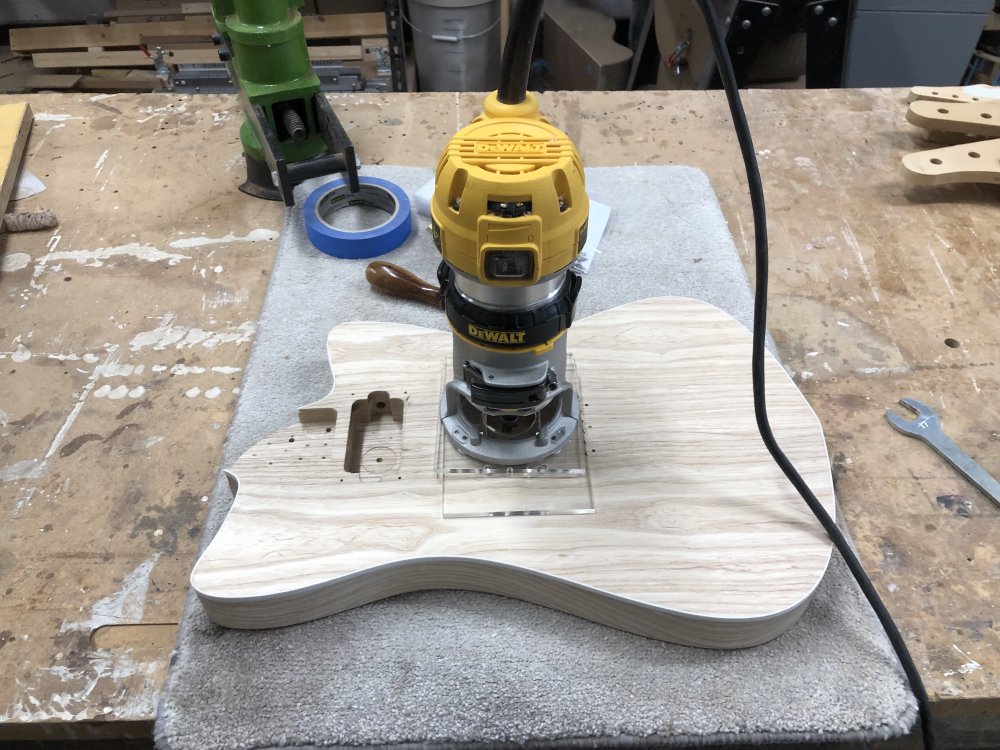
With those done I wanted to check I was good in terms of pickup placement and routing, but I discovered an unexpected issue: despite routing both pickup-cavities with the same template, I’d managed to make one cavity slightly smaller than the other:
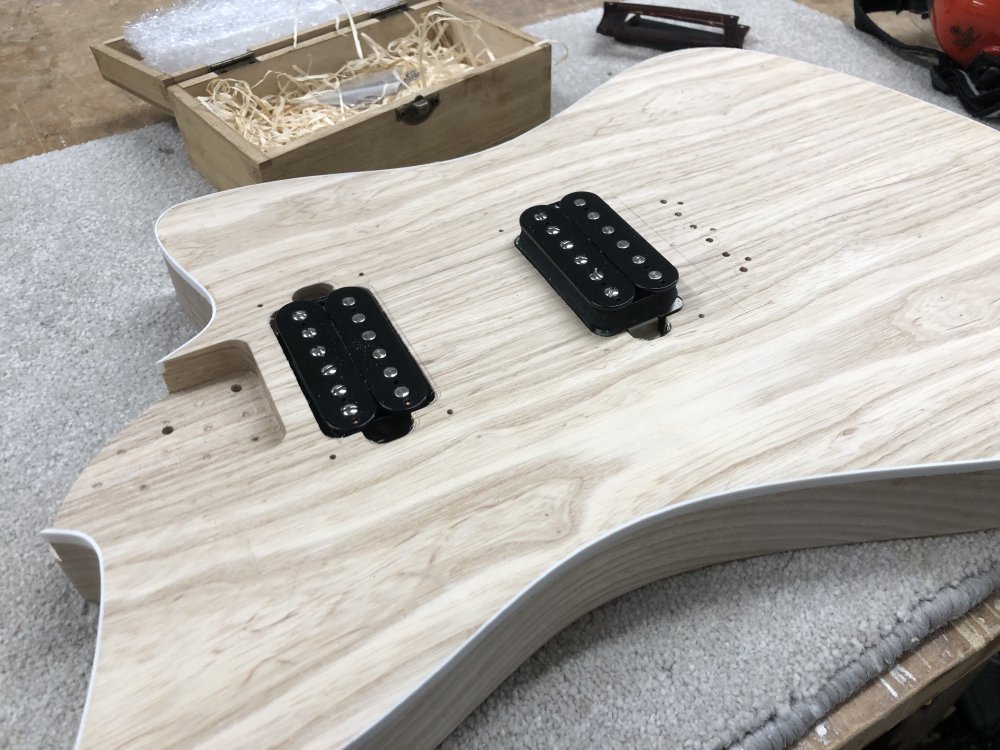
At first I thought it might be the pickups were slightly different sizes: there’s an argument that the bridge pickup should be wider than the neck pickup after all, given how the strings taper on the body. But not, both pickups were the same size, and no matter which one I put in which pocket, I’d just managed to get the bridge pocket slightly too small somehow. So back out with the template and the router it was:
Thankfully it was just one corner which was a fraction of a millimetre off, so it was a quick fix, but I’m glad I checked now rather than after I’d stained and oiled the body.
Hästen and Verkstaden
Last week I started the process of spray-painting both the bodies for Hästen and Verkstaden, putting on two coats of primer on each. My main summary last week was that it’s a fairly horrible process, but the results are worth it, and my experience this week left me with the same conclusion :)
The first thing I did this week was lightly sand the two prior coats to get a smooth finish, working carefully with a 400 grit sanding-disk.
I was still getting much appreciated tutelage from my workshop-mate Matt, who’s guidance was to make sure I went easy on the edges, as it was too easy to go through on those pronounced points, and so I used a sanding block on the faces, a spindle-sander cylinder on the sides, and just by hand did I do the edges.
Once Hästen was feeling smooth to touch, I then moved over to Verkstaden and did the same:

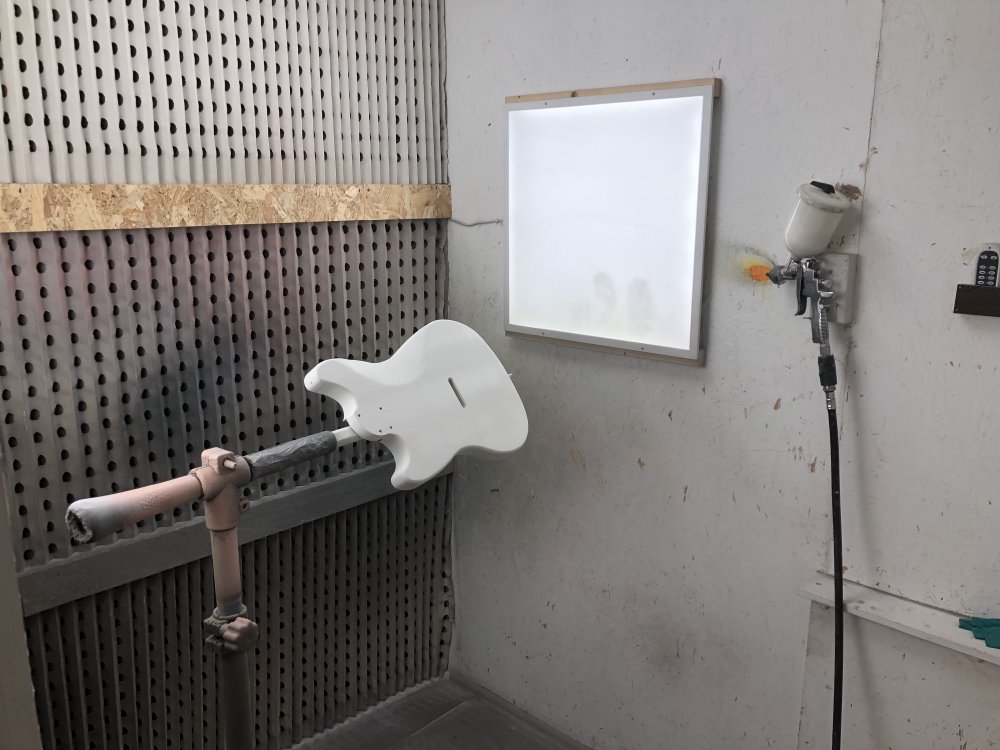
With both bodies prepped for round-two, it was time to don all my PPE and head back to the spray-booth.
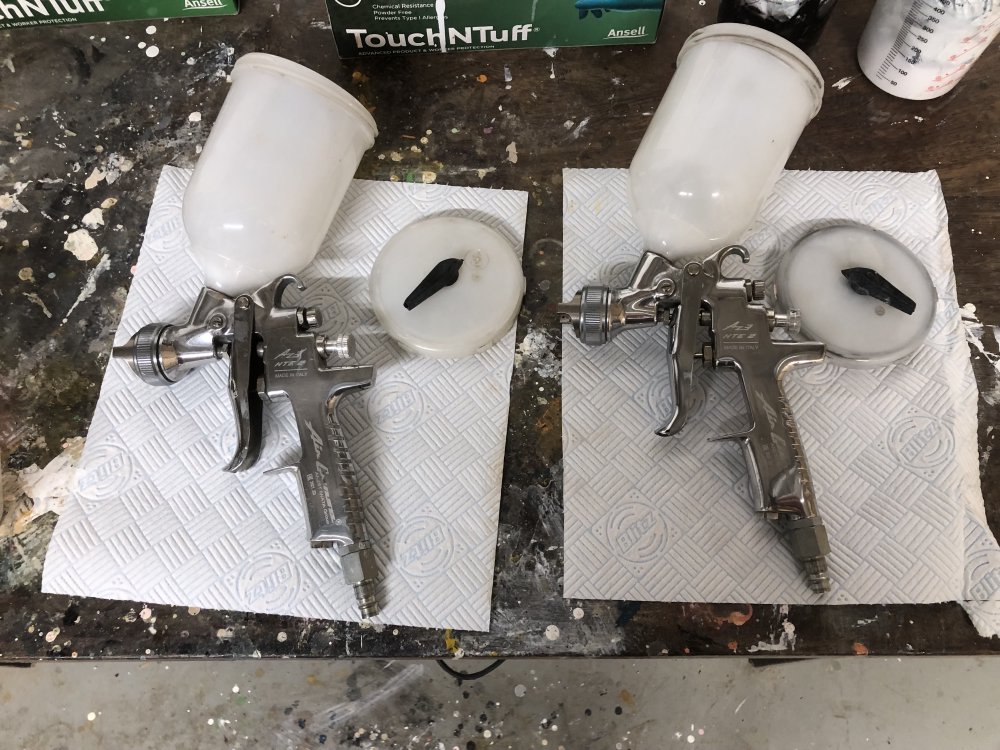
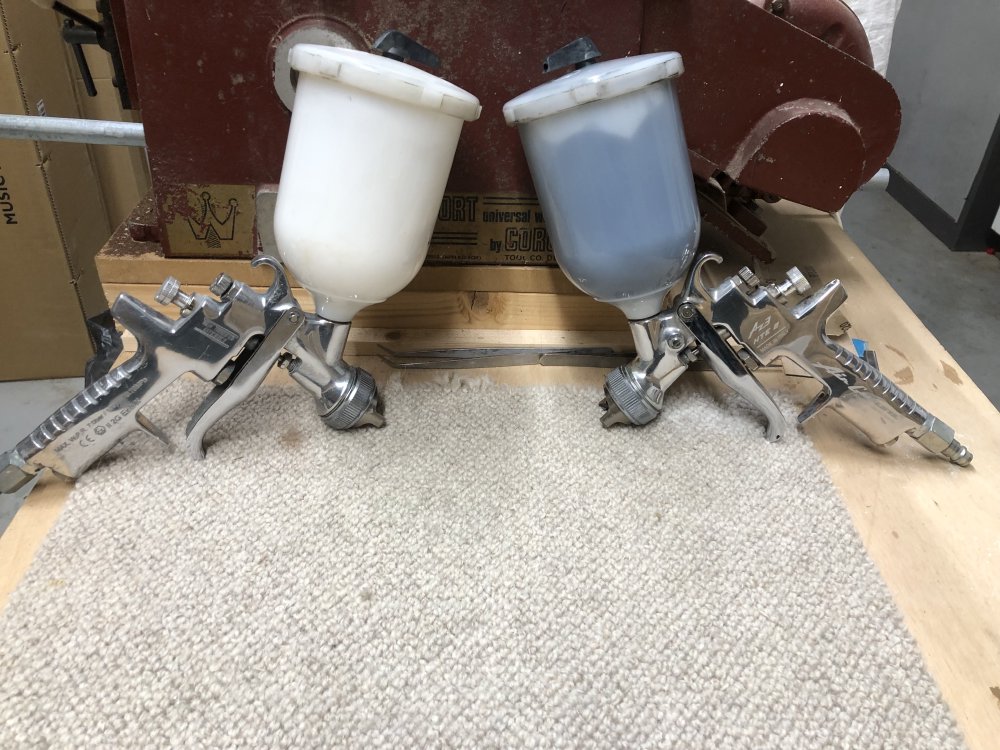
This was a good test of how much I remembered from last week’s experience, running through the same process without Matt standing over my shoulder. The first thing was to re-assemble the spray-guns, and get them ready for paint:
That done, I then made up another batch of white and black primer, ready to go. Embarrassingly I did have to ask Matt how to open the paint tins - it’s always the “easy” stuff you forget.
With the paint prepped, and a couple more questions to poor Matt about how to set the pressure on the air-compressor that powers the spray-gun, I was off again. First Hästen:
Then Verkstaden:
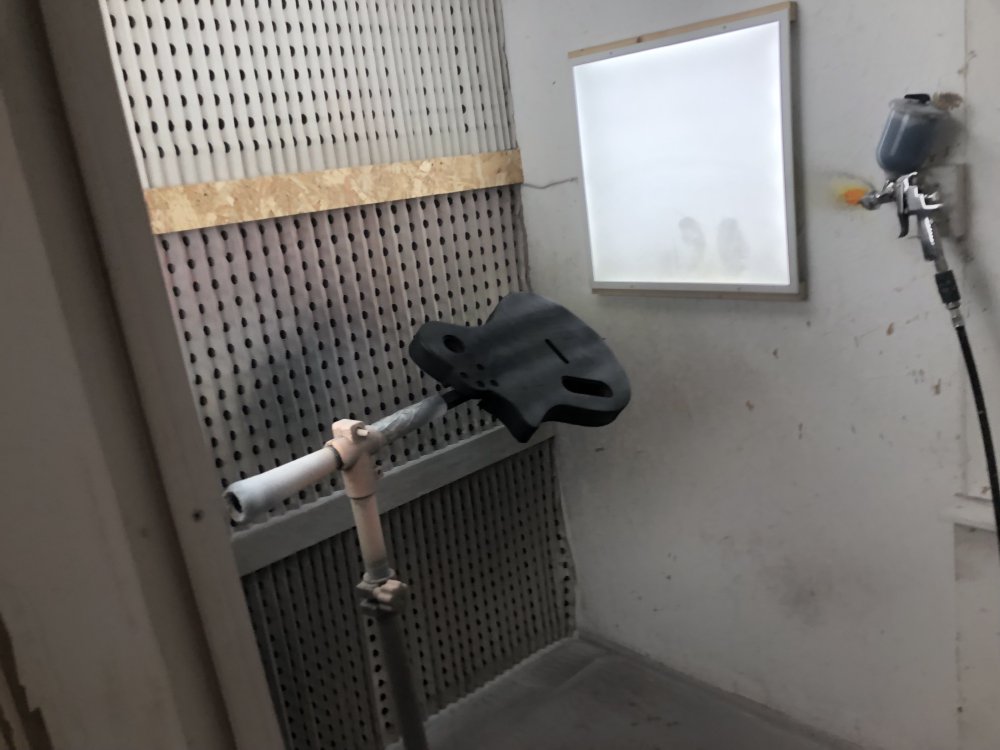
And then repeated, so each body got two new coats, and will now rest for at least a day before I sand it back and then begin actual painting.
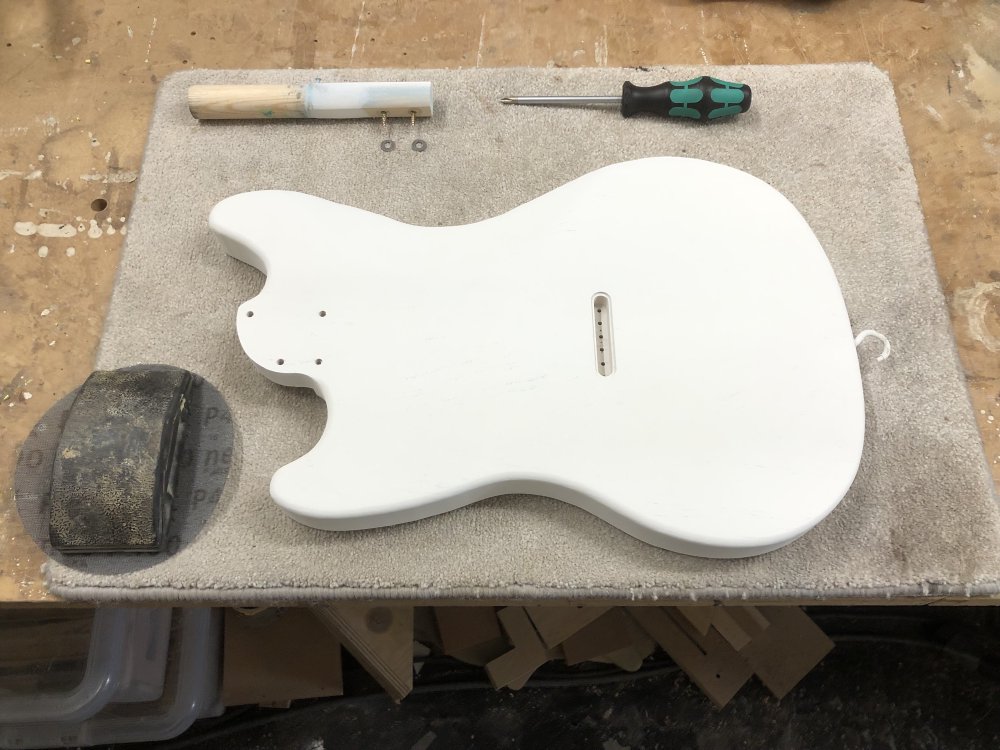
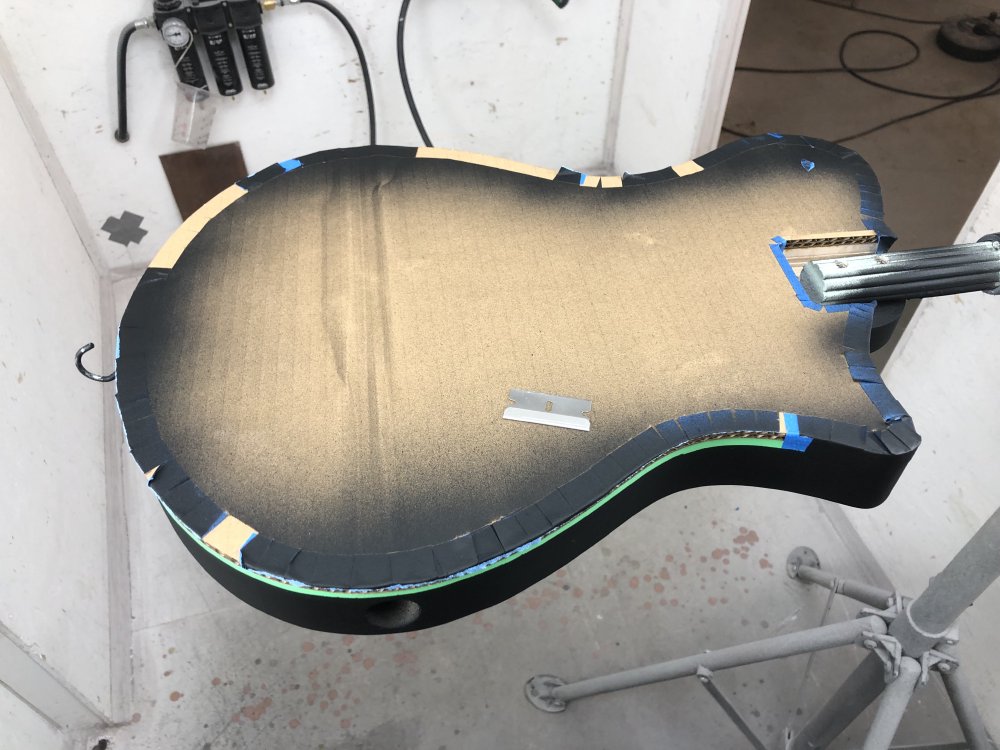
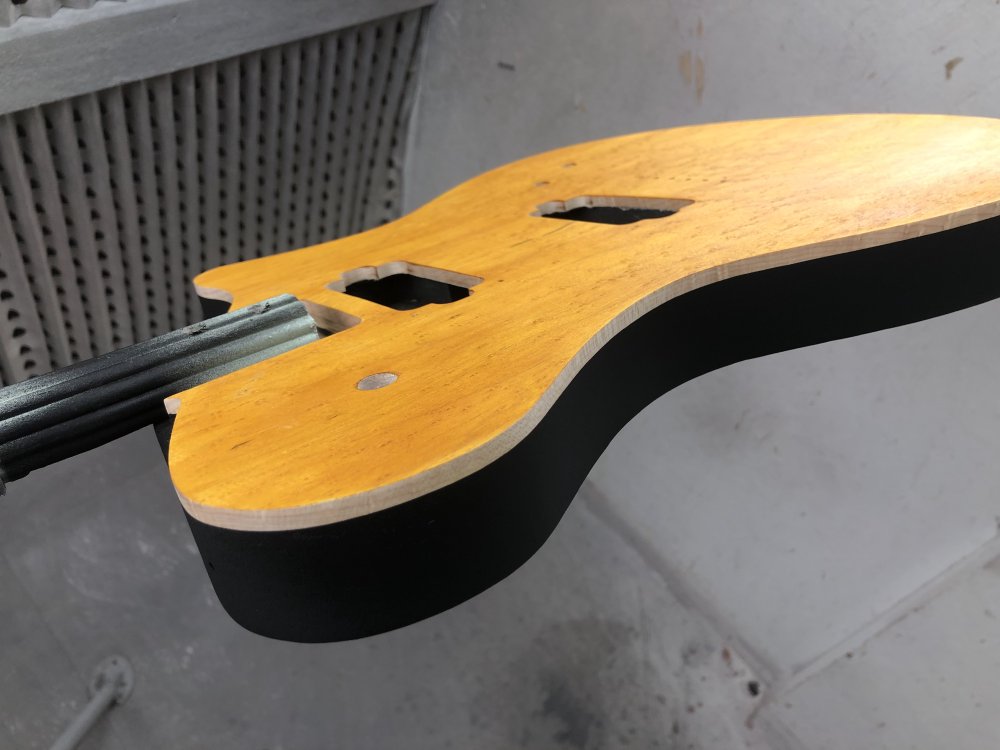
One thing that Matt advised me to do was to remove the tape I was using to mask the top edge and front of Verkstaden at this point, as if I let the paint built up too much over the tape then there’s a risk removing the tape will pull way the thick paint off the body, rather than leaving a clean line. So back into the booth I went, mostly because the clamp in the booth means I don’t need to put the guitar on a surface to do this, I went to work first removing the cardboard front, and then the tape over the natural binding.
Once all the tape was removed, I was somewhat giddy to see the result, albeit at this halfway stage. The yellow stained birds-eye maple cap on the front, the natural maple to edge, and then the black painted rear just look amazing, with all the lines crisp and clear.
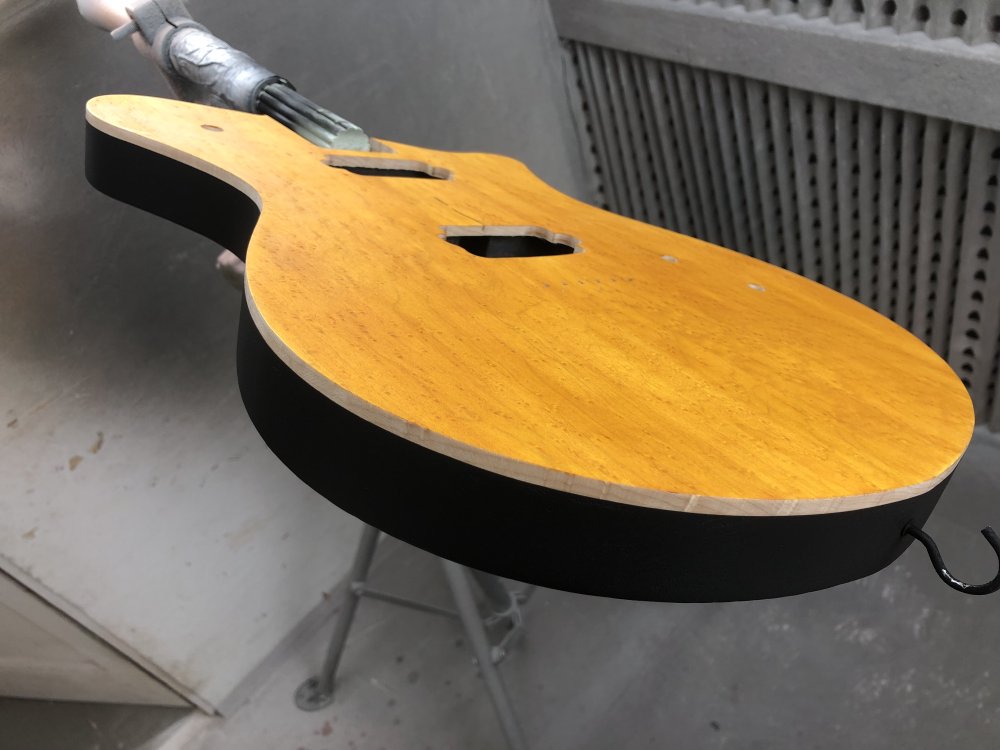
Ideally I’d not get too excited at this stage, because once I’ve sanded this stage back, I’ll need to re-tape it up, and do actual paint rather then primer, so there’s plenty of opportunity for things to go wrong still. But for my first go at this kind of thing, I have to confess I’m over the moon. A large part of this is down to the guidance of Matt, who is helping me short-cut through this with a his experience of having done this for many years.
Still, it’s hard not to get somewhat delighted by this part way point :)
Headstocks
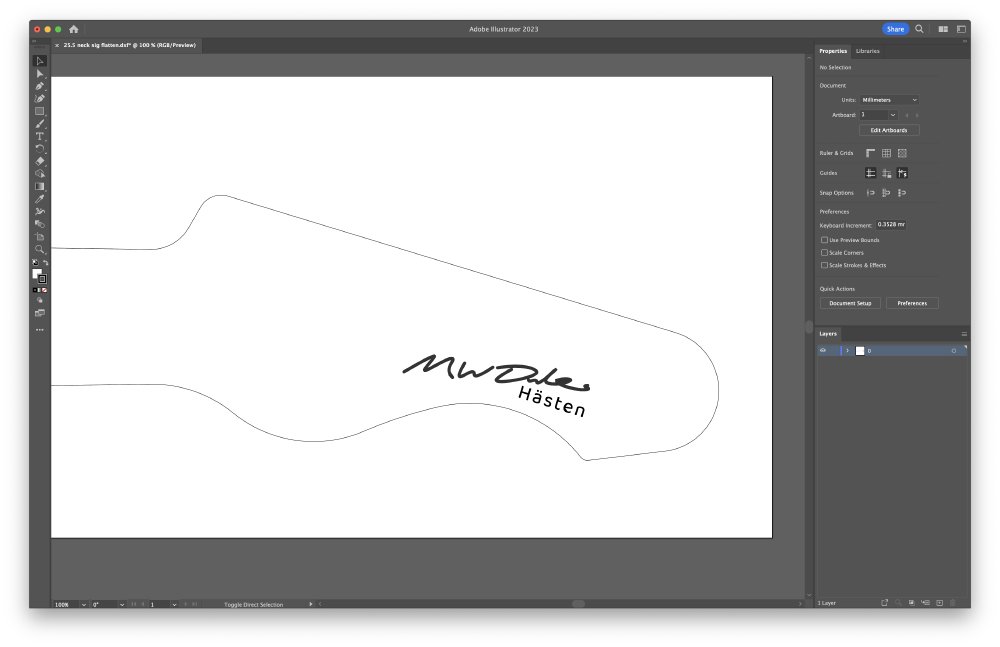
I’ve decided for now to try the signature based headstock design, but to do that required a bit more fiddling with the design before I go near a laser cutter, turning all the strokes and text into shapes, rounding off squared edges, and so on.
And then making sure it works in the LaserCut software, which is very picky when it comes to what bit of DXF it accepts:
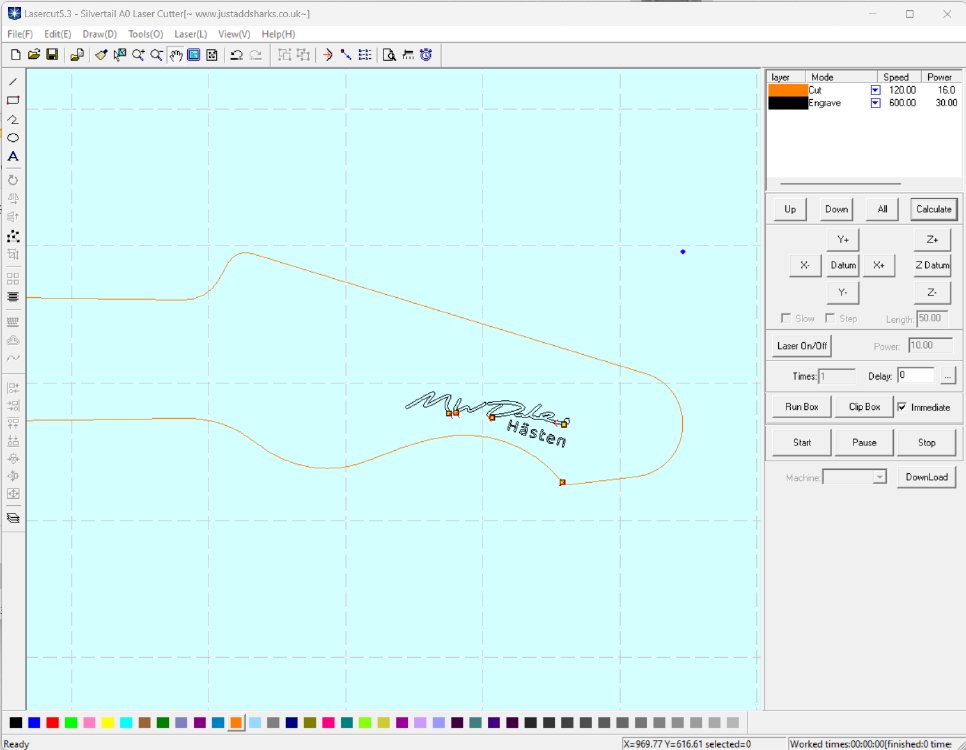
Now I’ve done the tidying though I’m ready to try laser etching some test-pieces to see how it looks next week.