Two Weeks Out the Shop
Published 21 May 2023
Tags: älgen, amp, ef1, esp32, holiday, jazz, liverpool makefest, pickup winder
Two weeks since the last update, as I was away by the coast for some of it. I did take a guitar with me though to let me practice whilst away. The airbnb we were in had quite fancy furniture and nice lighting, so I was forced to take a picture of my practice setup:

It was nice being able to play guitar looking over the sea! It was a lovely break, during which I attended a wildlife photography course, but I find myself now itching to get back into the workshop and make some dust again.
Liverpool Makefest
Last week I got notice that I’ve been accepted for Liverpool Makefest, which as ever is both exciting and terrifying at the same time. There’s six weeks or under to go, so I need to get a move on if I’m to exhibit what I want and have some things for people to take away with them.
If you can make it, I’d love to see you at Liverpool Central Library, July 1st, and we can chat guitar building, 3D-printing, and you can try out a guitar or two :)
Practice Amp Refit
Whilst I didn’t make any dust this last two weeks, I did manage to spend a few hours in Cambridge Makespace finally getting my amp refit finished. Last month I had fitted the new power transformer and got everything working, but needed to do a second pass to trim all the wires to make it neater inside and get rid of some of the terminal blocks I’d used to wire it in.
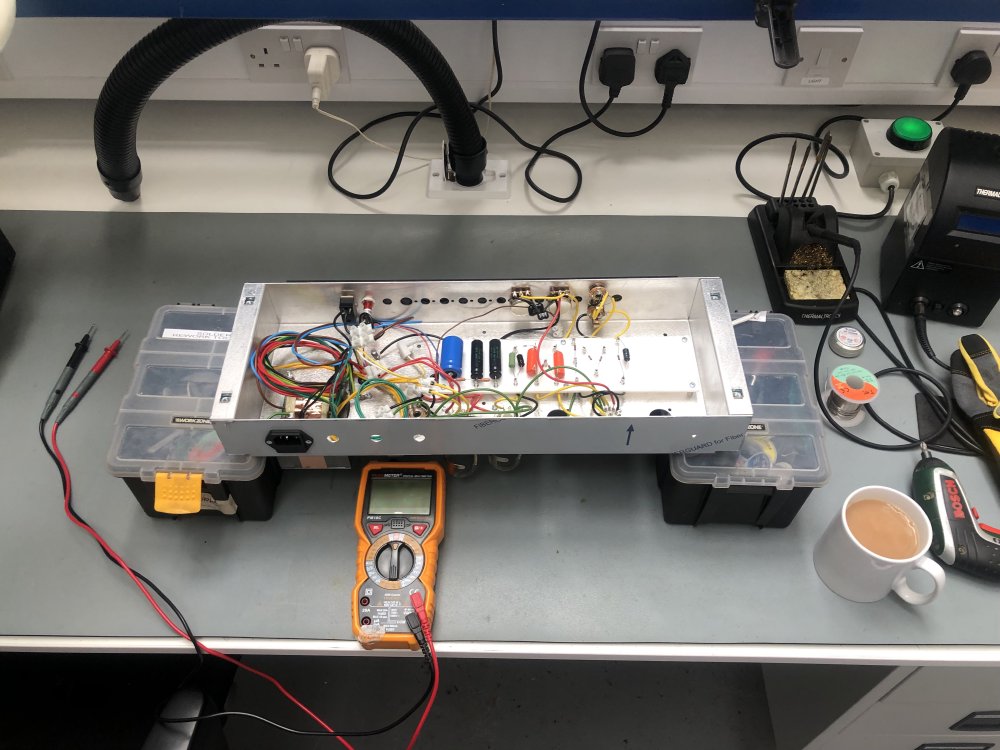
First I opened it up and made sure it was safe to work on - the capacitors used in the rectifier stage here can store up to 600V, so you want to make sure they’ve drained before you start touching stuff. This hadn’t been played for a few weeks, so thankfully it was reading very low - though not zero I note, down to 1.2V. You can put a bleed resistor across these so that they drain quicker, which I’d probably do if I made another, just to make it easier to work on - though not that I do much work to these.

In the above picture you might be able to spot there’s a lot of looped wire in the top left of the chassis, where I wound all the long cables off the new transformer to keep them away from the rest of the parts. My main mission was to trim all those down, and do a general clean up of other long sections whilst I was at it.
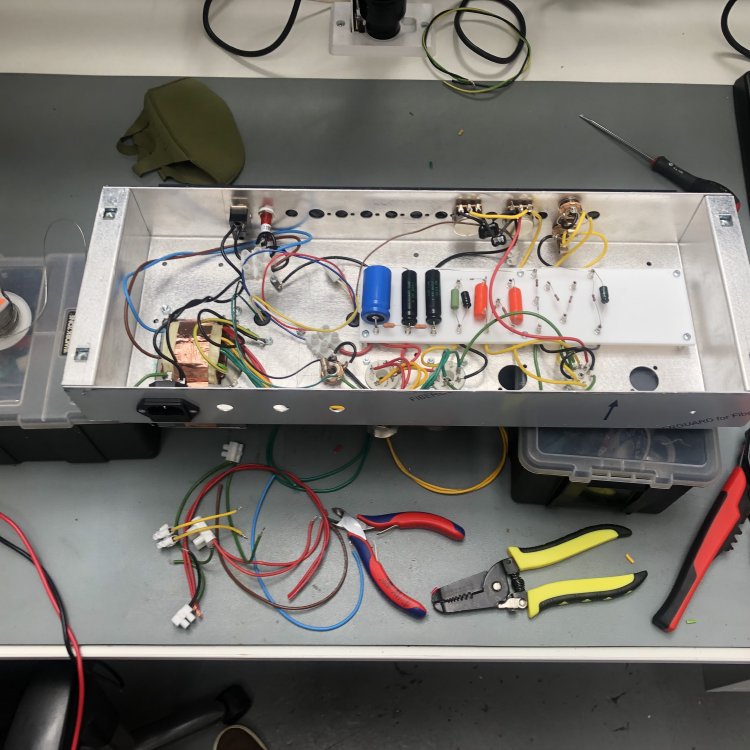
After an hour or so of careful trimming and soldering we have a much neater layout inside - not perhaps the pretties of layouts, but still a lot better than when I started (for some reason I accidentally took this photo in square format):

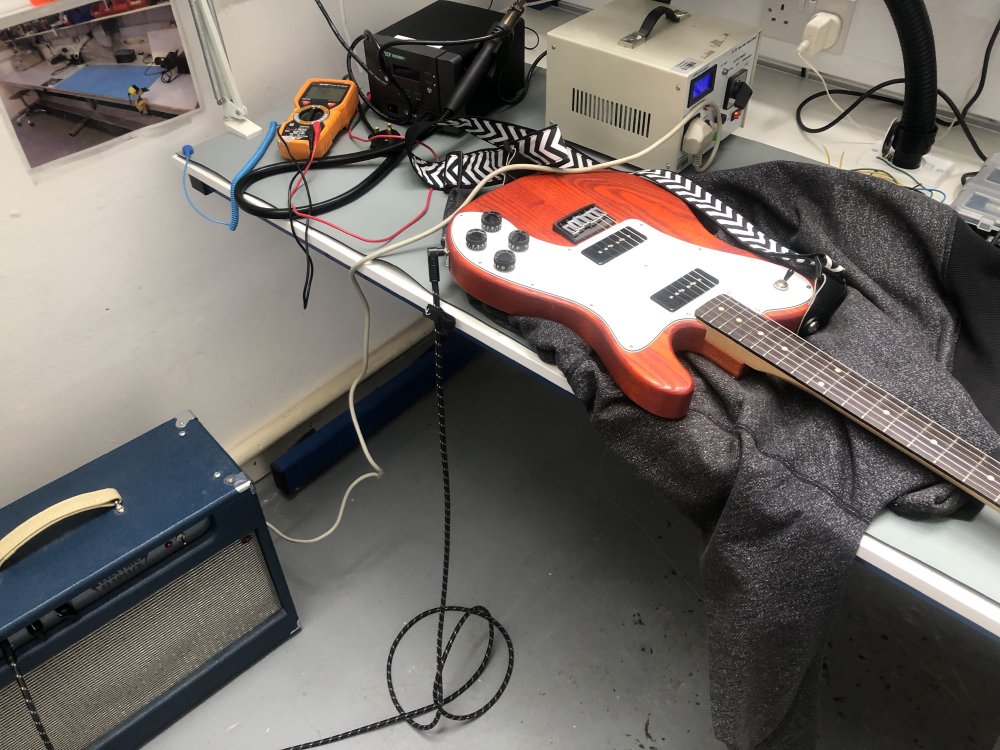
When I put it all back together I was briefly dismayed to hear that there seemed to be some intermittent issue with it cutting out! But before I took the amp appart I thankfully realised it was the jack on my guitar had come loose, and so I swapped patient on the workbench and fixed that:

I really need to just replace the jack on this guitar: I remember when I built this one, I’d got a jack plate that wanted metric jacks, and I only had imperial jacks, so I’d just got the first jack I could find from somewhere to let me finish it, but it’s never been the most stable of mounts. It comes loose just infrequently enough that it doesn’t motivate me to do strip the guitar down to fix it - the downside of these Fender-esk designs is you need to remove the strings and everything just to work on the jack - though here I could just loosen the pickguard enough to squeeze my fingers in to hold the back of the jack as I re-tightened things.
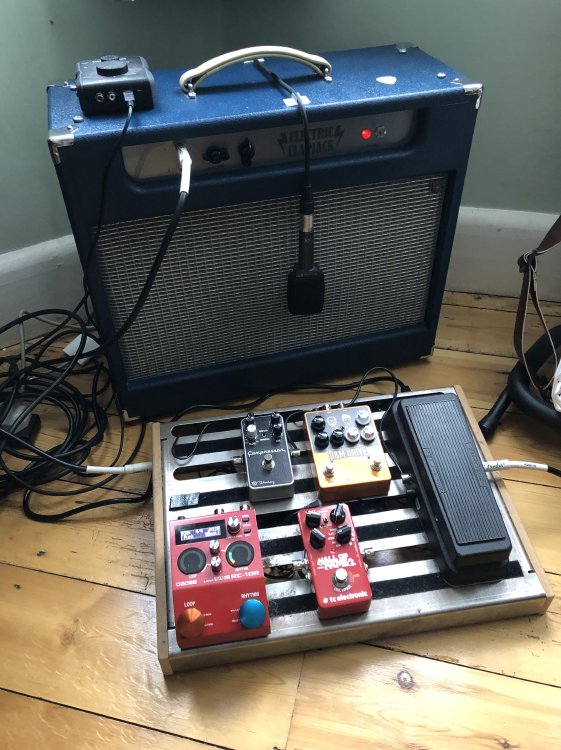
Anyway, with that fixed, everything was fine, and so the amp finally got to come back home, and displace the Blackstar HT-20 that had stood in for it for the last 18 months:

I was a bit worried going back to my amp after living with the Blackstar for the last while. When it went away I felt the Blackstar was an okay amp but not that distinctive, but over time I managed to find my preferred spots in that amp, and had grown to quite like it. But coming back to my amp, which is a bit of a one trick pony in comparison, I’ve been very happy. It may only do one trick, but it does that very well.
Here’s me playing a Julian Lage piece through it - the amp isn’t in the picture, but you can hopefully hear it. The amp has a wonderful clarity to it that works well for the kind of music I typically play.
It’s nice to have the amp back, and it’s nice to have one fewer project on the todo list. It’s also nice to once again know that when I play, pedals aside, all the sounds I make are made by me. If I could have fitted a reverb tank into the amp, then perhaps I could go 100% by me, but I think I’d like to hang onto the fewer projects relief for a bit :)
Pickup winder
I’ve been enjoying immensely this thread on the Telecaster Discussion Page of Seldom Seen Old Pics of Famous Musicians. It’s been a wonderful look at some of my musical heros from history, and after a few weeks of dipping into it I’ve not yet made my way through it all it’s that long a thread.
In that thread I came across this picture, which claims to the original pickup winder that Leo Fender made:
This was a bit of a smart reminder about my stalled pickup winder project, and how it feels like what was a simple idea has become somewhat derailed in complexity. I’ve been trying to just do a little bit here and there as I find time, but in the end I just had to accept that I needed to spend a good block of time with my pile of parts to get over the activation energy required to make it start to do something.
The basic premise for mine is that I have a microcontroller, which will drive a stepper motor, giving me precise control over the turn count on the pickup as I wind it, and I’ll have some basic controls initially, notably one to adjust the the wind speed.
As I mentioned before, the microcontroller I picked turned out to need more programming than I expected as it didn’t use the Arduino compatible tools that I’d originally envisaged to make this a quick and simple project, and had to use the more capable but also more complex ESP IDF toolchain instead, slowing things down somewhat.
I put in a half day on this, and I did indeed move it forward, only to discover I have some issue driving the motor at full speed. What I did get done is:
- On power on it waits for you to zero the speed control, so it doesn’t jump into action unexpectedly.
- It sets a number of turns to wind for and counts down as you go, stopping at zero.
- You can use the potentiometer to control the RPM speed of the motor.
- It has an LCD display to keep you informed of what’s happening.
The issue I hit before I ran out of time that day is that I can run the motor up to about 200 RPM, but then it starts skipping. My target is 1000 RPM, which is the generally recommended max speed for pickup winding; if you think a pickup has 6000 to 10000 turns on it, that’s still going to take 6 to 10 minutes to wind, and being stuck at 200 RPM makes that unacceptably slow.
Anyway, here’s a video of it in action, demonstrating it failing to go over 200ish RPM:
In the video I do ramp up the speed rather fast, but it fails regardless of how quickly I do that - in this instance I’m just trying to force the problem to keep the video short.
I had a little look over the Internet to see if I could find an obvious error, and various suggestions are out there, such as I need more power to run at higher speeds, or I need a different driver chip for this type of motor, but mostly what I learned was that the forums for this kind of problem seem to be full of people that make me not want to use forums: chastising people for asking questions in the wrong way or telling people they should do something totally different rather than trying to help. In general the maker community is very supportive and encouraging, but unfortunately that’s not always the case.
Anyway, I think at this point I need to find some people more knowledgeable than me, so perhaps a topic for the next Scope of Work community lunch call!