A Week in the Shop
Published 12 Feb 2023
Tags: 3D printing, älgen, bhm, blues deluxe, delfinen, grant green, neck, orca, sanding
Normally I aim for some nice scene setting prose for the post that follows, but I’m rushing to get these notes out, and trying to link woodworking, inspirational jazz performers, 3D-printing with carbon-fibre, finding odd imperial sized screws, and obtuse seeming digital music tools is a bit beyond me today :) I hope somewhere in all that you’ll find something of interest!
Grant Green
Last week, motivated by black history month, I wrote about Sister Rosetta Tharpe, who is someone who influenced all guitarists, despite most people not knowing who she is. This caused me to reflect a little on who influenced me personally in my day-to-day playing, and I was surprised to conclude it is probably jazz guitarist Grant Green.
I say surprised as normally I feel I’d most easily be labeled as an aspiring (aka, bad) blues guitarist, and I often set out to imitate the greats of that genre: BB King, Buddy Guy, Albert King, Cream, and yes, as cliche as it is, Hendrix. But when I’m just playing around on my own, I actually gravitate more to jazz blues, and that comes down to my guitar teacher teaching me the intro to Grant Green’s Blues In Maude’s Flat:
Since then I’ve learned a few other bits in that style, like Kenny Burrell’s Chitlin’s Con Carne, but I’d never feel comfortable describing myself as a jazz player as my repertoire of jazz is much more limited than blues. But despite that disclaimer, learning Blues At Maude’s Flat unlocked something in my improvisation playing that dozens of blues tracks had never done; I feel much more at home playing around in my own take on that style than I do trying to channel the blues greats: throw down a basic ii-iii vamp and let me play some dorian licks over it, and I’m in my happy place.
For another great dose of Grant Green’s playing, here’s a live performance of Sookie Sookie:
So whilst I got into guitar trying to be Radiohead and R.E.M., and I took guitar lessons trying to be BB King and Cream, it’s actually probably Grant Green who’s had the biggest influence on what I regularly play, and for that reason I urge you to give him a listen.
Delfin
I got a bit of workshop time this week, which was nice, and as with my last trip to the workshop I mostly concentrated on finishing the neck carve for the Delfin build.
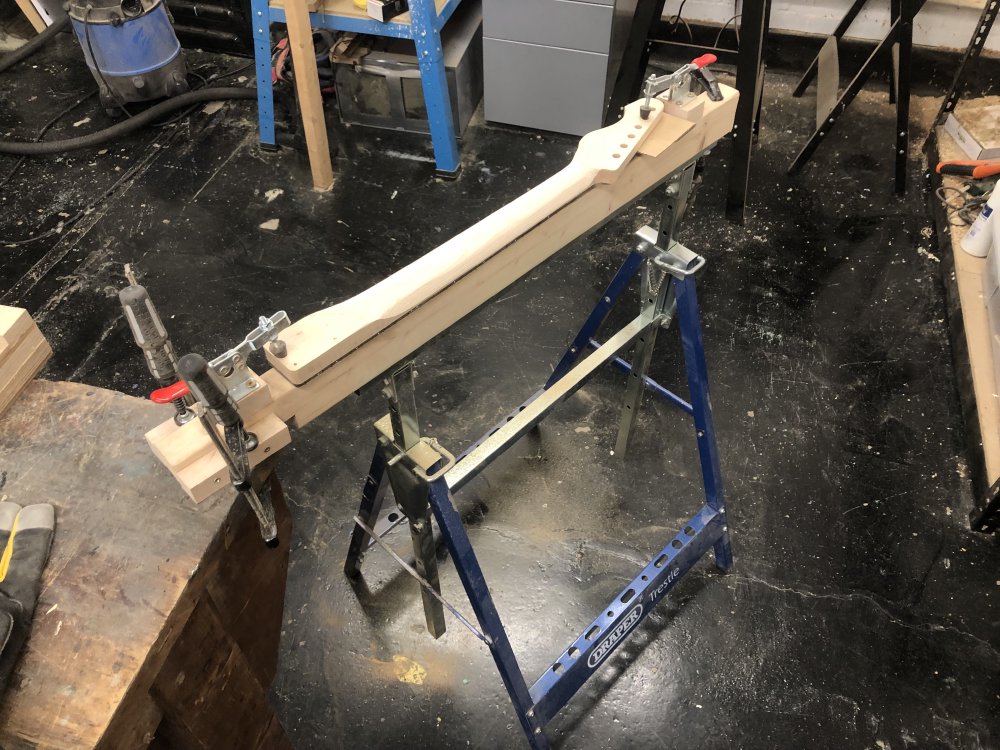
When we last saw this neck I got the rough shape carved, which feels like it should be most the work, but is about the half way point. At this point the neck still had the facets I carved visible, and the markings from my saw rasp, and so I spent a good chunk of time just using a strip of fabric-backed 80 grit sandpaper draped over the neck, pulling it down on both sides and then tugging to the left and the right as I wear down the prominent edges and get the shape to be round (I really could do with a photo of this, but it’s hard to hold the camera and have two hands on the sand paper!). At the same time I needed to do one more pass with the rasp just to take the top side (as you see it in the photo above) into a taper, so the neck is thinner at the head stock end than it is at the heel end.
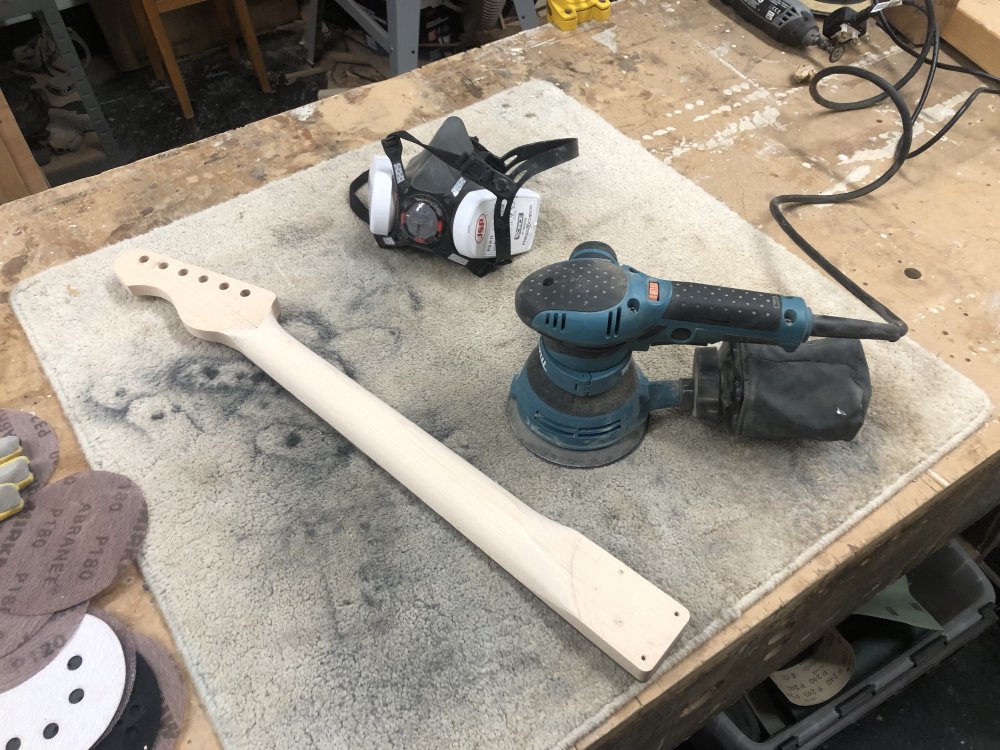
So an hour or so later, I have something that’s roughly the right shape and roughly smooth, and then I’m onto the workbench to work the details. Despite the picture, this isn’t all orbital-sander!
At this point the transitions at either end of the neck are still a mess, as the drapped sanding method can’t get to those, and so I’m using a mixture of hand-sanding and careful use of the orbital-sander to try and clean those up. As ever, my workshop-mate Matt’s trick of wrapping the sanding disks around spindle sander mounts is a really good way to do this:
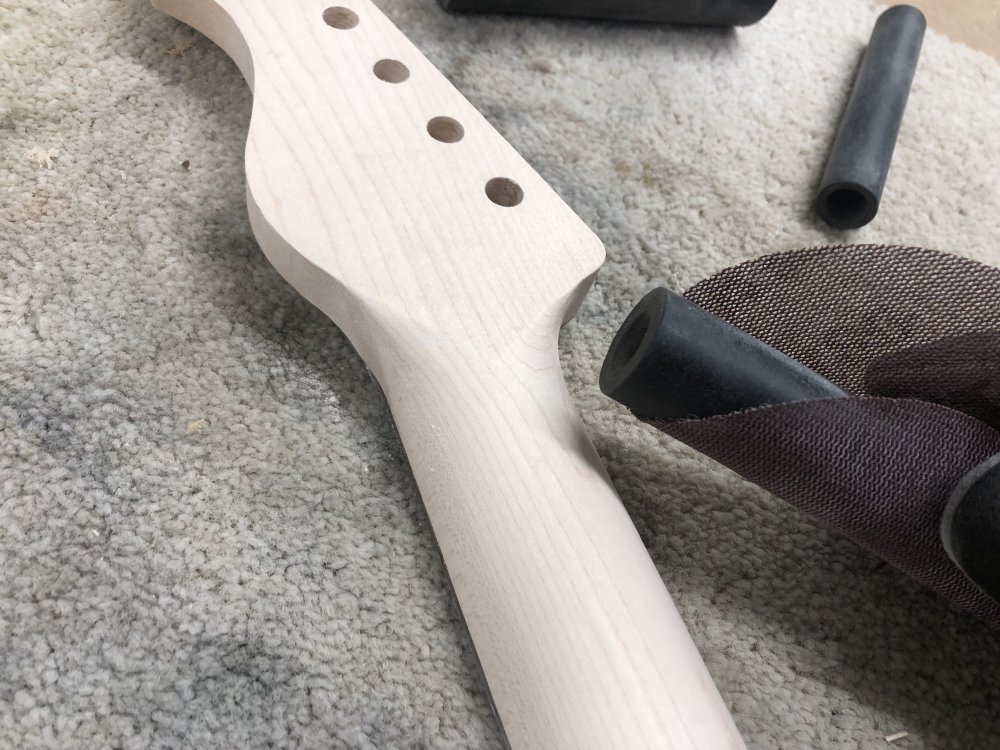
With the transitions done, it’s then trying to remove the fine scratches both from the main section of the neck where I’ve been working it, and any other marks from the original cutting out of the neck that remain, particularly on the sides of the headstock. It’s really hard to get the light right with my phone camera (it’s five years old, it’s trying its best!), but you can just about make out the vertical lines that I’m chasing:
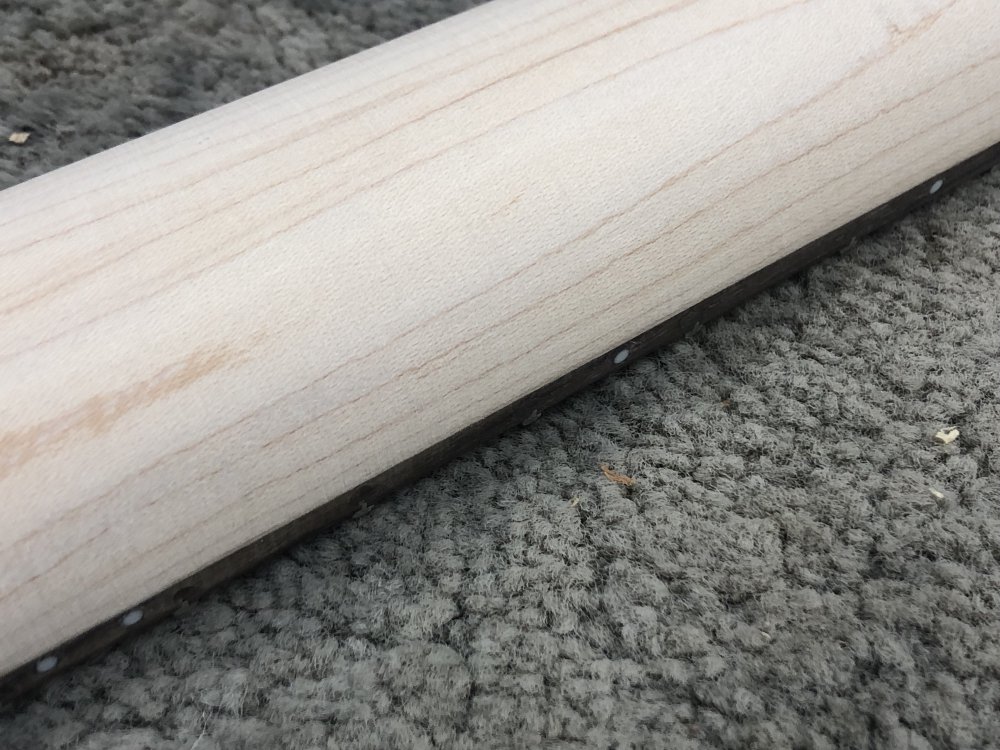
There’s a saying (that I made up) that each finer grit of sandpaper only exists to show you the scratches you missed at the previous stage, and so I work my way up and down and up and down and eventually I get there.
As I say in the video, I’m actually really pleased with how this neck has turned out. I went for a chunkier profile that I normally do, but it feels really good, particularly that top headstock transition.
Next up for this neck will be now levelling and shaping the frets, but at this point I’ve done enough physical labour for one day, and I have another patient in the waiting room…
Blues Deluxe
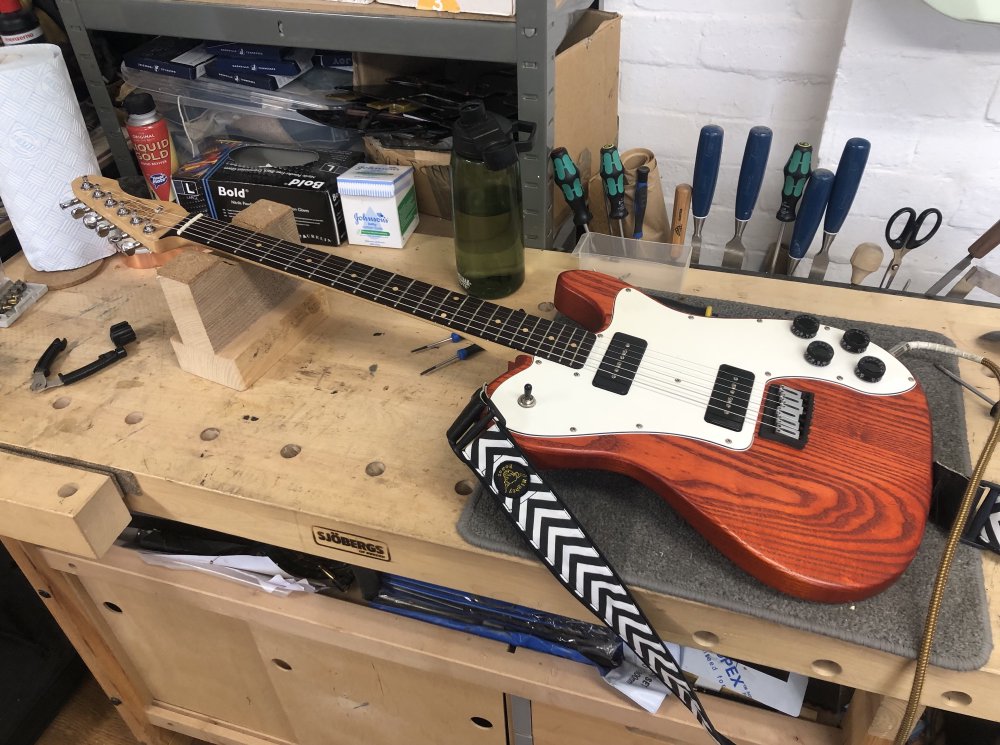
Well, last week I fitted the test 3D-printed bridge to my Blues Deluxe guitar, and here it is on the workbench, so what’s up?
A close up on the 3D-printed part shows why: it’s starting to lift along the back edge.
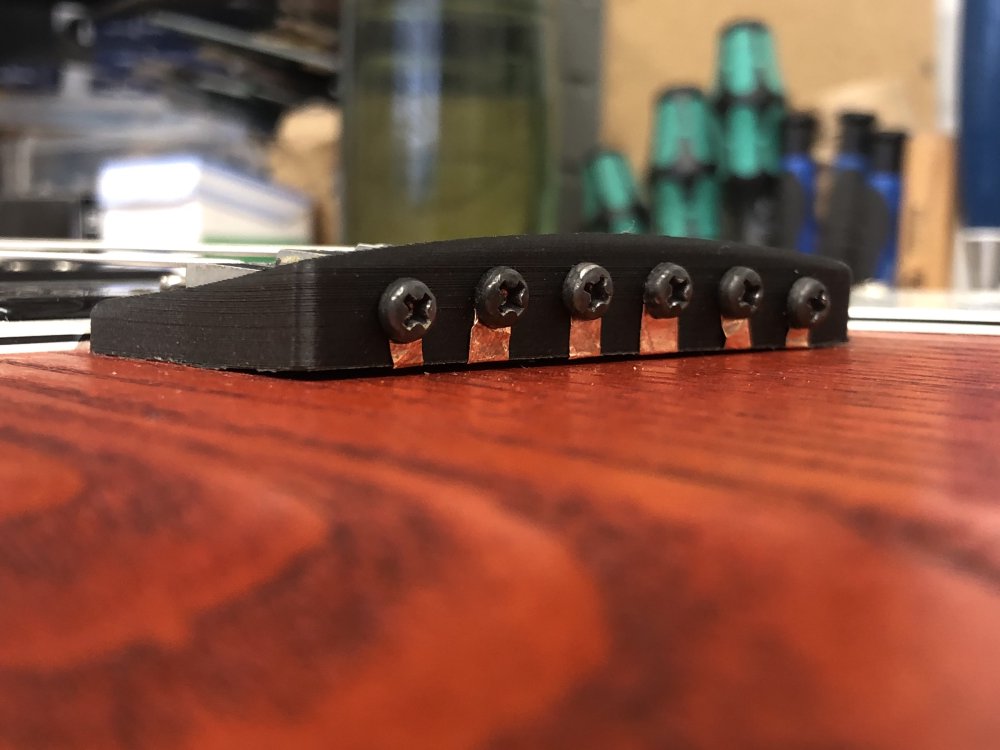
I originally assumed, incorrectly it turns out, that as the strings pass through from the back of the guitar and over the bridge saddles that the forces from the string tension would push the saddles down into the bridge-plate, but it turns out there’s additionally a good dose of pull towards the neck as the strings bend over the saddles, pulling them forward, which in turn has pulled the back edge of the bridge-plate up.
Now, to be clear, I never aimed to have a 3D-printed nylon bridge plate as a long term thing: the idea was that this is a fit test to let me tune up the guitar and convince myself the design works and then longer term it’d be printed in metal. I had assumed, incorrectly we now know, that the Onyx print (Onyx being a mix of nylon a carbon-fibre strands) though would be fine as I’d incorrectly assumed where the forces on it would be, not realising the bottom layer would be subject to flex like this.
Still, whilst this was never meant to be a permanent solution, the Markforged 3D-printer I used to print this part has another trick up its sleeve that I’m yet to try out properly: it can print carbon-fibre! It doesn’t do the entire print in carbon-fibre, rather it will put in layers within the Onyx print to provide extra rigidity. This layer based approach means you need to be careful about how you orient your print with respect to the expected stresses, but in my case the print orientation and the placement of the fibre layers match, and this seemed like an excuse to try that out.
I read through Markforged’s guide on how best to place the carbon layers, updated my design, and headed over to Makespace to print it out. The print on the surface looks very similar to the one I showed last week, as the carbon fibre layering is internal, but in theory it’s now much more rigid. It certainly is more expensive - the cost for the carbon-fibre filament is over ten times the cost of the Onyx filament by volume, so my print costs more than doubled just adding a few layers in. Still, the overall cost for the print was around £12 (allowing for maker-space markup to cover machine maintenance), so at that point I’m happy to experiment.
In case you were wondering about the bits of copper tape in the earlier picture, here’s what I didn’t show last time: grounding tape I added.
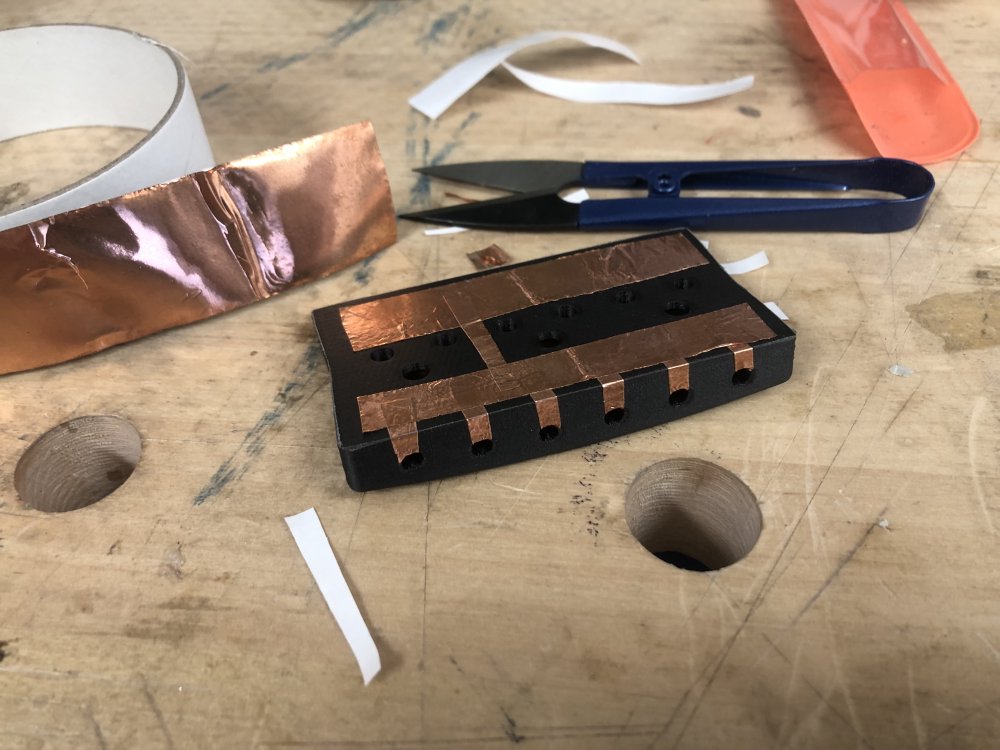
Strings on an electric guitar need to be earthed so as not to give a crackle when you touch them. With a metal bridge-plate, not much needs to be done beyond ensuring there’s a wire on the body that runs between the plate and the jack, but with a plastic print like this, I need to add some copper tape to let me get the same result.
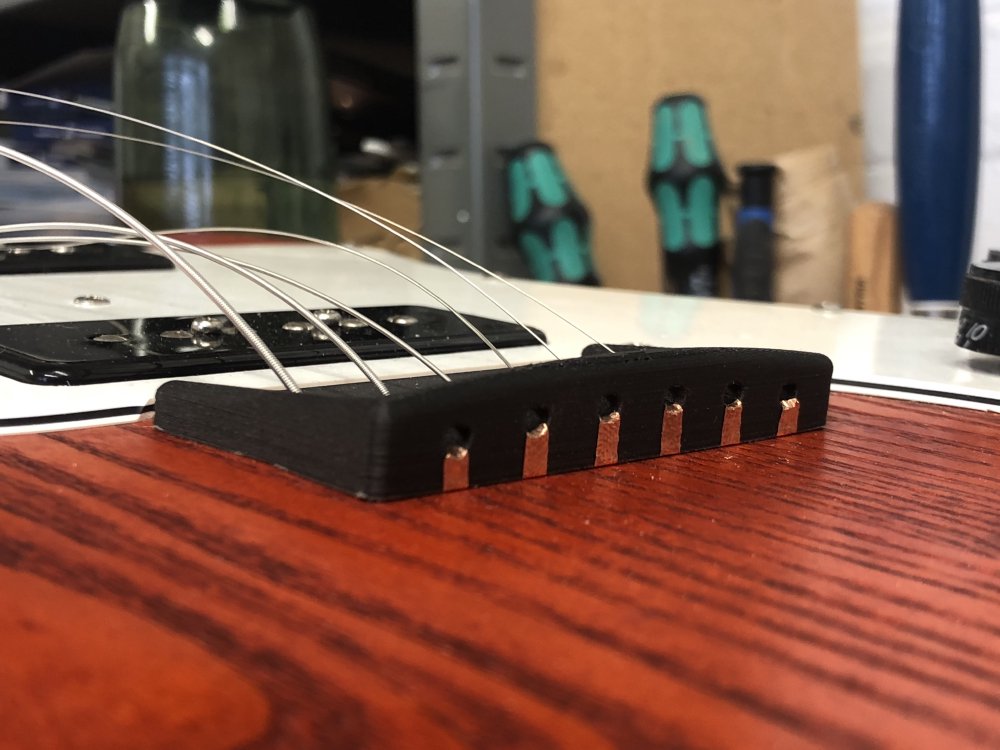
The new bridge-plate is now in place, and we’ll see in a day or two if it’s suffered the same fate, or my poor guess work around mechanical engineering matters that I don’t really understand has paid off :) I say, if I just skipped to the metal plate then this would all go away, but it’s kind of fun to be proved wrong and then have an excuse to explore and learn, which is why I’m persisting here (that and to keep the Scope of Work lunch crew amused).
Älgen
Last time I mentioned Älgen I was thwarted by the need for some screws that were not of a size I recognised. Thankfully, people more knowledgeable than me have come to my rescue. Chris Osterwood over on the Scope of Work slack recognised my measurements as being most likely a US size #1 screw, and then my friend and woodworking mentor Graeme Durent pointed me to a UK supplier where I could get such things. Graeme’s note also came with sage advice that I should overstock, as these screws will damage easily, so I should just be prepared that if you’re tweaking a lot you’ll just throw a lot away.
Those screws are on order, and hopefully will get me back on track. I now at least have a deadline for getting Älgen up and running: Makespace has a series of open days in mid-march, and I’d like to get it finished for that.
Whilst I am fairly confident that the screws I’ve ordered will work, I have started enacting my backup plan: replacing the whole bottom layer of the submarine bridges with my own design:
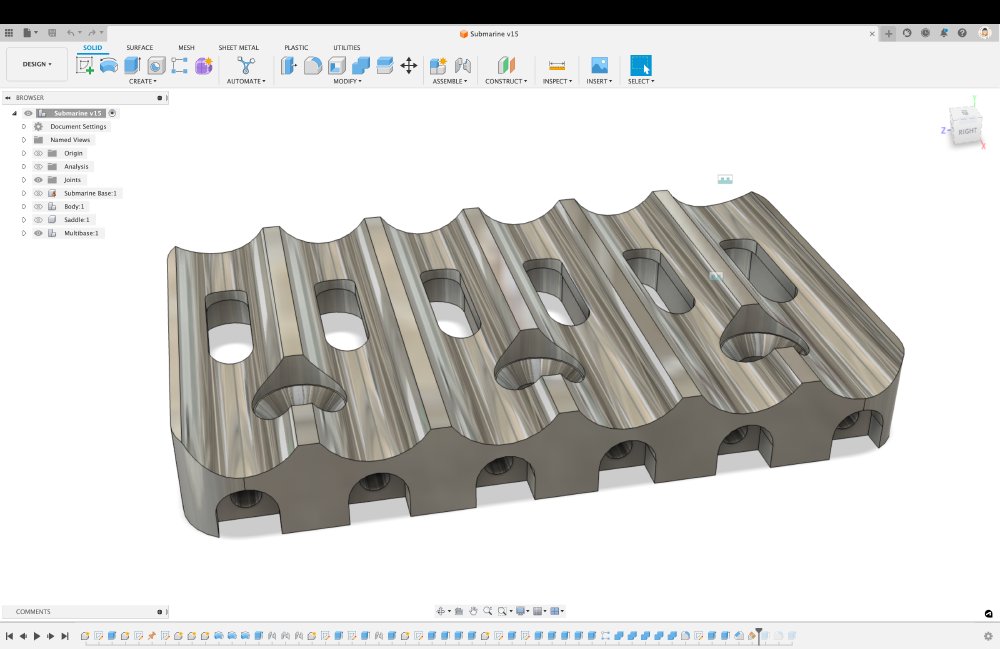
The problem with the fiddly screws stems from the fact that the bridge I’m using is designed as a single string unit - often you find headless guitars are either 7 or 8 string beasts, or multiscale instruments, or both - and so the flexibility of being able to place each string individually makes sense. But I’m not taking advantage of that flexibility, but I then suffer the drawbacks of 24 tiny screws to mount the bridges rather than using a single plate that can use fewer bigger screws.
At this late stage in Älgen’s game I’d rather go with what I know works, but if for any reason the screws are still a pain by this time next week, I’ll start 3D-printing this replacement and testing that. Longer term, if I make more Älgen style guitars (and I certainly hope I do) I’ll probably go this way anyway.
Orca
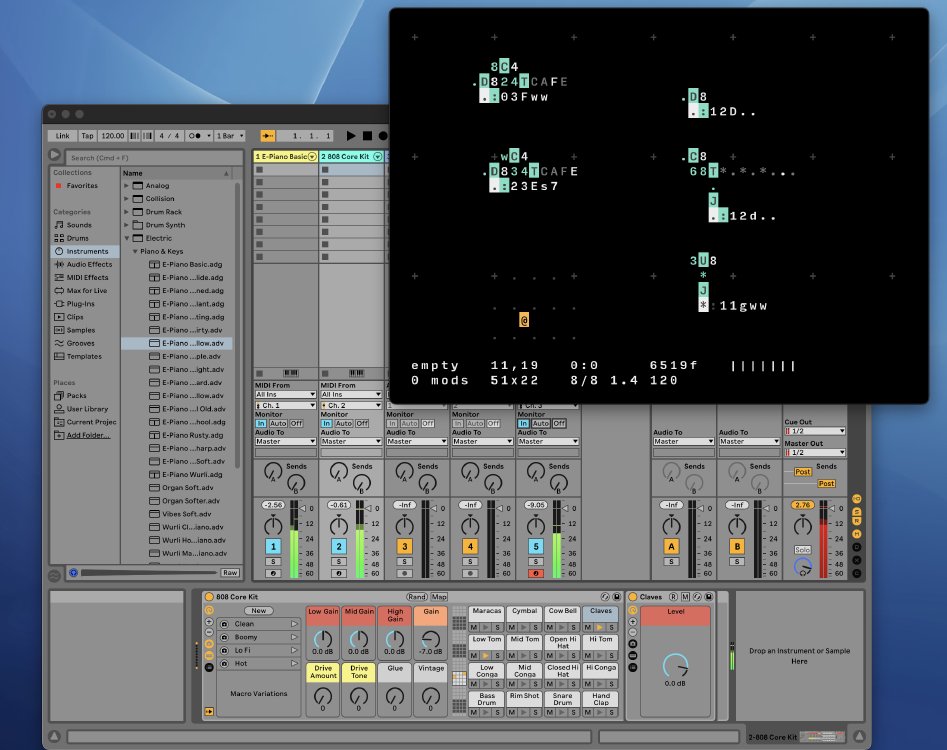
To end on a tangent this week, I’ve had a bunch of fun this last few days playing around with a musical live coding tool called Orca, made by Hundred Rabbits.
I’ve long wanted a tool to let me add more interesting backing to my guitar practice that what I can do with a looper alone, and whilst I’ve tried a bunch of drum-machine apps, the traditional drum machine UI has never really taken with me. Orca I guess speaks to the coder side of me, as it’s a minimal text-interface live coding tool that lets you use individual characters to represent things like timing and notes, all of which can drive another mini based tool, such as Abelton Live, but there are free tools out there you can use to make sound from midi, like Dexed.
I’d put up a sample of my output, but it turns out on a mac screen recording with audio really isn’t that easy and I’d have to install a bunch of other tools to do that, so for now I’ll just post one of Devine Lu Linvega’s (of hundred rabbits) example videos so you can hear the kind of things it might make - though because it’s just driving midi, it could also be making classical piano sounds equally as well as these more obviously electronic tones:
If you want to learn more about how Orca works, then I can recommend this tutorial. Orca is quite fun: clearly aimed as a nerdy tool, I like it as it feels more like an instrument to me than most computer music software, but one when it has a long sustain that lets you do other things whilst it hums along until you next interact with it.