A Week in the Shop
Published 29 Jan 2023
Tags: älgen, carving, coffee, delfinen, generative art, screws
A lot going on this week, lots of ideas pulling me around, and at times I need to step back and try to reign in some of the ideas to let me finish the ones I’ve already started. So with that in mind, I think someone else will have to try figure out how to make it possible to drink coffee and wear a dust mask at the same time…
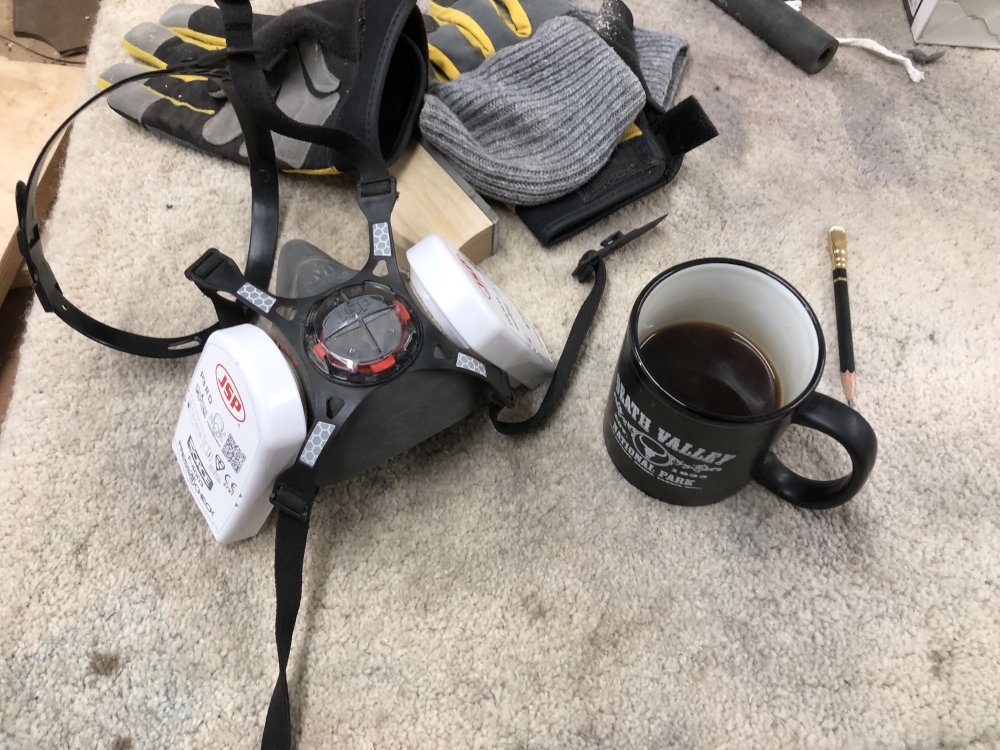
The trials of workshop life.
Delfin
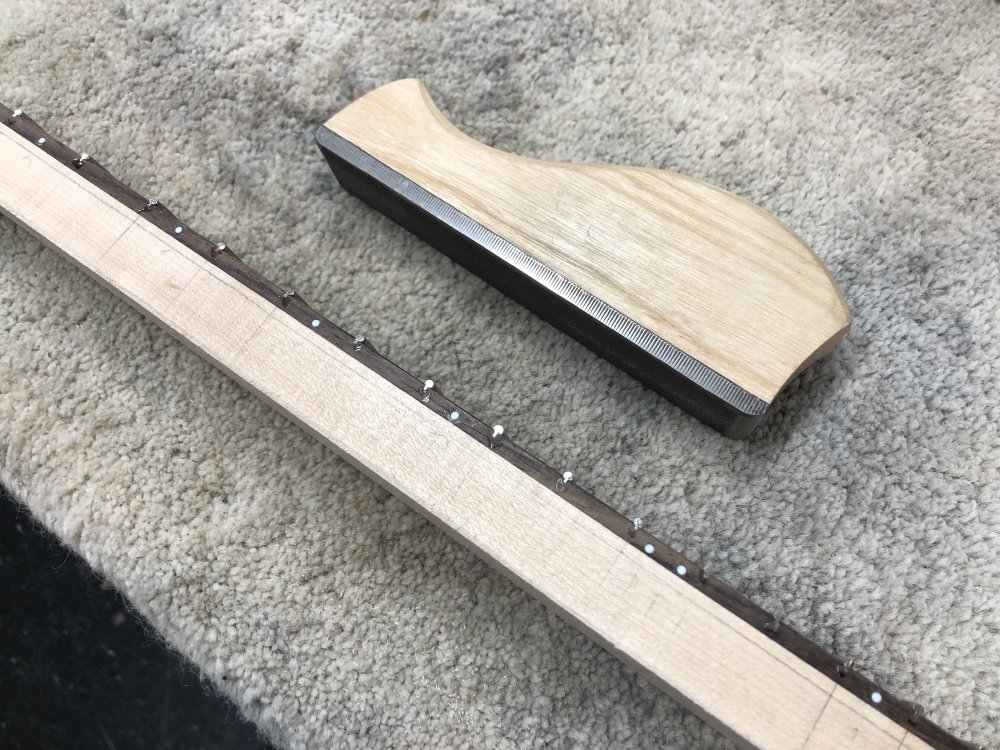
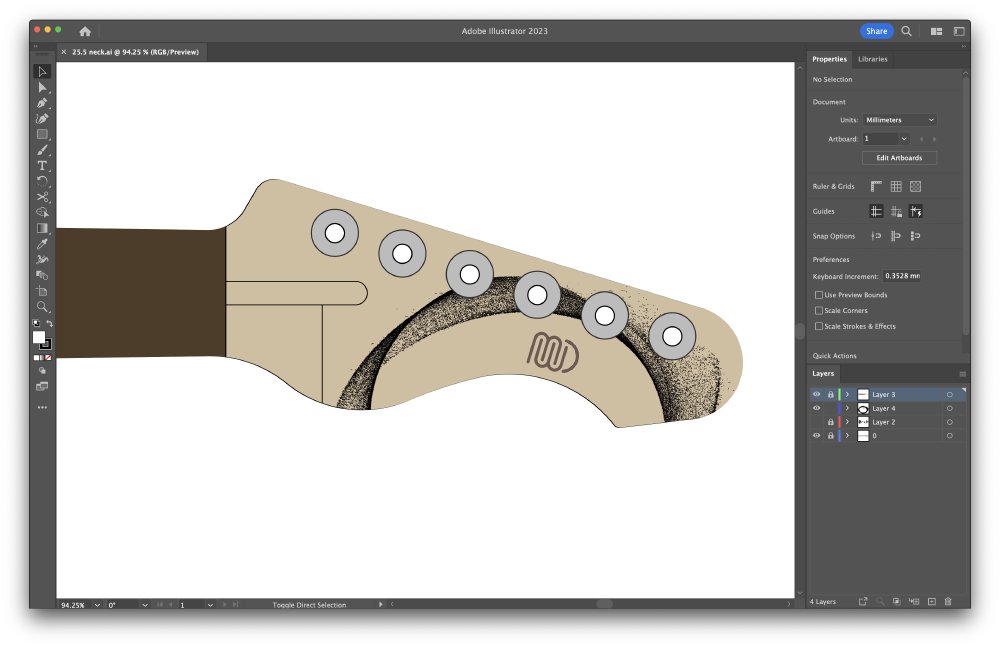
Last week I was working on the neck for the Delfin build, when I radiused the fretboard and installed the frets. This week then I was following on from that: first there was a little tidying up of the fret ends, and then I had to radius the back of the neck.
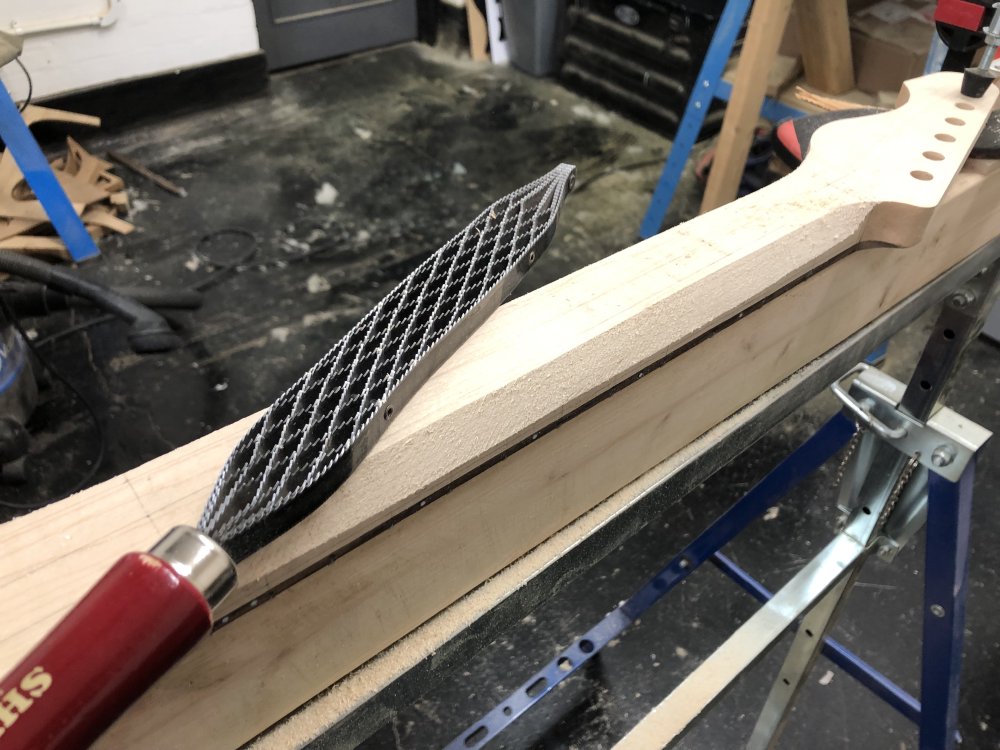
Fret-wise there wasn’t much to do at this stage, I just wanted to get the fret ends flush with the neck’s profile, as cutting them never gets them quite there. A few minutes with a file-block sorted those out:
That done, before I do anything else to make the frets any nicer, it’s time to radius the back of the neck. Last week I drew on the pencil lines to help guide me as I manually carve the back of the neck, and now it was time for the upper-body workout that is doing the carving. The aim of the lines is to help me do slowly facet the neck to a rough outline of the final shape, which I apply using a saw-tooth rasp, and then I take it down using a strong band of sand-paper to smooth out the edges. Something like this:

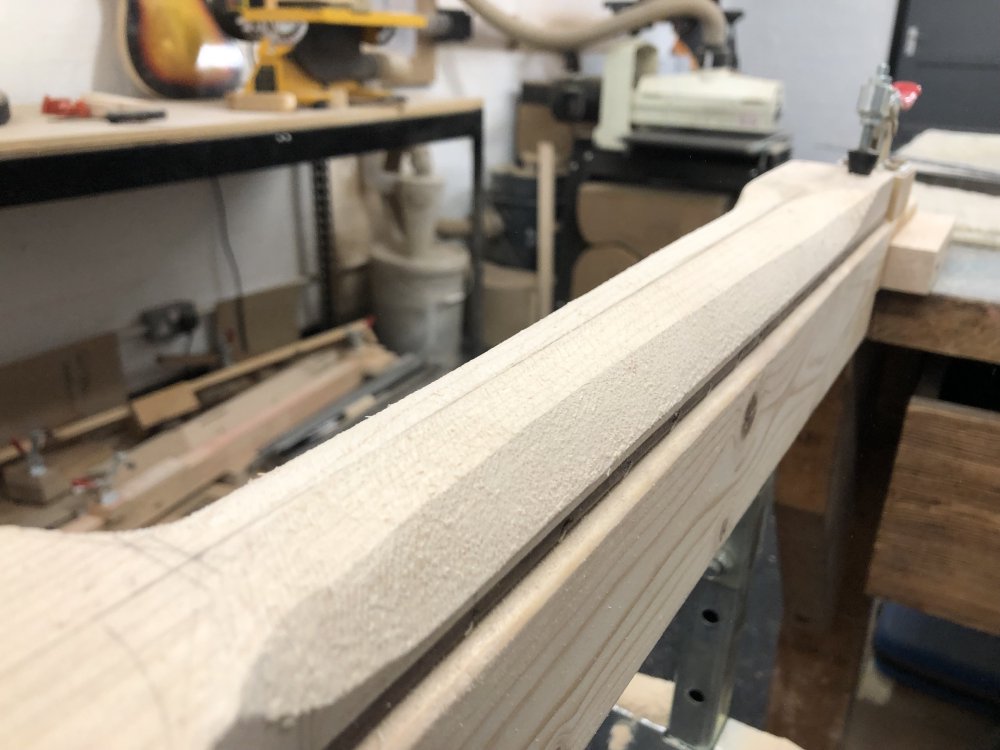
If we look at the picture I posted last week again:
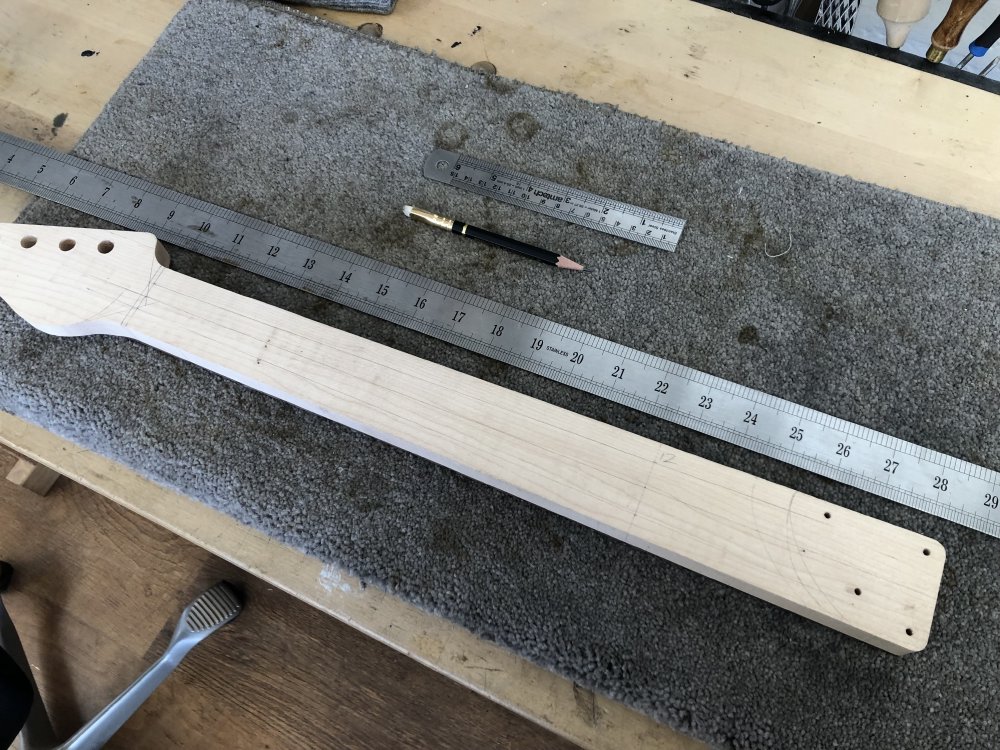
You can see on the top there are two tapering lines either side of the centreline, and these lines, along with the line you can see in the earlier picture that runs just a couple of millimetres below the fretboard define that first facet. By adjusting where you put the lines, which in turn adjust the angle of the facets, you can adjust the profile of the neck - you want a the top of that initial facet close to the centreline if you want more of a V shape profile, and further out for more of a C shape. On this neck I’m going for a more rounded neck, so the guide lines are further out from the centreline than I usually do.
With the theory out the way, time to make some dust:
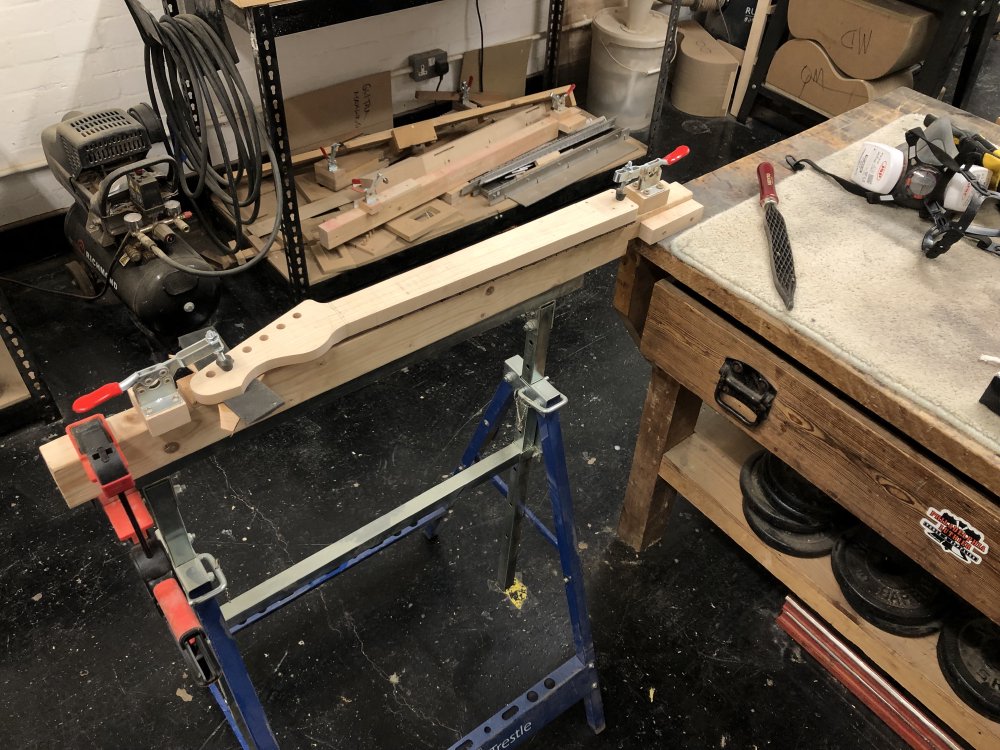
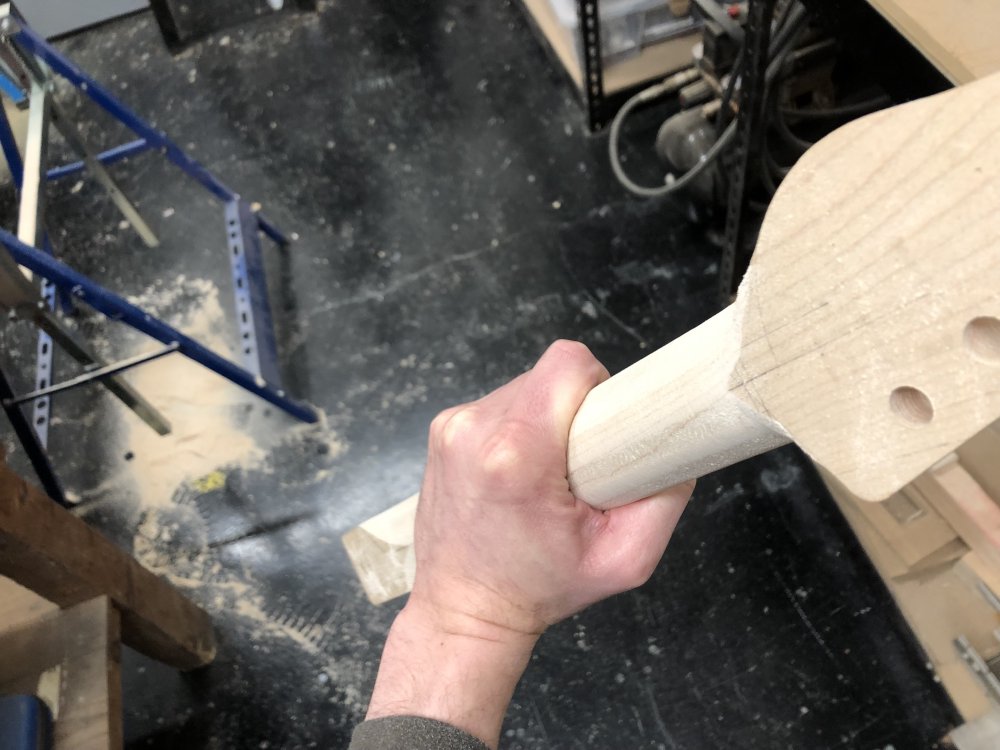
A good bit of elbow grease later (I don’t know either), and here you can see one of the sides showing the facet mostly done:
Once both sides have the first facet done, I then switch to working on the top set, using the rasp at about a 20 degree angle to add that second stage facets:
At this point I started using a sturdy strip of 80 grit sandpaper to sand the facets round - I drape the sandpaper over the neck and pull down back and forth on each side. I’d have a photo of this only my hands by this point were starting to cramp :) And thus I decided to call it a day, unfinished, but mostly there. Whilst I’d liked to have finished it off, there’s no point doing myself an injury, and after a couple of hours I was ready for a break.
As you can see, it’s mostly there. I will still need to do some more reshaping though - at this point the neck thickness is still uniform, and I’ll want it to be thinner close to the headstock to somewhat match the taper on the neck sides. I imagine there’s another couple of hours work to do still between that and ensuring all the transitions are nice and smooth.
Älgen
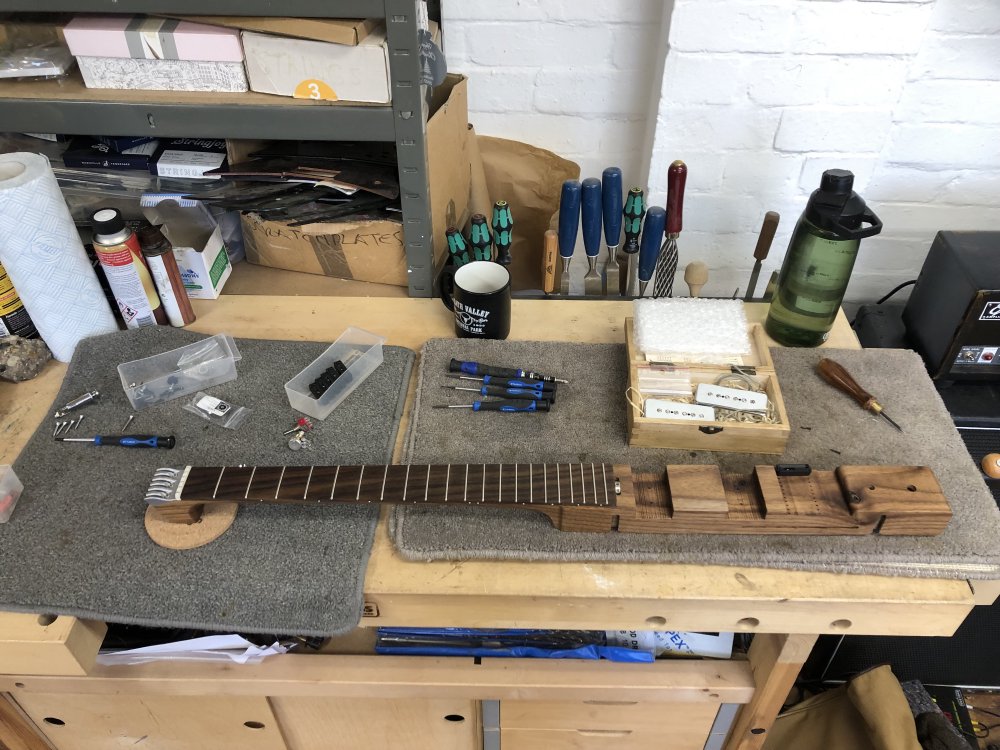
A frustrating failure this week to wrap up Älgen, which I thought just needed its electronics soldering and I’d be able to play it. Here it is on my workbench all ready to be put together:
Unfortunately though the screws that hold the bridge pieces in have not lasted well, which isn’t a surprise with Philips screws, but is still frustrating. The bridge has been on and off the guitar many times, and so eventually they’ve started to deform and they’ve got to the point where I’m concerned they might strip fully.
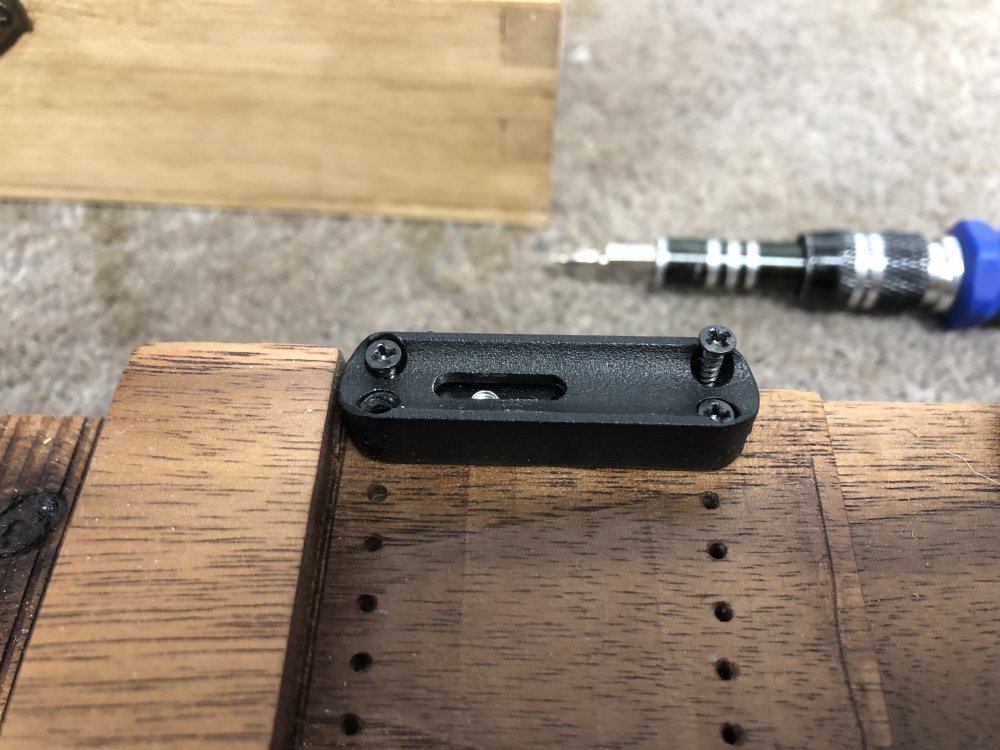
There’s four screws per piece, and the bridge did come with a few spares, but given the state of them I just want to replace the lot, so now I need to find a suitable set of replacements. I had a look on my usual suppliers and they didn’t seem to have any of quite the right size, so I have a bit of searching ahead of me. Thankfully the screws are covered by the main bridge piece, so I don’t need to get colour matching ones.
I really wanted to plough on, but it’d be stupid to risk getting one of these screws stuck at this late stage in the game.
On the topic of the electronics, I was surprised to discover that my usual source of wiring diagrams, the excellent repository over at Seymour Duncan, didn’t have one for the particular configuration that Älgen will have: two pickups, one volume control, and no tone control. Whilst I know a tone control is sometimes useful, I was short on space on the front for rotary controls, and so opted just to ditch the tone control as most players don’t tend to use it much.
The tone circuit on a guitar isn’t anything fancy (at least in most instances): it’s just a capacitor in series with a potentiometer, placed in parallel with the volume control. The idea is that if you have the potentiometer set to a high resistance then the tone circuit doesn’t do much, as the signals flow around it, but if you have the potentiometer turned to the other end and offering zero resistance then the capacitor acts as a frequency sensitive resistor and will block higher frequencies. You can read a nice explanation of the circuit here.
Looking around at what other people do for removing the tone pot, I was interested to see a lot of people just drop the entire tone circuit, leaving just the volume pot and the pickup selector switch. This isn’t quite what I expected, as this isn’t the same as having your tone circuit set to have a high resistance in the potentiometer. Depending on our potentiometer value (usually 250kΩ for single coils or 500kΩ for humbuckers or P90s as I have in Älgen), there will still be some filtering.
Perhaps it’s too small to notice, but I think I’ll try both with and without to see if I can spot the difference. The only real limitation that forced me to drop the tone control was lack of surface area to mount another rotary potentiometer, I can fit things in the cavity itself easily enough: thus it occurs to me that if I’m going to have some tone circuit in there anyway, I could always put a small trim potentiometer in there to make the tone circuit adjustable as a sort of build-time/set-up thing.
Misc
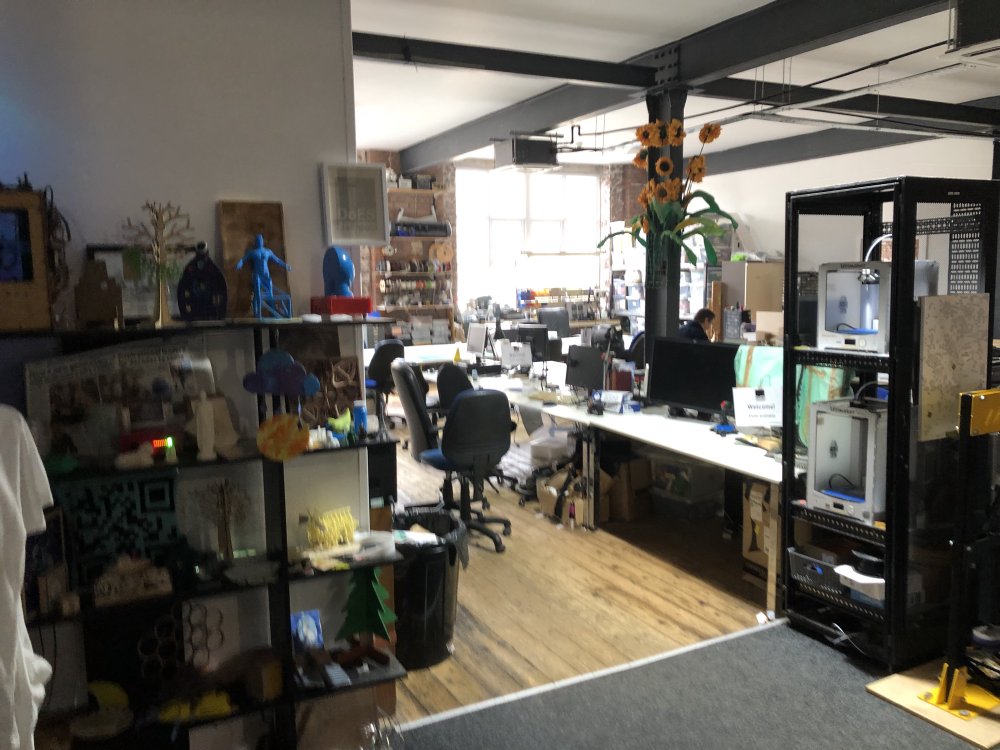
I started the week in DoES Liverpool, using it as a working space whilst we were up visiting family, and it was nice to get to hang out with some of the folk from there.
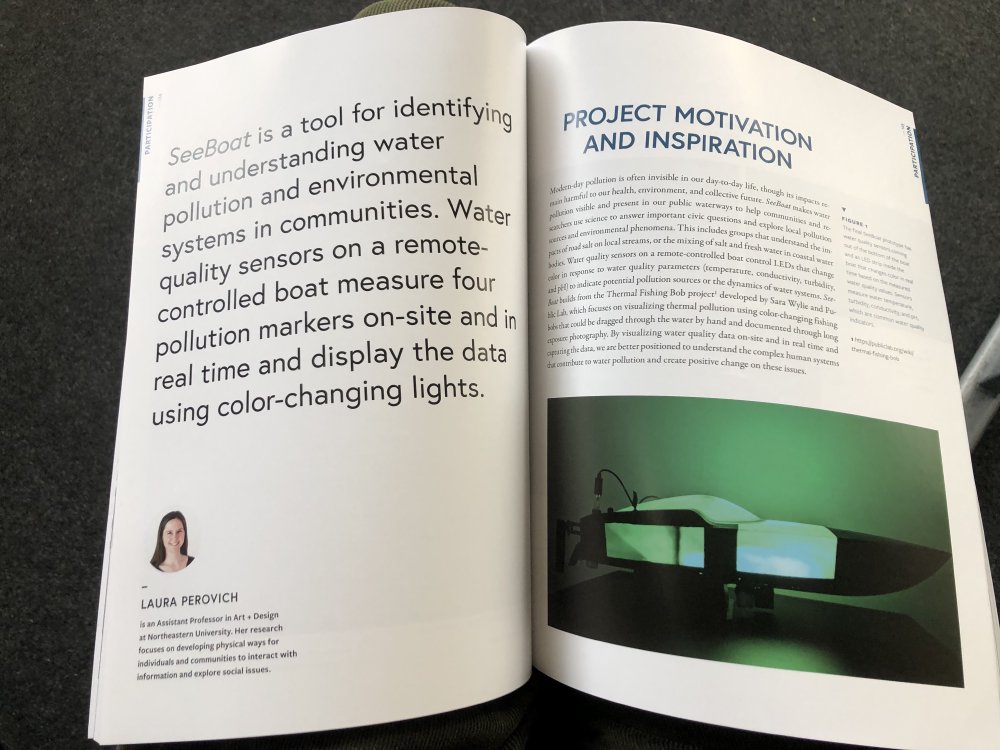
Whilst there Jackie Pease let me have a browse through her copy of Making with Data: Physical Design and Craft in a Data-Driven World, a book looking at projects where people built physical manifestations of data to help people interact with that data in new ways. For example, there was one where poverty data was turned into a set of contours, becoming hills and valleys in a 3D landscape; all of this was set in a water tank and you could adjust the water level to represent a different average wage and see how many people remain in poverty as islands.
Mostly I’m interested in this for my day job, which I’ve mentioned before is working with a lot of environmental data, and helping the ecologists process it, and I’ve often wanted to make a physical representation of that using the techniques I use to build the guitars. But it also ties in with the idea of perhaps customising the guitar to say more about the world it is in that it does - where does the wood come from, how sustainable it is, and so forth, and idea that has stuck with me ever since Derek McAuley introduced me to the Carolan Guitar project. The Carolan Guitar has these wonderful celtic designed QR codes built into it, and if you scan them with the right app you get bits about the evolving life story of the guitar, an idea I think is beautiful (apart from the needing a custom app bit, given most apps live less long than guitars do). If I can can adjust the design of the guitar or the 3D-printed parts I use to say something more, that’d be, I think, very interesting.
So on that theme I’ve also been looking more into generative art again, as I still haven’t worked out what to put on the headstocks of my guitars as I retire the old Electric Flapjack branding. I like the idea of whatever it is that I can generate a unique version for each build, just like I can remix the mesh for Älgen’s body and have something that is broadly the same shape yet unique, and so generative art seemed a good avenue to look down (this I suspect was also inspired by Jackie’s work on plotter art).
I’ve not got much to show for my research yet, but I did find this great page with a lot of links to interesting generative art tools. I have to be careful with this idea - I don’t want to let my day job of writing code impose itself on the guitar building too much, so I’d like to find something that is close to being usable without me having to build something from scratch.
I played a bit with a bunch of the tools, for example Uji here:
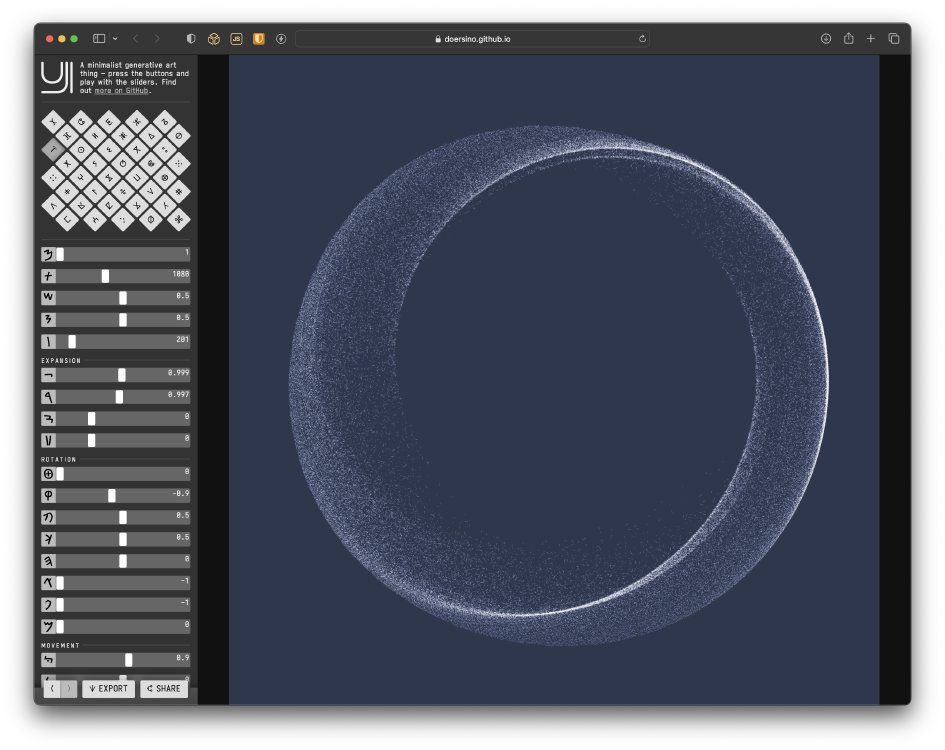
I liked the idea that perhaps I could regenerate one of these and have it play over the headstock. In particular I like the idea of using all the headstock face for this, and not just the little area usually reserved for the makers logo.
I generated a bunch of different inspired headstock designs like this, but before I get too carried away I need to now go try the designs out on scrap wood using the laser-cutter to see if they look good in reality, and then also see if I can find a way to tie the randomness of the generated art to something about the guitar itself ala Carolan.