A Week in the Shop
Published 1 Oct 2022
Tags: 3d printing, älgen, delfinen, sanding, templates
Älgen
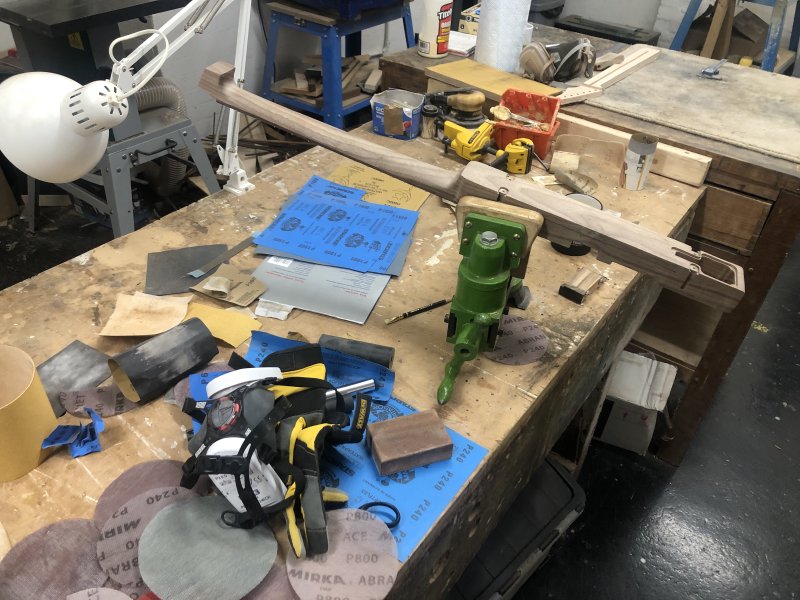
In the previous full update from the workshop I predicted there was another half day of sanding and tweaking ahead of me on Älgen, and that pretty spot on: I spent another full half day sanding and tweaking to get things to a place I felt I was ready to apply the finish.
I mentioned in that post how a lot of the struggle was around the transitions at either end of the neck, where you have end-grain to work with, and it was interesting to discuss this with workshop-mate Jamie who builds acoustic guitars, which made me realise the struggles here are a small taste of what’s involved in building a traditional acoustic guitar neck where it transitions at the body end down the full depth of the body: I’m dealing with 20mm of end grain here, but on an acoustic guitar that’s getting on for 80mm and up depending on the size (compare this to a solid body electric where there’s no such transition on the neck typically). Jamie had just finished spending two full days tweaking and sanding two necks ready for finishing, so I felt that my slow sanding of Älgens body wasn’t that out of whack in terms of labour time spent (allowing for me learning as I go), and it was nice to know that this bit is just slow rather than I’m doing it wrong.
Last week I’d had to fill the small indents left by template screws on the head of the guitar. I’d laid on the makeshift filler quite thick, but even then it’s shrunk quite a bit in the holes, and left an unsightly mess on the headstock:
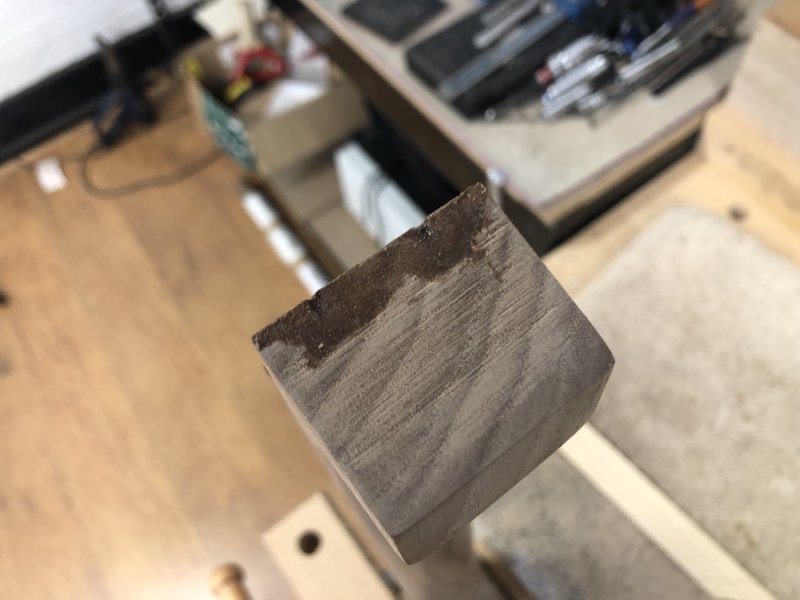
A small bit of work with a chisel and all the excess came off easily enough:
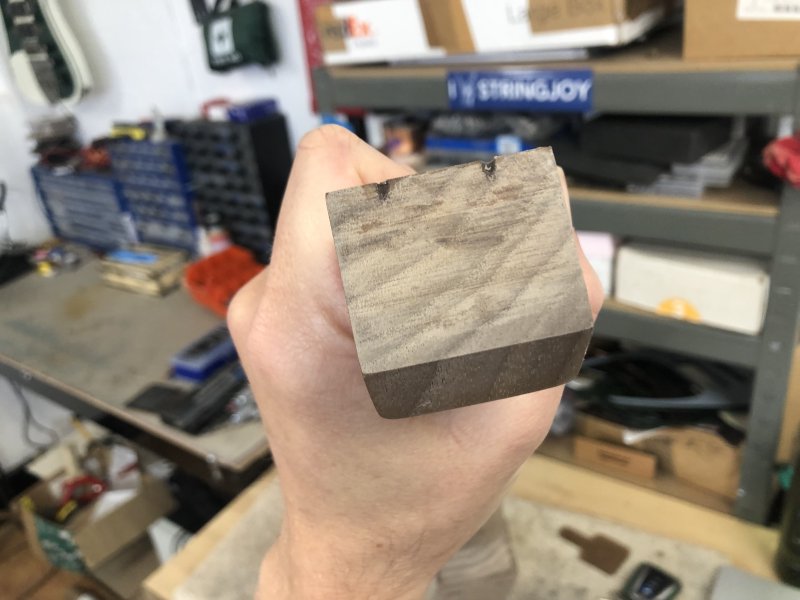
It’s not the best patch job, but for now it’ll do. It should look less obvious when oiled, and if I’m still unhappy with it I can redo it later. Mostly the marks you see above are from where I originally cut that face on the bandsaw, and those were finally tidied up during the sanding phase:
I had to be careful on this face, as I didn’t want to sand back the top line (or bottom line in that photo, as the body is in the vice upside-down) which is where the headstock plate will sit. So I slowly sanded out the marks from the bottom (or top) edge, slowly working my way up (or down), effectively just increasing the rake slightly.
I’m at the stage where next week I’ll hopefully start to oil the guitar. Before I do that, I wanted to clean up the fretboard, which looked like it was suffering from being sanded between the frets as part of the fret polishing phase, leaving the edges near the frets looking different:
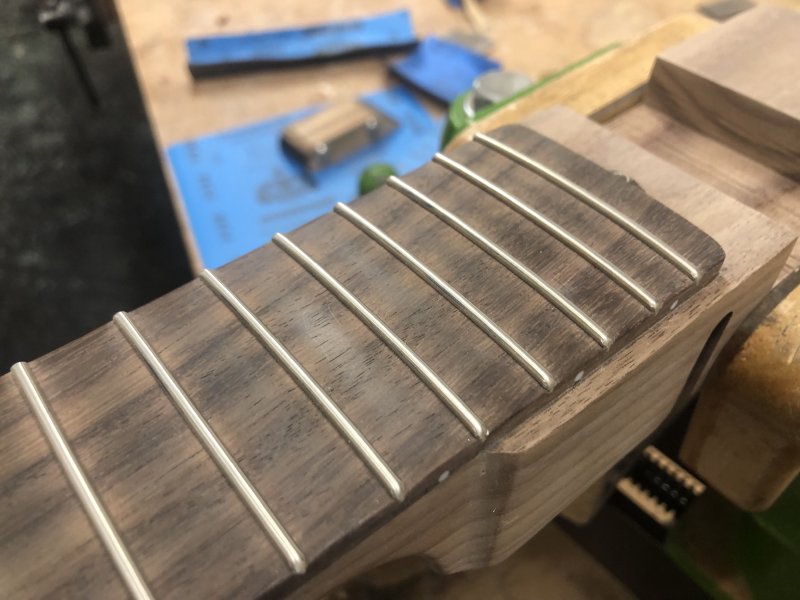
But when I spoke to workshop-mate Matt, he of Fidelity Guitars he corrected my assumption - it’s just dirt from the fret filing and polishing, and what the fretboard really needs is a clean. So he lent me some Liquid Gold cleaning solution:

I will say, you want to use this in a well ventilated space, as it’s quite strong smelling stuff that I suspect isn’t good for you. But it did quickly show that Matt was right - immediately after I applied it the cloth came up black:
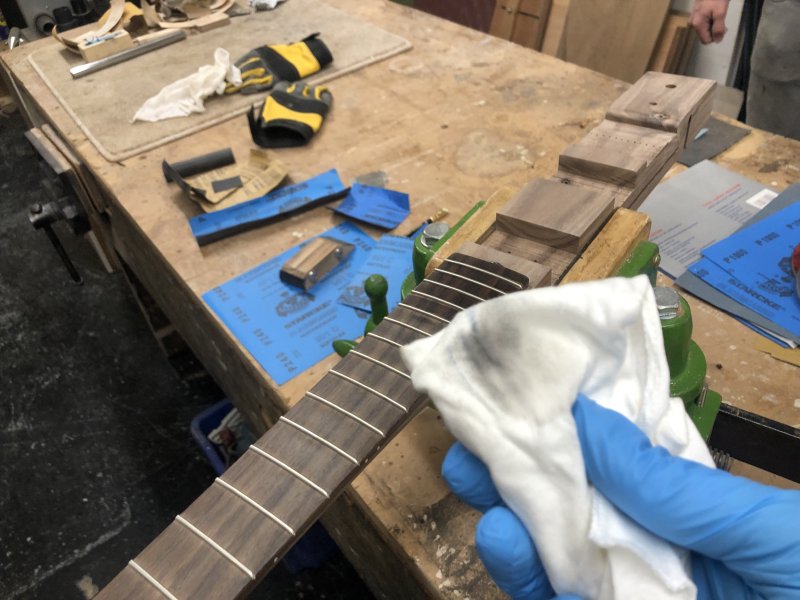
And that was just from the first few frets - the the end I removed quite a lot of gunk. With the fretboard now cleared, and sanding done, hopefully next week I can start the oiling process at long last.
Last week I laser-cut the control cover for Älgen, but it didn’t fit. So this week I had another go:
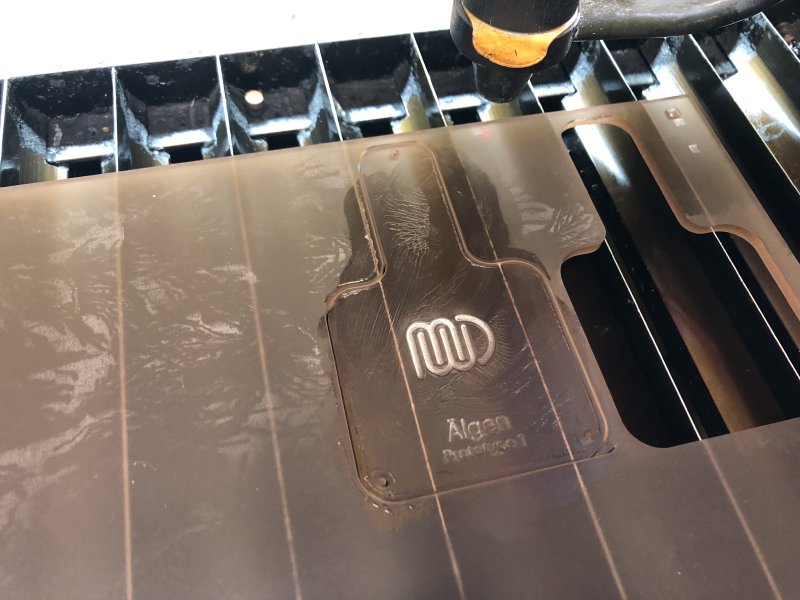
Last time I had a lot of vapour residue to have to clear off the print, but my friend Jonathan, who does a lot of laser-cutting, gave me the tip to coat the acrylic with Vaseline first, and then to clear that off afterwards using a soapy water and a microfibre cloth (to avoid scratching the surface), and that tip worked a charm.
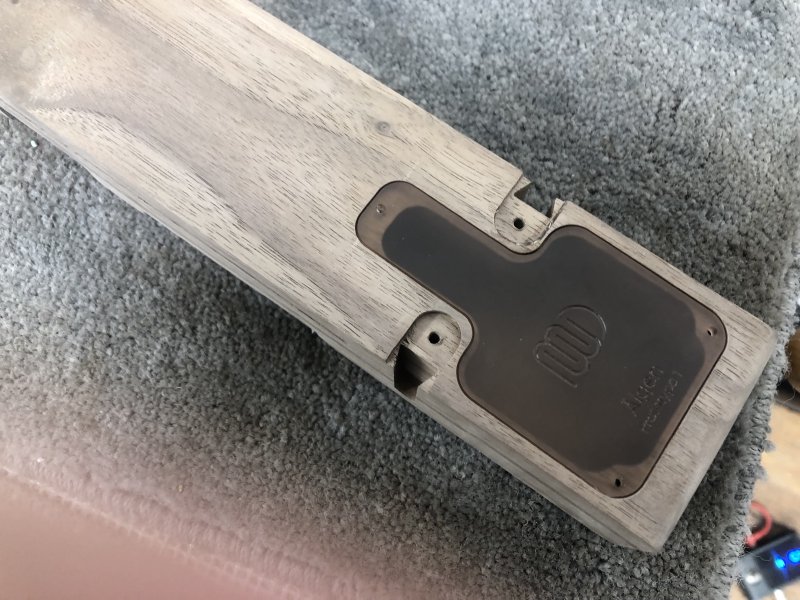
The offset I added also worked a charm. Perhaps ideally it’d be a bit more snug (I just took 0.5mm off all edges in Illustrator), but because the screw holes for the plate are already in the wood from a template derived from the same original drawing it should have a fairly uniform gap around it.
Delfin
I had designed some templates and jigs for the Delfin build last week, but then realised, thankfully before I headed out to cut them, that neither was quite what I wanted, so I had to go back to the drawing board (or in my case, Fusion 360).
First up, there’s the template for routing out the slot for the string ferrule block. I had originally planned to make two templates, one for the outer profile and one for the inner profile, but belatedly realised that I could get away with a single template that you rotated to get to the correct profile. This both saves material, and makes it impossible that I’ll misplace one half of it and be left wondering where the counterpart template is.

The revised template is slightly bigger as of being multi-functional, but uses less acrylic overall than the original pair of templates I’d designed. I also tweaked the outline in Illustrator to provide me with some references for the centre line of the body and to remind me which mount holes to use with which slot:
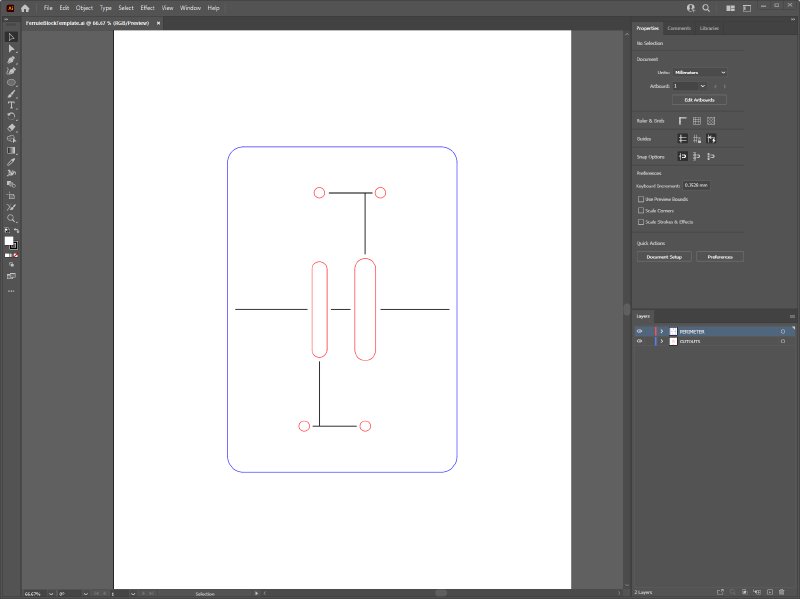
If you happen to be using the Granger Ferrule Block with 10.5mm spacing, then you can download the DXF for that here.
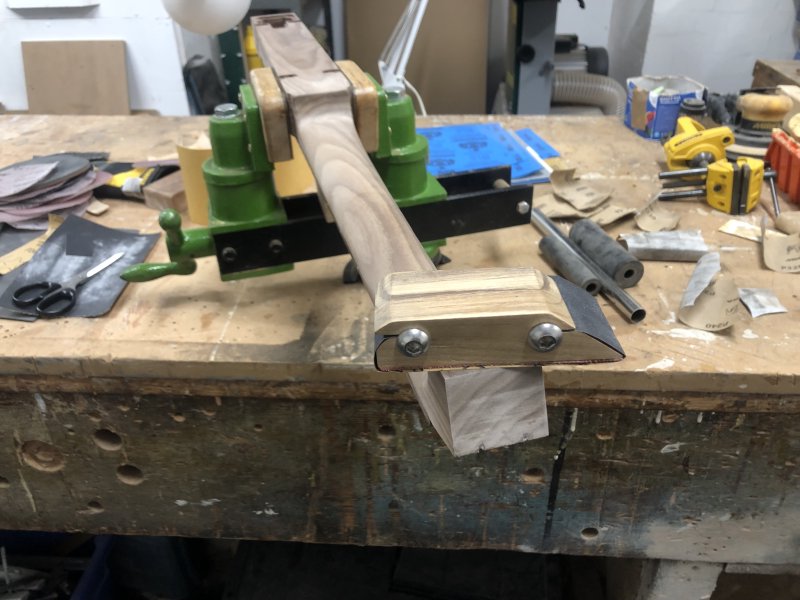
Second up was the jig for letting me use the palm router radiusing jig I discussed last week. Originally I thought I could CNC-route it, but then I decided that the lead time on that happening was too high, so I’d instead make it out of some laser cut bits that I stuck together. If it wasn’t for my headstock shape I could have just used one layer, but there’s just too little material around the headstock, so I’ll make it out of two layers.

But unfortunately the lower sheet there shows the 600x400 sheet size of laser material I have to hand, which isn’t big enough, even on its longest axis. So I’ve had to order some 800x600x6mm sheets. Matt also suggested if I was doing this I could actually have the lower sheet extend out the full width, making it easier to use on our somewhat patina’d workbenches :)
Misc bits
Website updates
I did some more tweaking for the website, as I try to get ready to make a song and dance once Älgen is completed. I updated the build pages to be slightly less of a mess, and split the builds up into a phase one, which are my builds before the pandemic disrupted things, and phase two, which is what I’ve done since. Before the pandemic hit I had a somewhat consistent run of commissions to build guitars based on other models. I’m very proud of those guitars, and they all will mean something to me because of what I learned from them, but I always knew I wanted to build my own thing. Phase two then are guitars that are both my own design, and have my own stamp on them by combining traditional handcrafted luthiery with custom fabricated parts using 3D-printing, laser-cutting, etc.
The big one I need to do at some point is the switch to phase-two guitars being branded under my own moniker rather than under the name Electric Flapjack, but that’s a thing I’ll put off until I have to I suspect :)
Markforged 3D Printer training
I got trained on the new Markforged Mark 2 3D printer at the local makerspace. Whilst the makerspace has a bank of Ultimaker 2+ printers that I’ve used in the past, I generally don’t bother with them these days despite my increased leaning into 3D printing as a thing for my guitar builds. Between a combination of the achievable finish not being that great, along with the failure rate of prints on those machines, means it doesn’t make sense for my use case: I want to be able to get 3D prints to let me prototype guitar parts, but I don’t want driving an Ultimaker as a hobby. Thus I tend to just order 3D prints from Shapeways, which is more expensive, but the quality of print is much better than I could personally get from the Ultimakers, even for Shapeways’ cheaper processes, and the turn around time acceptable given I’m a part-time luthier.
Like with the Ultimaker, the Markforged Mark 2 is an extrusion based printer, but it is more aimed at industrial applications rather than hobbyist, so I’m hoping the reliability will be better. More interestingly than that, it uses different materials. The base material it uses is Nylon, which is more flexible than the PLA or ABS you’d use in the Ultimaker, which might be good for some things, but you can then also add in layers of carbon fibre to make very rigid parts that have similar strengths (depending on the direction and type of stress) to metal.
I need to carve out some time to try do some test prints to get a feel for how the materials work in terms of thickness vs strength etc. In the long term I don’t see this significantly reducing my use of services like shapeways, but it’s always nice to have extra options.
If you want to learn more about the Markforged Mark 2 printer, I found that this video makes for a good introduction:
Casio digital guitar
Whilst I’m linking to videos on youtube, I was somewhat smitten with this 80s “digital” guitar made by Casio that popped up in my feed:
I’ve resisted getting one on ebay, as I have enough guitars already that I don’t play enough, but as a piece of design I really do quite like it, particularly with the obvious parallels to the design of my Älgen guitar.
Home practice set up
Speaking of me actually playing guitars, I rejigged my home practice setup to try help motivate me to play more. I figure one of the issues I have these days is that I don’t really play guitar with any other musicians outside my music teacher, all my other guitar playing friends being somewhat distant from me. So for now I’ve booted out my pedalboard and switched to using my iPad with Garageband instead of my looper:
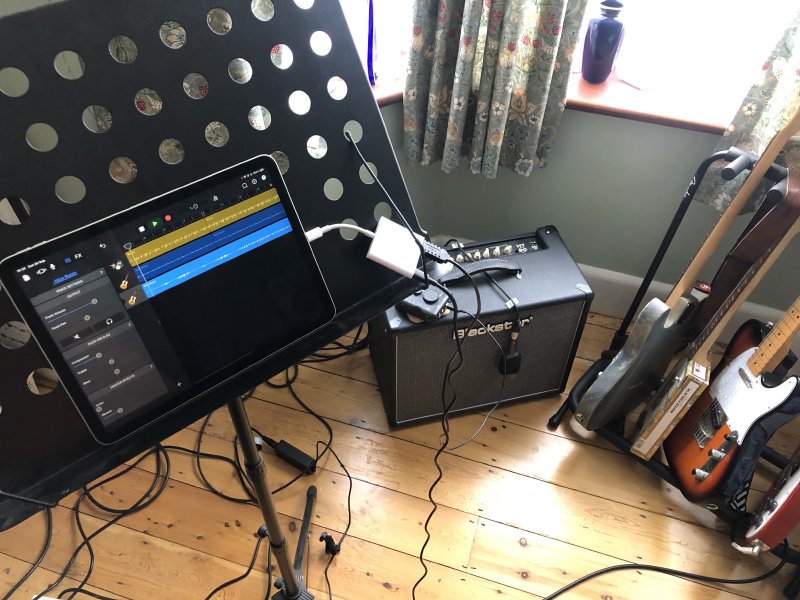
It’s a bit too early to say if this’ll be a long term success, but it’s been interesting to record some bits and be able to share them with friends, even if they’re just limited to basic practice riffs currently as I find my feet with Garageband.