A Week in the Shop
Published 2 May 2024
Tags: hästen, measure, measure, cut, routing, verkstaden
This was one of those weeks with a mix of highs and lows, but the lows stuck a bit more in my mind. That, alas, is how it is in the workshop some times; but still, some progress was made, and as ever, hopefully documenting things that go wrong might save someone else making the same mistakes as me :)
High: getting the ferrule blocks installed in Hästen and Verkstaden
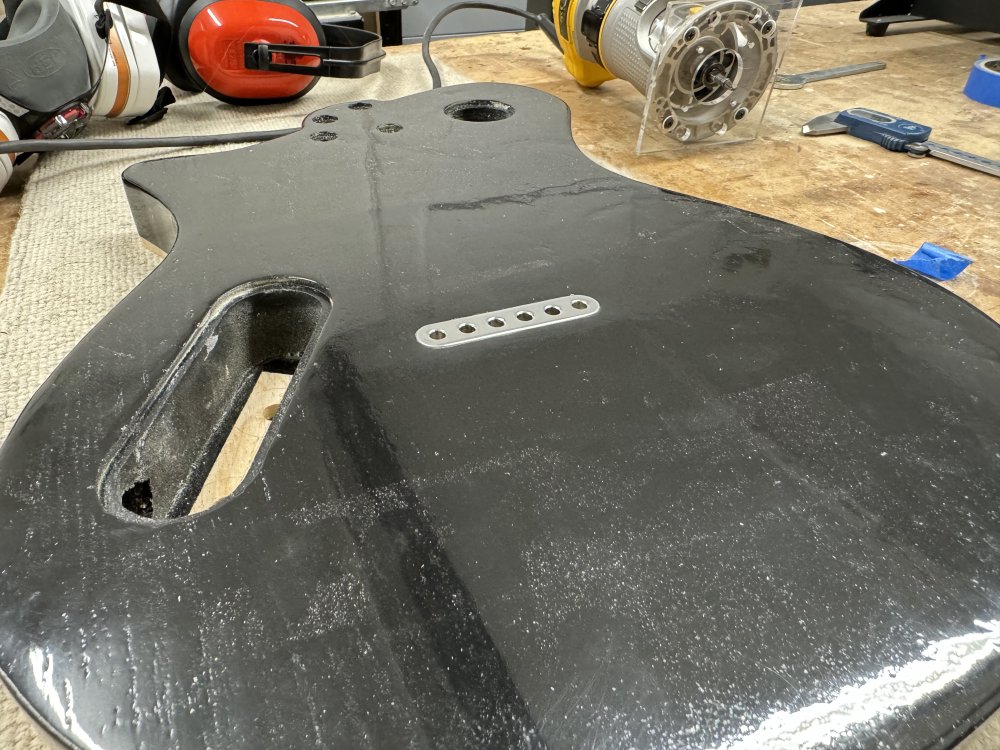
I’ve noted before that I hit a snag with my switch to string-ferrule blocks. For context, most the guitars I’ve built have the strings run through the body, and on the back they are anchored in a metal ferrule. In the past I did what Fender mostly do on their guitars, which is use an individual string ferrule, as you can see here on the back of my Corvette build from a while ago:
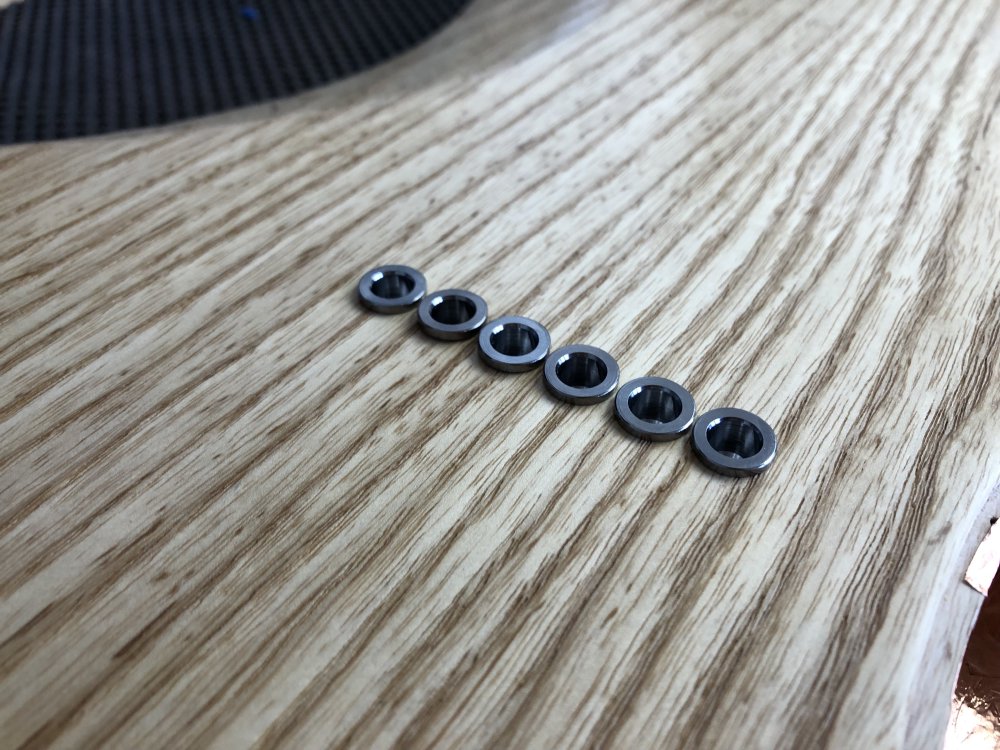
The ball-end of the string will sit in these ferrules, which in turn protect the wood from being squished by the ball-end of the string. The problem with these individual ferrules is you can never quite get the right sized drill bit, and so you end up having to manually ream them out (or at least, that’s how I find it), which is a right old pain. So instead, for the three guitars I was working on for the last batch I switched to a single ferrule block, which you can see here installed in Delfinen:
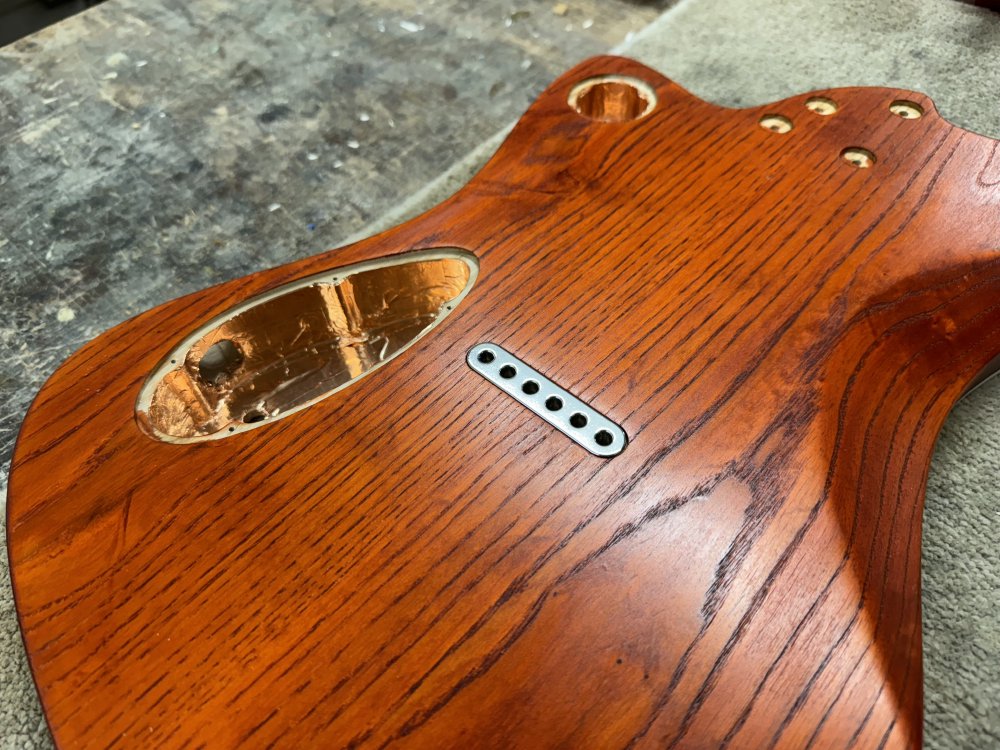
This is neater, and requiring one larger cavity, is somewhat easier to make with a palm-router, even allowing for the lip I have to cut to get it properly recessed.
All good in theory, but…
Originally I bought one block for evaluation, decided I liked it, measured it and then set about building three guitars based on that part, whilst I ordered some more. When the others turned up later, after I’d cut the pockets for the in the guitars, the blocks in the second batch were slightly bigger by 0.1mm - and add to that the coats of paint, lacquer etc. that made the holes fractionally smaller, there was no way the blocks were going to fit without the holes being recut.
My mistake here was not to buy the parts before making the bodies - it’s a clear violation of “measure, measure, cut”, so I guess I’ve no one to blame but myself for this. A good rule to take from this is always get the bits you’re going to put into the guitar before you start cutting. You never know when parts might change or go out of stock.
In theory I can just adjust the template I made for cutting the original holes and recut them. However, I’d been warned that my usual approach of mounting the templates to the body using tape was risky on painted/lacquered bodies as it might pull the finish off (examples of which I have seen before, though thankfully not on one I’ve worked on yet). I tried to come up with alternatives, whereby say I make an oversized template and use clamps, but in the end I couldn’t think of a way forward here that didn’t have some risk of either me cutting the wrong hole or damaging the finish in some other way. And therefore I procrastinated on this for a good while, before deciding this was never going to move forward unless I just gave it a go and do what I’d usually do with tape.
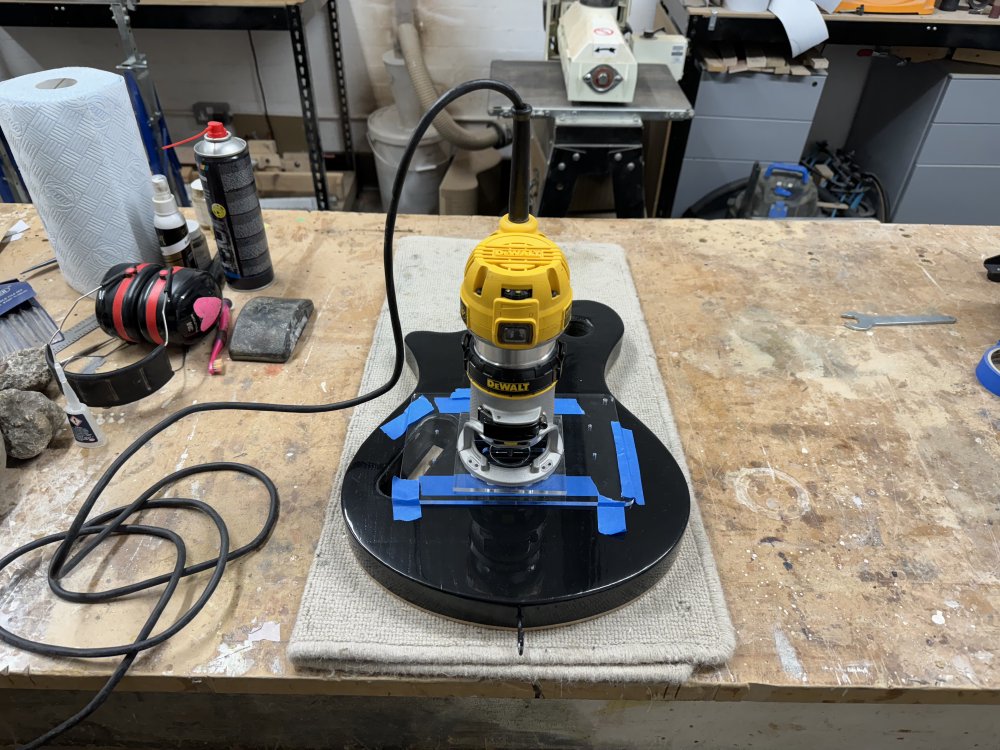
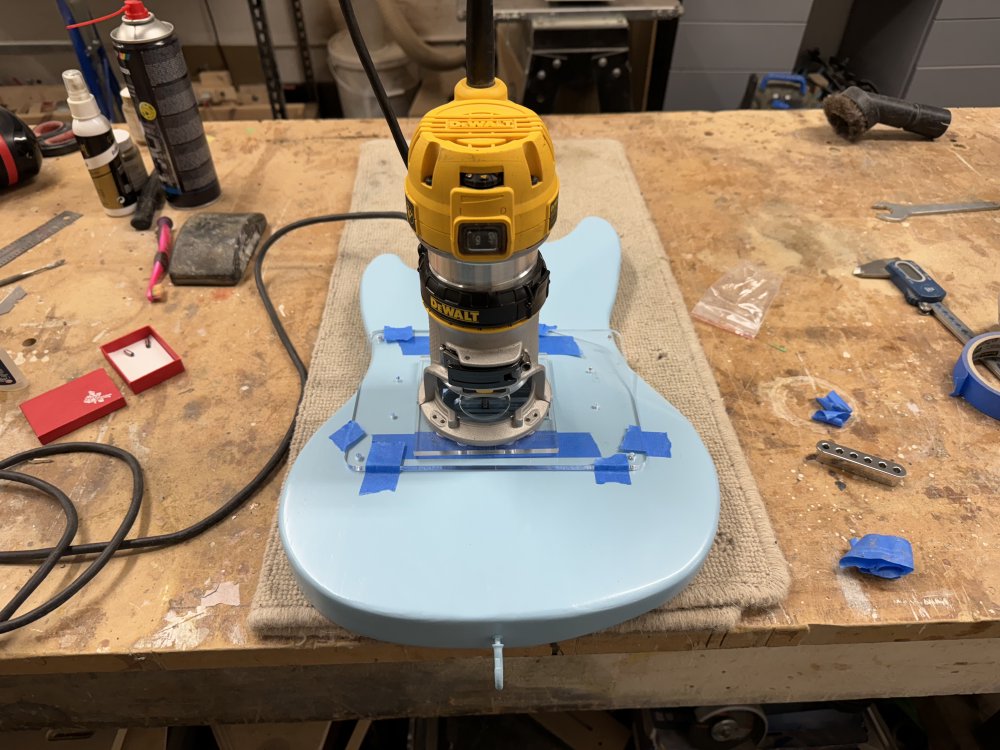
I tried it with Verkstaden first, as that’s a prototype anyway, and I’m not that happy with the lacquer finish (my first go) anyway. Thankfully because I was just taking the smallest of cuts here, I could use quite light tape to hold down the template. With a bit of care and attention I was able to make the cavity slightly wider, and I managed to remove the tape without lifting any of the finish:
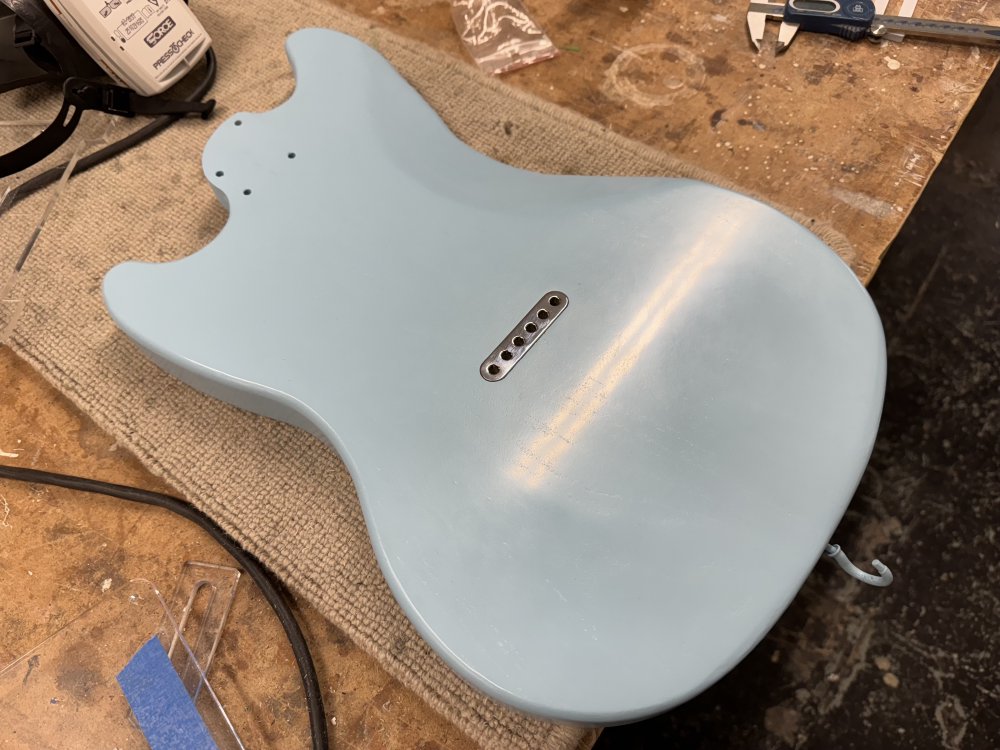
With Verkstaden done, I then moved over to Hästen and went through the same process:
And once again, with some precision routing, I got the block to fit, and I avoided lifting any paint:
So success! It’s frustrating that doing precision adjustments with a palm-router seems to be a regular occurrence in my builds, but I guess that’s the result of me never doing the same thing twice, and being conservative on my first pass cuts. But it’s great to have unblocked both of these builds again.
Low: more cutting required
With the ferrule block on Verkstaden in place, I thought I might be able to get strings on it:
But alas, this build immediately paused again, as I realised that the pickup cavities are undersized for the pickups I have for it 🤦🏼
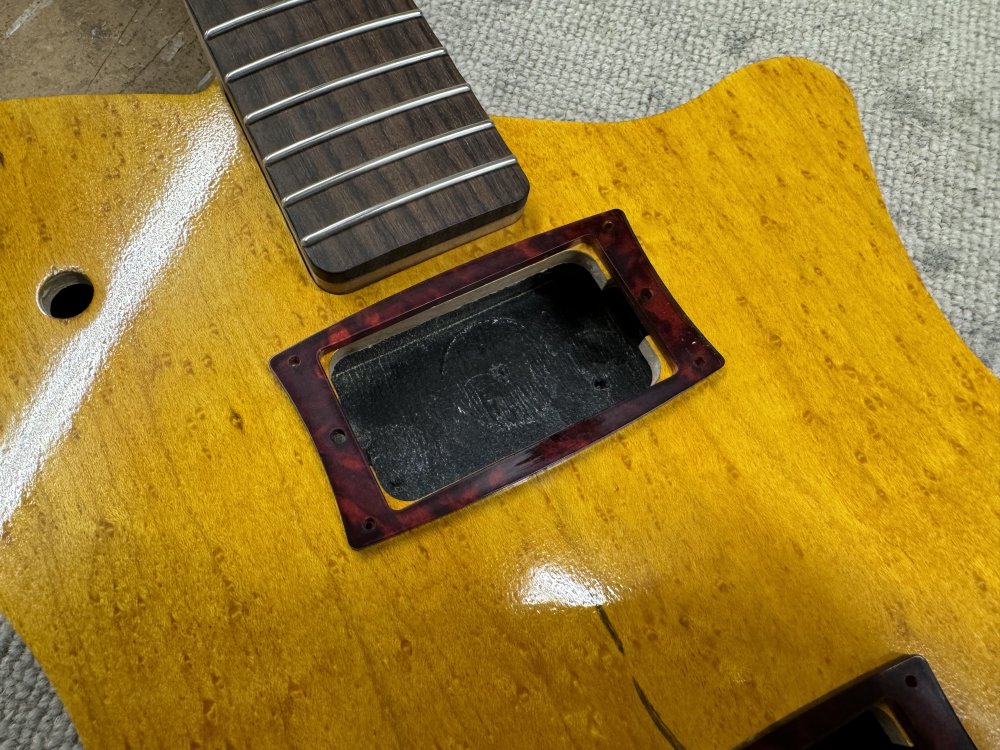
Originally I was going to use uncovered pickups in this guitar, but used those on Delfinen, and decided I’d like covered pickups on this build. Which is fine, but I cut the holes in the body for the smaller, uncovered pickups (as I don’t like the large gaps you’d see otherwise), and so now the fractionally bigger pickups won’t fit.
This is less terrifying than the above operation, as I mount the template for cutting the pickup cavities on the body using the screw holes for the pickup-ring, but I find I don’t have a template for uncovered pickups made, so I’ll need to laser-cut one next time I’m at the maker-space.
Low: paint doing weird things I don’t understand
The painting of Hästen, as I’ve said in the past, really broke my spirit last year. Doing a great paint job is something that is both a lot of work and I think needs a lot of experience. If I ever need to do this sort of thing again I’d pay someone to do it I suspect: trying to become an expert in painting is beyond the time and energy I have versus pushing forward on other things like doing more with 3D-printing and what makes my guitars unique to me.
So it definitely broke my heart to see this crop up on the back of Hästen:
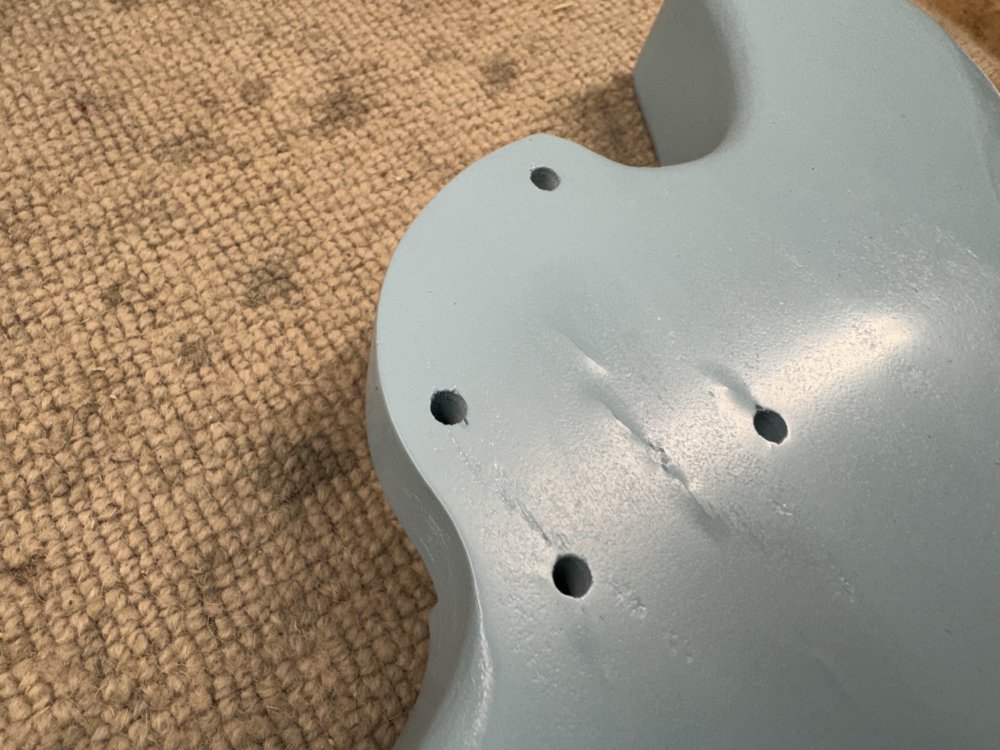
The paint seems to have lifted and cracked along the join line. Why this is showing now after a couple of months since I completed the finish I don’t know. I an understand that the cracks from the screw holes - moisture might have got in there. But from the glue line where the body is jointed? No idea.
Thankfully this is behind the neck mounting plate:
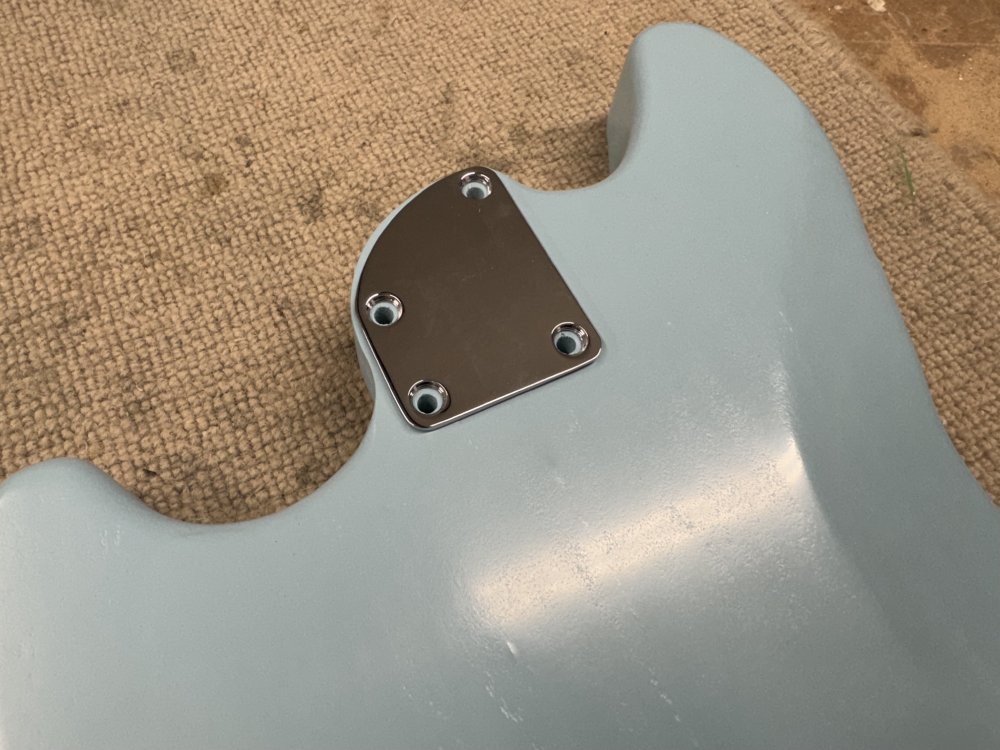
But that’s not really the point: what if it does some more of this elsewhere later?
I very much regret saying I’d do a paint job on a client guitar, I should have tried it on a prototype first. But then if I’m honest with myself, I’d never have tried it at all, so I’d not have all this learning.
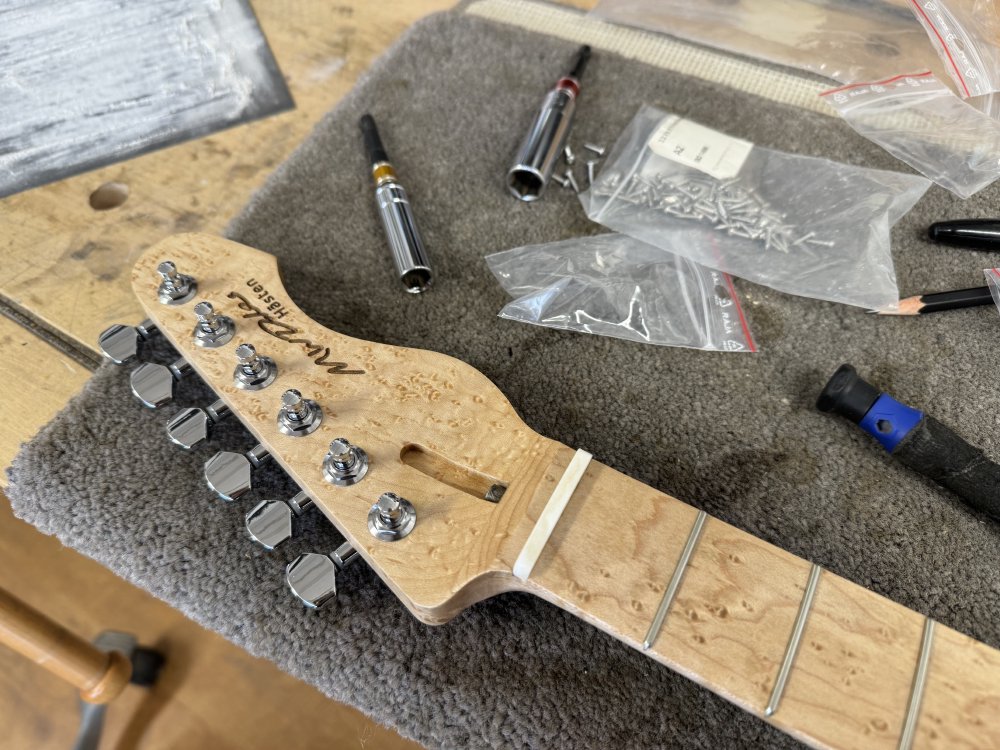
On the topic of paint being annoying, I managed to chip the paint also whilst test fitting the neck:
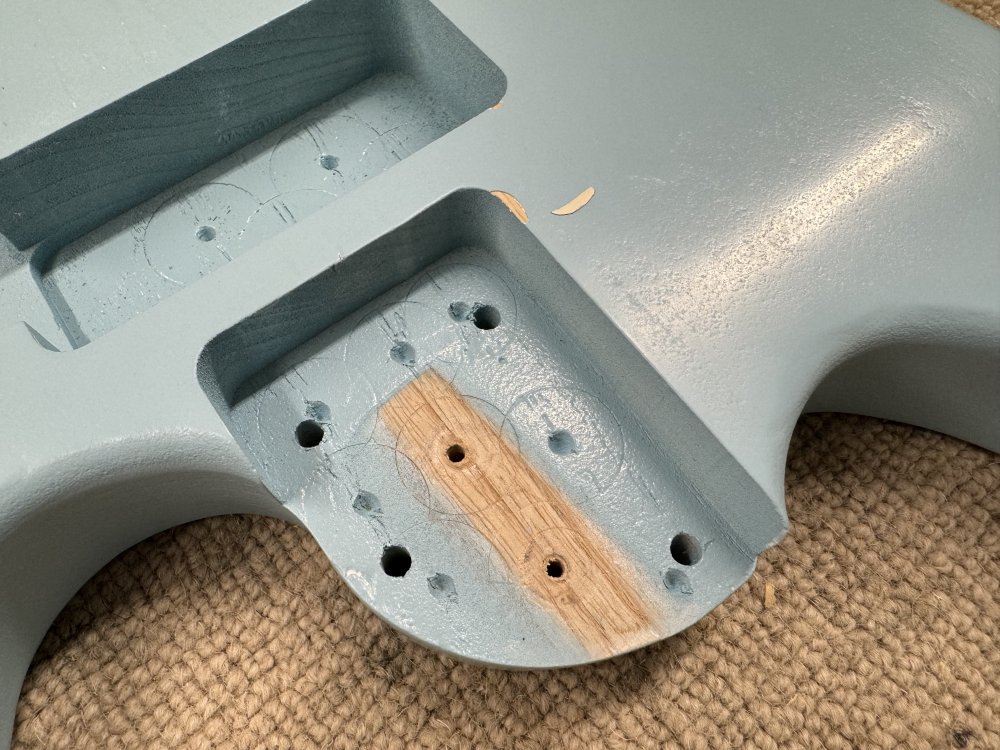
In theory the neck should have fitted, but now there is paint in the pocket and oil on the neck, it no longer goes in, instead sticking half way, and as I removed it the paint caught here. Again, not the end of the world as I can touch it up and this part us under the pick-guard, but just yet more reason to avoid paint in the future for me give my lack of expertise in this area.
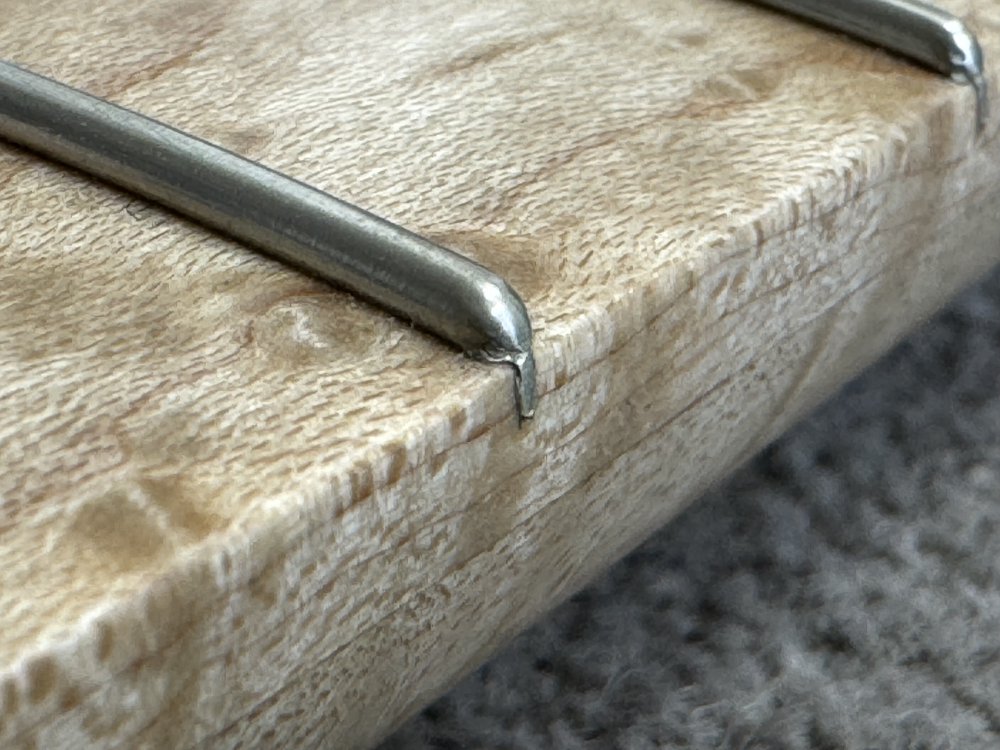
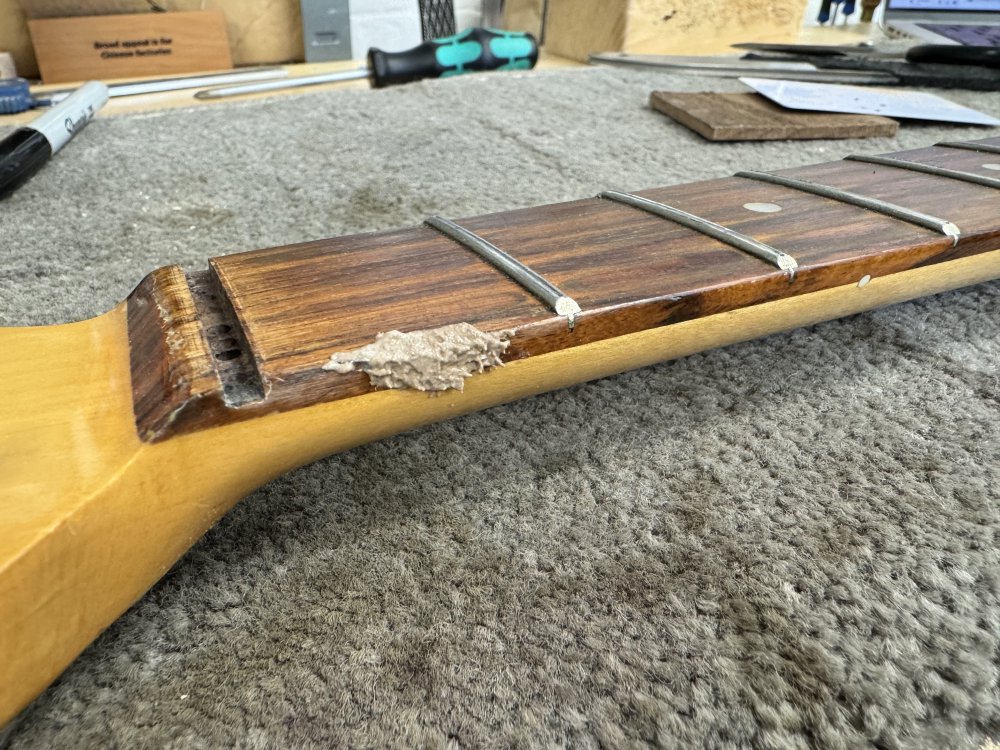
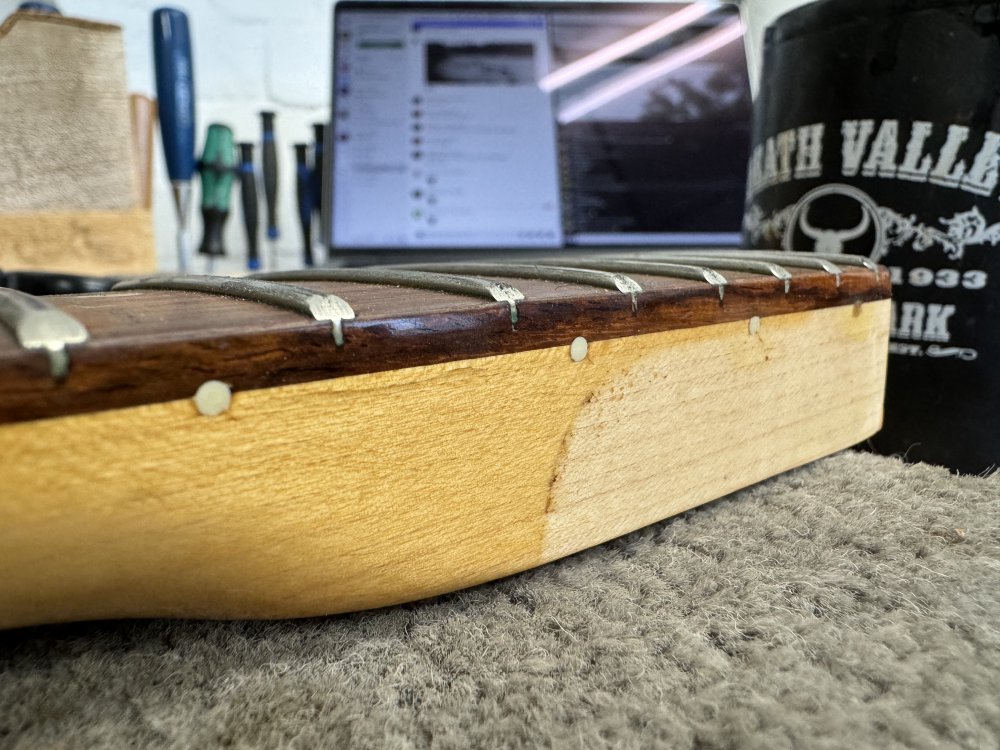
Low: fret growth
I was going try mix in highs and lows more (there are more highs coming), but the narrative of events means we get another low here. The wood on the neck for Hästen has shrunk slightly, I guess as a response to being oiled, and now the fret ends protrude ever so slightly, and given how much I care about the impact of frets on playability (one of the major lessons from my earlier builds), I can’t let this slide, so I’ll have to bust out the file and re-do them.
It’s hard to see with the naked eye, but there’s one of the worse example on the neck with my phone’s macro mode:
This at least gives me an excuse to also narrow the heel of the neck to get it to git into the neck pocket.
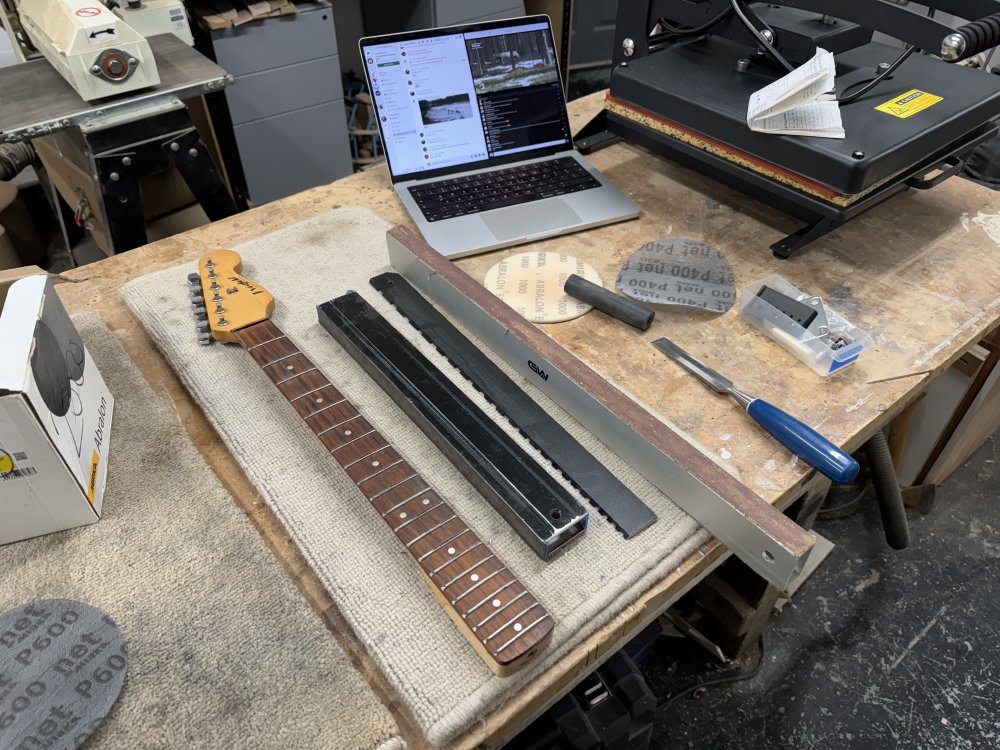
High: cutting nuts from blanks
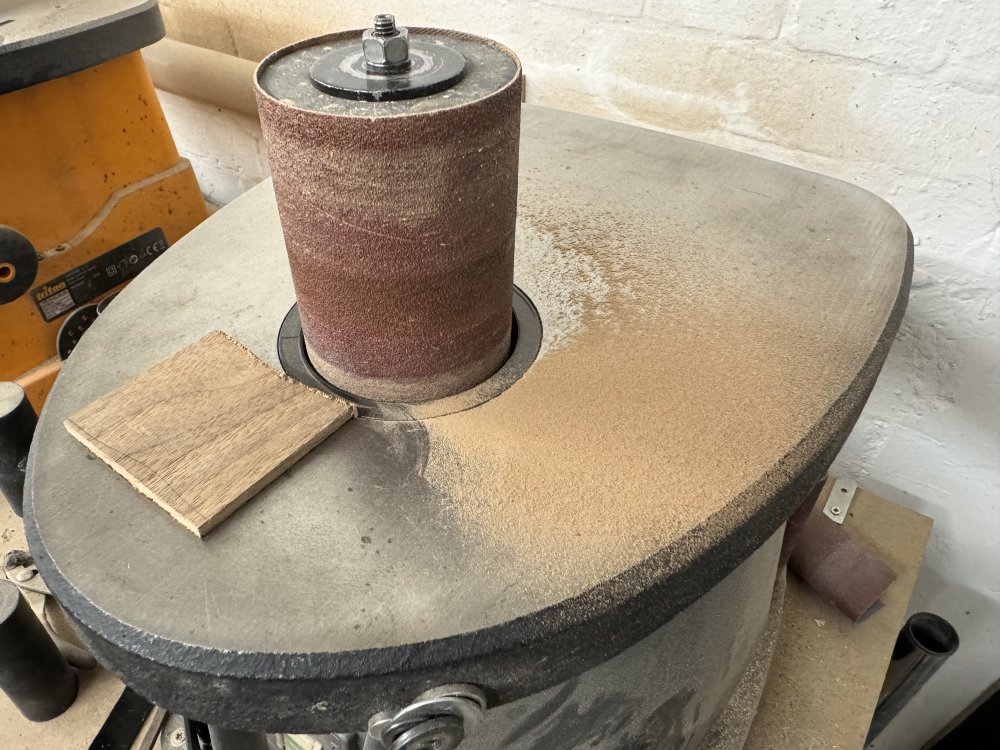
In general I’ve bought pre-shaped nuts for most of my guitars, but for the current batch I thought I’d try making some from bone blanks that are just large over-sized rectangles. This was driven by the fact that because of how I cut the frets, I’ve not been that consistent with my nut slot widths, and so it’s just easier if I can get a set of oversized blanks and make them fit. The main tool for this is the disk sander!
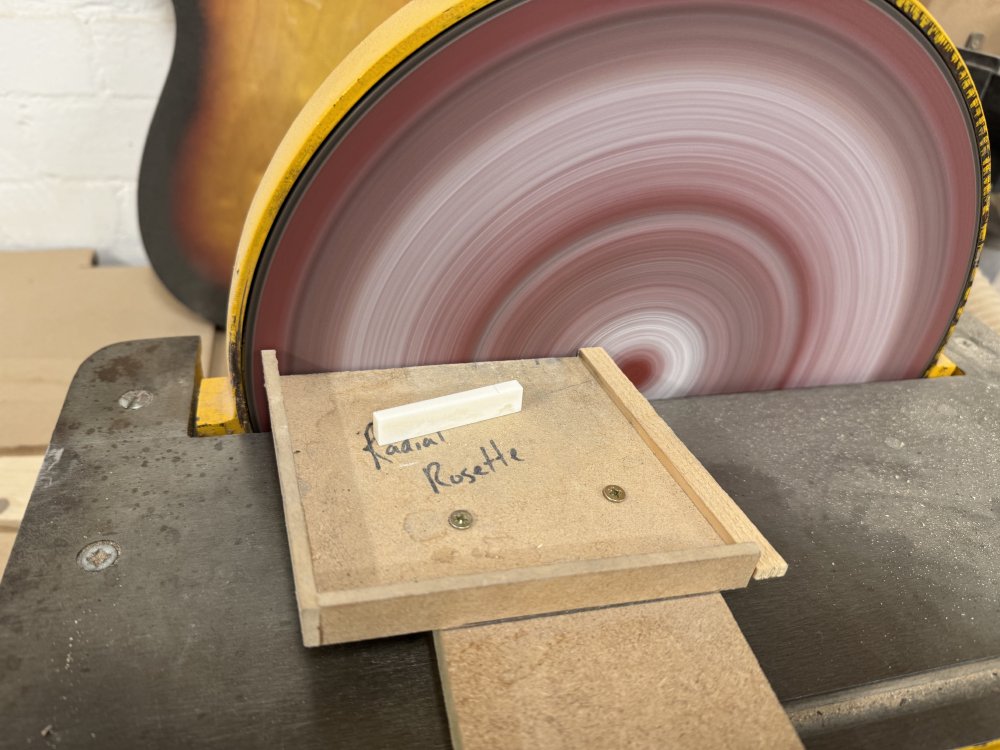
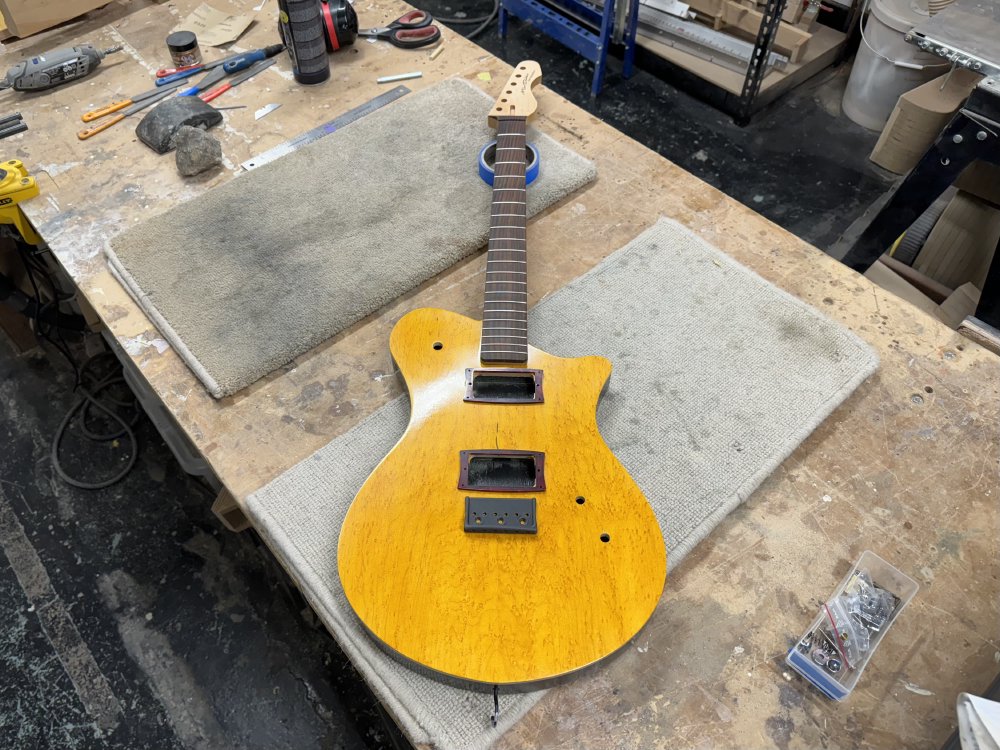
I did this for both Hästen:
and for the childhood strat clone I’m fixing up, which you can see here at the midway point to shaping (it first the slot profile at this point):
and then once shaped further:
I still have the slots to cut, but that’ll come when I’m adding strings.
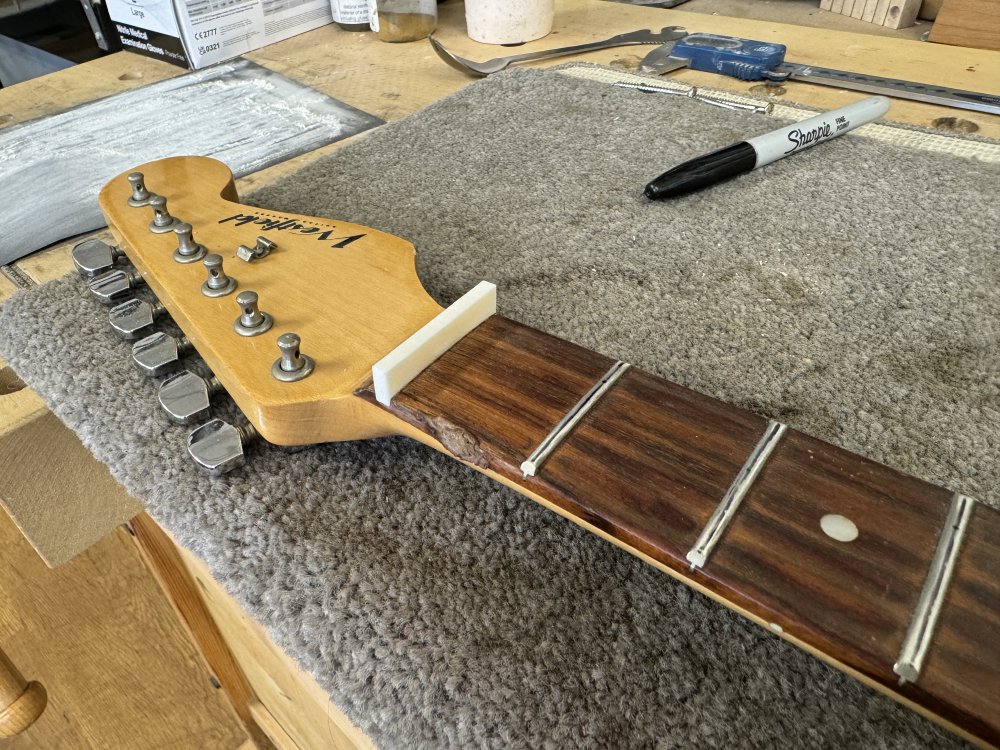
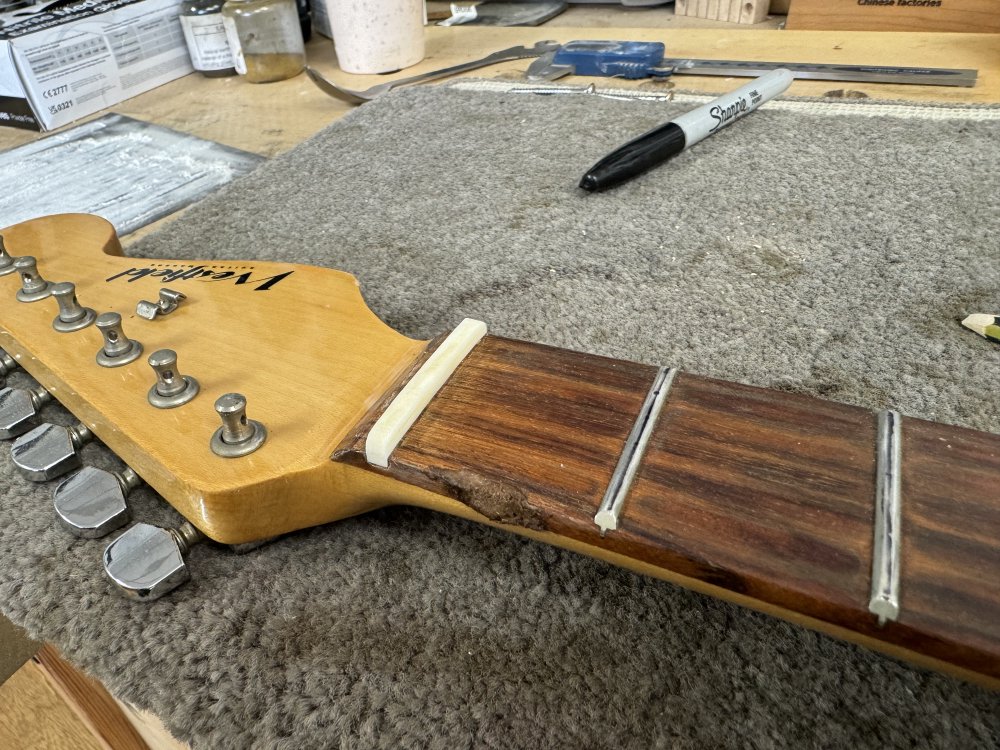
High: getting the old nut out from the strat clone
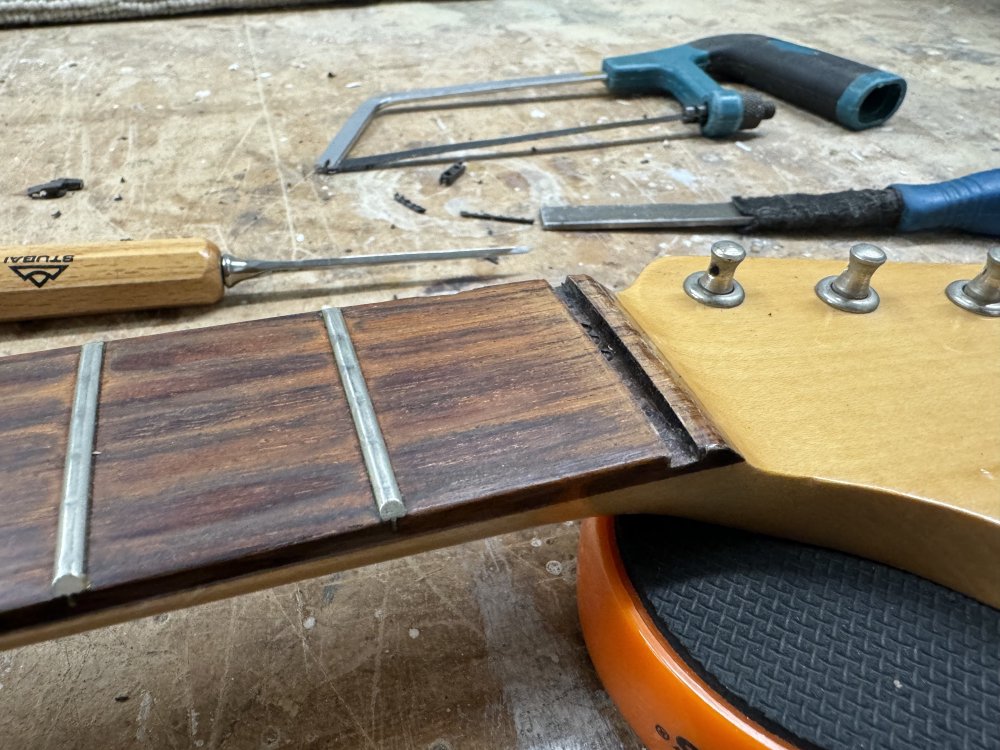
One of the best highs from the week was successfully getting the old nut out of the strat clone so I could put that new nut in it. I mentioned previously that it was held tight with glue, and made from plastic, so I couldn’t apply heat to melt the glue.
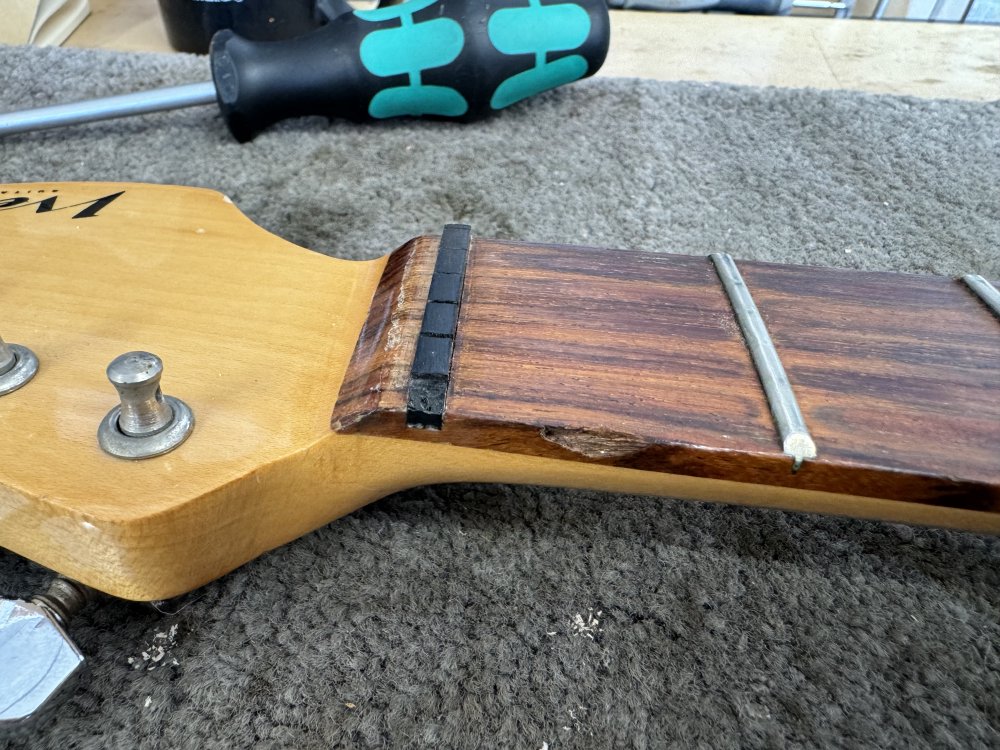
In the end I followed Matt’s advice and I first drilled out as much of the nut as I could, using the depth stop to prevent me going too far:

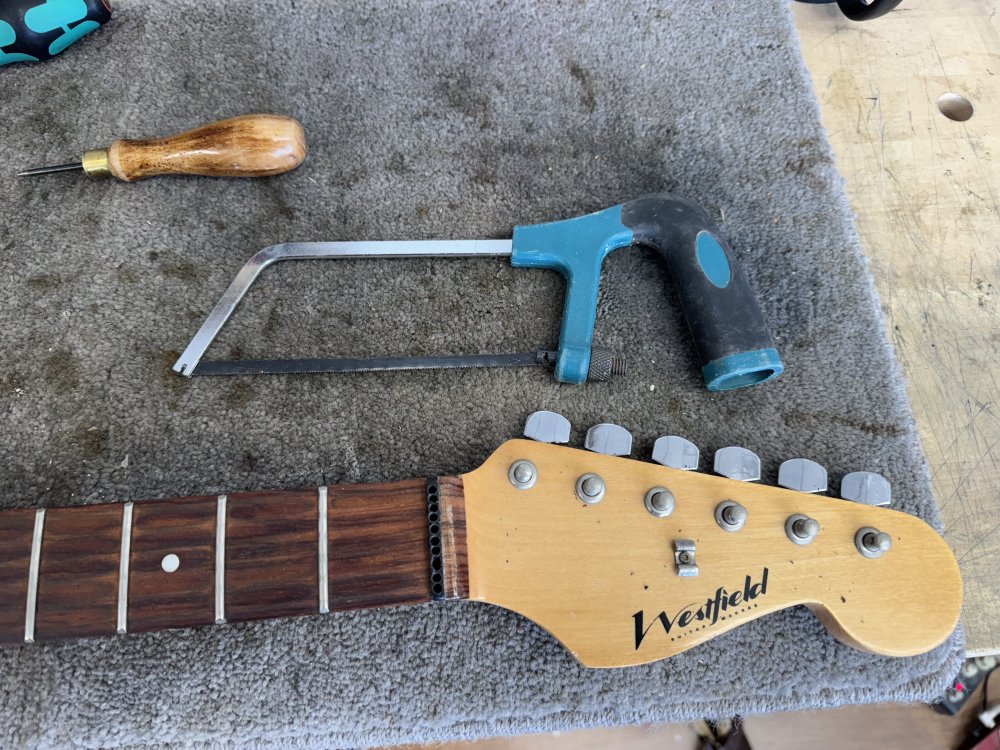
I then used a hack saw to remove everything proud of the fretboard:
And then I used a fine chisel to remove the rest:
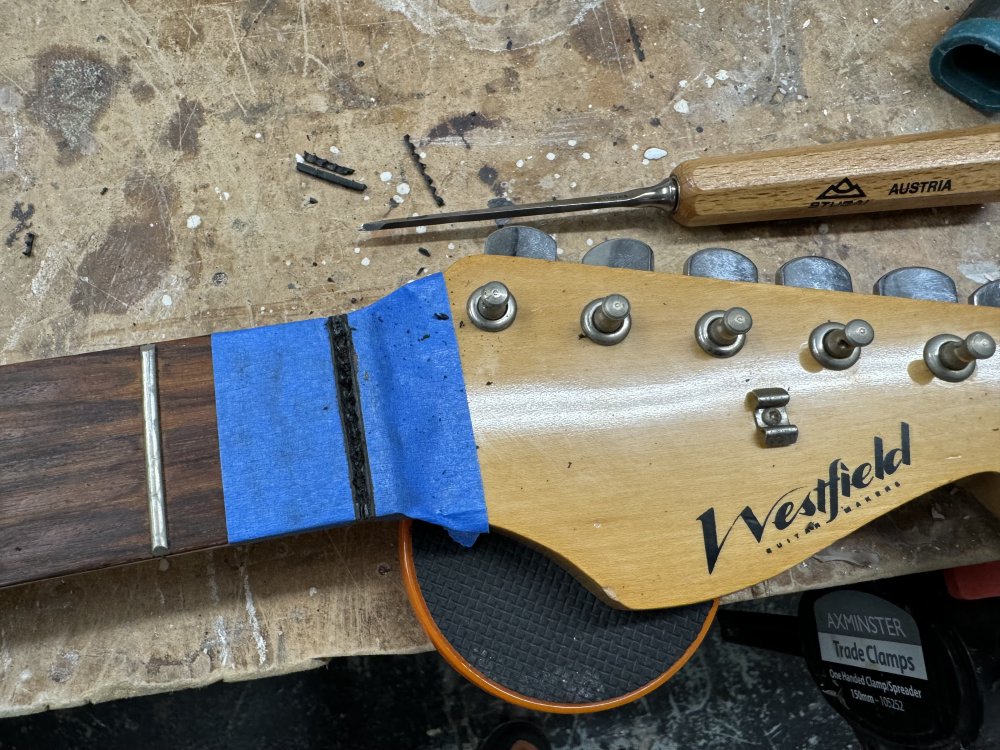
All of which worked a charm!
I ended up with a nice clean slot ready for the new nut to go into.
High: tidying up the strat-clone’s fretboard
Technically this stage should be neither high nor low, as I’m not totally finished, but I’m going to snatch what positives I can from this week, and this certainly hasn’t been a failure.
First up, I did a light fret re-crown job, as over thirty years the strings had work into the frets at the cowboy-chord end of the fretboard, creating little divots in them.
I didn’t want to go to crazy here, as the frets are reasonably low profile, so I did a very light levelling until I could just no longer see the dents, and then rounded them over again. The next stage will be to polish them, but that is waiting as I’ll have some other bits to tidy up on the fretboard and I want to just do this once!
That other bit? I filled the chip in the fretboard that I assume was damaged at the same time the nut was cracked. For this I used a mix of rosewood dust and wood glue: thankfully I keep a small number of offcuts from prior builds for just this sort of occasion.
The rosewood dust mixed with wood glue then makes a paste to fill the chip with. You want to layer it on somewhat thick, as it’ll shrink as it dries, but you don’t want to go too crazy as you need to clean up the excess later.
Once dried this will be darker than the original wood as it is, but not so much so once I’ve re-oiled the fretboard.
If a mistake happens in a guitar and no one sees it, did it really happen?
A lot of any making is about rolling with mistakes. They happen all the time to all makers, and the challenge is how you push forward. I was amused to note that the inlay markers on this strat clearly went wrong in production, slowly getting lower and lower until they’re actually below the fretboard line:
But you know what, in the thirty years this guitar has been in the family I never noticed, as it was in a place where you’d never see it. Of course ideally every instrument will be perfect, and I’d not ship something like this myself given how much I have to charge for a guitar build, but the principle is still there somewhere: you may end up with something that isn’t your ideal, but if you can roll with it, update you plans, and still get a great instrument at the end of it, then it doesn’t matter that something went wrong, just that you kept going. I’m terrible for getting down when things go wrong, but I’m fortunate I have other people around me to help me realise this, which is one of the benefits of working in a shared workshop.
Anyway, next time you think things are going wrong on a build, take a break, step back, and work out how you might get things back on track. The only person who knows that what you shipped isn’t what you had in mind is you.