A Week in the Shop
Published 4 Jun 2023
Tags: finishing, hästen, makefest, neck, staining, vertstaden, yellow
Another long post this week, as I managed to put in a bunch of extra hours as I try to get a second guitar into some form of shape for Liverpool Makefest. I still don’t really have a sense of what I want to say this year at Makefest: I suspect most people will be happy to see Älgen in playable form for the first time after I exhibited it as an in-progress build last year, but I think the narrative for Älgen has stalled a little in my head, so I’d like to have something broader to say, and so I’d like to have a more conventional guitar that also has some 3D-printed parts on it, to show things as a sliding scale.
Hästen
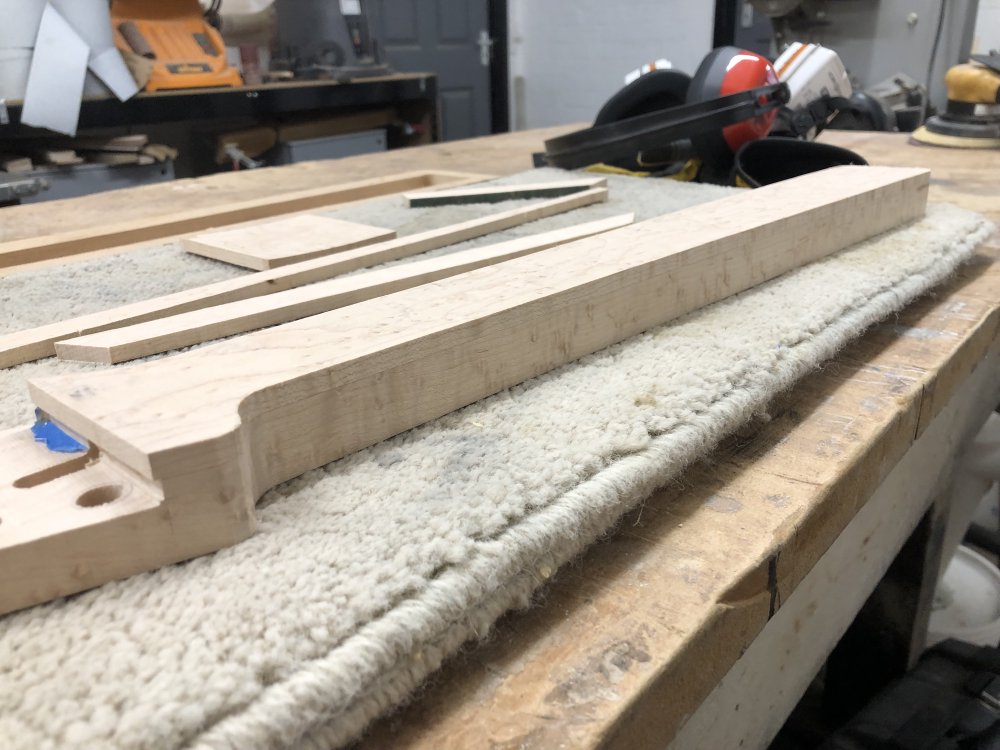
After last week’s mistake and recovery when working on the neck for hästen, I was hoping for a more chill week in the workshop. It was alas not to be, as the old adage that things come in threes came to lurk over me. When we last saw the neck, I’d clamped it to glue the fretboard on, and so the start of work this week was to remove the innumerable number of clamps and check how my glue job was:
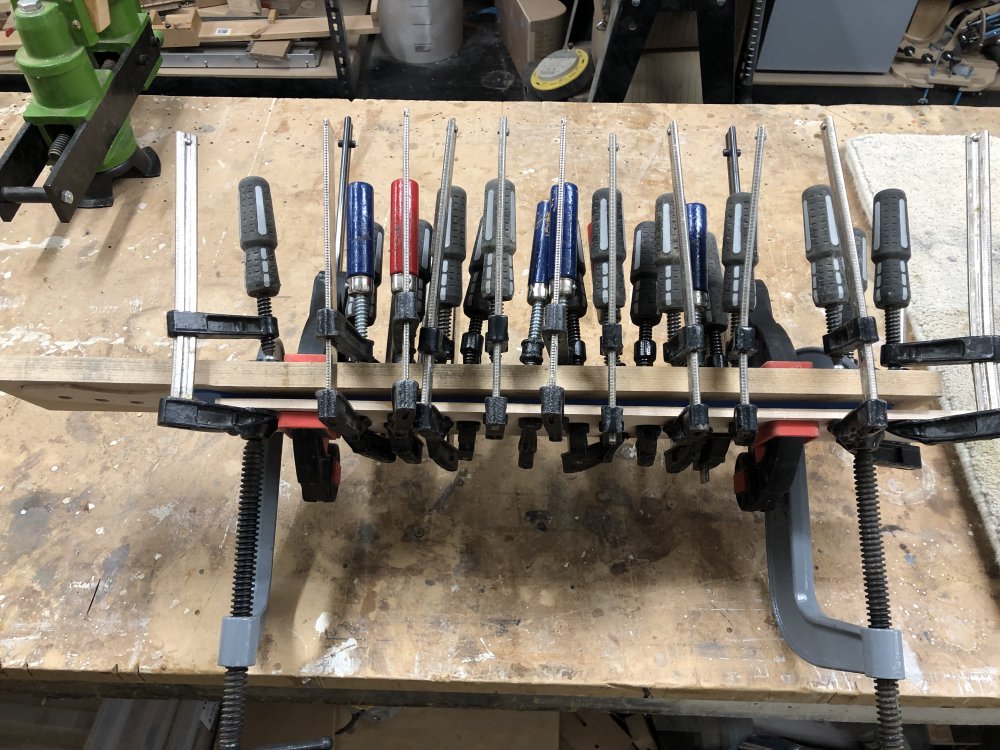
Upon removal it was actually hard to tell how well the glue-line had gone, because I’d added masking tape all the way around close to the join to try reduce glue drips whilst it was clamped up:
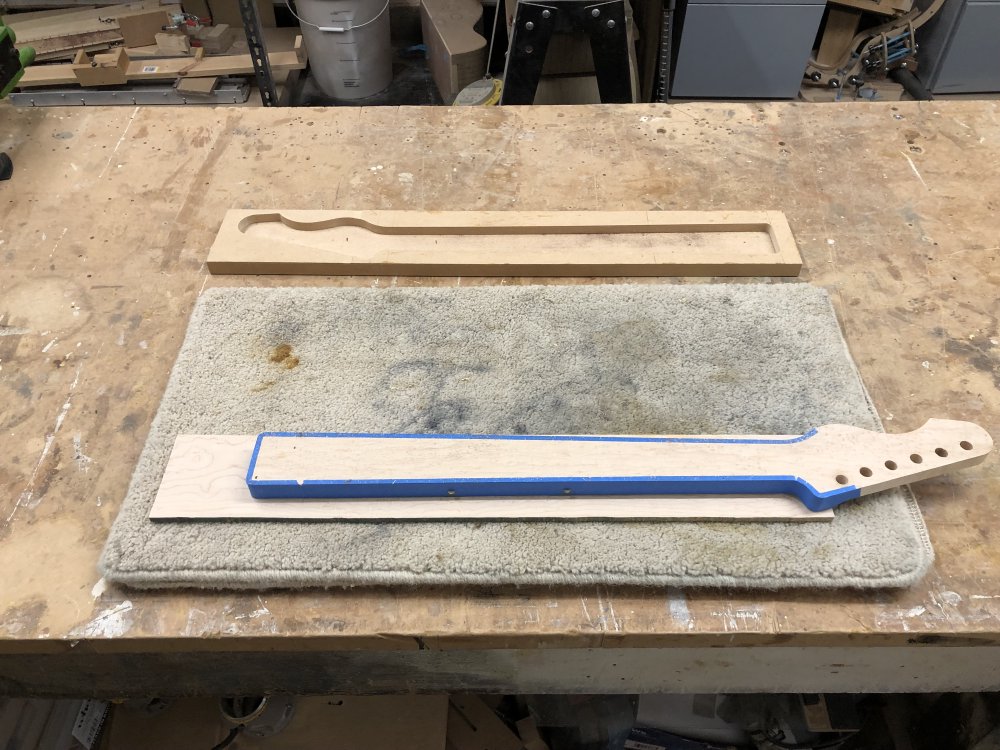
The first task was to remove as much of the excess fretboard material as I could with the band-saw:
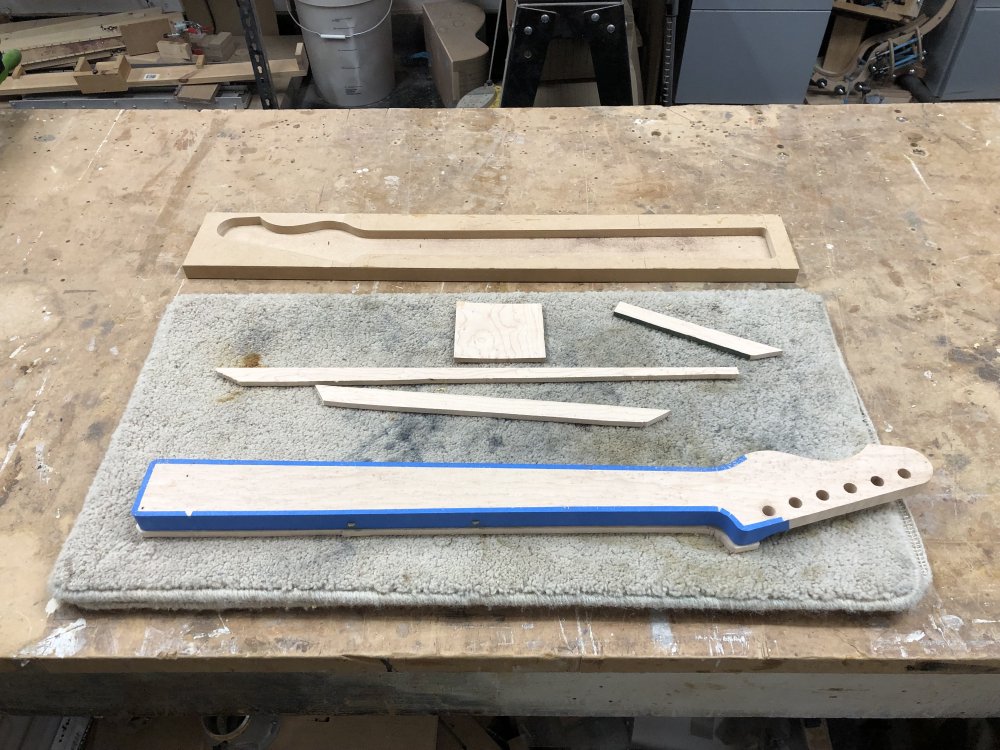
Watch out for that square off-cut, it makes a guest appearance later on :) I removed as much of the masking tape as I could, but some of it was stuck down by those glue drips that it was there to keep off the wood. But the important bit was to just get most of it off so that when I did the next phase, using the router to trim the fretboard flush, the guide bearing on the router bit would be following the wood profile and not going over any tape; the last bits would be removed by the router as I trim the fretboard flush.
A go around with the plunge-router meant I could finally see how the join had gone, and I was delighted to see it was a perfect join, and the two bits of wood complement each other well too. I’ve only had one neck not join properly, but one is enough I’m always eager to see how well the glue line looks.
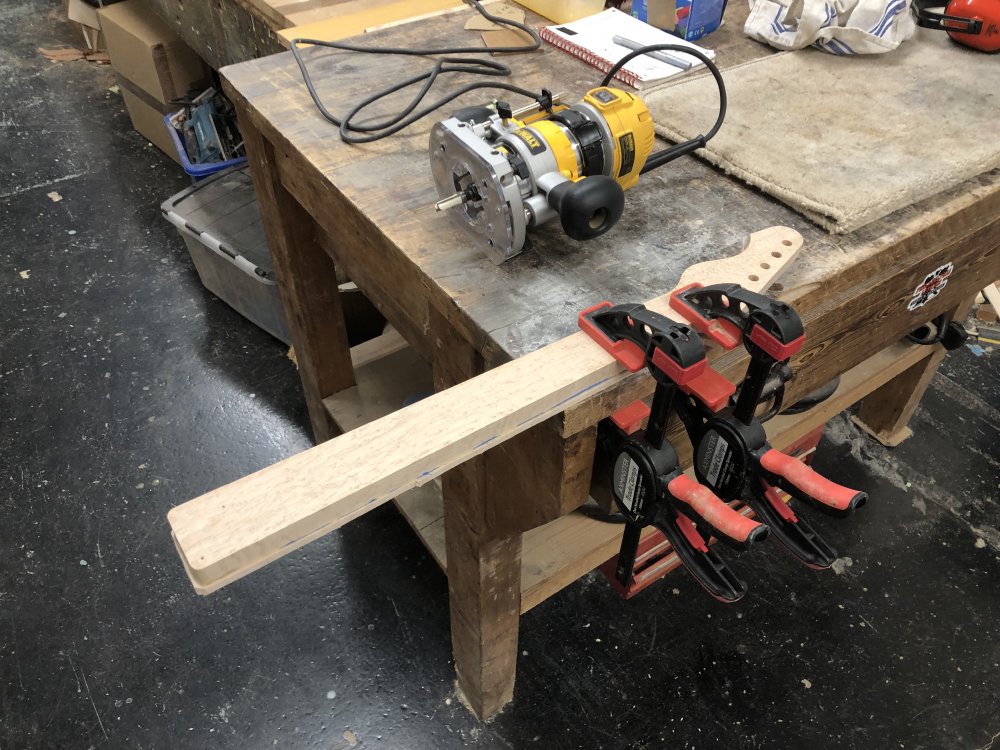
After that initial success, frustratingly the next stages went less well. Firstly I tried to put in the headstock transition, and discovered an entirely new (to me) failure mode.
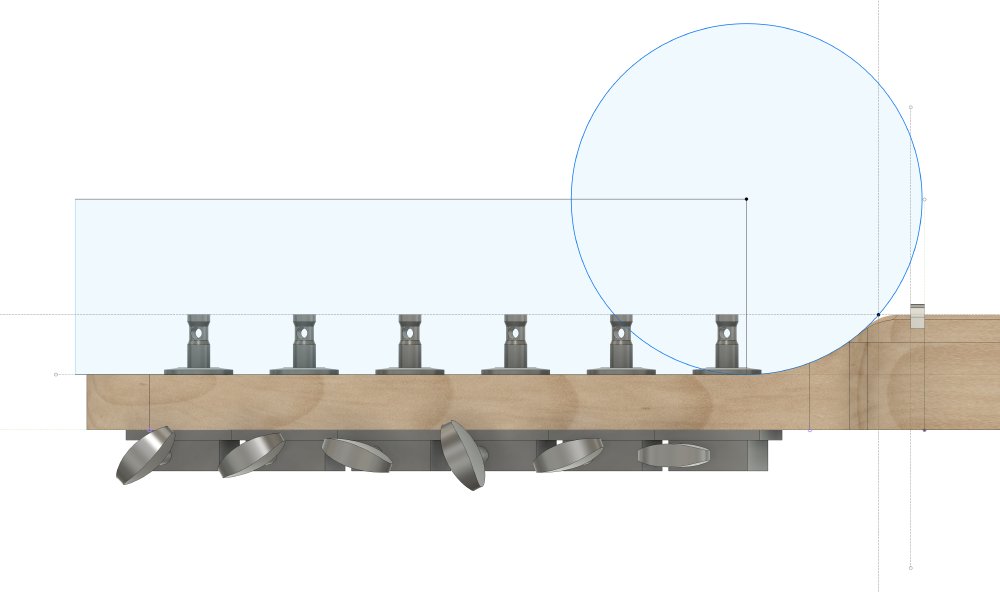
Because I cut the headstock face on the band-saw, you have the step up from the headstock face to the fretboard level, and that needs to be rounded out. The way I do that is using the largest radius spindle on a standard spindle-sander; I actually have that diameter plugged into my CAD model for the guitars:
So over I went to the spindle-sander, and started to work in the transition, checking regularly as I go that I’m keeping things well aligned, when I noticed that I was getting some scorch marks on one side:
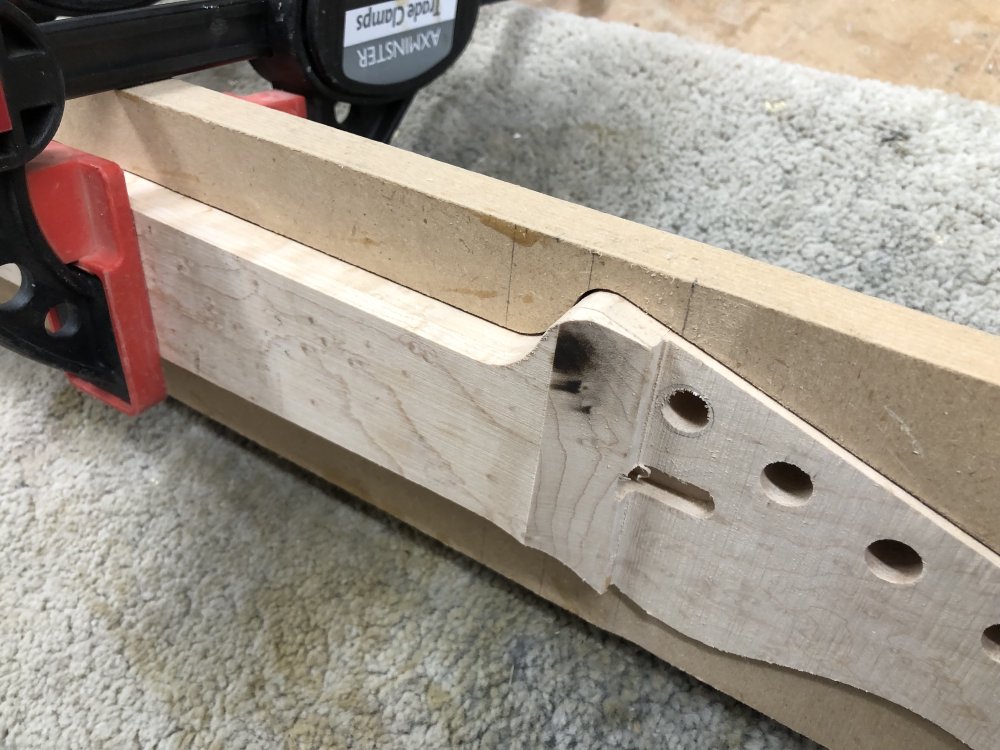
I thought perhaps I was just putting too much pressure on the part as I sanded it and started again with the idea I’d be a bit more lenient, but the same happened, and then I noticed that it had got so hot that the fretboard started detach from the neck as the glue was melting 😬
I was trying to figure out what was going wrong, when workshop-mate Matt stopped by and pointed out that I was using a 125 grit sleeve on the spindle sander, and that it was pretty worn. Unfortunately we were out of 80 grit sleeves, which is why I’d made do with 125 grit ones, but I suspect this one had been used enough it was approximating a much higher grit than even that, and that was the source of the excess heat.
So I ordered some new 80 grit sleeves, and set about dealing with the de-lamination on the neck. Thankfully the split part is just short of where I’ll be removing material anyway, so I’ve not yet damaged the bit that will be left. But to avoid any tearing along the join on my next attempt, I decided to glue the join back down as best I could. Thankfully our wood-scraps bin had an almost perfectly shaped bit of wood to let me clamp down with:
I said trouble comes in threes, and we’re at two mistakes on this neck so far (including last week’s snafu), and the third happened once the glue had dried and went to sand smooth the face of the headstock, which was the next task on my list. This time I had the inverse failure mode, where I went from having sandpaper that was too smooth, to sanding disks that were too aggressive…
I was trying to remove the bandsaw marks from the headstock face ready for laser-etching, and I was struggling to make progress, and realised that the sanding-disks I’m using I’ve been using for a good while, and probably need refreshing. But again, I didn’t realise how old they were, and so when I switched in a new 120-grit disk I removed a lot more than I intended. This wasn’t helped by me using a padded sanding-block, so I also took more off along the edges than in the middle 🤦🏼
Thankfully, because I was doing it by hand and I cut the headstock a little thicker than it needs to be, it’s not as bad as the time I did this using an random-orbital sander where I ruined a commission neck by making it too thin and had to start over, but once again I’ve just made more work for myself, and it’s not like I was short of things to be doing.
At this point I threw in the towel for the day on the neck and went to do some different things: sometimes it’s good to persevere, and some times it’s just best to walk away and come back to things another day.
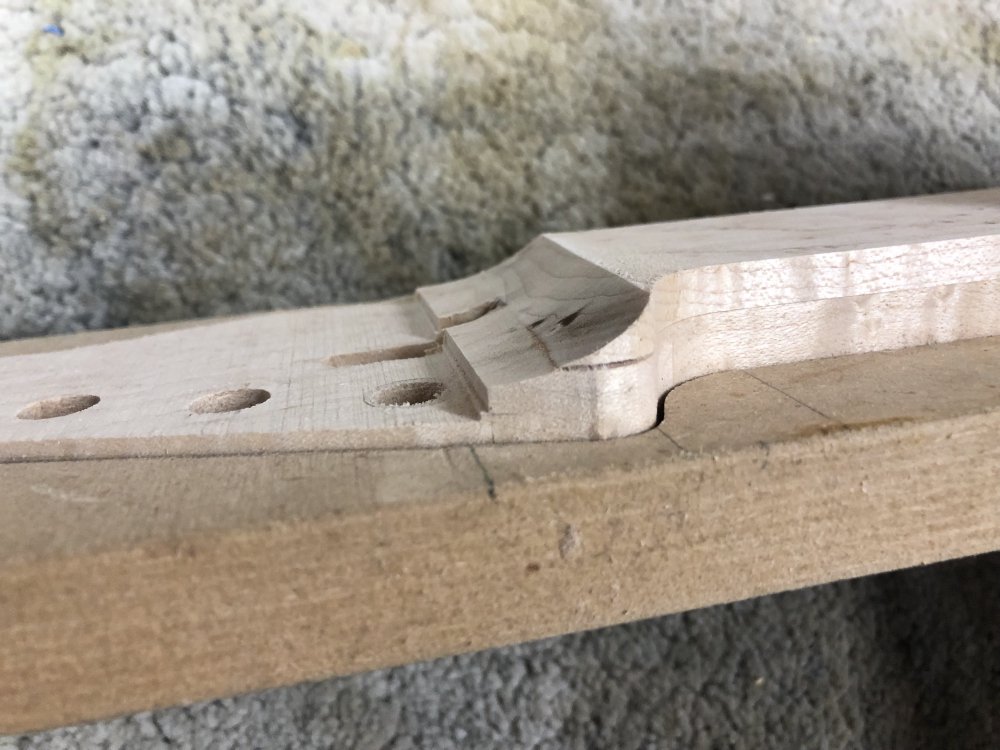
Once another day arrived, after I took delivery of some 80 grit sleeves for the spindle-sander, I started by trying to resume making the headstock transition, and to see if both my patch work would prevent further issues and if the burn marks were just superficial. Thankfully, after a few minutes, I got the transition to where I wanted, and all was looking good again:
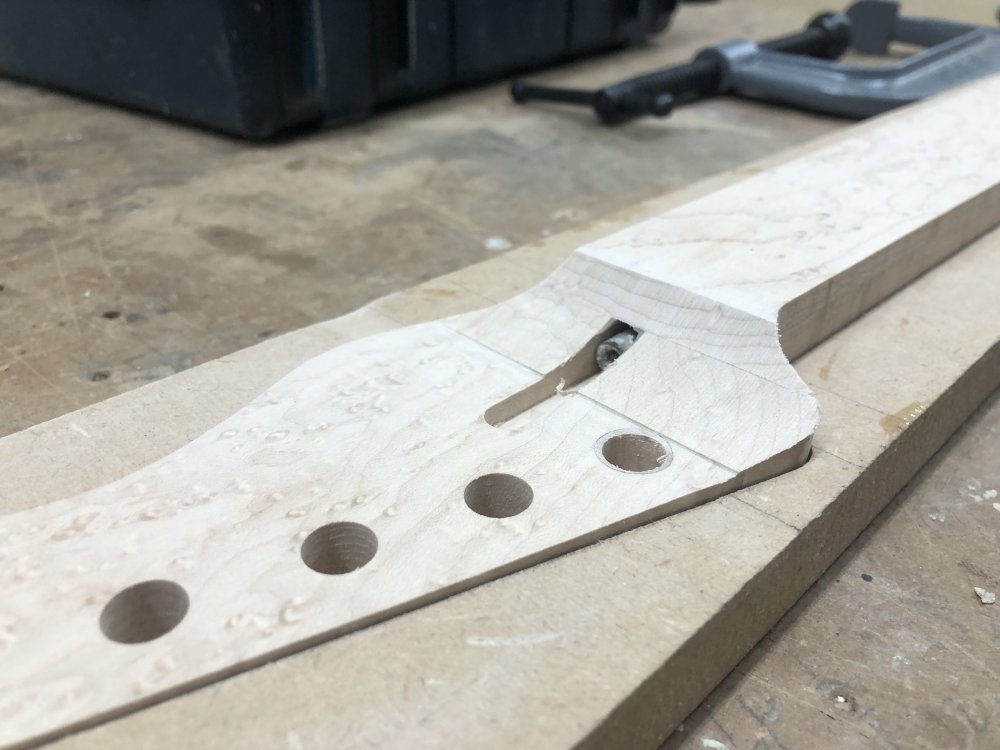
There’s still a slight step down as you can see, but I’ll sand that out (carefully) by hand as I do the tidying up once I’ve laser-etched the logos. My main concern was about the glue line, but that seems tight still, so thank goodless I originally stopped when I did.
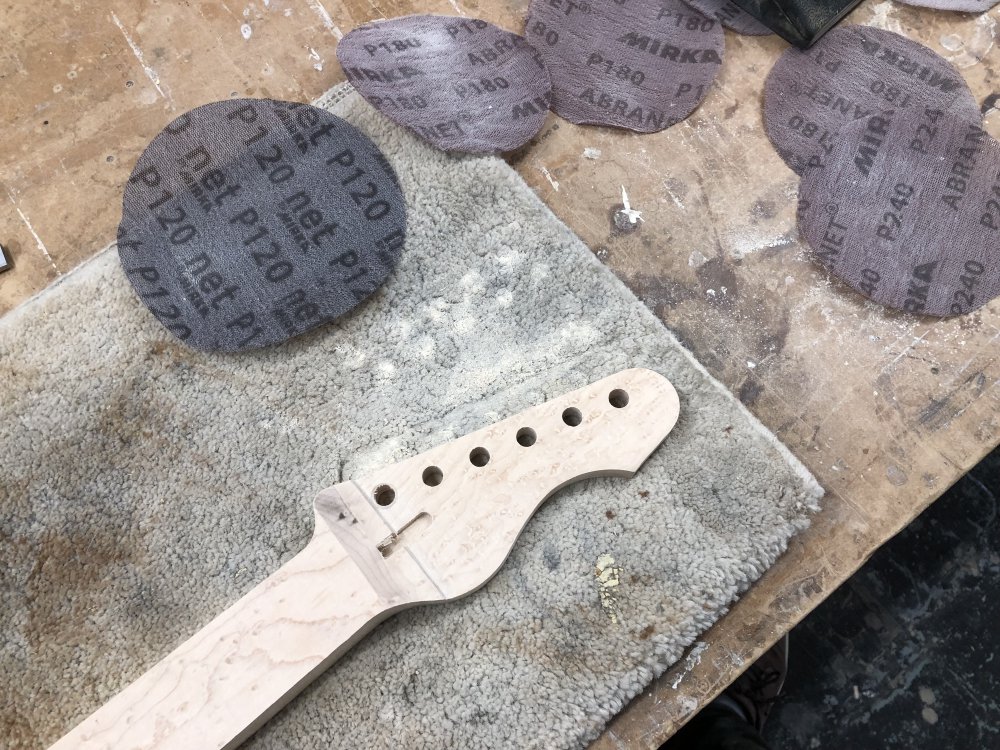
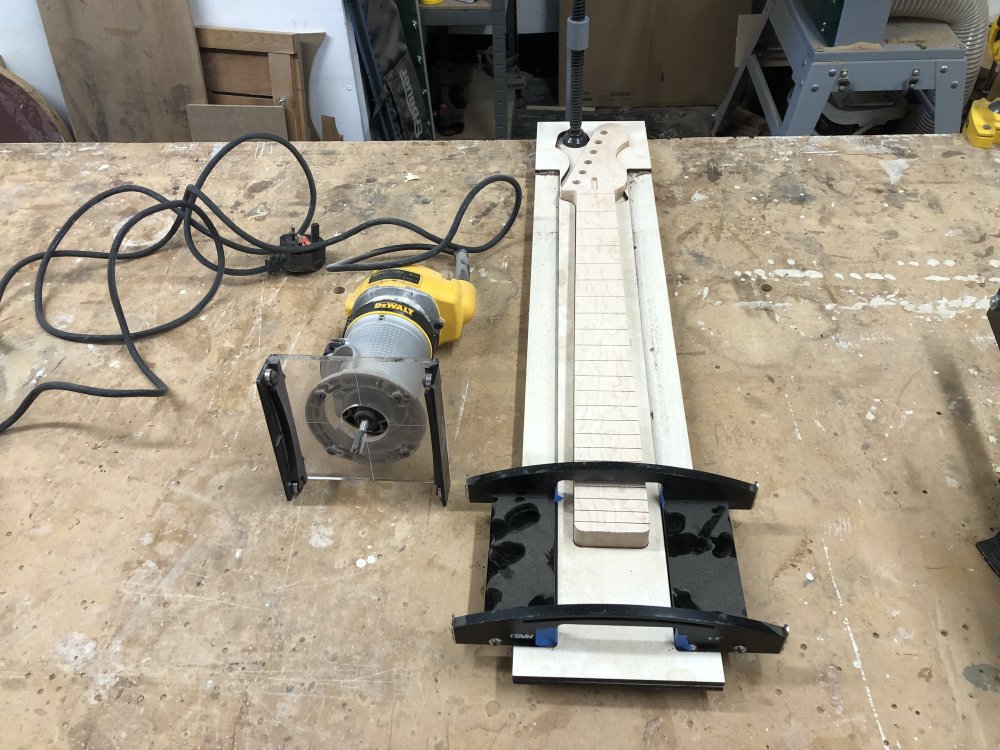
With the transition done, the next job I did was to cut the fret-slots, as these are then used for references for several of the other tasks down the line, such as inlay positions, and it means I can start positioning the bridge on the body. I used to have a neat way of doing the fret-slots by laser-etching an initial guide for the saw, and then cutting them by hand, but these days I take advantage of the setup in my new workshop which is much more efficient and accurate versus hand cutting them. It’s less cool perhaps, but frets are one of the few bits of a guitar you have to get right, and so in terms of making a better instrument, the lasers must stand down for this one.
In the workshop we have a table-saw setup dedicated to the task of cutting fret-slots. It has a sled on the table on which you put the neck, and on that sled is a locator pin for alignment, and then we have a series of notched metal plates for the different scale-lengths, and we stick the appropriate one to the neck. Here’s me sticking the one for the 24" scale-length of Hästen to its neck:
And here’s a picture of the neck next to the table-saw arrangement once I’d cut the slots:

The nice thing about this is not only do you get the fret spacing perfect, you also get each slot cut to the right depth too. The only thing it doesn’t do is cut the slot that represents the other side of the nut-slot. For that I use a jig and a handsaw still.
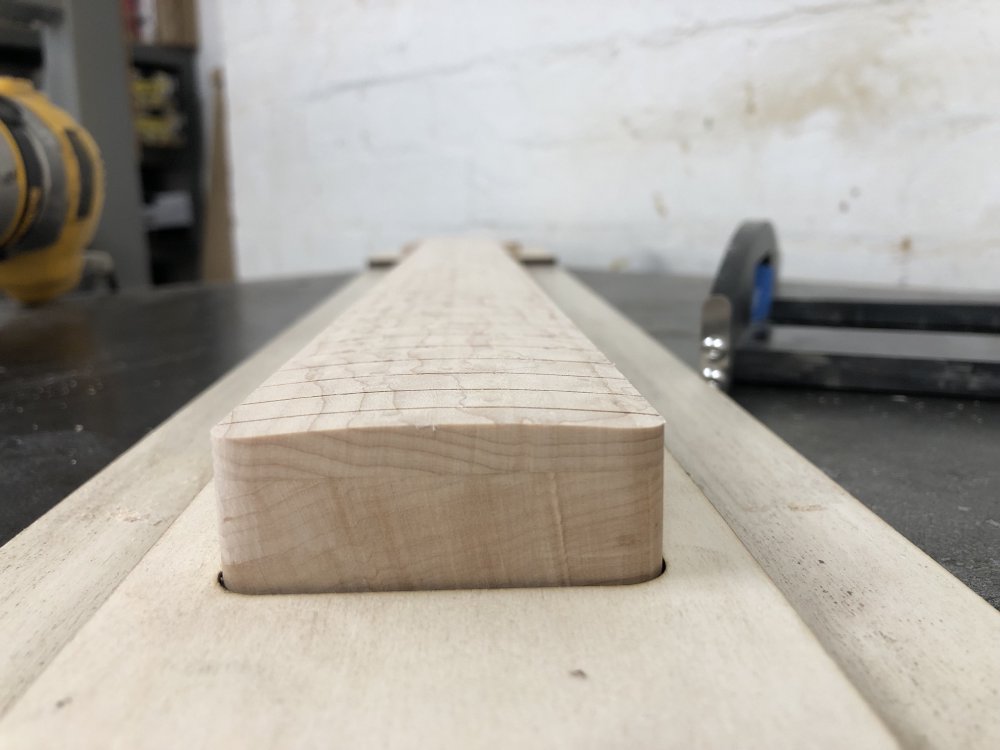
With the slots done, the next thing I’d normally do at this point is do the dot-inlays on the face, but for this instrument I’m skipping those, so I can jump straight to radiusing the fretboard. Normally I’d also do the side inlays at this point, but I discovered I was out of the black inlay material I wanted to use, so that’ll have to wait until next week. For the fretboard radiusing I get to use yet another power-tool and jig combination:
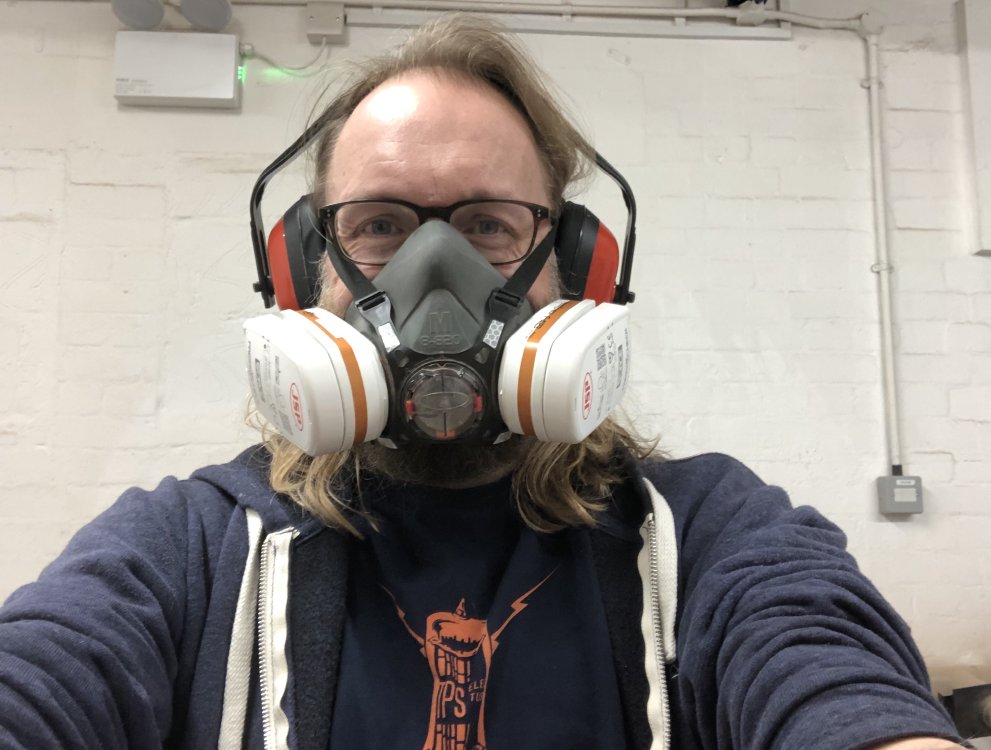
Normally in my pictures of the workshop I try to include my PPE to one side, but I basically had it on most of the day in the workshop, so here’s some proof that I was using PPE!
Now I had proof I was being safe, I could radius the fretboard:
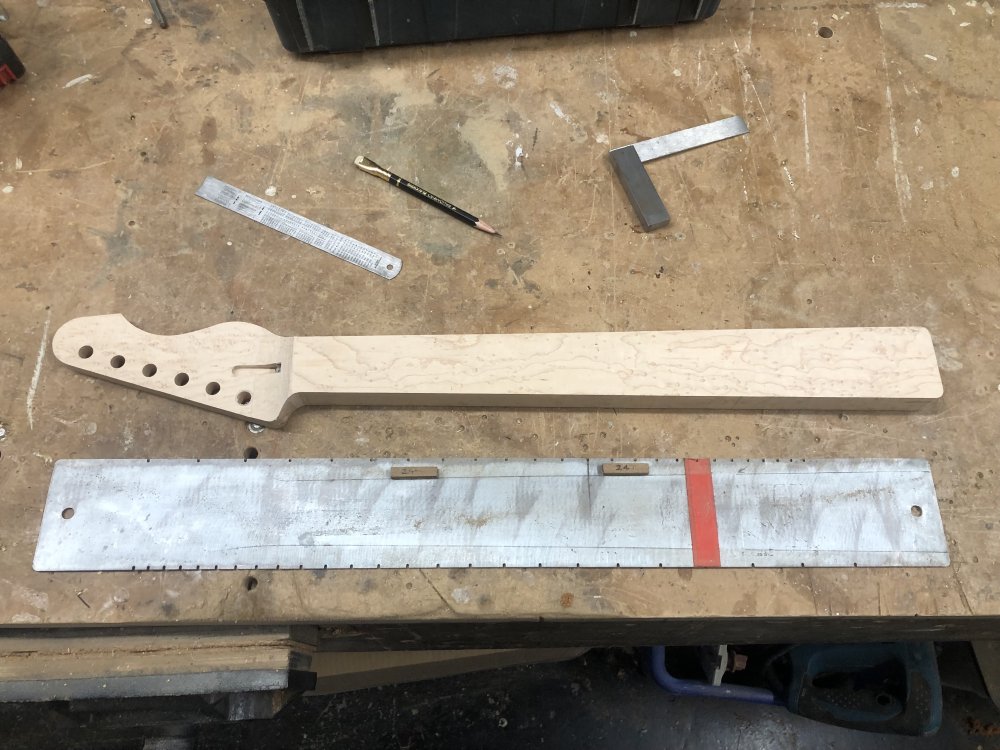
And that was a wrap for this week for this build. This neck has come along quite quickly (for me), but there’s still a couple of days work still to go on it, not least of which will be the manual carving of the back of the neck and then the fret-work!
Verkstaden
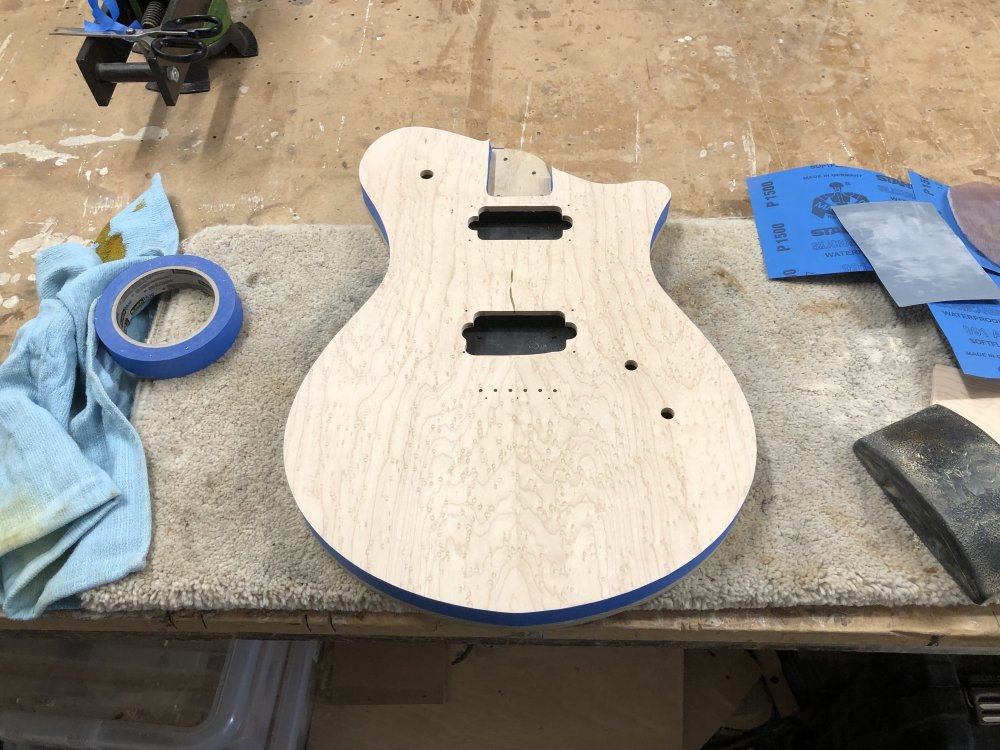
Last week I applied grain-filler to the body for Verkstaden, and so this week I started by removing all the surface crud that was left and sanding it smooth,
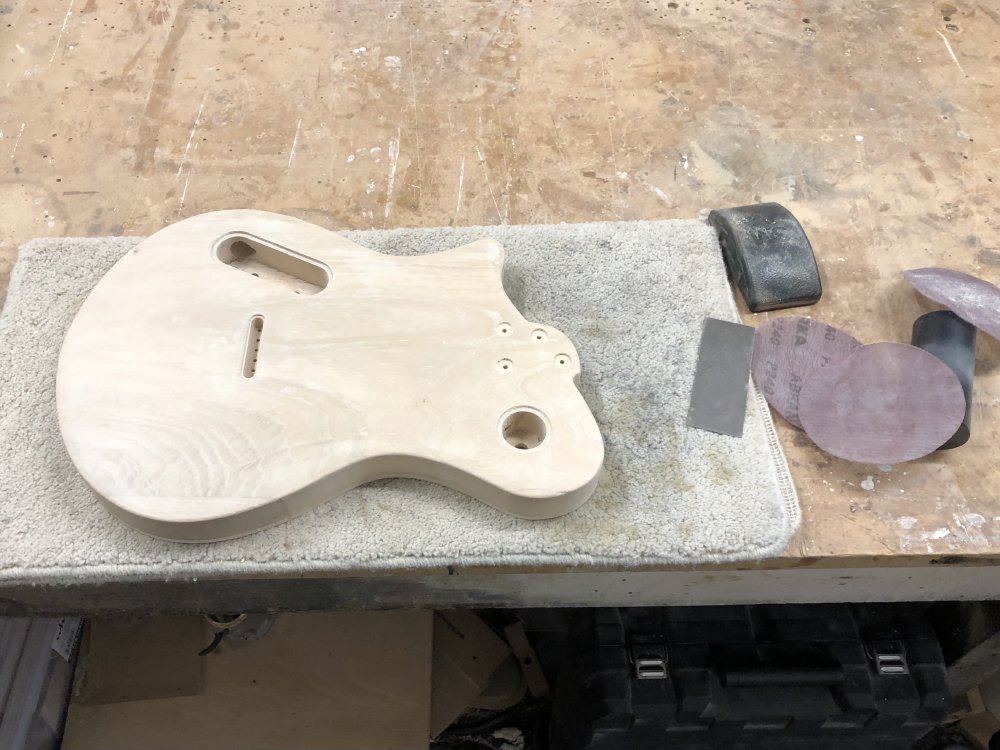
Just to avoid confusion, this body is for a different guitar from the neck I’m making :) The neck for this one is actually finished, bar head-stock logo and having a finish applied. But I digress: here you can see a close up of the result of applying the grain-filler: the grain is now, erm, filled:
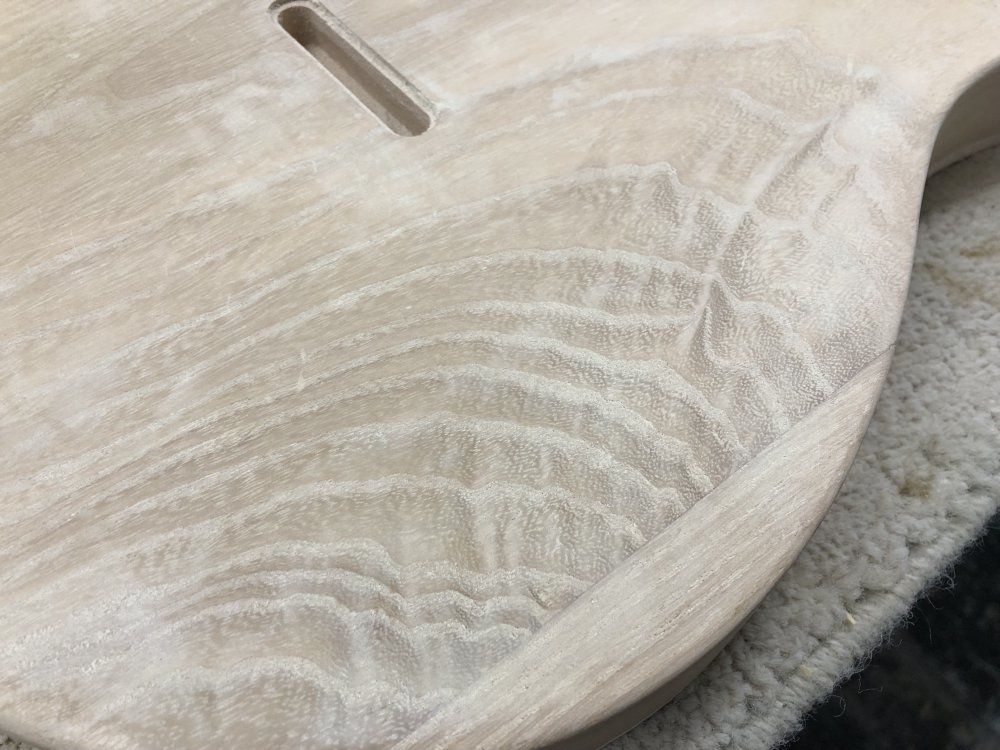
Once sanded it quickly took ok a very smooth feel. I don’t mean smooth like 2000 grit smooth, but smooth as in uniformity in surface height. Once painted I expect you’ll still see some hint of grain, based on looking at other guitars that have been built this way, but it’ll not hearly be as obvious as had no filler been applied. And this is fine by me - I generaly don’t paint my guitars as I like to show the wood underneath, so having some hint of what’s under the paint is fine by me.
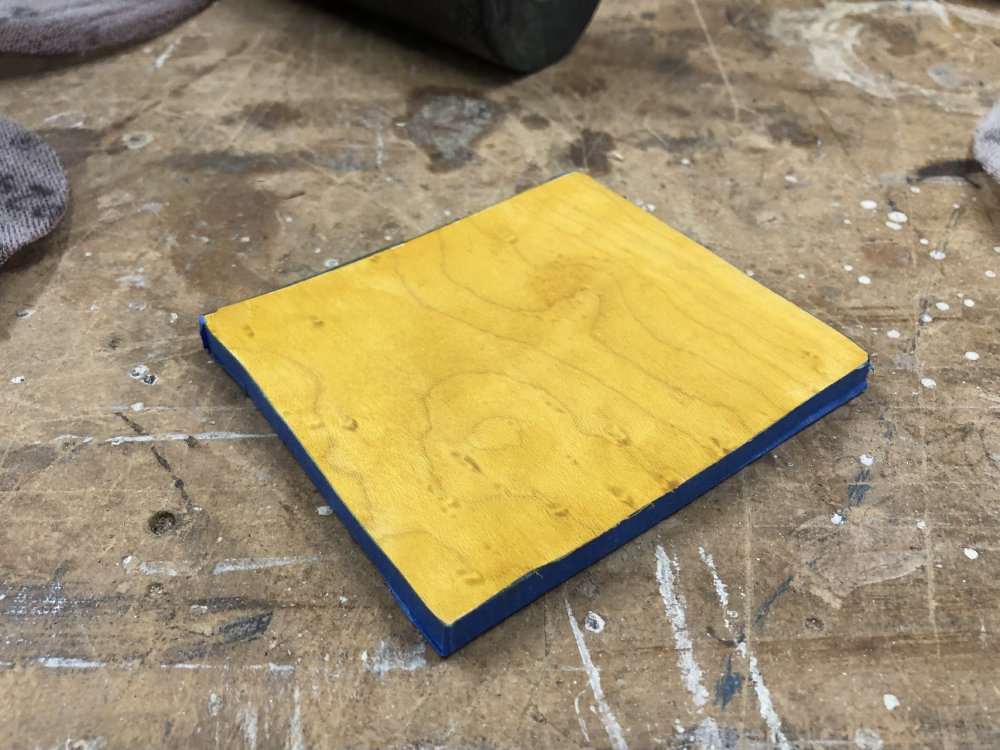
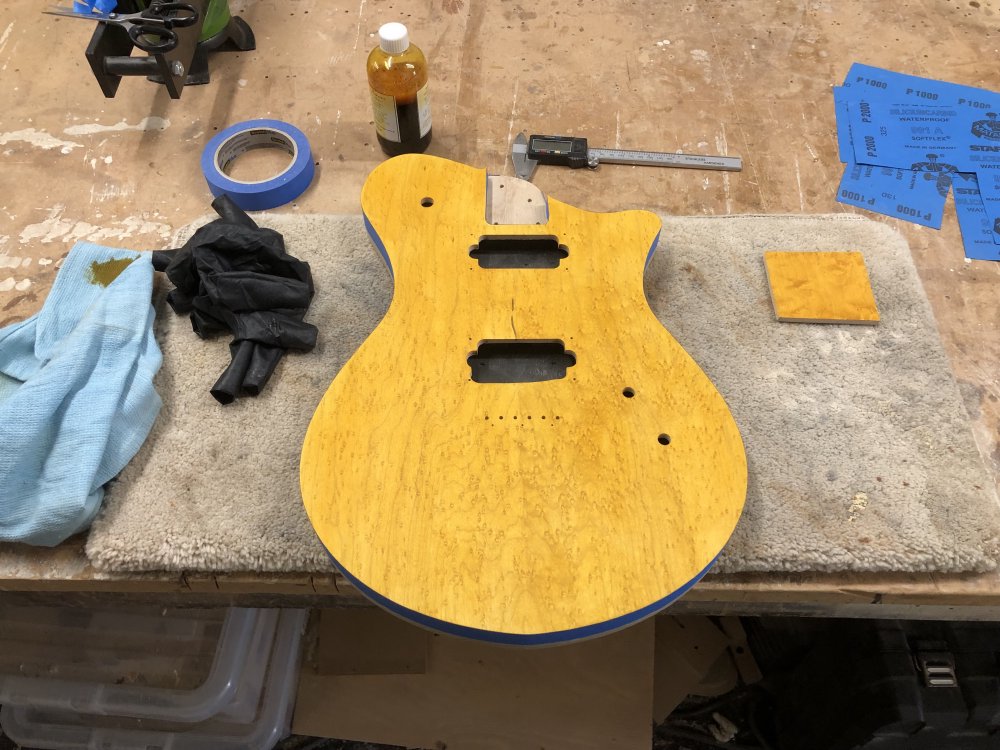
For the front of the guitar, after a bunch of experimenting with different dies and even trying bursts, I decided to just go with a solid colour. As my other half pointed out, the birds-eye maple cap is interesting enough, so it doesn’t need something to break up the solid colour, as the wood will do that alone.
With that decided, I then needed to make a decision about how it’ll interact with the sides. I decided I’d try for a “natural binding” effect, as seen on PRS guitars, where the side of the cap is left natural, giving the effect of binding between the face and the painted rear. The challenge with that is how to apply stain to just the front. I’d watched some videos on how others do this, including this one from PRS showing how they do some of their fancy stains, where they apply a lacquer to the sides before doing the front:
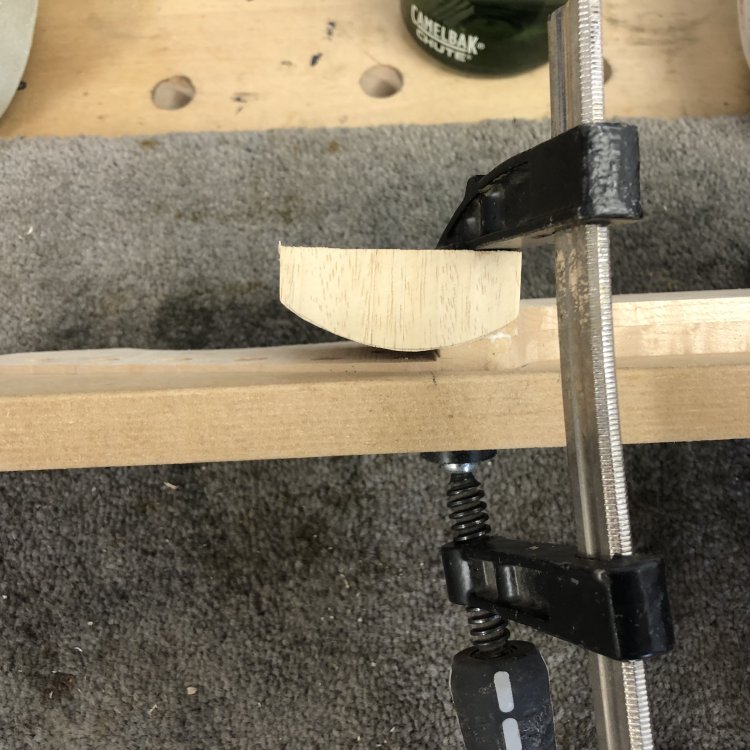
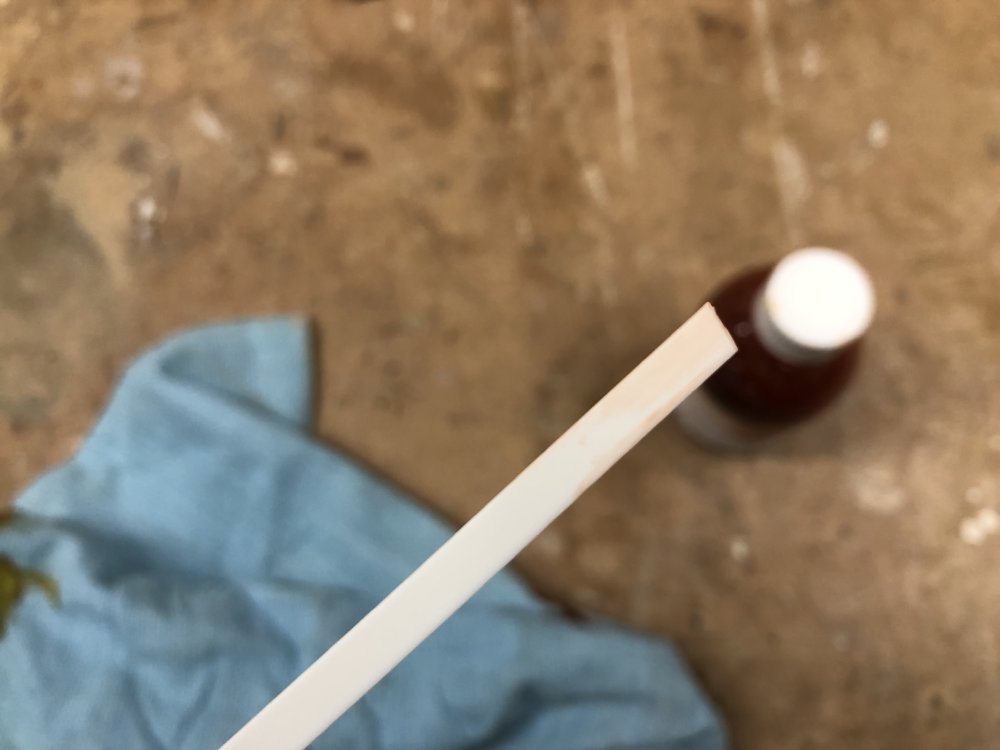
I didn’t have any lacquer to hand, so I just tried using masking tape. I did a practice piece first, using a bit of the off-cut from the fretboard when I trimmed it earlier:
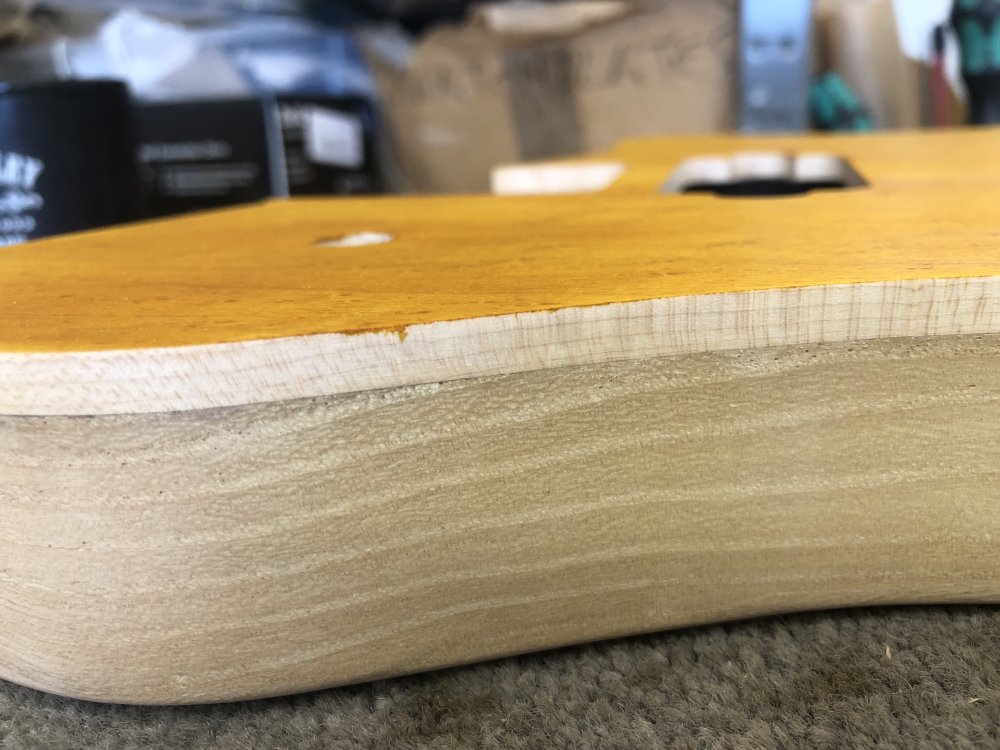
I was mostly worrying about stain running down the sides, but I hand’t considered that if you don’t get the masking tape perfectly flush with the edge, it can mask the front too:
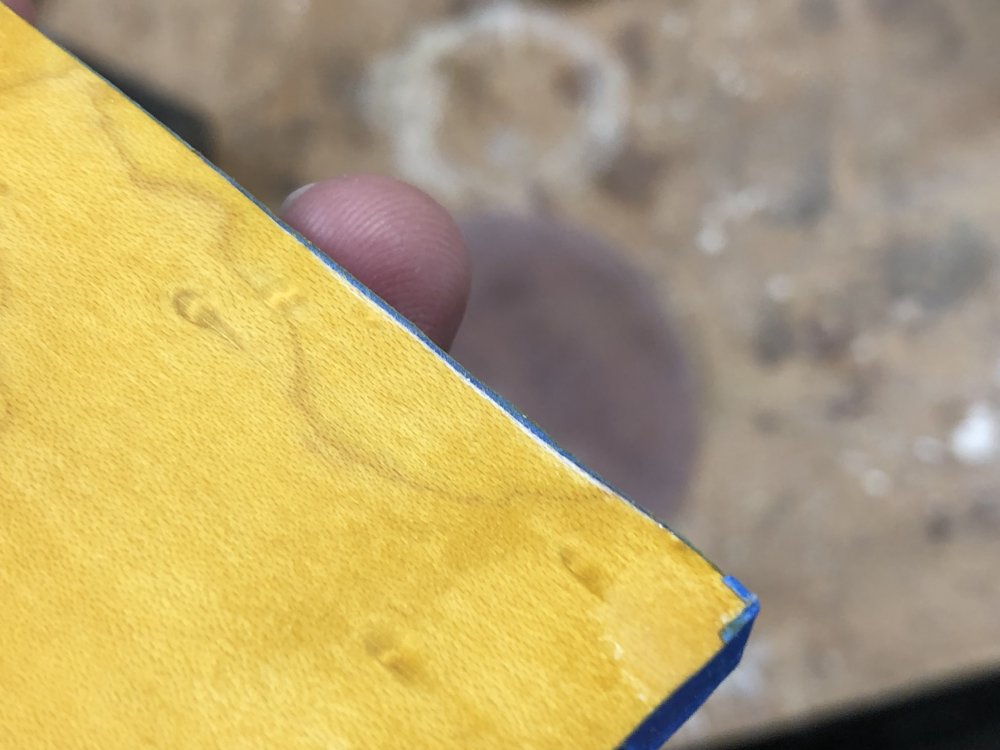
After I left it dry, I removed the tape, and found that where I had got the tape flush, generally no stain made it down the side, but where it had sat proud (you can see this bit of wood is slightly concaved, which is why the tape was proud), quite a bit of stain got down the side:
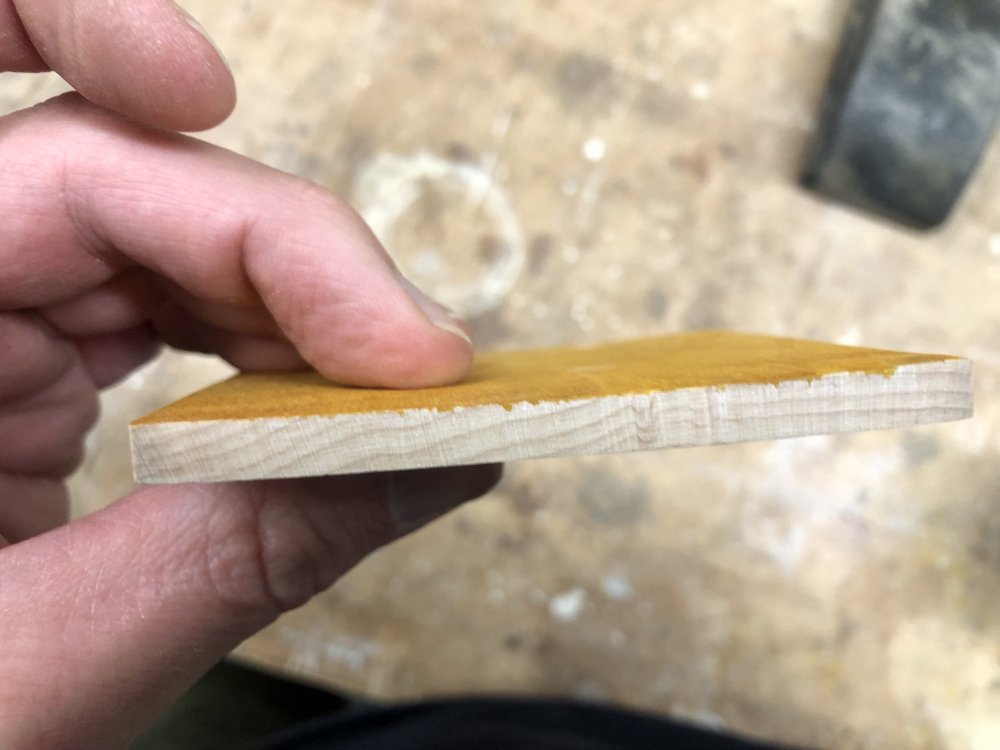
But a little sanding got rid of it, and so I decided to take a gamble and give it a go on the real guitar. I know I need to keep the tape very flush now, and if it doesn’t work out, then I can just continue the side to be yellow too, which isn’t the end of the world. So out came the masking tape and I did the neatest job I could:
And then a little while later, we have quite a new look for this guitar. Even after just one coat of the stain it was looking good to me:
And after another coat, and the tape removed:
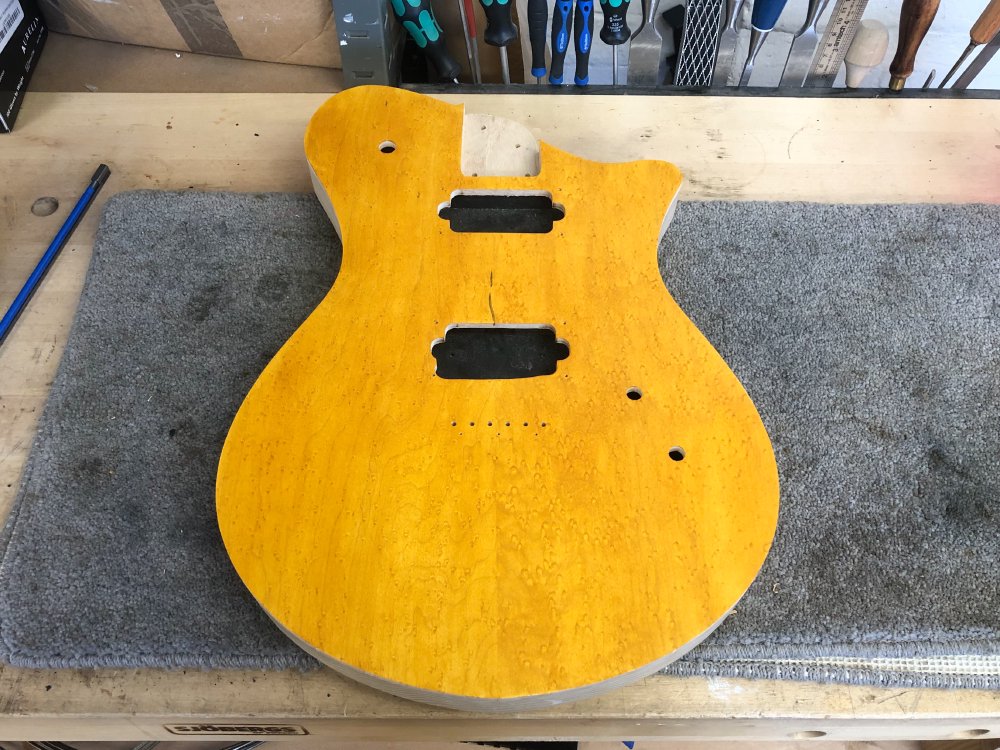
I really can’t convey in the pictures how nice it looks, I really am pleased with how rich the yellow is after the second coat, and how it shifts as you move the wood in the light.
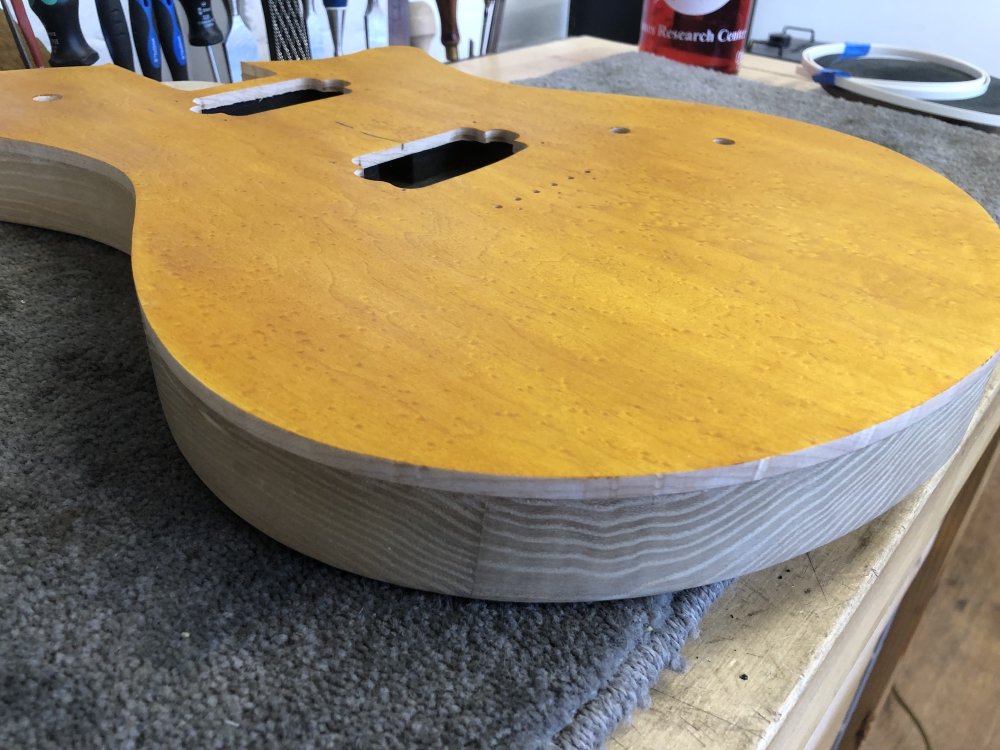
In general the stain hasn’t gone down the side, with one exception that I spotted:
I hope with some sanding that’ll come out, but I didn’t have time to put that theory to the test this week, so that’s fun for next week. But even if I have to abort on the natural binding, I’m very pleased with this as my first go, and I am really in love with this colour/wood combo.
Finishing testing
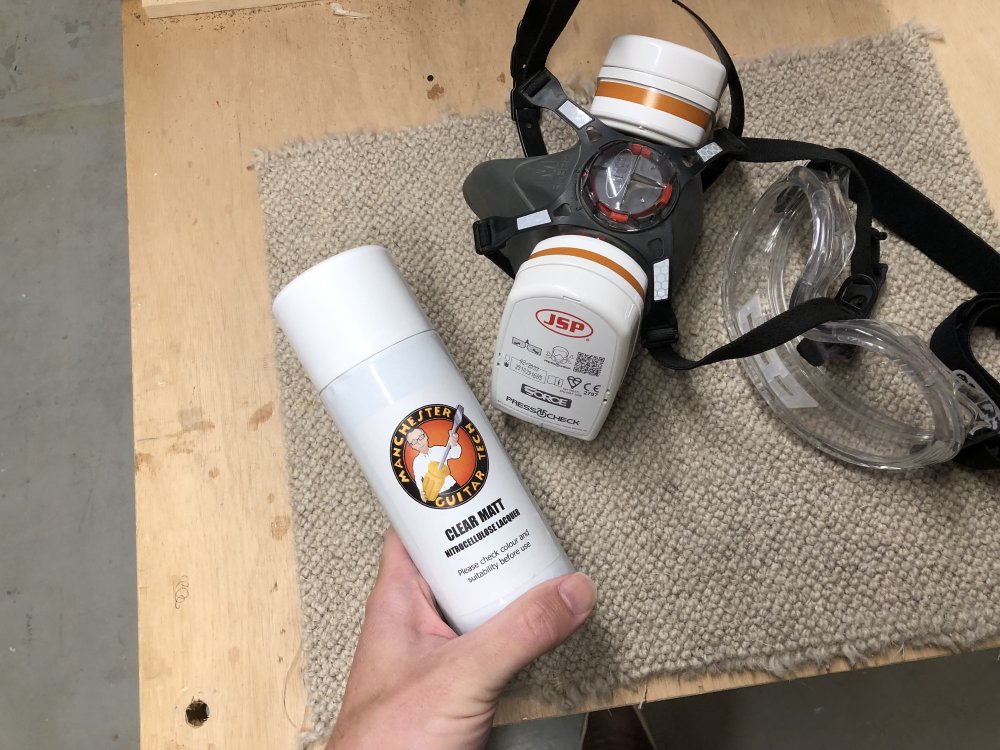
To wrap up, I did some other finishing tests this week, but rather than on wood, on plastics.
First up, I need to spray the 3D-printed wings on Älgen before it goes to Liverpool Makefest, and so I did some testing of acrylic lacquer spray on some of the test prints I had left over that are in the same material.
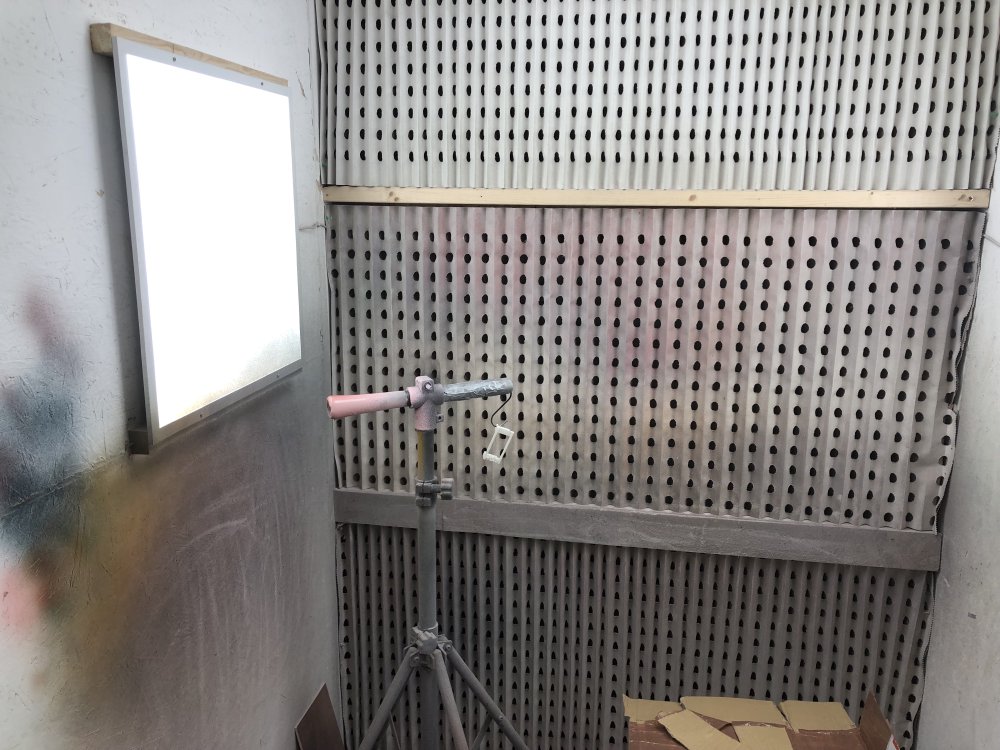
Cue what has to be one of the smallest jobs our workshop’s spray booth has seen:
The net result was that my 3D-print didn’t dissolve or discolour, it came out fine and remaind to be fine after sitting around for a couple of days. Here it is alongside one that I didn’t spray:
To the touch there is a little roughness to the coated one, but that went away after I went over it with a 2000 grit sanding pad.
Thus I consider this a successful test, and have ordered a batch of acrylic lacquer enough to do Älgens two body wings.
I also had a less successful test when testing how dye impacts the white plastic binding that I’ve used on the body of Delfinen. Well, I say less successful, in that the test did work, just I didn’t get the result I wanted, so it feels unfair to slight the test rather than my preference for the result :)
The plan was to stain Delfinen orange, since before I decided to try putting binding on it, and so now I need to retroactively come up with a plan on how to stain a guitar I’ve put binding on. My hope was that the stain, which is water based, wouldn’t get into the binding and leave colour, but my testing showed that not to be the case, you can perhaps just about see in the terrible photo above that the binding has gone somewhat orange there. My hope is that it’ll not have sunk in and the stain will scrape off, but that might just be wishful thinking.
Again, we’ll see next week.