Workshop Catch-Up: Delfinen
Published 1 Feb 2024
Tags: binding, delfinen, drills
Hello again. It’s been a little while since the last update: I stopped doing them as I felt that the posts were getting a bit repetitive, with things just not going well in the workshop, and I didn’t want to keep writing up the same frustrations each week. Whilst I do think it’s important to share both the good and the bad from the workshop (to show you what works and what doesn’t), listening to me work through all the things going wrong every week gets both boring to read and isn’t fun to write up, so I paused for a while, and now I’ve made enough progress this last few weeks I figured it’s time to get back to writing things up.
Rather than try catch up everything all at once, I’ll do a post per guitar build over the next few weeks, until we’re all mostly caught up. I’ll start off with Delfinen this week!
Staining and binding
The staining of Delfinen went badly last year, mostly due to the interaction between the glue on the binding, and but when we last saw this guitar I’d pretty much tidied that up, and so I was able to finally get on with the rest of the guitar.
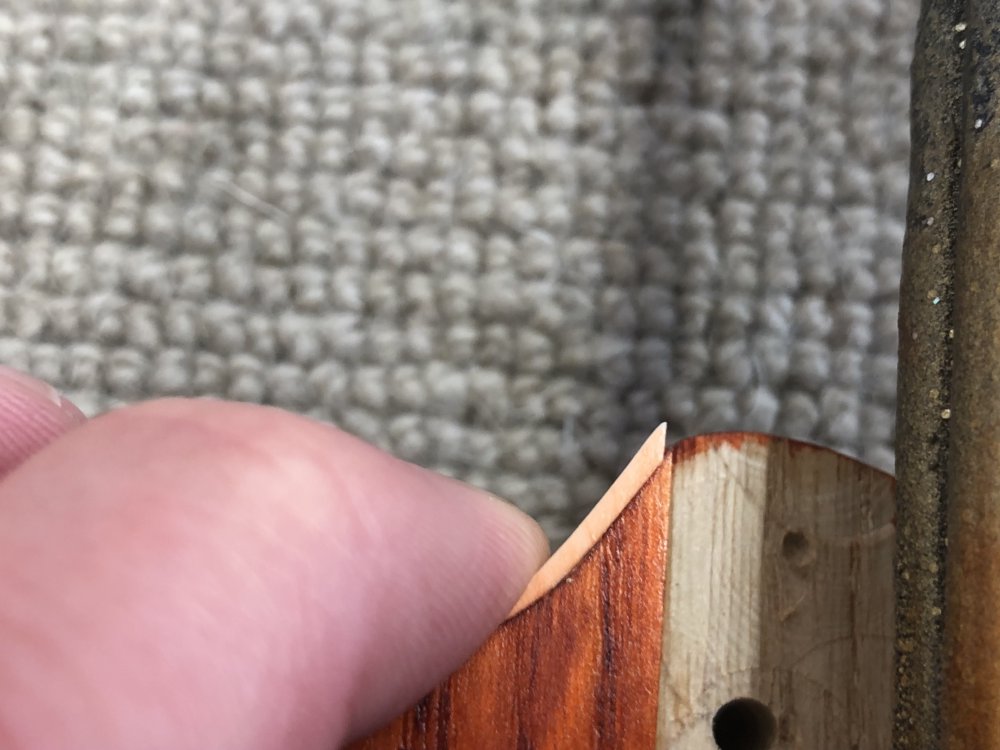
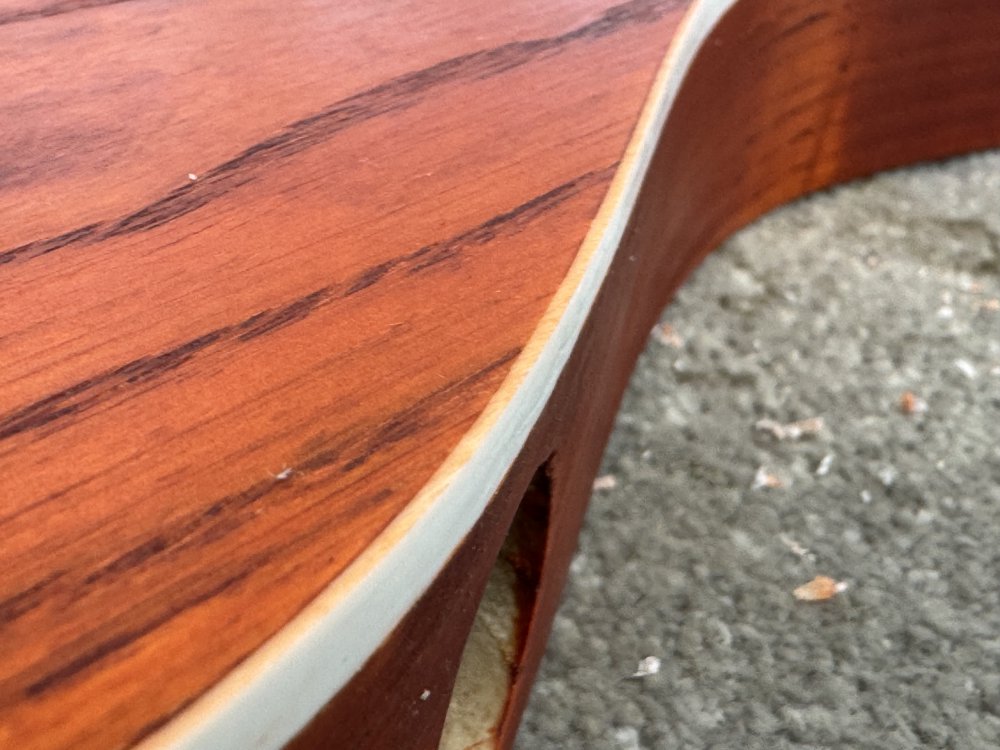
The next problem was that the binding around the inside of the top horns of the guitar had started to pull away from the body:
It was more evident on the left hand side show here, but the same had happened on the right-hand side also. And by the following week both sides were worse still:
Here I had broke the last little bit of glue between the binding and the body near the neck pocket, but I suspect I should have done that sooner and less would have peeled away on the left hand side there. I don’t know if it was just the really cold weather in the run up to xmas that caused this (the workshop isn’t heated, so I suspect will have got close to zero at times over night), or that it reacted somehow with the finishing oil I applied to the body, but clearly the plastic binding has shrunk over time, which is what caused it to pull away from the body. This was more obvious when I tried to press it back into place, and you can see there is just not as much plastic as there used to be:
Before fixing it I opted to finish oiling the body, as I reasoned that this would make it easier to clean up any excess glue from the fixing procedure. Once that was done and dried it was out with some low-viscosity/high-wicking super-glue and I left it over the holiday period to dry:
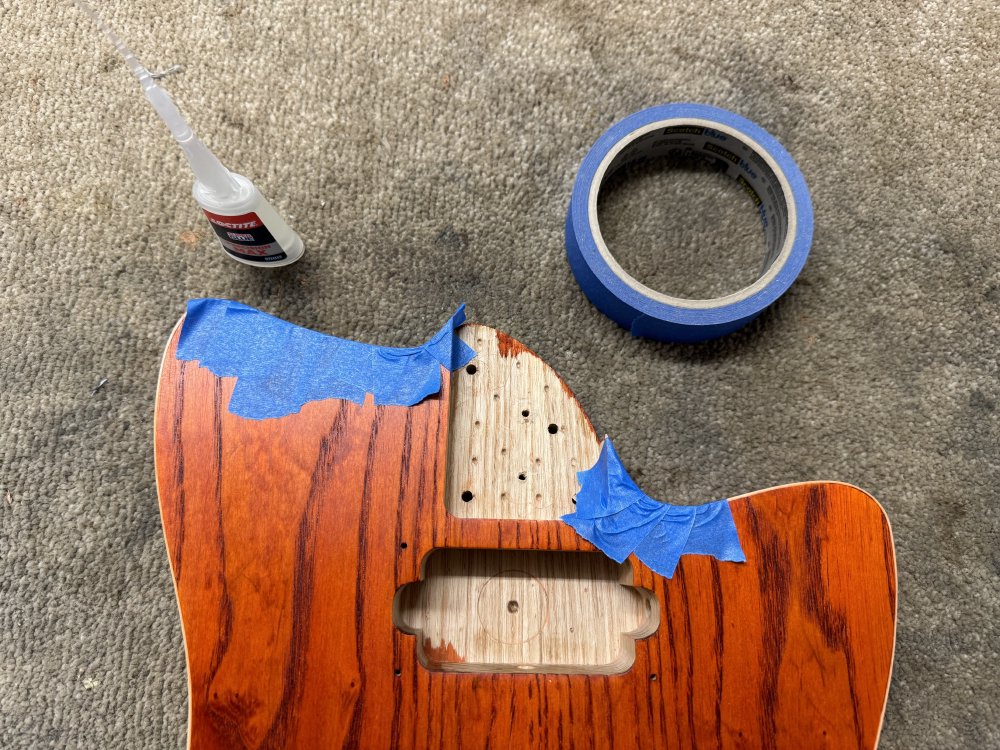
When I came back to it two weeks later it had thankfully stuck in place:
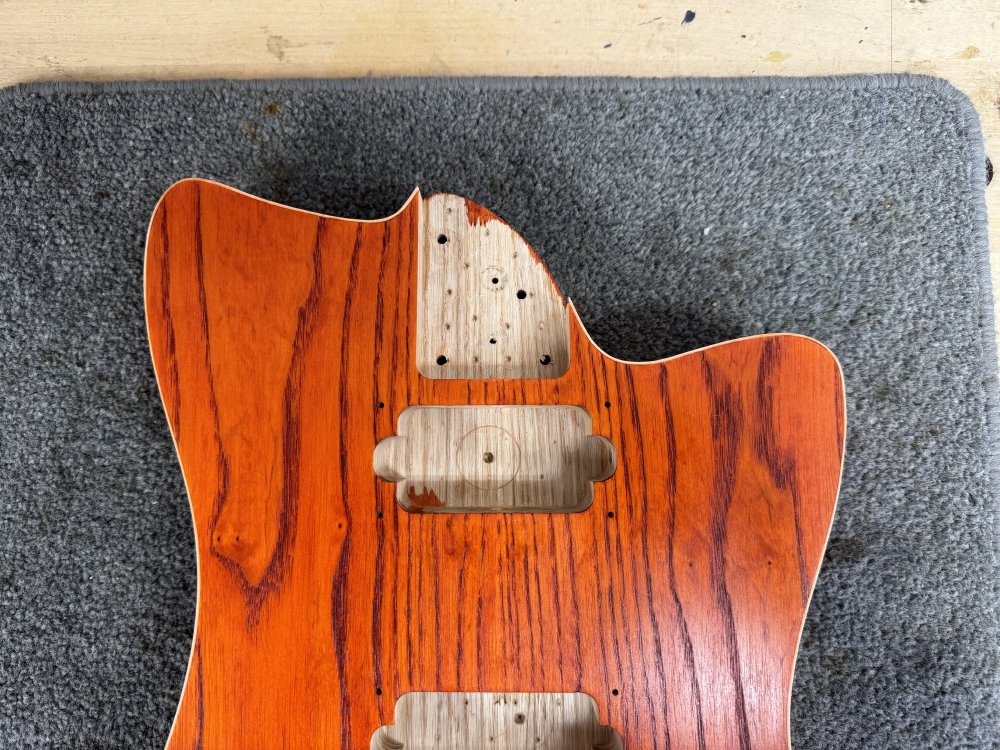
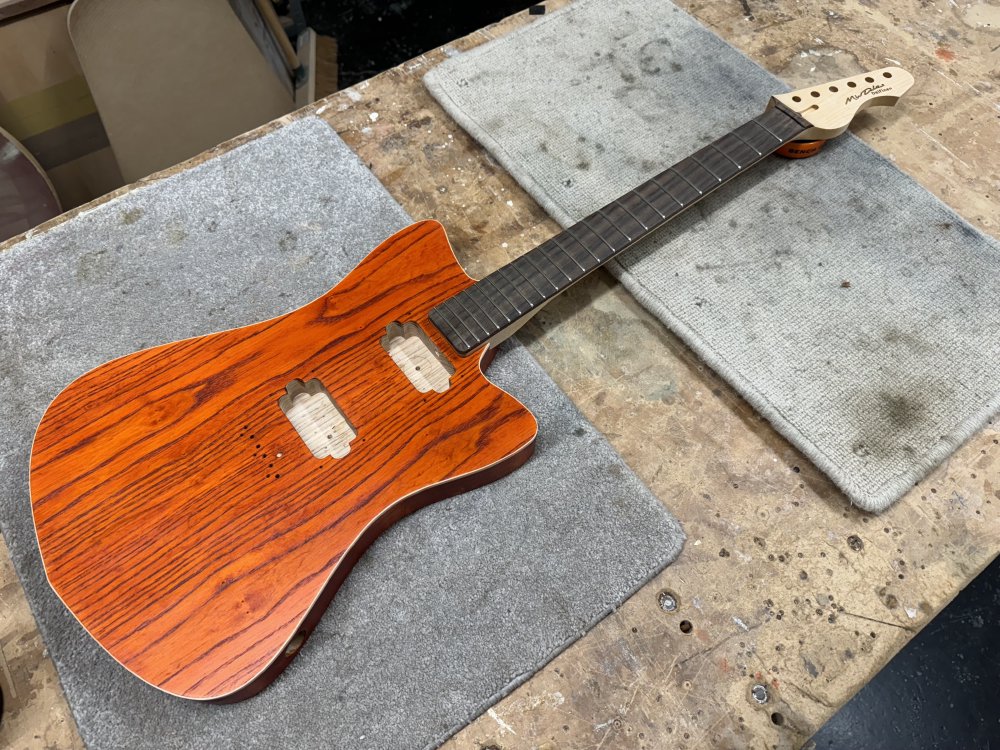
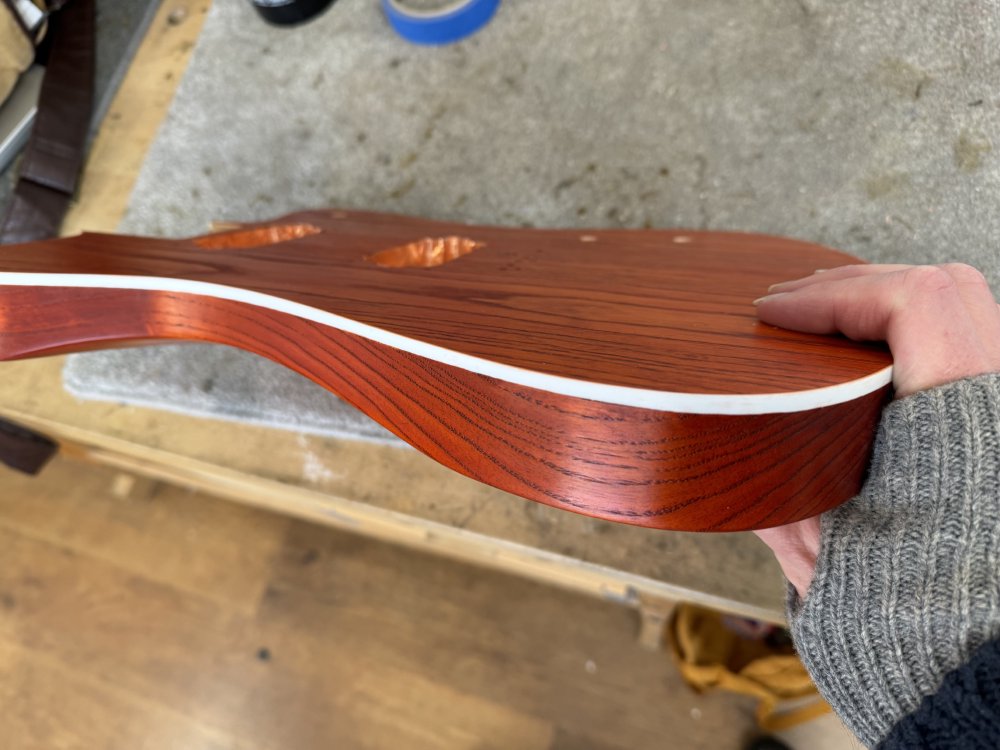
Thankfully there was only a small amount of glue that had escape out, and that scraped off easily thanks to the body already being oiled and my being careful as I went. Paired up with its neck, it’s starting to feel like we’re getting somewhere with this build:

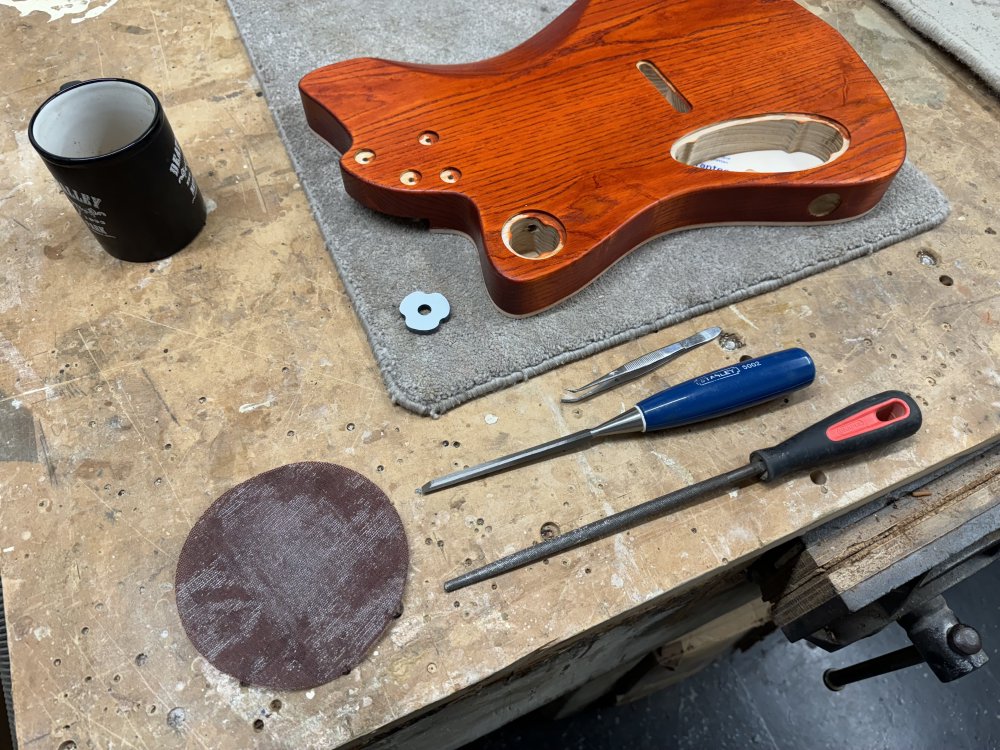
But looking at that picture you might spot I’m not quite “hole-complete” on this build yet: there’s no holes for the pickup selector switch or the volume and tone controls!
Careful drilling time!
I know from past experience that it’s hard work out where holes on the front of the guitar and holes on the back of the guitar line up. I’ll confess that, whilst not bad, the volume and tone pot on the verkstaden build are not quite where I meant them to be, as I drilled them from the electronics cavity on the rear, which was slightly higher up the body than I realised. Not the end of the world, but it annoys me that it isn’t exactly as I had it in my CAD model.
So this time, I laser-cut some guide templates to ensure I got things exactly where I wanted them when I drilled through:
Alas the one for the pickup select cavity wasn’t a perfect fit - I suspect between the laser-cutter kerf (the material lost to cutting) being not being as much as I assumed, and the hole not being perfectly true, and so I had to do a little fettling to get the guide in place:
But with some careful tweaking of both the body and the template I got there in the end:
I guess the main thing to note is that reality regularly doesn’t quite match your CAD model regardless :)
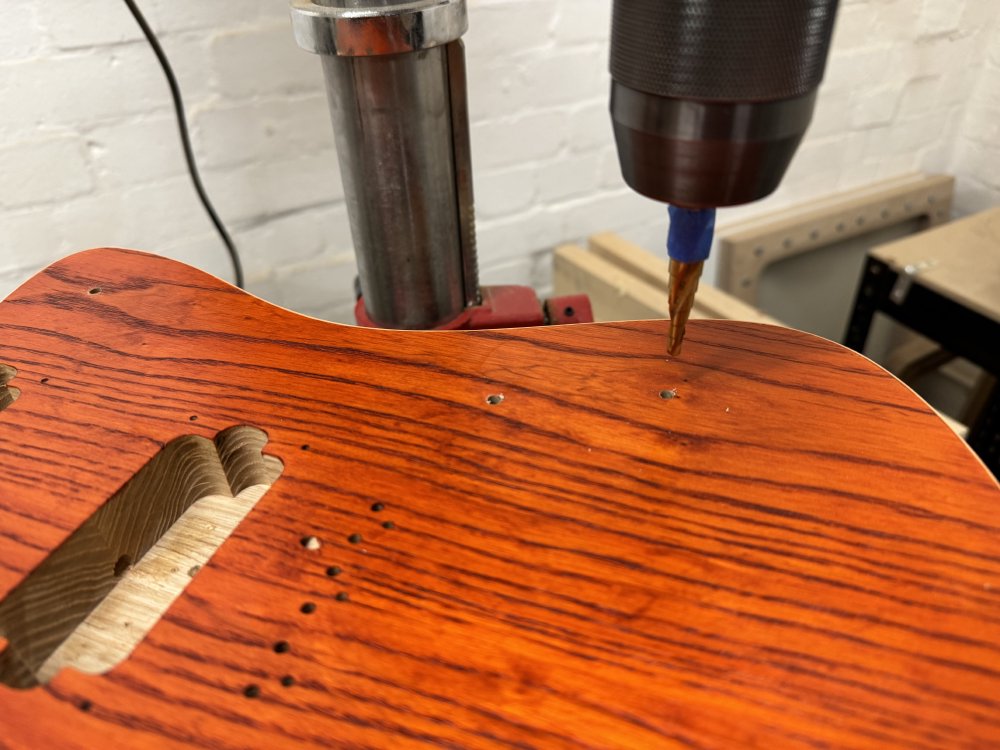
Once this was done, I marked up the holes, and drilled some initial pilot holes from the back:
Then to get them up to proper size I used one of these stepped cutters for the first time:
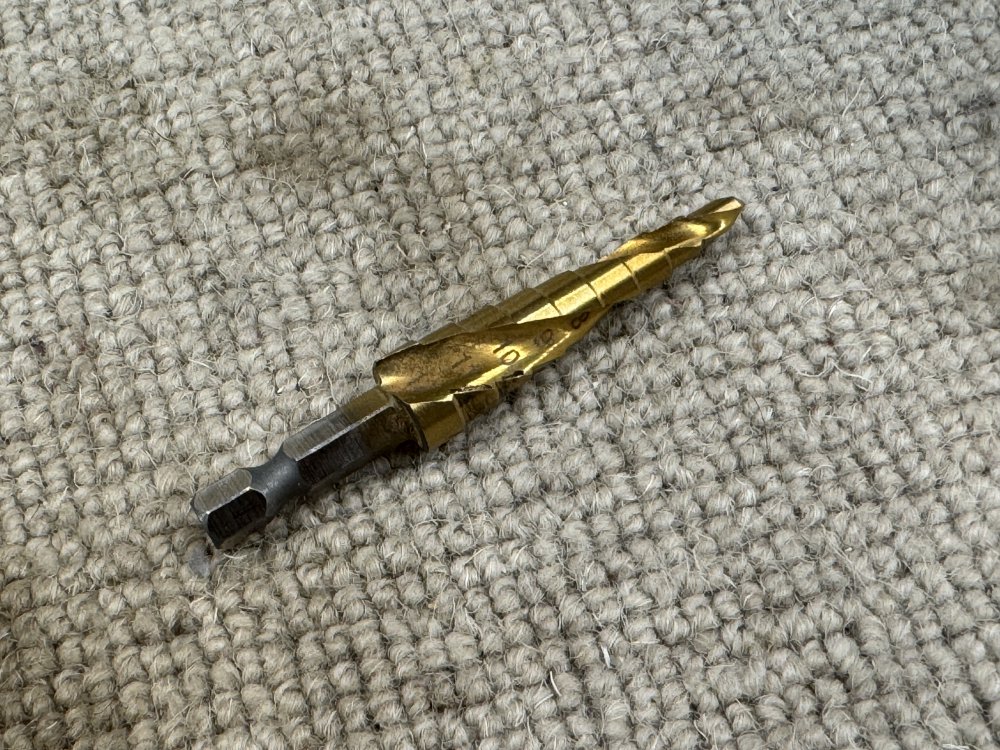
The tip is 4mm, and then each step is one millimetre wider, and so when making holes for pots and switches where you know the particular diameter you can just select the right step to drill down to. I was worried that it’d be juddery as we you went through the levels, particularly as the top on this is about the same depth as each step, but it was very smooth to use. I just had to drill put my pilot holes to 4mm first to ensure I lined things up right with this bit, and mark up the depth I wanted with tape.
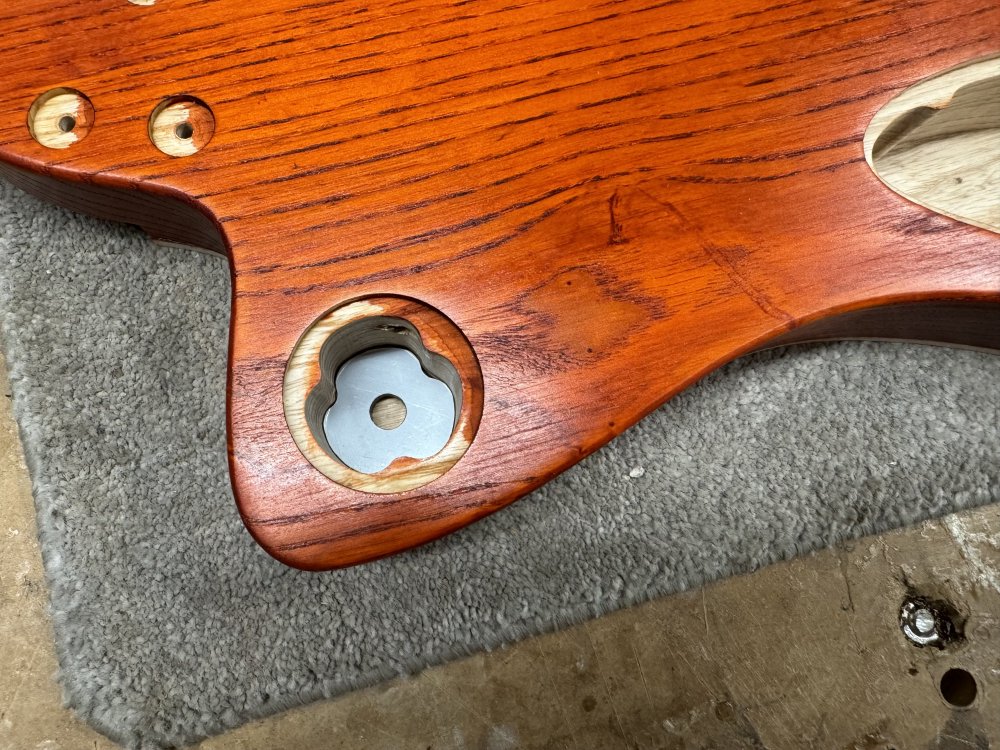
And then we had a nice precise hole:

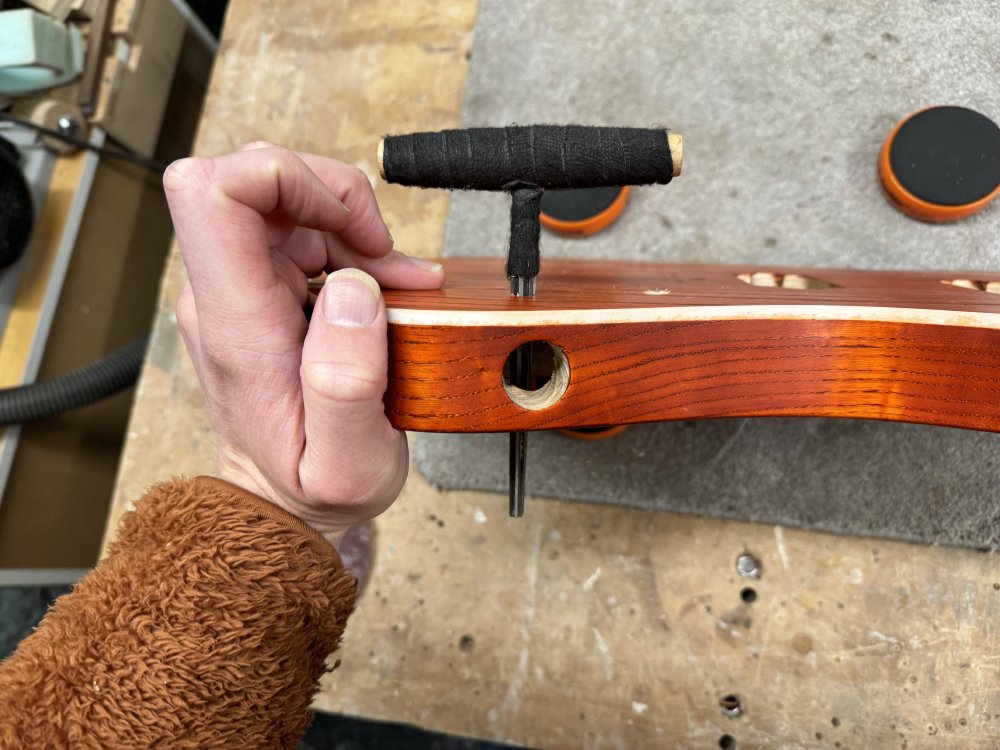
Well, I say precise, as the shaft on the pots I’m using are not exactly a round number of millimeters, so I then used a reamer (another first for me) to widen it up:
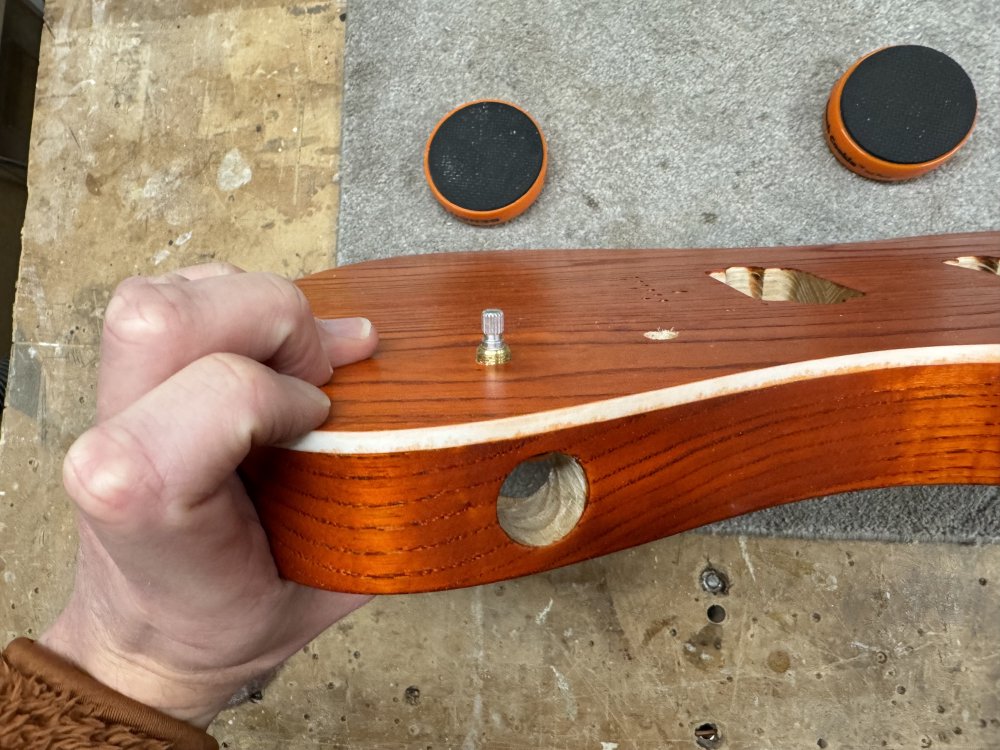
And “jobs a good ‘un”, as they say:
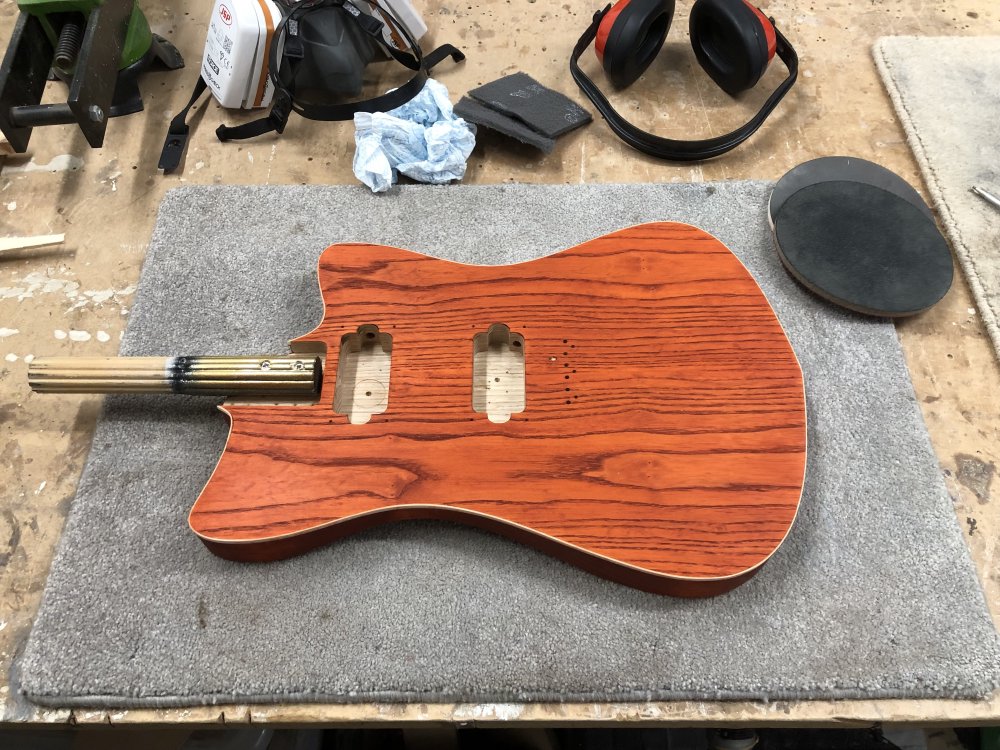
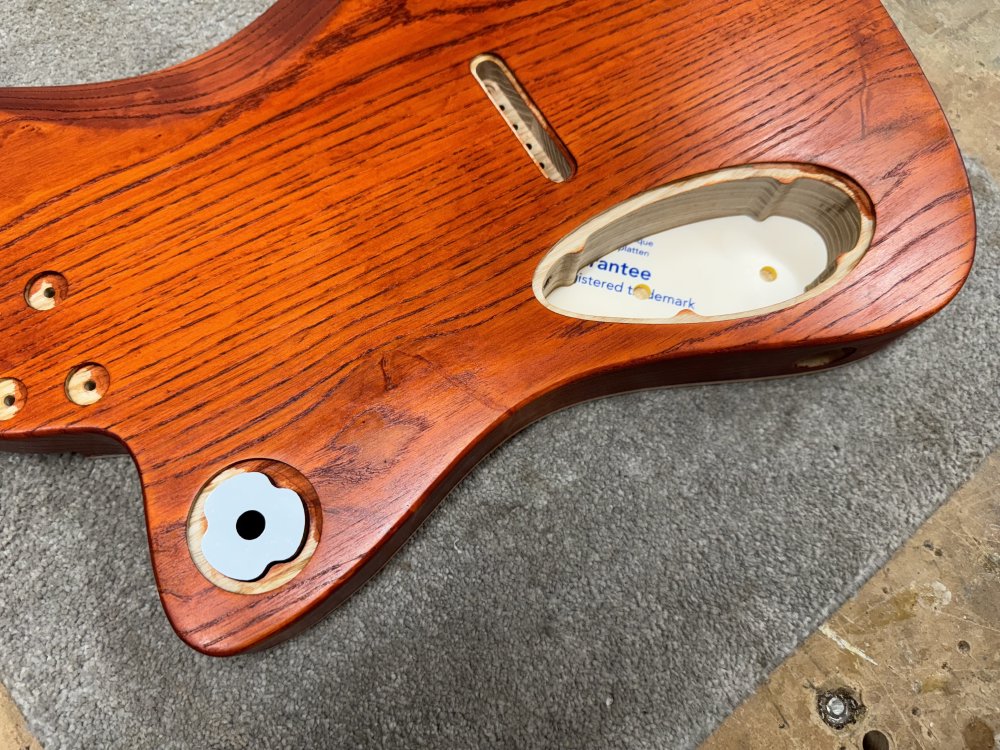
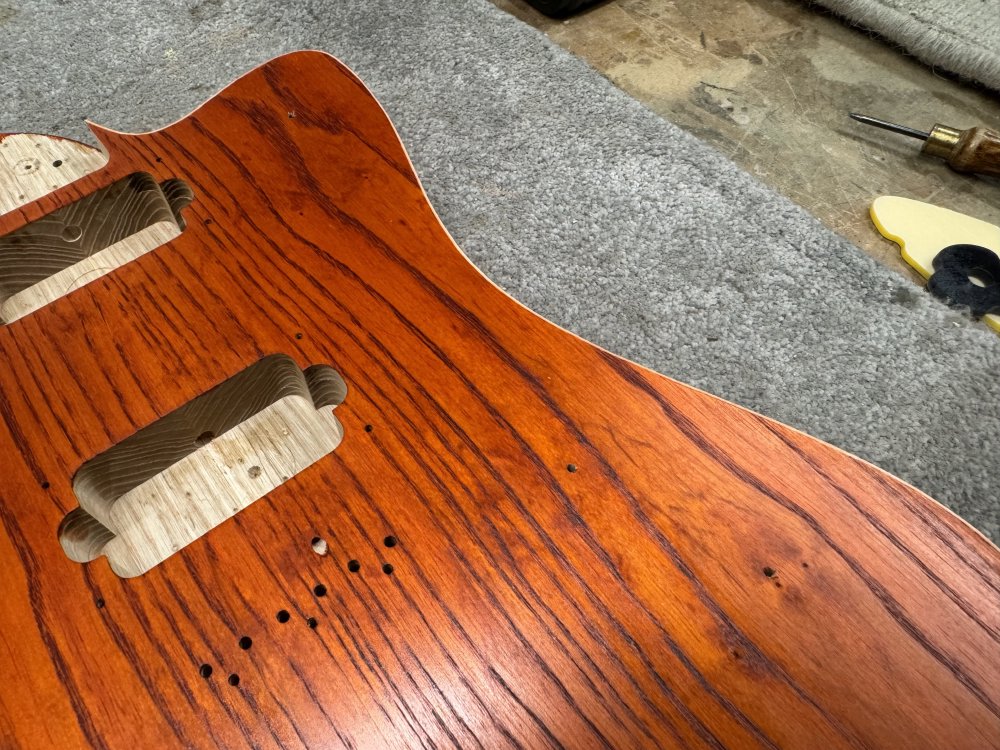
Cleaning up the binding
As you may note in the last picture, that nice white binding isn’t looking so nice and white, as wood stain slipped under the masking tape I’d used to protect it. Whilst the masking tape will have saved me some work here, I still need to clean up the binding, and thus followed a few hours with some scrapers, masking tape, and a few cups of tea.
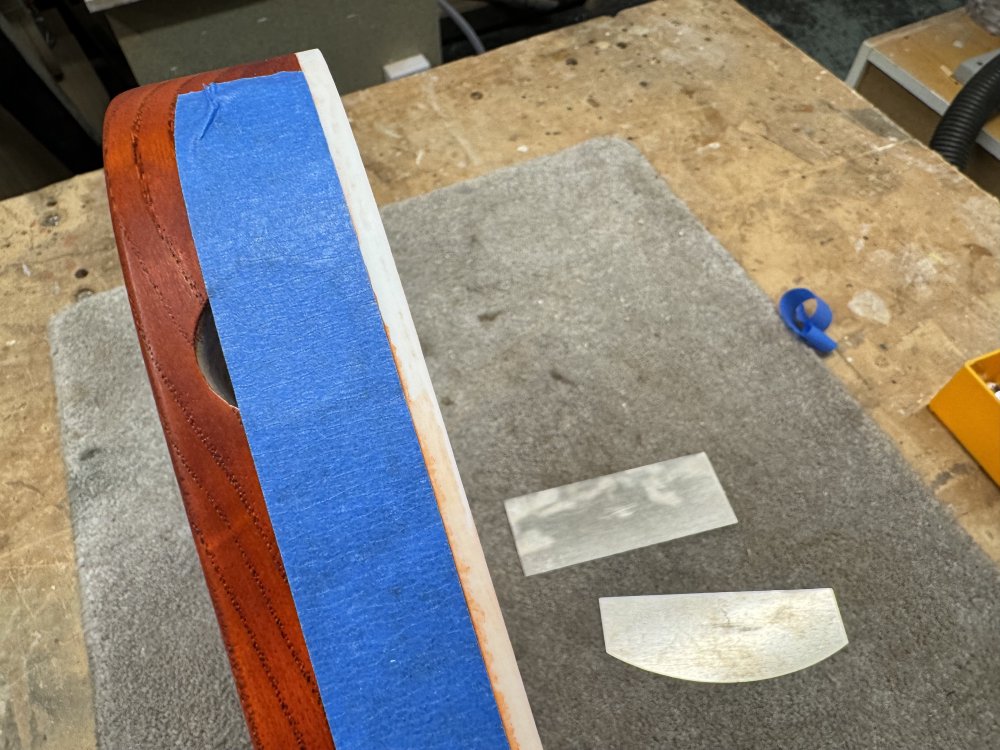
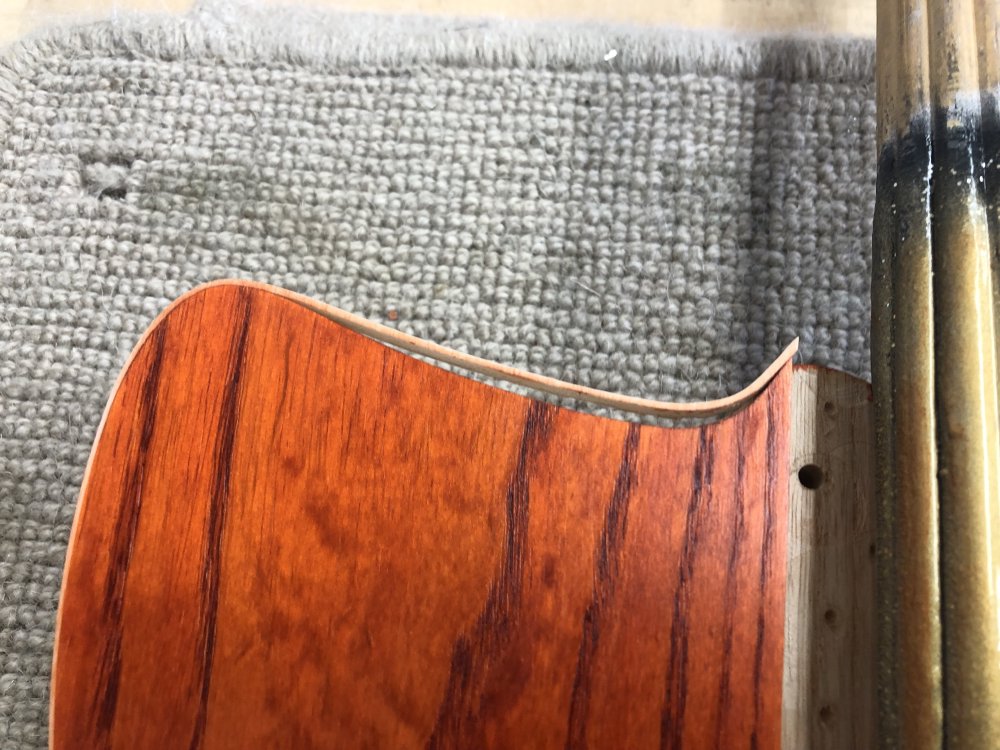
It was slow progress, but the results were very satisfying afterwards. The binding now really pops against the orange and makes the body much more visualising interesting.
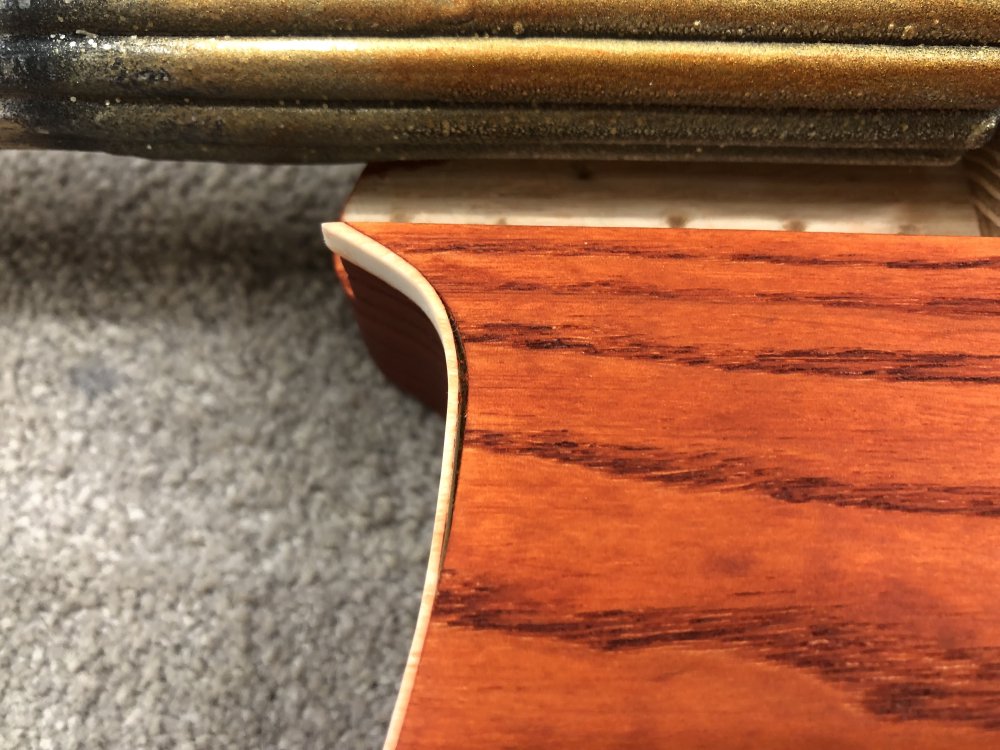
The job alas isn’t done yet though: I still need to do the top edge, where I didn’t have the luxury of applying any tape:
Clearing this edge I’ll need to be super careful, as it’s much harder to put guide tape on to protect the body as I did on the side. One trick I’ve seen used here is to put a razor blade into a stick so that only a millimetre or so sticks out, protecting you from going to much across the body, but that assumes that the binding is of a fixed thickness, which it won’t be due to the original scraping to get it flush with the body and the scraping I’ve just done to clean the sides.
More often than not you’ll see binding used with painted bodies, and that paint buys you some leeway: I’ve seen some builders not actually clear the front face at all, just leaving the side, or if they do scrap the top, they can just scape what they thing is the minimal amount they know they can all the way around, so they can use the razor blade track without working about the thickness varying.
I’ll have to see how this goes: I suspect I’ll need to not do this just after drinking my regular coffee shot :)
Foiled again
The last bit I did was to foil line the cavities, which is always a fun part, as it’s fairly mindless, low risk of messing things up, and has a big visual impact (even if noone ever really sees the result in the end).
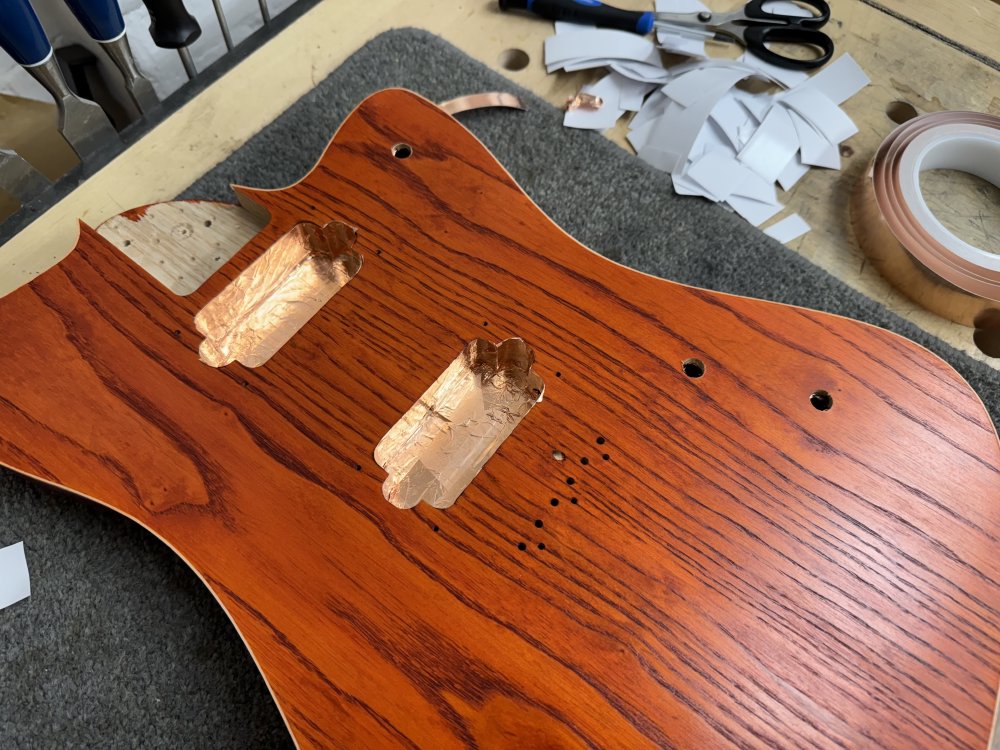
I actually did this earlier than I needed to (normally it’s one of the very last things I do), as later that week I was being interviewed for a TV spot, and I figured it’d look good on camera :) More on that when it comes out!
Wrapping up
But for now that’s us all caught up on Delfinen - I have 3D-printed the bridge, but I have failed to laser-cut the pickup covers as the makerspace I use has got a new laser-cutter and I need to work out how to use it first: whilst the new cutter is definitely a step up from the old one, the software driving it seemed to make a mess of my design files I’d exported from Fusion (that worked fine on the old software). So I have some debugging ahead of me there.