A Week in the Shop
Published 31 Oct 2023
Tags: delfinen, finishing, fretwork, hästen, verkstaden
If you happened to read last week’s workshop notes, then this week might have a sense of groundhog day like repetition to it, as I mostly continued to work on the same things I was working on last week. But that’s just sometime how it is, not every week can be new and exciting, you sometimes just need to keep your head down and get on with it.
Still, to liven up the week notes this week I did take my “proper” camera in with me, so you get a different style of photo to look at. Normally I use my (now somewhat ancient and abused) phone to document the goings on in the workshop, but I decided to take my mirrorless camera in this week for fun, and it was a nice reminder of what a difference proper glass can make. So this week you get a bunch of artsy pictures for a change; I’m not sure it helps document things better than the phone pictures, but it keeps me entertained in reporting on what was otherwise a quiet week.
Delfinen
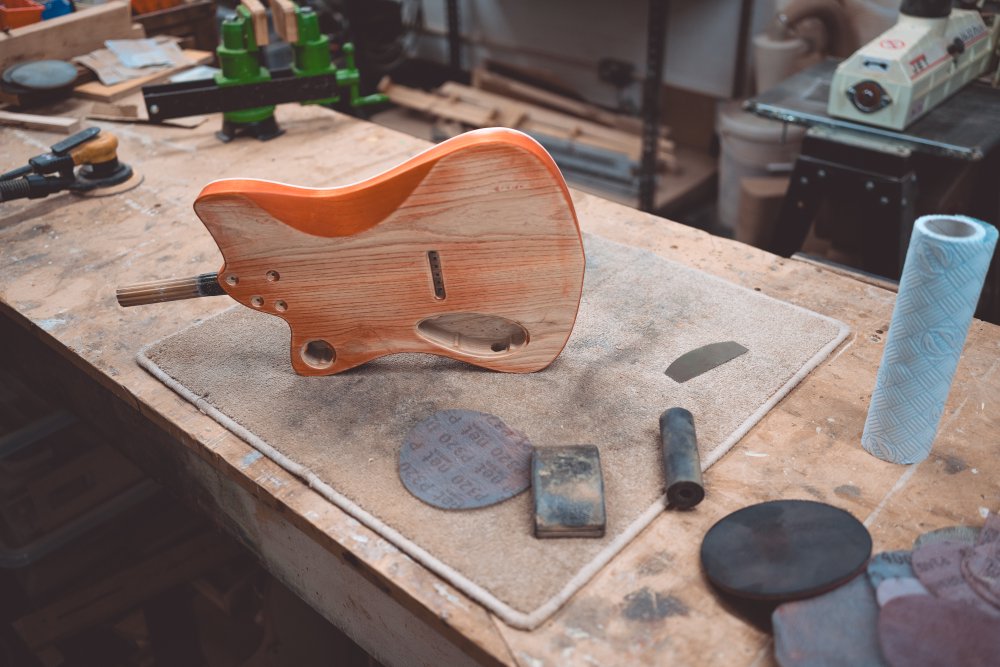
Certainly this section does feel like groundhog day for me, as I enter what I think is the forth week of trying to apply a single coat of stain to Delfinen. There is progress though: I have the coat I applied last week to the front side of the body in a state I’m pleased with:
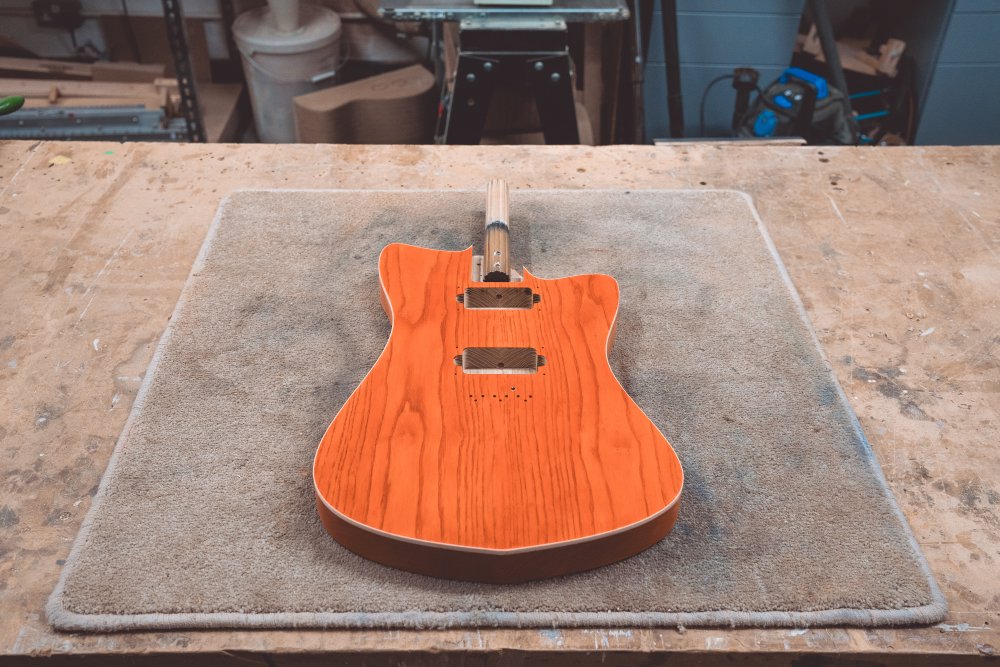
I was concerned as I left the workshop last week that it might need more work, as it looked more uneven whilst still damp, but it’s dried up nicely. I may do another light coat just to try get it a little more even, but I’m in a good spot there now I think.
The back I didn’t try re-staining last week, instead opting to just get the front to a good place, so this week I wanted to tackle that:
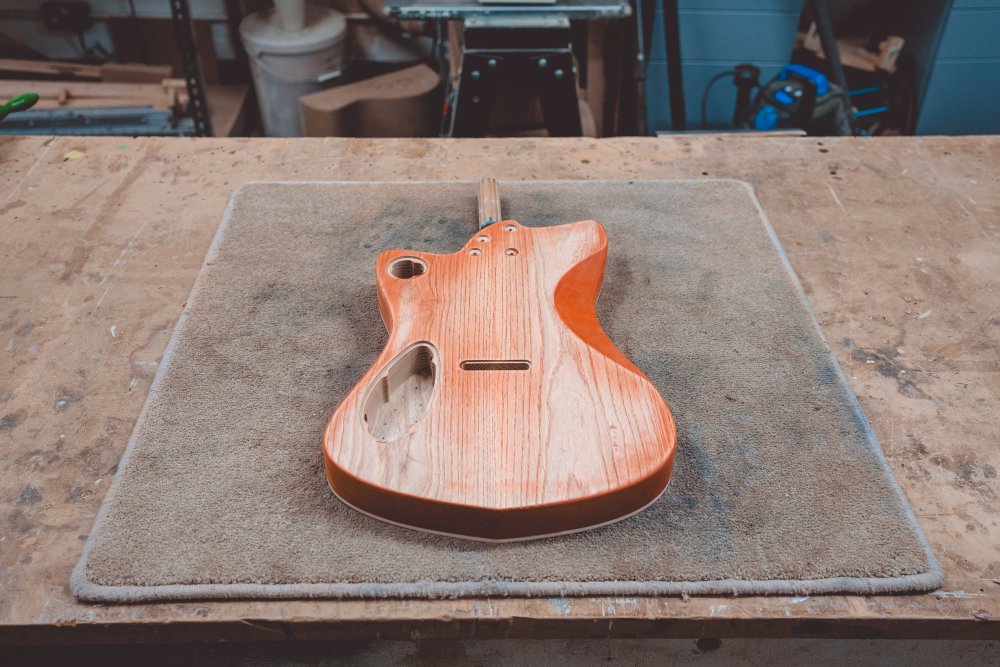
Once more I taped up the binding to keep the worst of the orange stain off it, and went back to the spray-booth to apply the stain (not with a spray-gun, just the light and guitar mount make it a good place to do this):
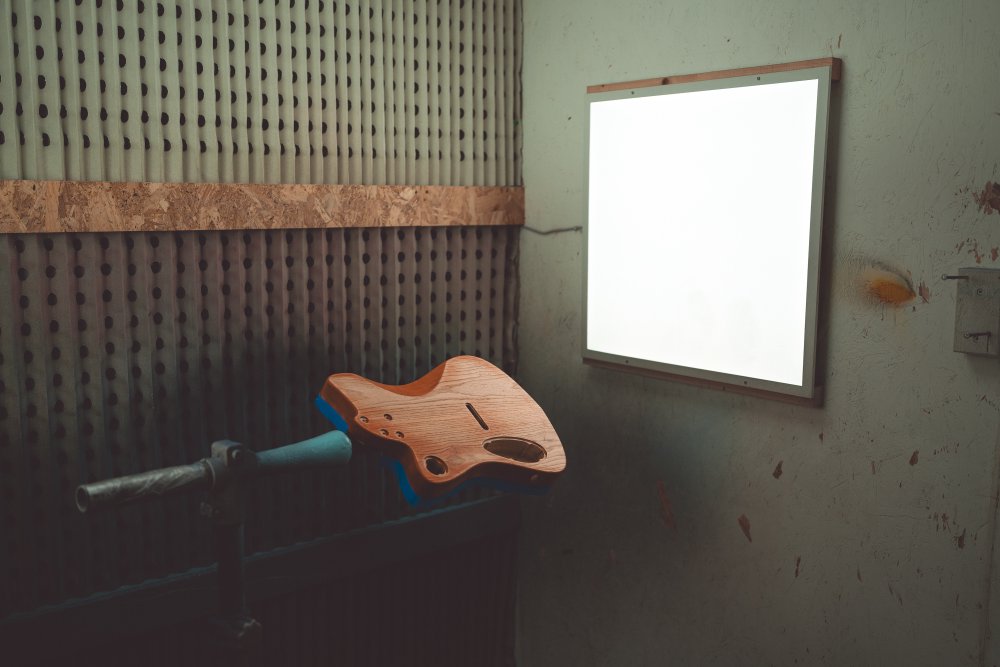
Having learned to go gradually with this one, I just applied the stain to the area around the edges where in the past weeks I’d had trouble with glue getting into the wood and stopping the stain being taken up. This time around it was much better than before, but there was unfortunately one spot on the side the player has to look at when playing where I hadn’t quite got all the glue away. So I stopped having done just the sides, let it dry out for half a day, and then went back to scraping:
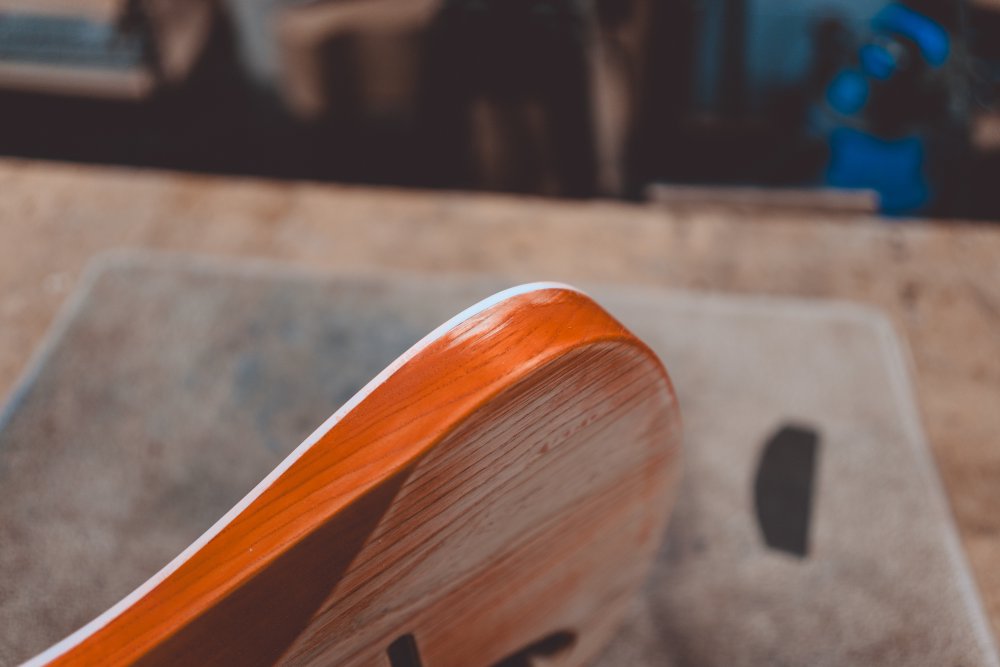
And then despite the targeted edits, I then needed to get the scraped area to blend with the surroundings in terms of smoothness, out came the sanding disks:
At this point I was starting to get a bit worried, as each time I do this the binding gets a little thinner in the area I’m working on, and I knew I couldn’t do much more in this spot without it starting to look uneven. Thankfully, once I got it taped up again and went back into the booth and stained the sides once more, the stain took okay in that area - phew! - and so I continued on to stain all of the back. I’ll see how that looks next time I’m in the workshop, but fingers crossed we’re getting there. This has to be the slowest and most awkward staining job I’ve ever done.
Delfinen och Hästen
The necks for Delfinen and Hästen continue to get oiled, which is there lot for the next week or two. Here they are drying after the latest coats were put on them, on a rack in the wood store out of the way so they’re not knocked into as they dry:
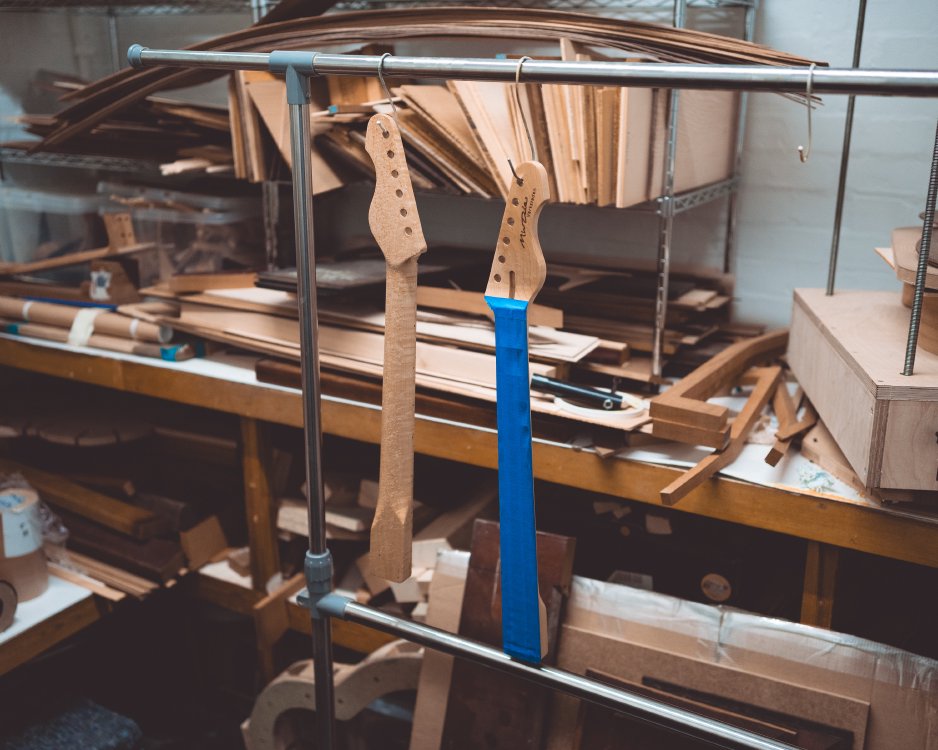
Every two coats I’ll sand them back with a 2000 grit pad, doing a total of around 5 or 6 coats, depending on how the neck feels. I’m also keeping a vigilant eye on Hästen’s neck where I’m also oiling the fretboard, it being birds-eye maple too: if you’re not careful oil will get under the frets and then seep out later building up next to the frets giving the finish an uneven look. There’s not much you can do other than keep checking on it, and if it does happen using a razor blade to scrape that bit back and doing some local touch up - thankfully oil finishes are easier to do what with.
Verkstaden
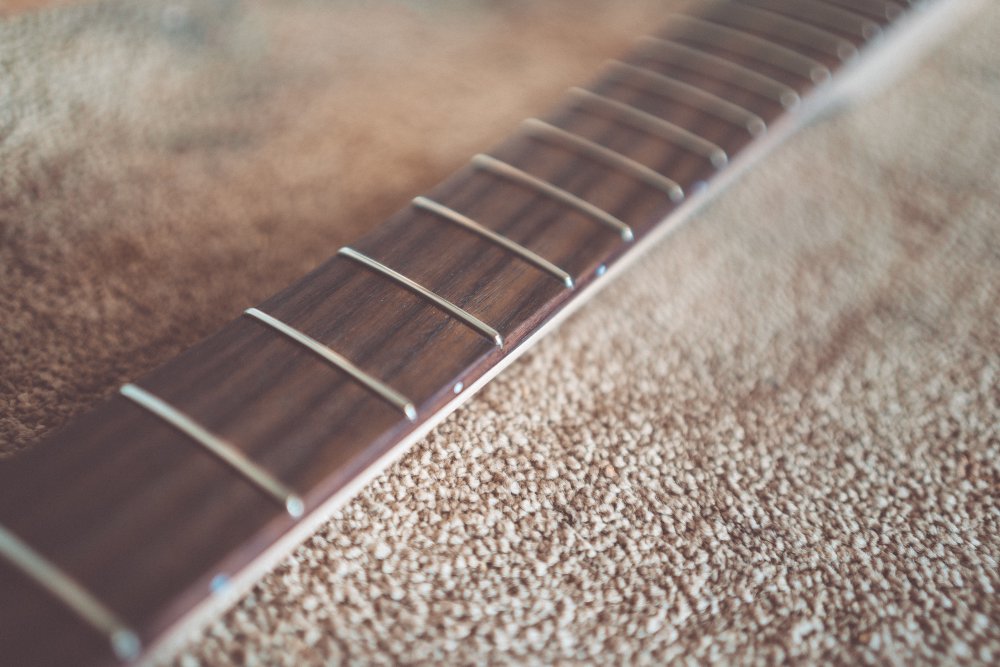
Last week I had decided that I wanted to re-do the fret ends on Verstadens neck, as they weren’t rounded ends like the rest of my recent necks, and had got about a quarter of the way there. This week I finished the job off:
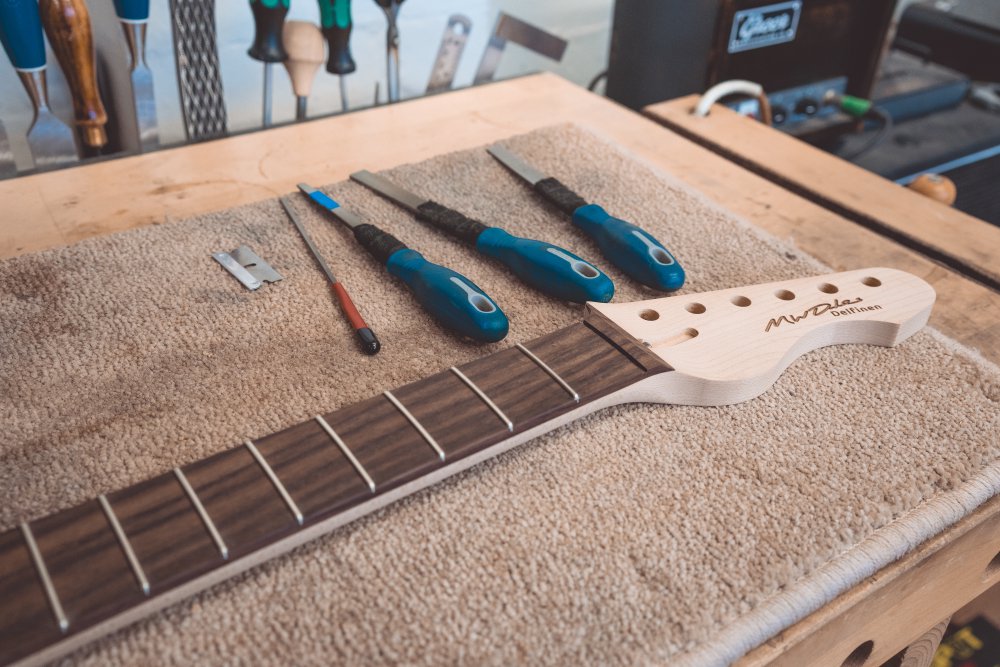
My workshop-mate Jamie mentioned to me the other day it takes him about an hour to do the fret ends on a neck, but being less experienced this still took me a couple of hours to work through this remaining lot, but I am getting better and more consistent as I get more practice. Ends rounded, it was then time to polish the frets, again as I discussed last week:
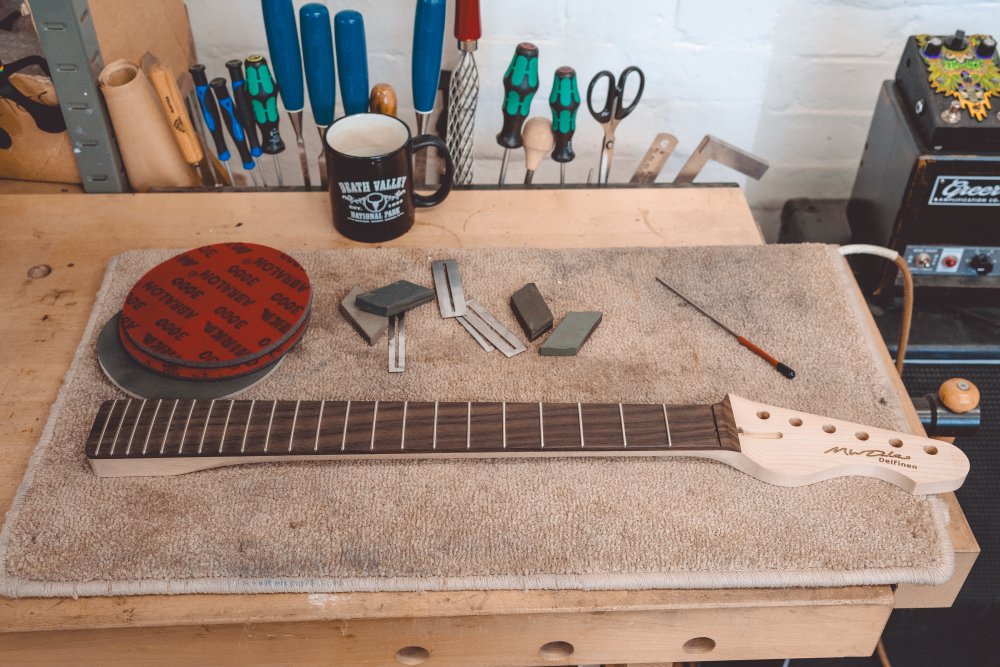
This time to try and convey how reflective the final polished frets are I took entry in the series of “Michael’s short video clips of tilting parts back and forward to try catch the light just so”:
Still, despite taking close to three times longer than my workshop-mates, I was pleased with the final result, and am glad I took the time: the fret-ends before were not in anyway bad, but now they’re so much more better than just good.
The neck still needs a bit of a clean now having had all the fret dust get into the fretboard and along the sides, so next week I’ll give this a bit of a clean and it can join the offer necks in the oiling process.