A Week in the Shop
Published 6 Mar 2023
Tags: 3D-printing, älgen, birthday, laser-cutting, telecaster, templates
It was my birthday last week, and my partner and I went away for a few days to celebrate, so hence late weeknotes, and it finishes with a cliff-hanger. It was a nice break by the coast, and on topic for this blog, I did raise a smile when I saw this pub sign in Whistable:
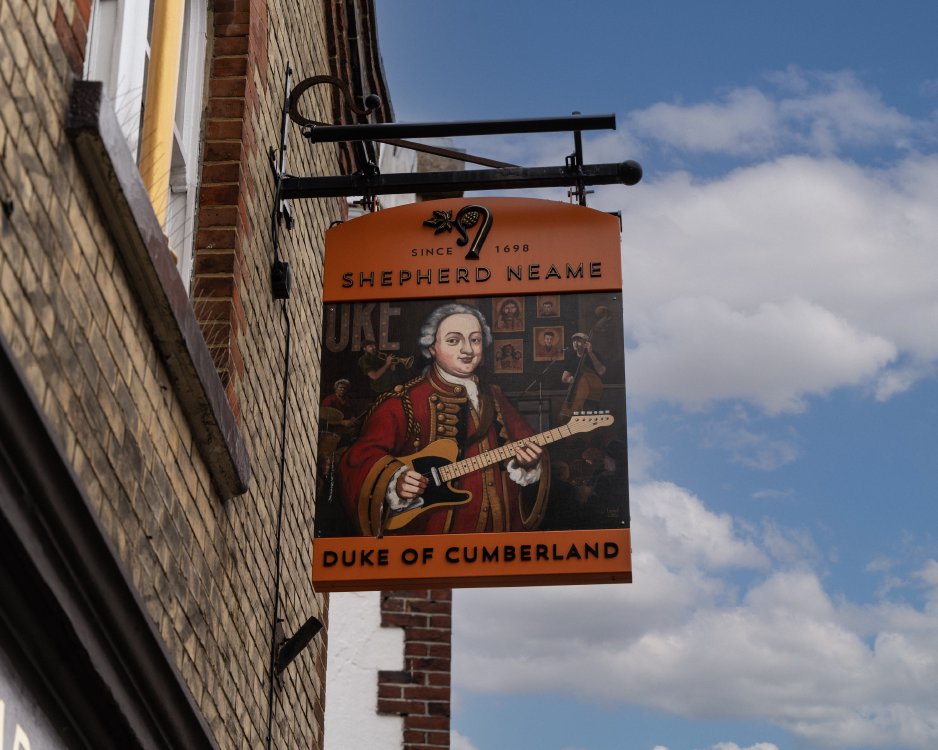
The duke is playing the Blackguard Telecaster which I mentioned last week as being a source of inspiration - so whilst I suspect not period accurate with the Duke’s outfit, it is at least as early as you get to go on a solid-body electric guitar :)
Älgen
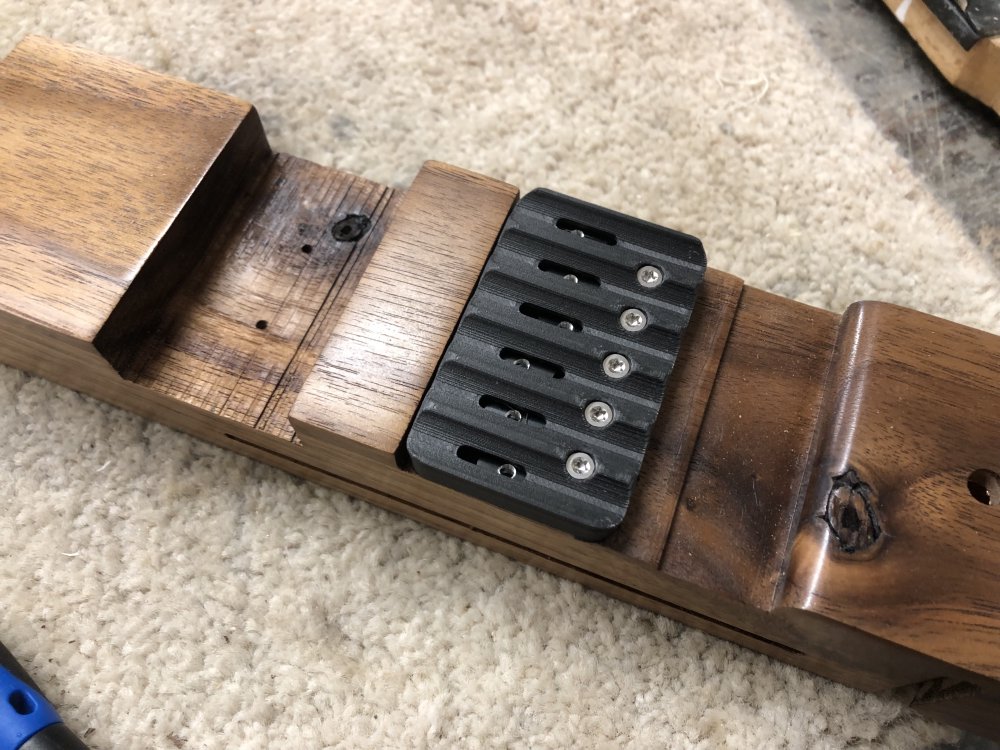
This week I was mostly fighting laser-cutters (see below), and so my attempt to mount the 3D-printed bridge to älgen was cut short. As a reminder, I’d been frustrated by the per-sprint bridge mounts that come on the Mera Submarine bridge, which are optimised for multi-scale instruments, but overkill for my more conventional use case. So to try make life easier I’d come up with a new base plate that I had 3D-printed:
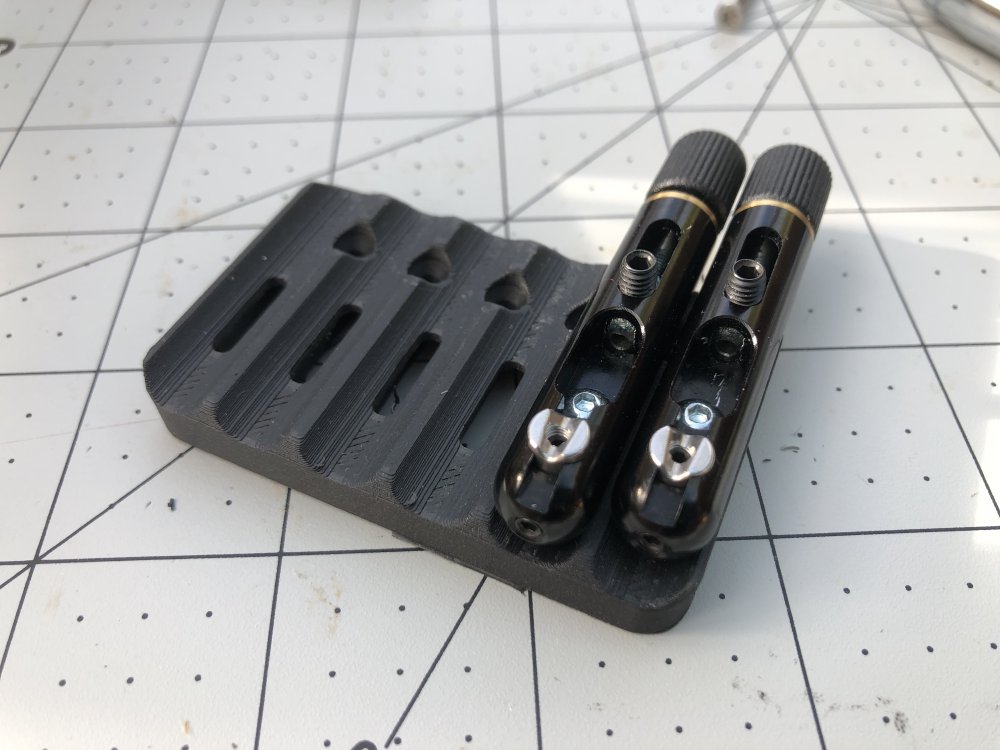
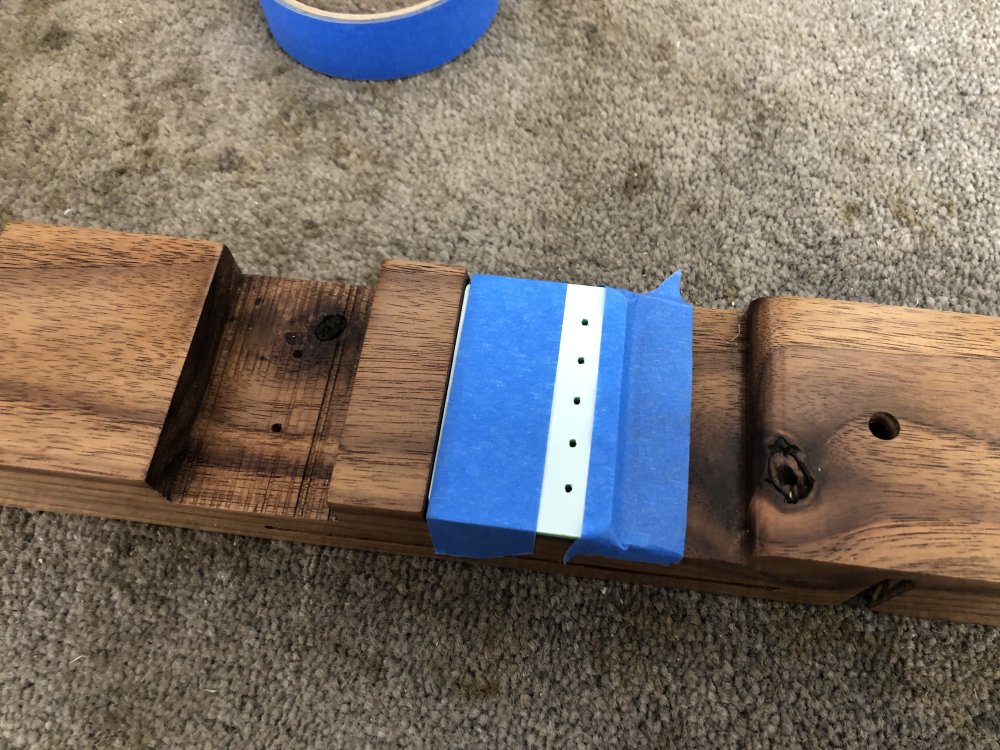
The main advantage here is that my plate just needs five M3 screws, not 24 easy to damage tiny imperial gauge screws. The first step then was to drill new holes in älgen to accomodate the new part. I started out with a laser-cut template to let me get the pilot holes in the right place:
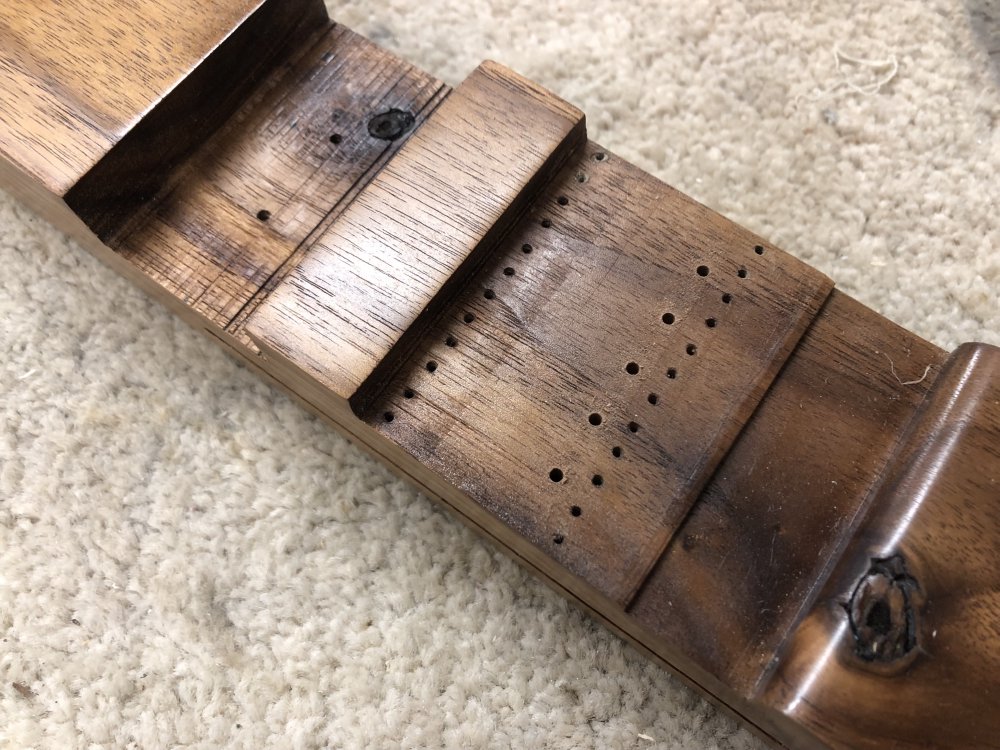
A bit of pillar-drill action later, and I have my new set of mounting holes:
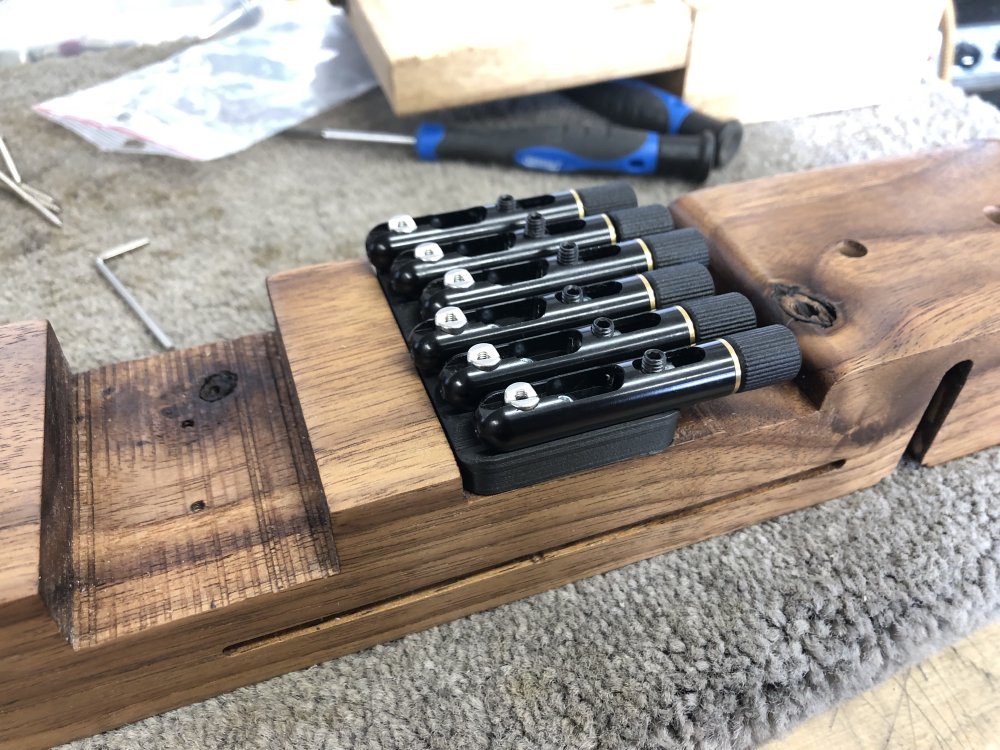
And voila, we have a freshly mounted bridge plate:
And a moment more of work, and I had the whole bridge assembled again (at least temporarily, as I’ll explain later):
With the bridge in place, the next task was to solder up the electronics. So I mounted the pickups, running the cabling down each side in the channel I cut for them along to the foil-lined cavity in the guitar’s tail:
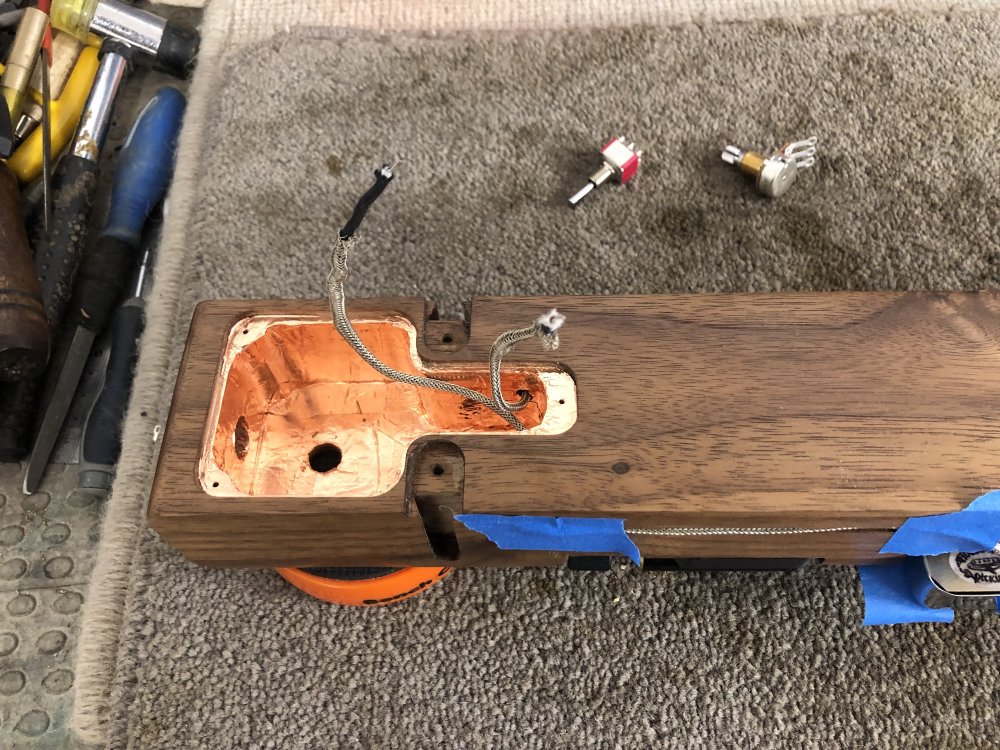
A unit of time later I had all the electronics in place: the switch for selecting the pickups, the volume control, and the jack that is also the tail strap-button. With the electronics installed, the guitar is getting close to finished:
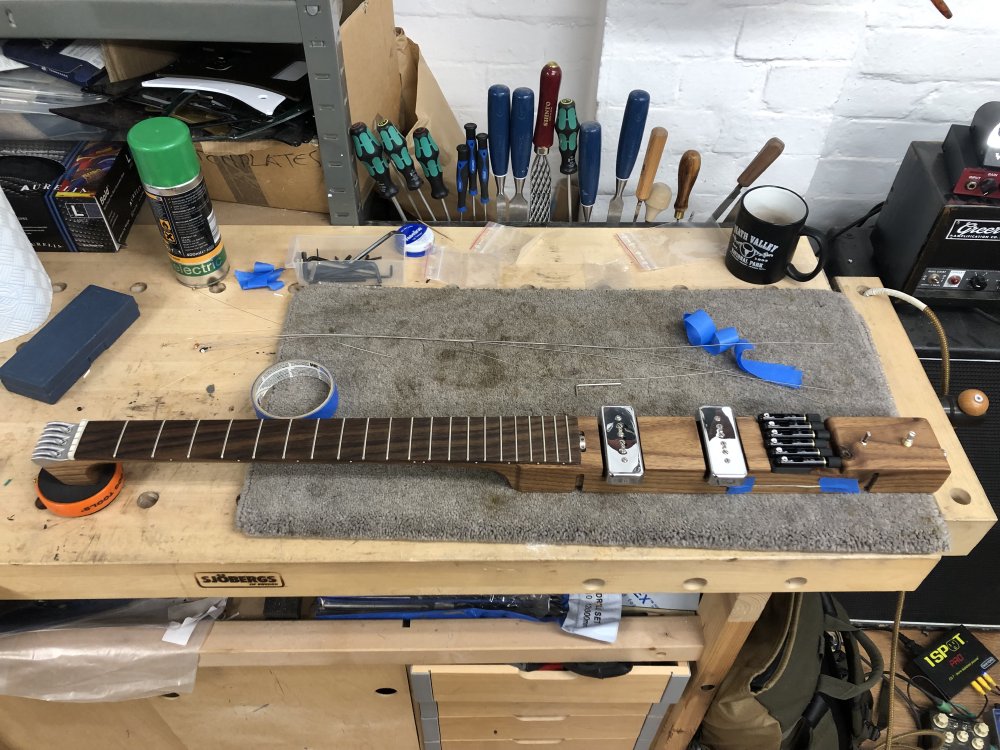
I had hoped to get the guitar playable before I left for our trip, but I failed. Perhaps it’s getting old, but I realised that as I got to this stage and started trying to string it up that I was rushing things, it being quite late by now, and setting the intonation on this style of bridge is a slow process, so I decided to call it a day before I made a mistake and regretted it.
On the plus side, whilst away at the weekend I did meet an actual älg (Älgen being Swedish for “The Moose”):

I’ve watched The Great Moose Migration each spring for the last few years, watching the live feeds as moose in Sweden migrate north as summer approaches, but this is the first time I’ve met a moose in the flesh. It was at the same time bigger and more lithe than I’d have guessed from pictures, but a very impressive creature all the same, and I’m glad I get to honour it in some small way with my guitar.
Ferrule Block Template Version III
The moral of this story is that it’s very easy to slip into the mindset that the tool you used last time for a similar job is the right tool for the next job. I use laser-cutting for making jigs and templates because its usually much faster than CNC-routing, but not this time.
Last week I wrote about the overly complicated template I’d created for routing out the stepped pocket for a ferrule block, and this week I spent a bunch of time trying to render it real on the laser-cutters at Makespace. As a reminder, this is the multi-part jig and how it’ll be used as rendered in CAD:

For more info, see last week’s post.
Normally when using the laser-cutters at the local maker-space I do some calibration cuts, as they’re heavily used, so their performance does change depending on how recently they’ve been serviced and cleaned. But because I have a part where alignment is key, I really went all in on the calibration this time:
What I’m doing here is trying to work out the kerf when I cut, which is the material lost to vaporisation by the laser. This is a function of how well focussed the laser is, the thickness of your material, the power used, and how quickly the laser is moving. I did a bunch of testing to try and get things as accurate to my design as I could, which took enough time that I might just as well had CNC-routed the parts - CNC-routing is generally slower, but it’s much easier to get tolerances right on a CNC-router without all this testing.
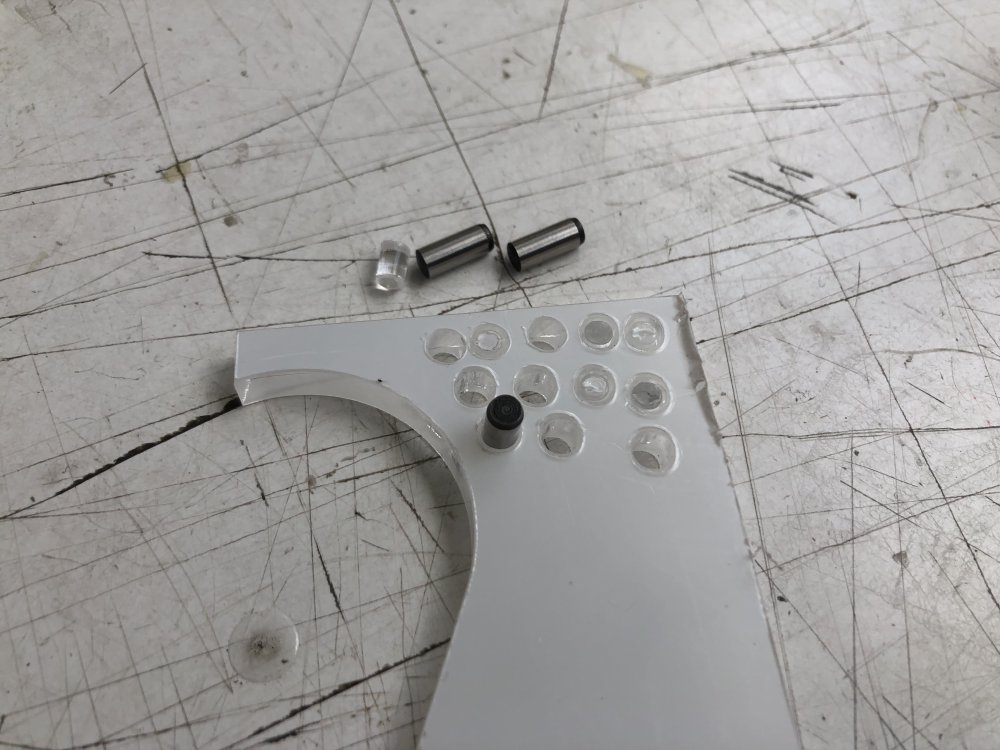
I actually had to change laser-cutters (Makespace has two), as the first one I tried had a slight angle to the cut, which normally isn’t a problem, but given I was trying to use pins to align layers of acrylic, was in this instance. You can see how out of alignment the laser was here, with the pin up against the ferrule block:
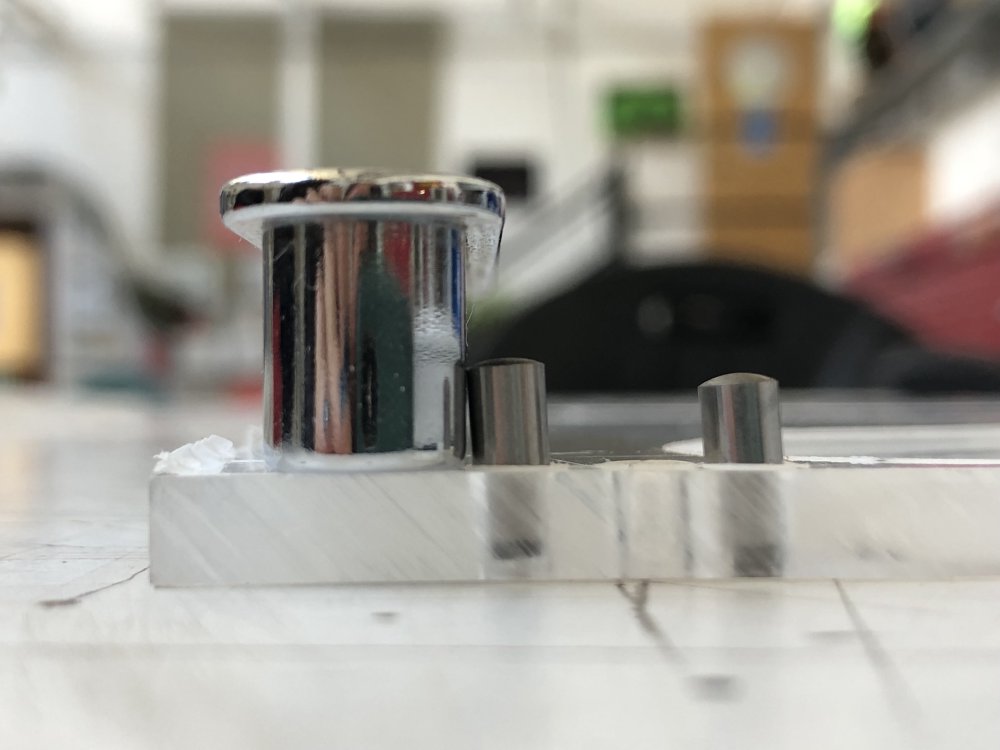
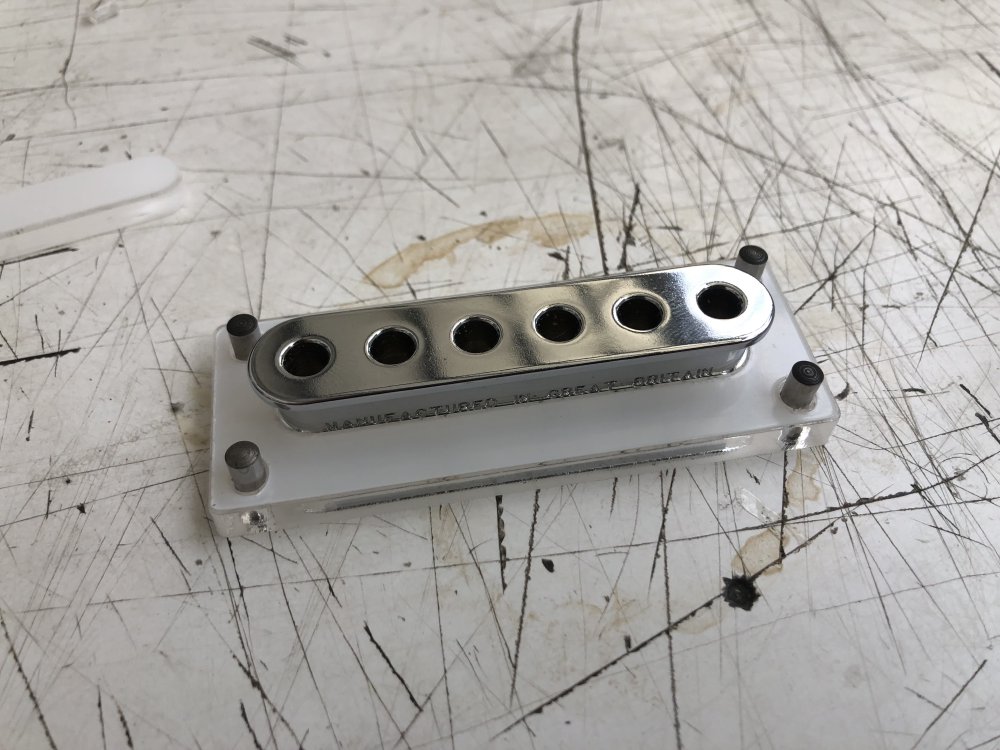
After a lot of test cuts I got something that fit the pins and the furrule block just right:
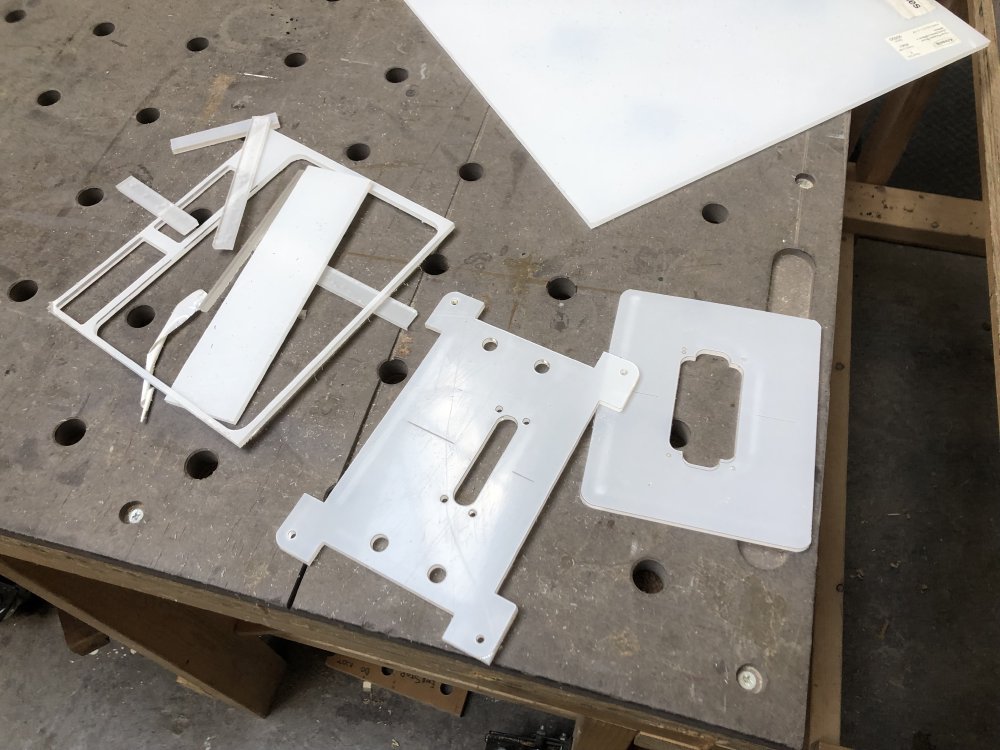
With that success, I then went on to cut the rest of the design out, along with some less demanding templates I wanted at the same time. Unfortunately because I was so worried about the kerf I was running on the lowest power I could, and this bit me in the end when not everything cut through properly, and the templates didn’t detach from the acrylic sheet well. Unfortunately beds on laser-cutters are never perfectly level/true, and materials have a variation in thickness over their surface, so this was somewhat to be expected. However, whilst working out what bits did and didn’t cut through, I nudged the sheet, meaning I couldn’t just re-run the laser over the bits that hand’t cut through properly, as I’d never align the sheet with the laser perfectly. 🤦🏼
Thankfully it turned out that all the bits where it really mattered had cut through, and it was only on the outer edges that things were sticking. None of the outer edges are reference pieces, and so I just resorted to cutting these last bits out on the bandsaw.
Thankfully all the parts do now fit together and pin together, so all the tight calibration did pay of. I just have to hope it works well enough when used in anger.
Misc
Just a small thing to end on that made me smile. I needed to use the scroll-saw at the makerspace, and they were low on blades and so I acquired some more and topped them up. In doing so I was pleased to discover the blade holder I made for the space many years ago is still in use:
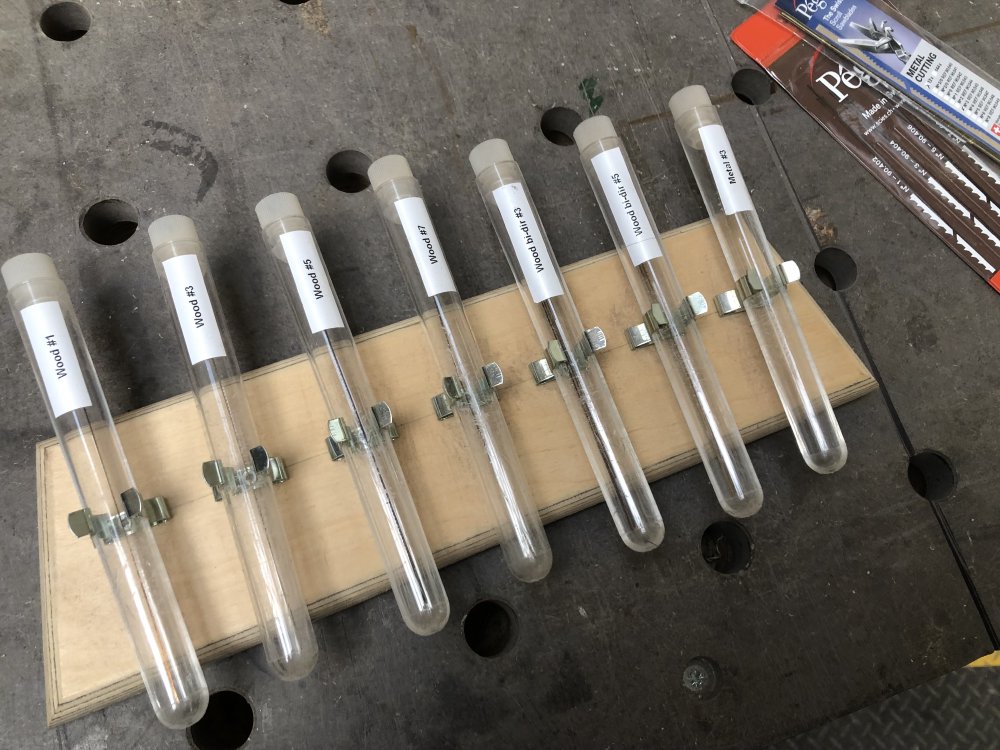
It was a quick hack, and an excuse to get some test-tubes more than anything else, but it’s nice to see it still in action all these years later.