A week in the shop
Published 11 Jul 2022
After the mad rush towards last week’s Liverpool Makefest this was a quieter week than it has been for the last couple of months. In part because there was a pile of tasks I’d been putting off until after Makefest that needed doing, but also I think I needed a slow day in the workshop just to unwind and reflect on the next steps. I still need to press on to get Älgen playable, but at the same time it was good just to have the pressure off slightly again to let me consider some of the remaining design questions.
Älgen
Two things before I get to new things in the workshop this week: how to pronounce this guitar’s name, and some follow up on my band-saw and chisel technique from last-week’s notes.
A lot of people have been asking me about how to pronounce Älgen recently - I think mostly from people who’ve read it in this blog for a while, but are suddenly confronted with having to talk to me about it now I’m waving it around as a real thing. The name is Swedish for ”the moose”, and is pronounced elly-en: ”Älg” means moose, with the ”en” ending giving the definitive, and the “g” has a soft sound, like a “y” in English. I picked the name as the guitar’s sides looked a bit like antlers to me, and in English it sounds a bit like you’re saying ”alien”, which also could describe its unusual looks. Swedish is a language I started to learn in lockdown to pass the time when I couldn’t get into the workshop, and so it felt somewhat fitting to name my new guitar design that also grew from that period in Swedish too.
Last week I talked about how I used my band-saw to cut the pickup and bridge cavity-notches on Älgen: first I’d carefully use the bandsaw to cut a comb-like pattern in the wood, and then I’d snap out the blades and level it with a chisel. Chatting with my fellow members of The Prepared, a sort of industrial makers group, over on Slack, David Basiji pointed out that if I had a table-saw then this technique would work even better than with a band-saw, as a table-saw would guarantee that all the cuts would be of an identical depth. Unfortunately I don’t have access to a table-saw currently (the one in our workshop is a small one that is dedicated to being a fret-slot cutting machine), but if you do, then you might want to use David’s suggestion over mine!
Okay, on to new stuff!
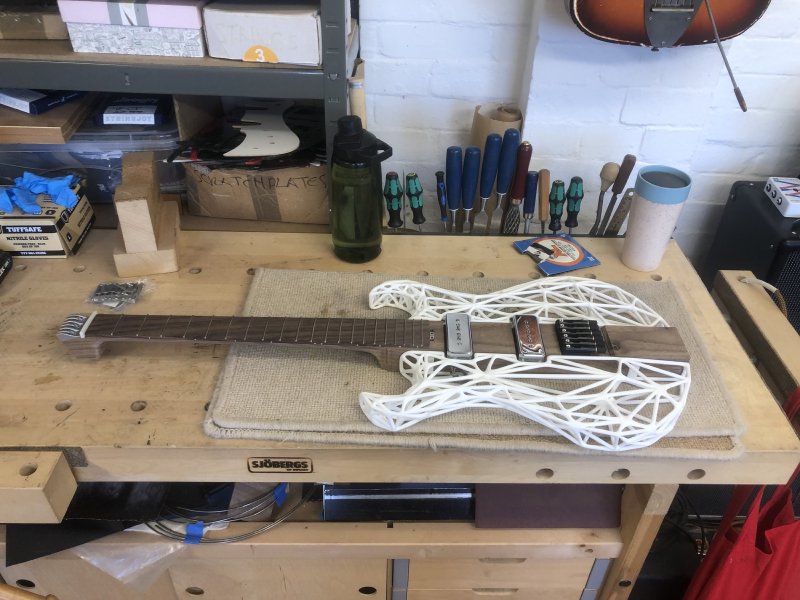
It’s been nice living with Älgen as a mostly assembled object for a week:
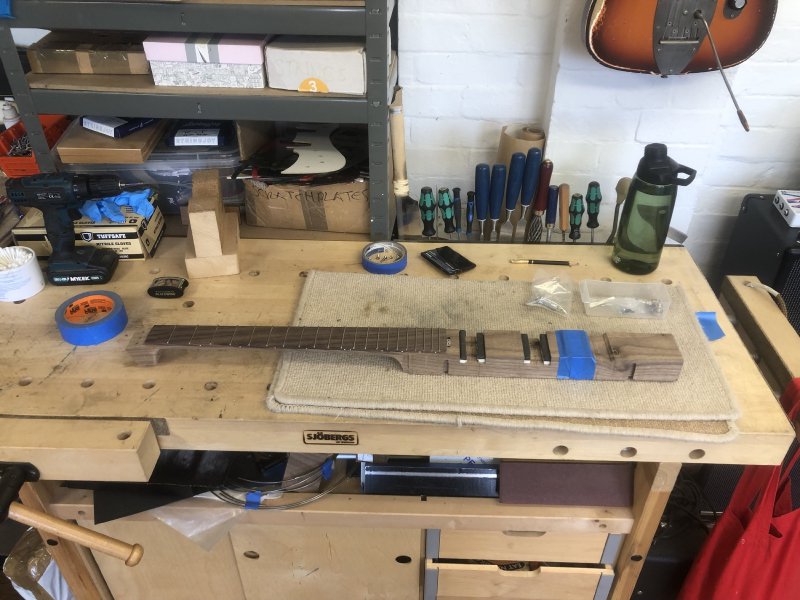
But the first task upon return to the workshop was to take it back down to the core wooden part so that I could complete the body properly:
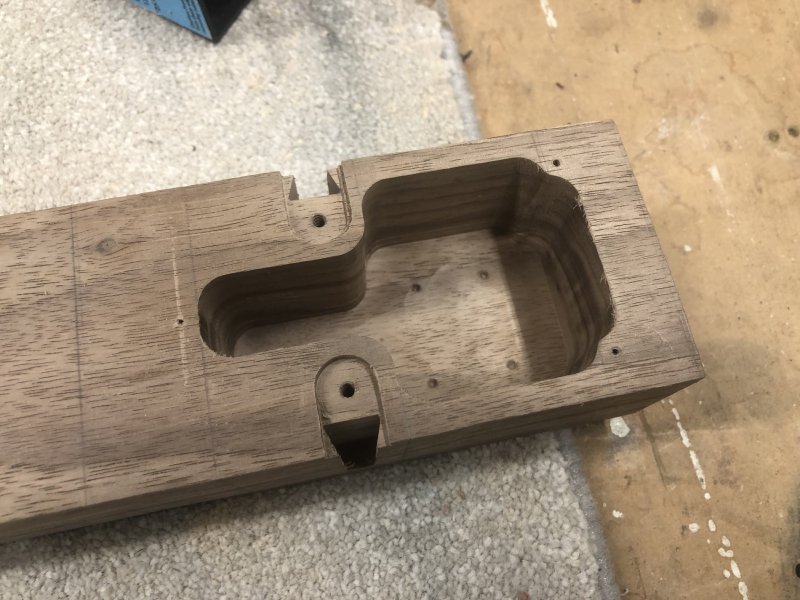
The main task I needed to do next was to complete the electronics cavity at the tail of the guitar. Although not visible from the top, the cavity was already made, and what I wanted to do next was make the holes required for the all the electronics parts, however there was a left over task that I realised I was going to have to address first.
When I first routed out the pocket for the electronics I’d used the full sized plunge-router we have in the workshop, and using that I’d not been able to make the cavity as deep as I’d wanted due to a limit on how far I could plunge using that particular router and the depth of the bit I had. As a simple guide I try to leave 5mm of wood at the front of the guitar on which to mount the controls, and given Älgen is 42mm deep then the cavity should be 37mm deep. But I’d only managed to get it 34mm deep when I cut it (which is also why you can still see the drill marks from the rough clearing I did there):
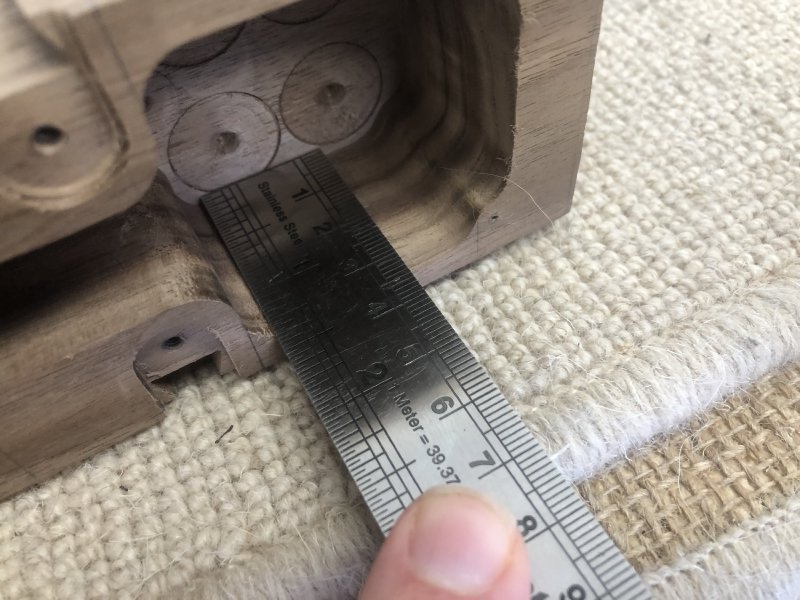
Three millimetres doesn’t sound like much, but it makes a big difference in terms of whether you can mount the controls: the mounting thread on pots and switches is usually around nine millimetres, so the current eight millimetres depth is going to prove a problem - unless I fix it. Thankfully I realised that the Dewalt palm-router that I’ve been using for a lot of the jobs recently would let me get a bit more reach than I could get with the big Makita plunge-router that’s in the workshop whilst using the same bit. So it was time to don my PPE and do a little bit of surgery:
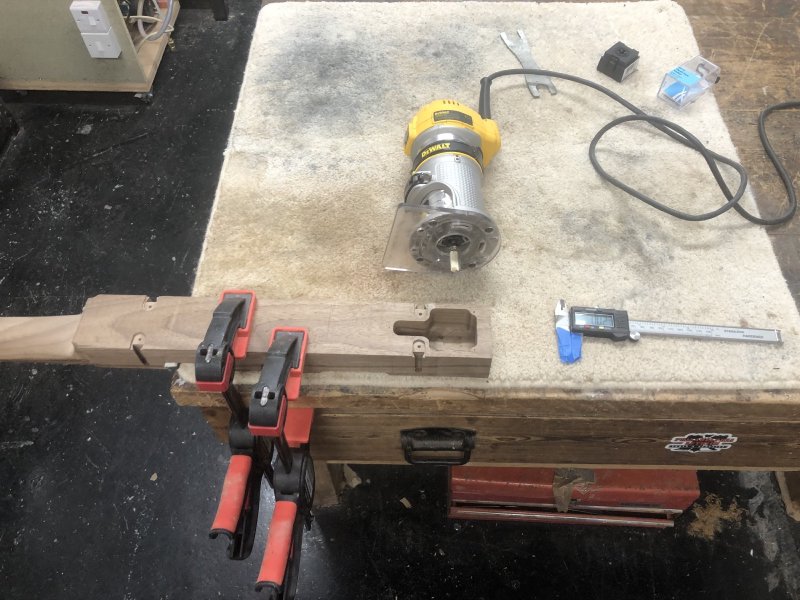
There’s not much material around the sides of the cavity, and so there was concern about the router’s stability, the palm-router is quite a small tool and has a good sized base, and so it was perfectly stable given the amount of material that was there - but I did check before I started cutting.
A few minutes of dust generation later, and I had a nicely sized electronics-cavity, with the gap between the top face and the bottom of the pocket being almost spot on my target of 5mm, thanks to the fine height control you get on the palm-router.
It was still close though: I was pushing the limits not of the router at this point, but of the bit I have. If the body was any deeper then I’d not have made it, but as it was I was fine, but only just. I might need a longer router bit in future for these.
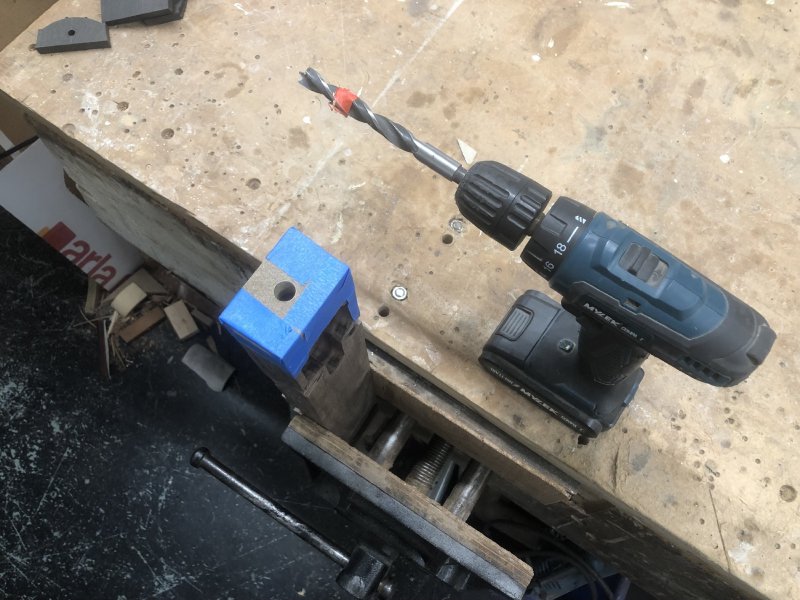
With the pocket the right size, it’s time to get started on the last few holes needed. The first of these was the most awkward one, which is that for the combined strap-button/jack to be fitted in the very end of the guitar. At 12mm in diameter this was going to require quite a chonky drill bit, and its in such a position I can’t use the pillar-drill to ensure I get everything true. To try help guide me whilst I free-hand this I quickly made a simple jig out of some MDF from the scrap pile using the band-saw and pillar-drill; by affixing this to the end of the guitar I’d at least get some guidance to try help keep me level:
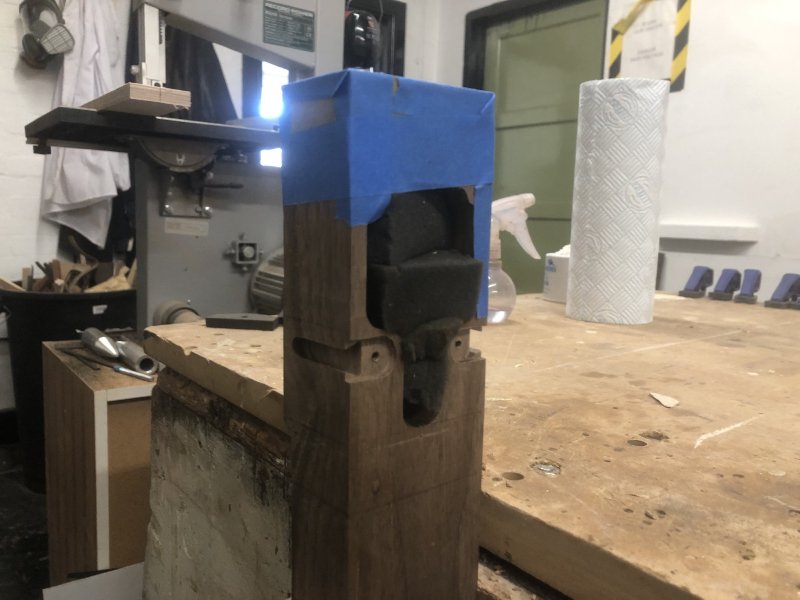
One danger with drilling anything like this is that you need a reasonable amount of force to drill a hole this wide, and when you finally get through the other side all the resistance vanishes and you risk ramming the drill into whatever is the other side of that free space. Workshop-mate Matt had a solution for this: fill the cavity full of foam!
With a bit of muscle behind it, I carefully drilled this as straight as I could, and I was pretty pleased with the end result:
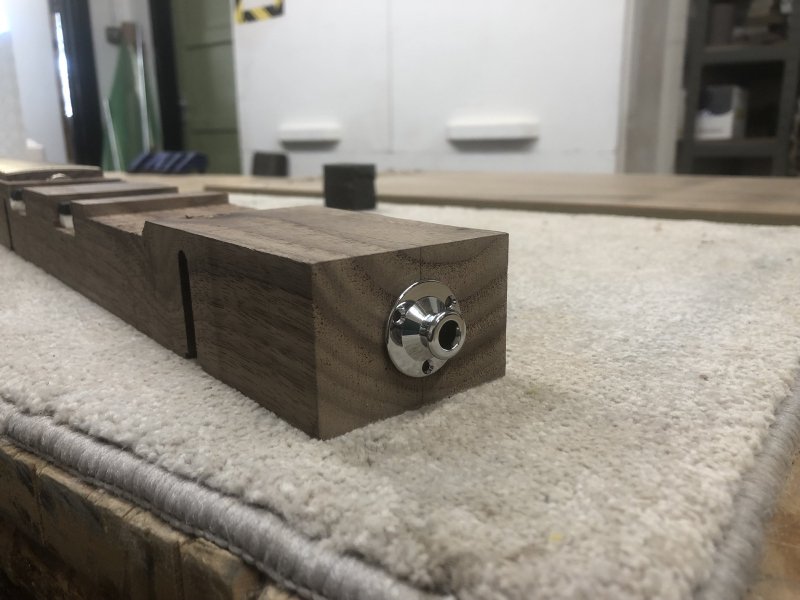
The hole wasn’t perfectly true, unsurprising given I was using a power-drill by hand, but by tweaking the inner edge with a rasp I was able to get the jack to sit flush on the outside whilst still having a snug fit overall, which is important given that this part will be load bearing.
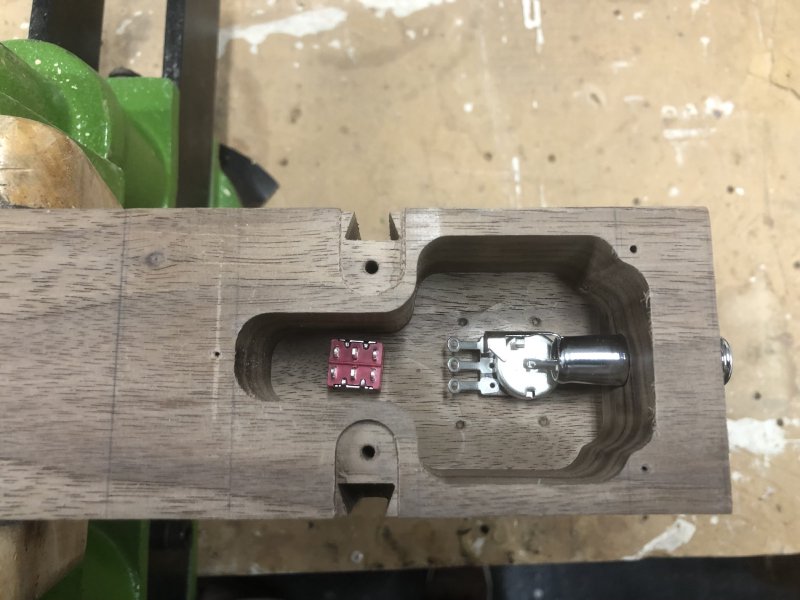
With that task done, the next set of holes required were for the volume control and the pickup selector switch. Given the small space I have to work in I’d bought diminutive components for these tasks:
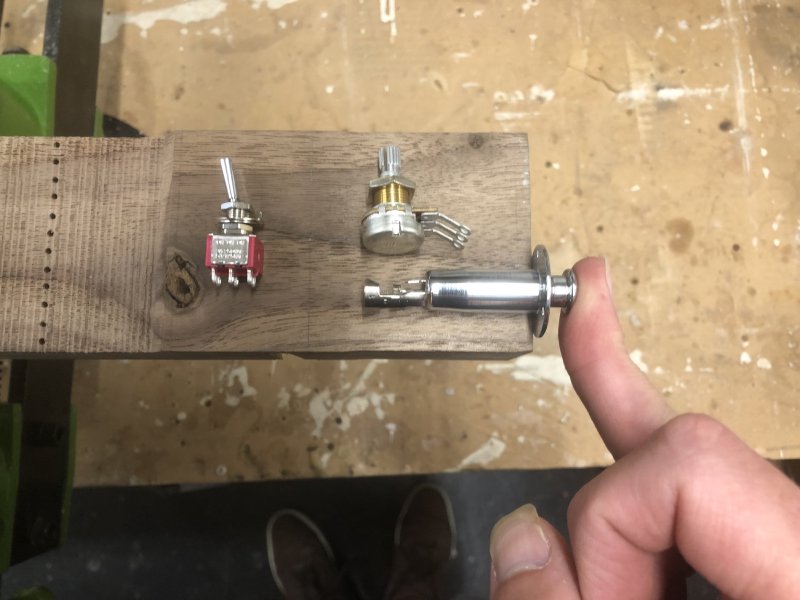
I spent a bit of time trying to work out where I wanted them in terms of both access and visual aesthetic, before drilling the holes on the pillar-drill. Embarrassingly, I forgot to take a picture of the top after doing that, so you’ll need to make do with this picture of the all the parts sitting in their eventual homes:
This just left two more holes to drill: the ones required to get the wires from the pickups into the cavity.
On a regular guitar I’d use a long drill bit to let me have a hidden channel from each pickup into the electronics cavity, but given the layout of Älgen, particularly with the cavity being so far back, this isn’t possible. Even if I could get the angle right drilling from the bridge pickup, which would be very hard to pull off by hand given the distance, the cavity would go through where the screws are holding the bridge in place, and thus we can’t do that (apologies, I realise this section could do with more diagrams to explain things, but I’m short on time this week!).
Instead, my plan had always been to run the wires down the side of the body and then in through a pair of holes towards the back of the body, just before the rear channel for mounting the sides. Originally I envisaged putting the sides of the guitar on, then putting the pickups on and threading the wires into the holes, as the wires can’t be in the way when I put the sides on as they’d get in the way of the ridged body edges given how the sides slide in. But having now assembled and disassembled the guitar a few times I realised this would get tedious quite quickly and needed a better solution. So, my plan now is to route out a little open-topped channel for the pickup wire to run down that lets me install the pickups before the sides:
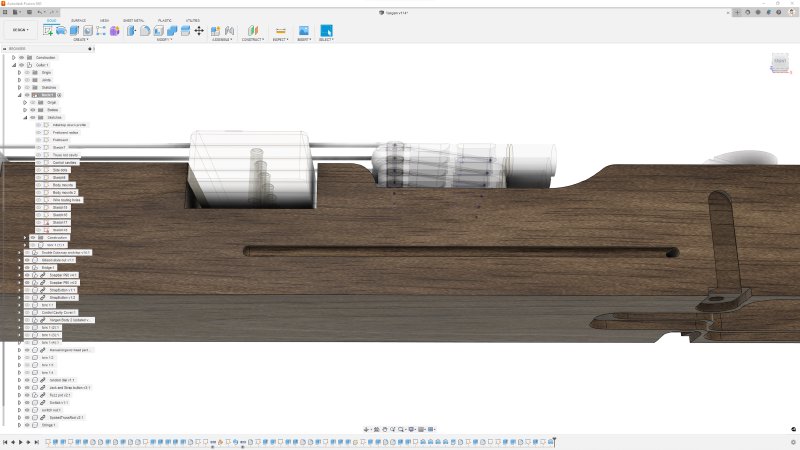
The wire from the pickups has a metal shielded outer layer, and is about 2mm thick, so I’ll make the channel with a 3mm ball nose bit, one of which I have now ordered, and then I’ll use some low profile pins to keep the wire in place. This isn’t the tidiest solution, but given where I am I think it’ll do for now, and is something I can revisit in future iterations of Älgen. It does mean to swap the pickups you’ll need to remove the sides to get at the wires, but that hopefully isn’t a frequent operation, and it means you could install/remove the sides for travelling if you were trying to maintain space.
Delfin
I also spent some time to return to Delfin, my other ongoing guitar build. Delfin is a more conventional build, but will still have a bunch of 3D printed custom parts to it - but the body is definitely more what people are used to.
When Delfin last graced these week notes I’d just finished gluing on the binding, and so my next task is to get the binding flush on both the front face and the sides.
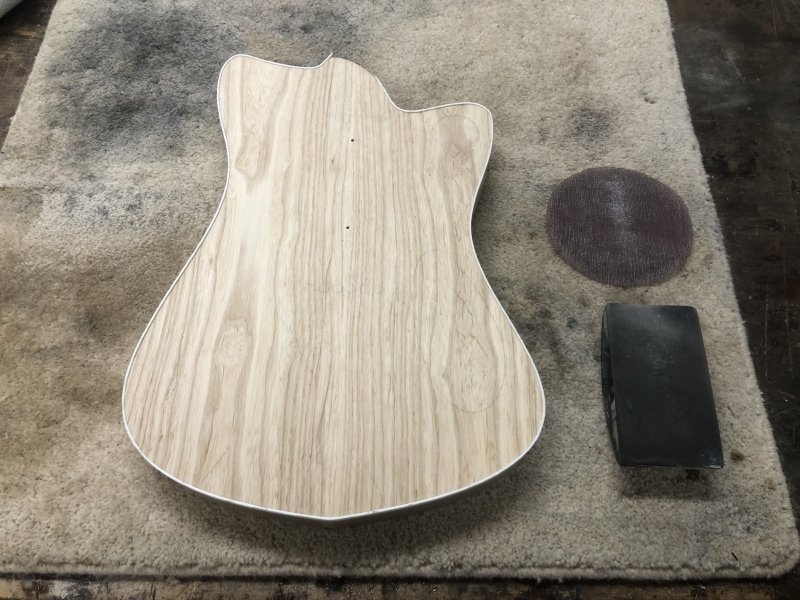
For the face, it’s simply a matter of sanding it down. The binding plastic is fairly soft, so I was able to make quick work of it with a 120 grit sanding disk.
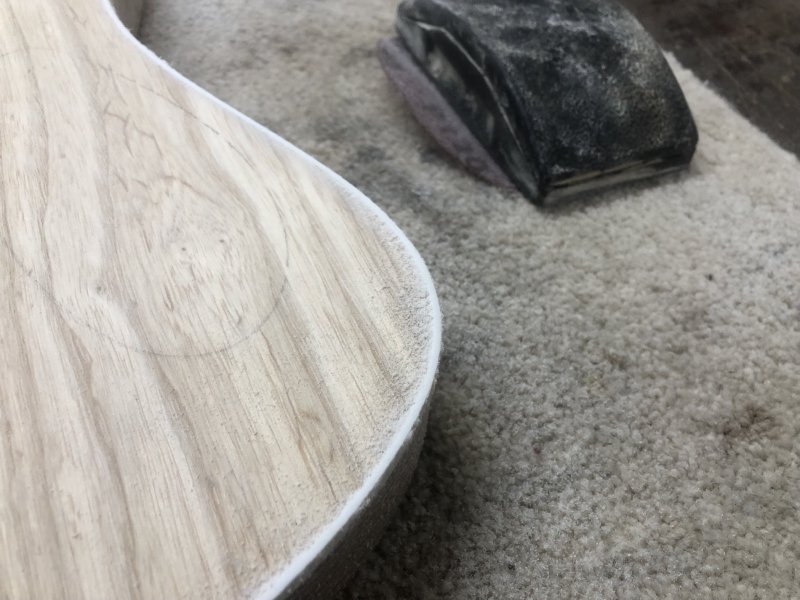
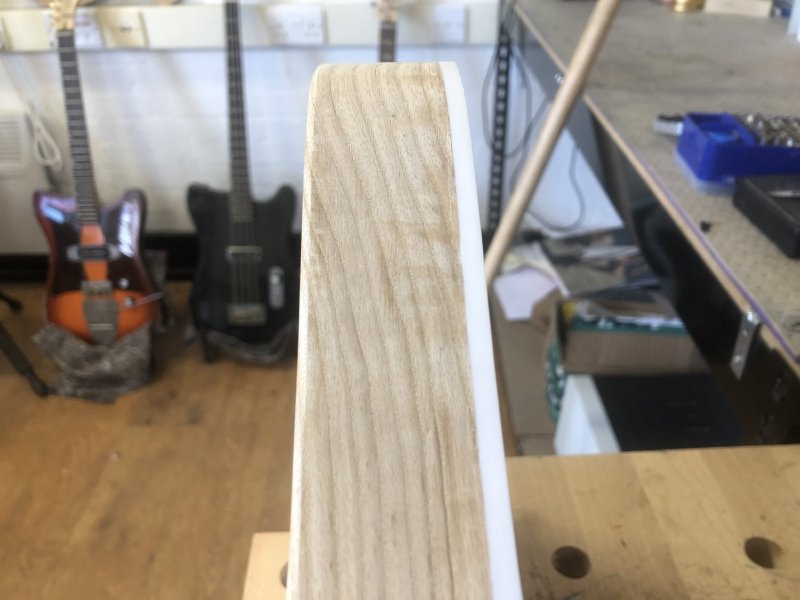
In very little time I had that side of things looking nice and flush:
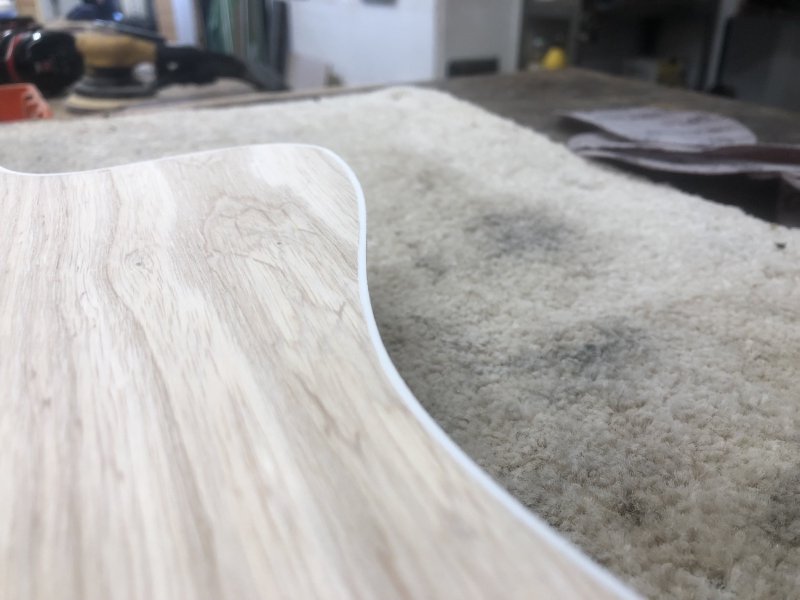
On the side edge, it was a much slower task. Workshop-mate Matt gave me a quick tutorial on using a cabinet-scraper to get the job done:
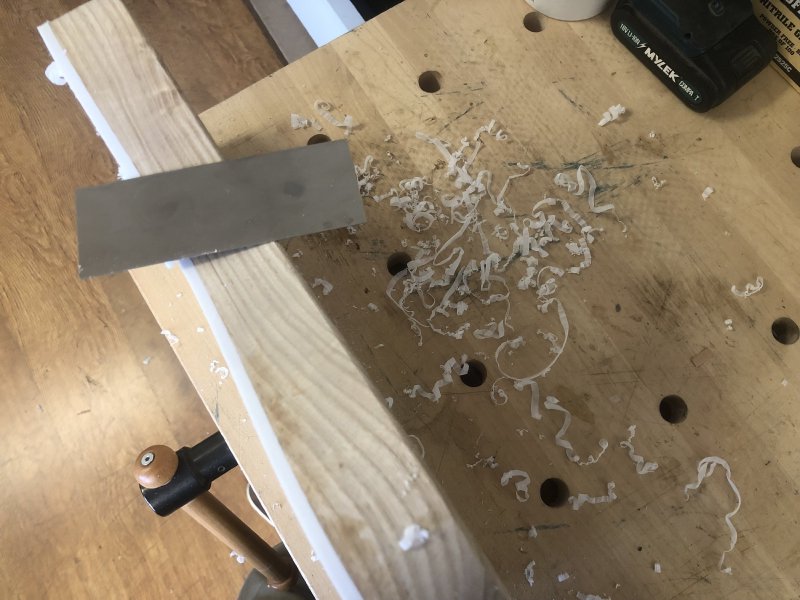
One thing that I didn’t consider, but in hindsight should have been obvious from high school science class, was that this generates a lot of free electrons - all the plastic shavings like to stick to everything thanks to static electricity! Not a real problem, but you do find yourself covered in shavings that by all rights should have been put on the floor thanks to gravity.
Scraping like this falls into that set of tasks which you need to watch out for as it’s very satisfying: you get these lovely long shavings, it feels nice as an action, and I imagine it’s thus very easy to accidentally over shave the plastic if you’re not careful and not holding the scraper perfectly flat to the edge. It’s certainly not a fast process, but over the course of an hour I got a nice flush finish:
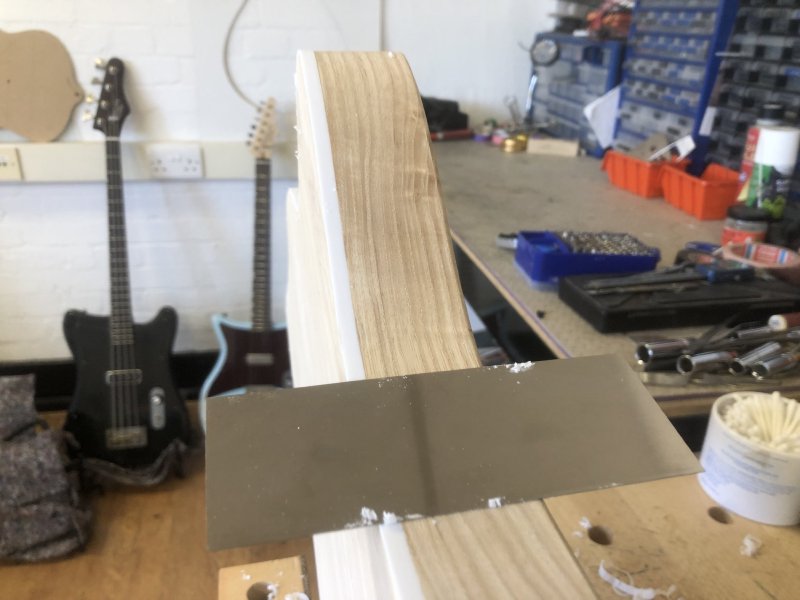
That said, I did encounter two issues as I went along that will need to be fixed up after. Firstly, the end grain on this body is very prone to showing scratches, which I complained about after I had used the spindle sander on it a few weeks ago. Unfortunately the scraping process here did the same thing:
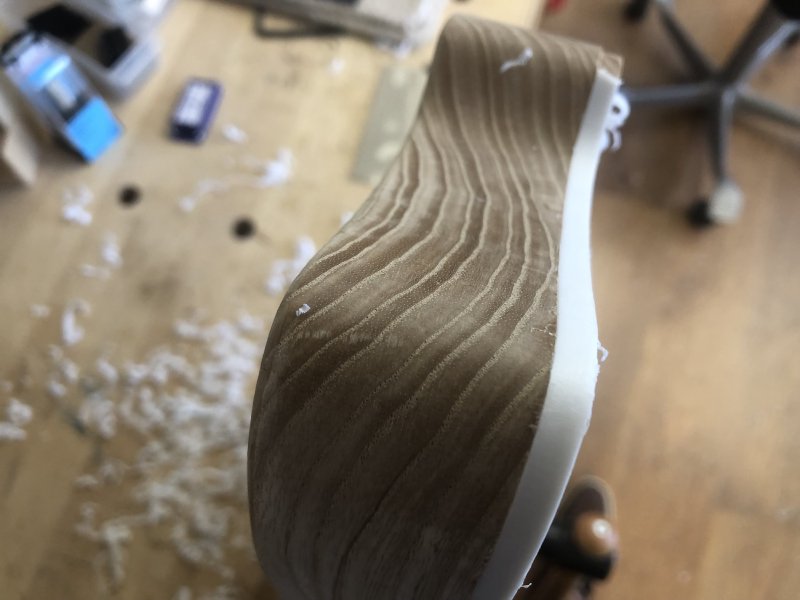
These scratches might not look like much, but they’re really hard to get out of the end-grain, and so now I have to look forward to trying to buff those out, without also buffing the binding too thin at the same time.
The other issue is from where I had to use wood glue and sawdust to fill in some gaps along the binding edge - you can see where the glue was as it has clogged the surface of the grain.
Again, I can probably sand that, but will need to be similarly careful about not sanding too much lest the binding gets too thin. I did spot another section whether the binding had lifted out the channel during the original gluing that I then had to fill, but this time when filling it I made sure to put down masking tape to cover most of the wood before I applied my filler.
So, not a prefect result here, but again, not bad for my first go at binding I feel. I’ve created myself a bunch of extra work that I’d rather not have, but this is how you learn anything, by doing and making mistakes and knowing better for next time.
And that’s it for this week - I’ve kept these somewhat short this week as I still have my task backlog from last month to plough through.
But I’m pleased that I made so much progress in the run up to Makefest. Now we’re past Makefest, and until I can start taking commissions for guitars again, I have to allocate some of my workshop time back to software contracting so I can pay the bills, but the key will just be to ensure things keep moving forward each week, even if that’s just a little at a time. Älgen is so close to being done, and once it’s complete hopefully others will be as taken with it as I’ve become and I can justify spending more time in the workshop building some for people again.