A week in the shop
Published 19 Jun 2022
Tags: älgen, delfinen, makefest
A short week this week, as I managed to hurt my hand (not in the workshop!) which meant I only got one day in the workshop. I suspect this makes somewhat of a mockery of my plans for Liverpool Makefest, which (allowing for travel) is now a week and a half away. But that’s how things roll some times. As someone pointed out on The Prepared’s week lunch call, even if I don’t make the mark, this will have been a useful deadline in terms of getting these guitars close to finished, even if they don’t quite get finished in time. At least both projects have a certain amount of momentum, something I’ve struggled to find since the pandemic hit.
My only concern then is what I can show at Makefest. When I’ve exhibited at Makefest in the past I’ve tried to use it as an opportunity to show people how guitars are made, and how there’s nothing magical to them: it’s something they could do themselves if they had the opportunity and the inclination. Last time I did Makefest, way back in 2019, I specifically built a cigar box guitar for the show, to try and show that you didn’t need to aim for fancy, as I think too many people saw the finished product and just fixated on that as being a beautiful object, rather than the end of a process. The point being it’s a ”maker” festival, so I want to encourage people passing by my table that this might be something they could make.
Having done the same stand for several years now, I had had hoped to do something different this year, communicate a different message for a change. I’d settled on showing the 3D printing stuff more to try and get across that there are other ways to build things, but they don’t have to look like they came from a maker space. A lot of the things you see at a maker faire of any kind is a lot of laser-cut ply and FDM (extrusion) based 3D printing, and whilst there’s nothing inherently wrong there, I wanted to perhaps try and leave people with the notion that if you wanted to make things that looked more polished (figuratively and literally) using these methods then you can readily do so.
I suspect I’ll still aim for that, but I think it’ll be a bit of a weaker message if I don’t have a playable instrument, which at this point I think is somewhat innevitable, though I shall push on until the last moment. Still, I have a lot of random bits I can show, so we’ll see if I can cobble together a narrative out of it that encourages visitors to my booth to see opportunities they might not have otherwise considered.
Älgen
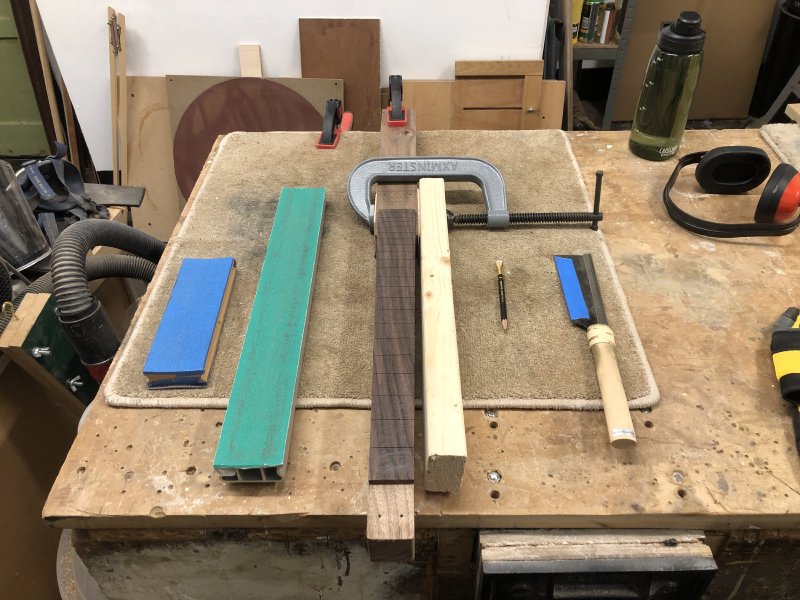
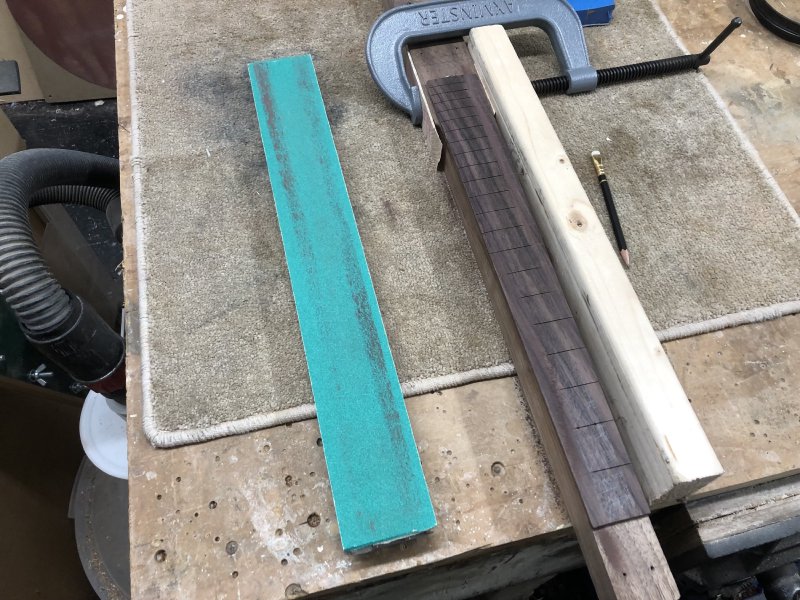
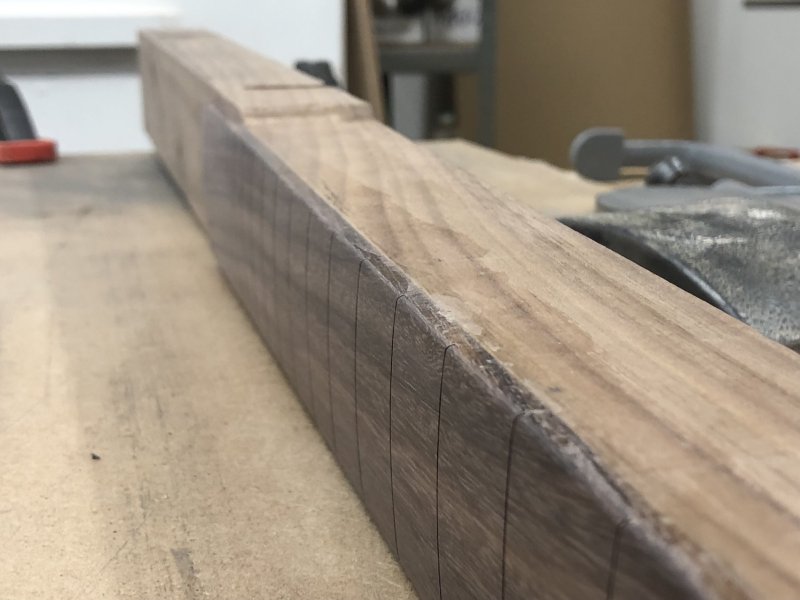
For all that messaging on other manufacturing techniques, what time I did spend in the shop this week was mostly put into actual traditional luthiery this week. And lot of that was putting the radius onto Älgens fretboard, out with my makeshift sanding jig again:
One thing that is a danger with radius sanding is that as a human, try as you might, you’ll exert a slight directional bias as you sand as your stronger side dominates. I’ve tried very hard to correct for that, and it’s very difficult. Even with the jig I have to watch out for it, as you can see here that I’m still taking material off with a slight diagonal bias:
If you don’t watch out for this, then you’ll end up with a fretboard that has a twist to it along its length. Thankfully I was aware of this issue, and by shifting the side on which my guide rail was (thus shifting the bias with which I applied my weight), and by using the shorter radius block to correct occasionally, I kept this fretboard true.
The other thing you have to bear in mind is that you need to remove more material at the body end of the fretboard than the neck end, as the fretboard is wider at that end, so the sides will drop more. To compensate for that I’d again use the shorter block for periods, trying to keep the un-sanded strip down the middle of the fretboard a constant-ish width as I work my way through the process.
It’s worth nothing that my workshop-mates, who have both honed their build processes to let them scale up production better, don’t sand in their fretboard radiuses: they have some nice radius jigs that you can use in conjunction with a palm-router. Whilst it’s tempting to ask if I can borrow the jigs, they’d just not work on Älgen, because of the extra height off the workbench this neck is.
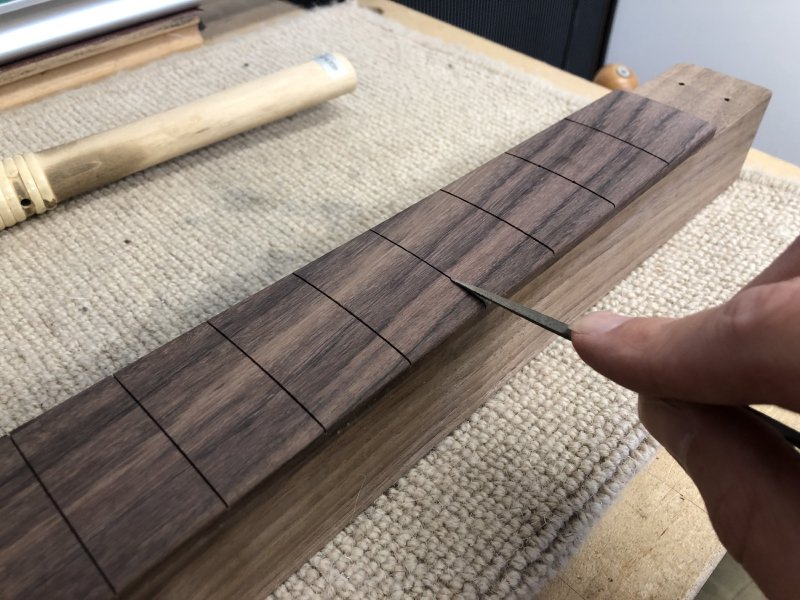
Once done, I need to then check that I’ve still got a level fretboard:
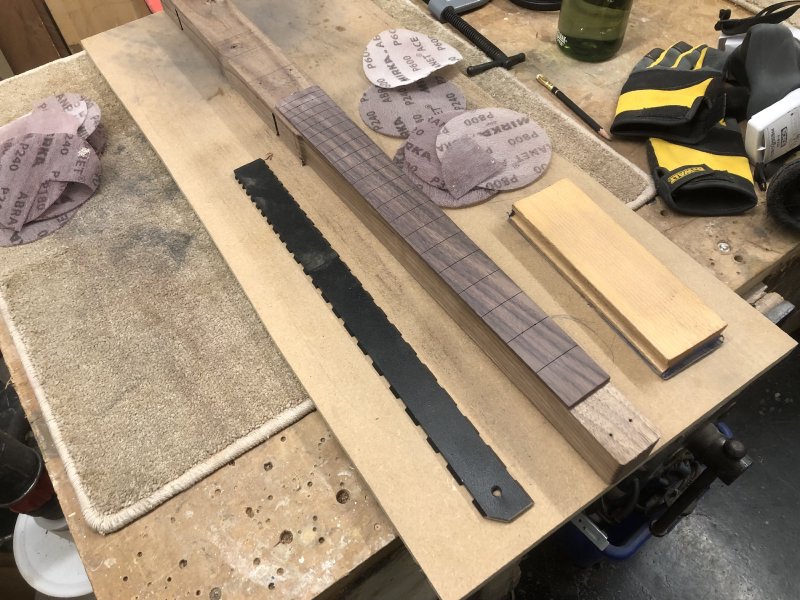
Here I’m using the notched straight-edge that lets me check the fretboard is level once I’ve got the frets in (to help with truss-rod adjustments), but it’s also useful before they go in. I did find that I had a slight bump in the middle, so that had to come out. A little bit of careful sanding using mesh sanding-disks under my radius block (as sandpaper is generally now dead to me :) and I had things level. I also then worked my way up through the grits to 2000 to get the fretboard silky smooth; the fretboard will end up getting somewhat scuffed again as I level the frets, and so will need re-smoothing, but this will reduce the amount of work I have to do once the frets are in and everything gets more fiddly.
With the fretboard true, I next re-asserted the fretboard slots one last time, so that the final edges had enough depth:

The penultimate job was to round-over the edges a little:
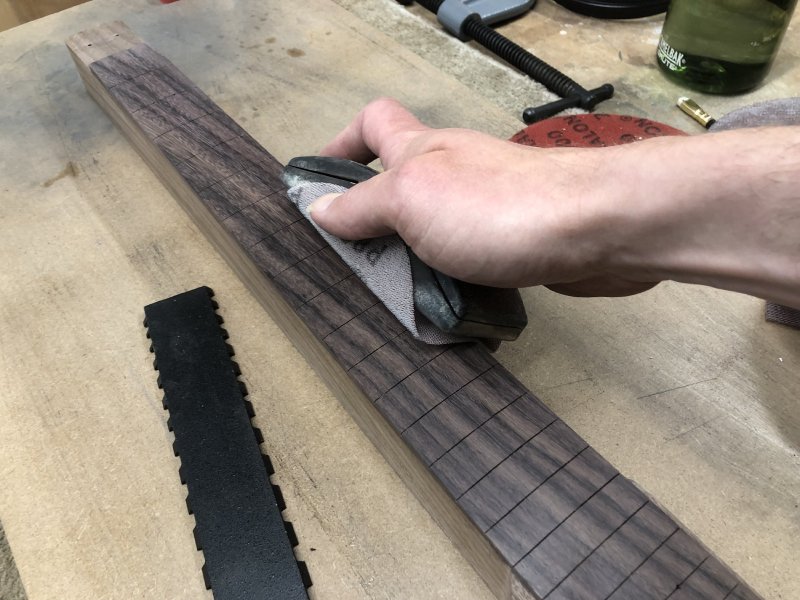
This is a comfort thing, so that when you’re holding chords there aren’t any edges digging into your hands. This rounded edge is a pain to maintain as you sand the fret ends smooth, which will have a tendency to put that sharp edge back, but it’s worth maintaining, and as before, doing an initial pass here will make later life once the frets are in a lot easier.
The final task was to just widen the top of the fret-slots a touch using a rat-tail file, to make it easier to insert the frets:
This just helps the fret find its way home when you insert it.
In the end, it was a lot of effort (and my arms feel it today!), but I’m really delighted with how this particular fretboard is looking now that it’s ready for fretting:
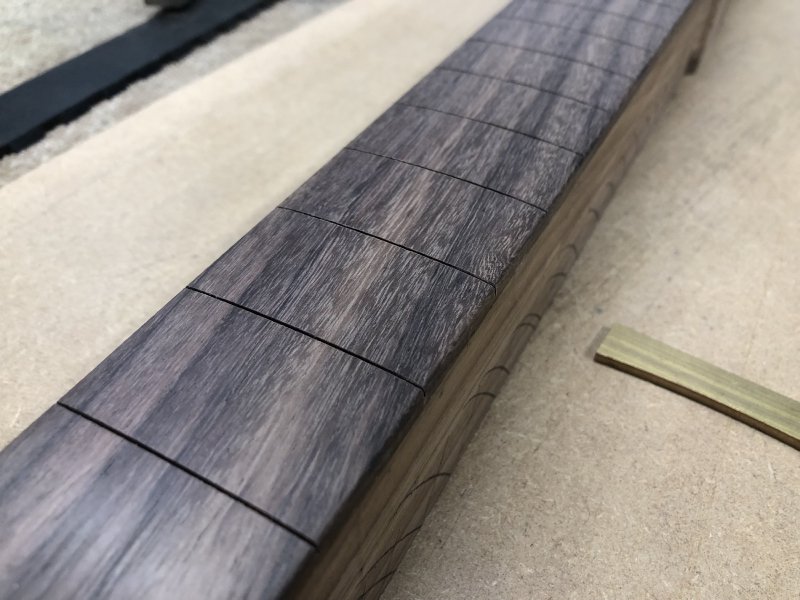
The rosewood really has a nice grain pattern to it that has come through and it feels lovely to the touch.
I didn’t get onto putting the frets in, but I did find my stash of fret-wire and run it through the radiusing tool ready for inserting.
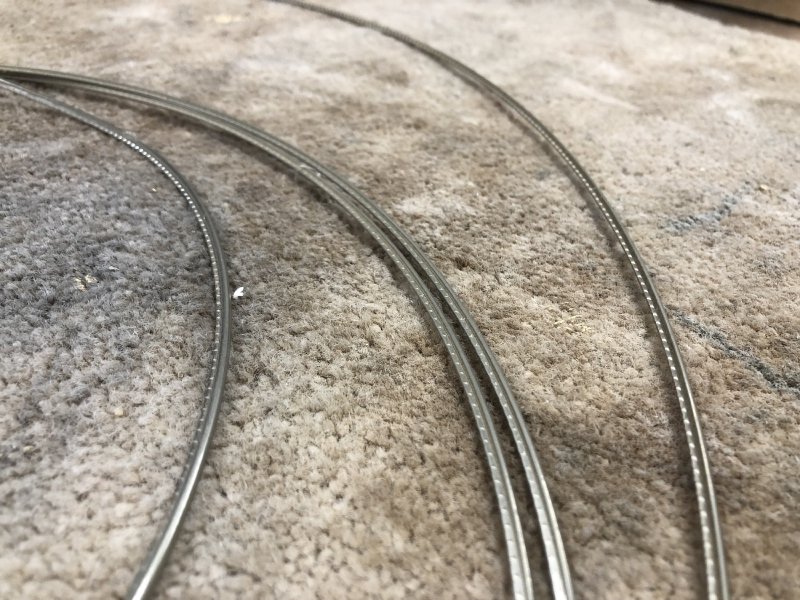
Fretwire ships with a very shallow radius, and you generally want to have the fretwire have a slightly tighter radius than your fretboard to help seat it at both ends before squashing it home in the middle (either with a hammer or an arbor press). But installing this is now a next week task.
Delfin
On the Delfin guitar it was time to see how well (or not) my first attempt at installing binding has gone:
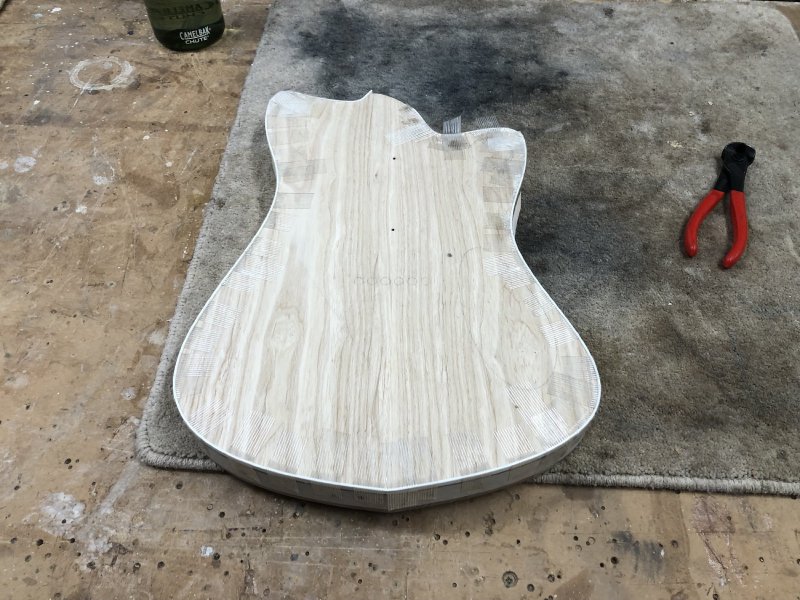
After a good quarter of an hour picking at tape carefully (I don’t want to tear the wood fibres), we have our results:
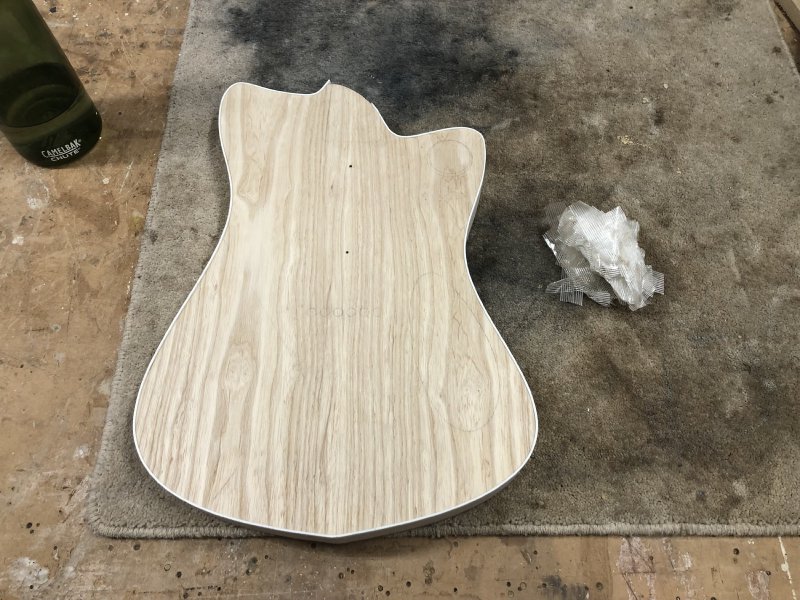
I’d give myself a B rating for this: not bad for a first time, but certainly (and perhaps predictably) not shippable without some fixing work.
If we look closely at the top right of the body we can see that where there are the tight bends the binding hasn’t stuck flush, managing to both fail in a concave and convex fashion in short succession:
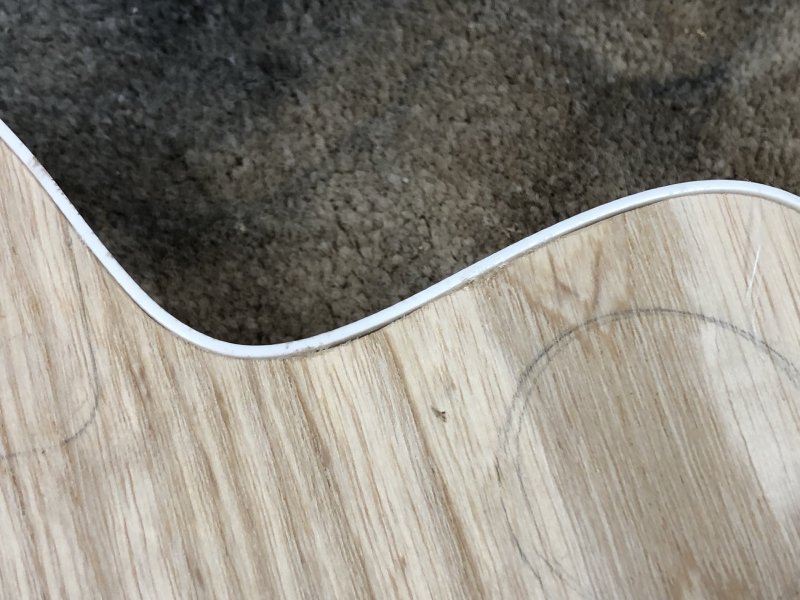
If I manually press down on those section I can get the gaps to close, so I wonder if I can wick some glue into the gap and re-tape it. I’ll give that a go before I try anything else on this body.
The other failure I suspect is less easily saveable:
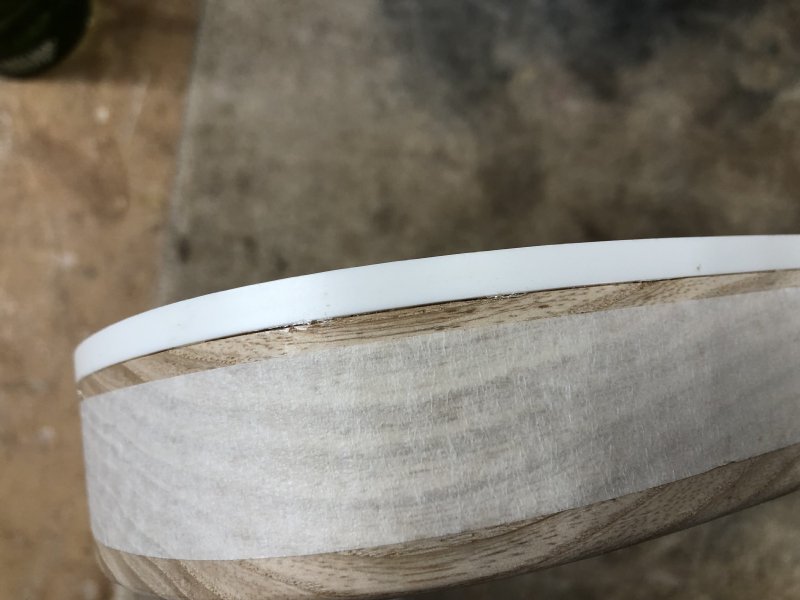
The risk as you apply the tap to pull it into the body is that at the same time you slightly pull up the binding. I tried to guard against that as I went along, but you can see I’ve managed to do that here on the bottom right of the guitar. I’m not sure there’s much I can do to save this. If I was painting the guitar, rather than staining it, I could fill it with a mix of wood-glue and sawdust, but on light woods I’ve found that’s almost always visible. I can try detaching the binding and re-seating it, but there’s already glue in the way now that’d need to be removed first.
Ultimately I’ll be able to do something, but it might just mean compromising on my vision for this guitar one way or another. But that’s the nice thing about projects like this: whilst I’ll be sad that I’ve had to switch gears, when people see the finished guitar for the first time they’ll not see what I wanted it to be, just what it’s become and what pains me now won’t matter one jot to them (which, to be clear, is a good thing!).
Anyway, this means the Delfin guitar certainly isn’t going to be ready for Makefest in any sort of shape, other than perhaps as a stack of in-progress parts, but I’m sanguine about that: doing the binding was a good learning experience, and I feel I did not too bad for my first go. Yes I made all the mistakes, but it’s one thing to know about them in theory and another to execute them. Putting binding in is both harder and easier than I expected, but is definitely something I want to try again so I can offer it as an option to customers, as it’s a good look to an instrument if you can nail it. Just perhaps next time not on a guitar with a tight deadline :)
And that’s it for this week unfortunately: only small progress, but I have a working hand again, so that’s good (despite getting a blister from all the sanding :) This week it’ll be a strong push to get Älgen as close to strung up as I can: frets in, then I can attach the headstock and bridge, and then finally we’ll get proper insight as to whether this will be a working instrument or not!