A week in the shop
Published 20 Sep 2021
Sometimes it’s easy to forget what it is you’re trying to do when you get bogged down in the details of it all. I have two main build projects on the go at the moment, both of which are stuck in details that have kept me out the workshop, and whilst drawing in notebooks and computers it’s easy to forget the bigger picture of what you’re trying to achieve and feel all this effort is misplaced.
Thus this last week I made myself go into the workshop even though I didn’t have anything immediate to do on the main project guitars, and just do something to let me reconnect with the guitar building process. The details I’ve been stuck on are all important, but at times it’s also important to let yourself practice. Or, as a friend once left me a note to remind me: it’s okay to take time to chew the cud occasionally.
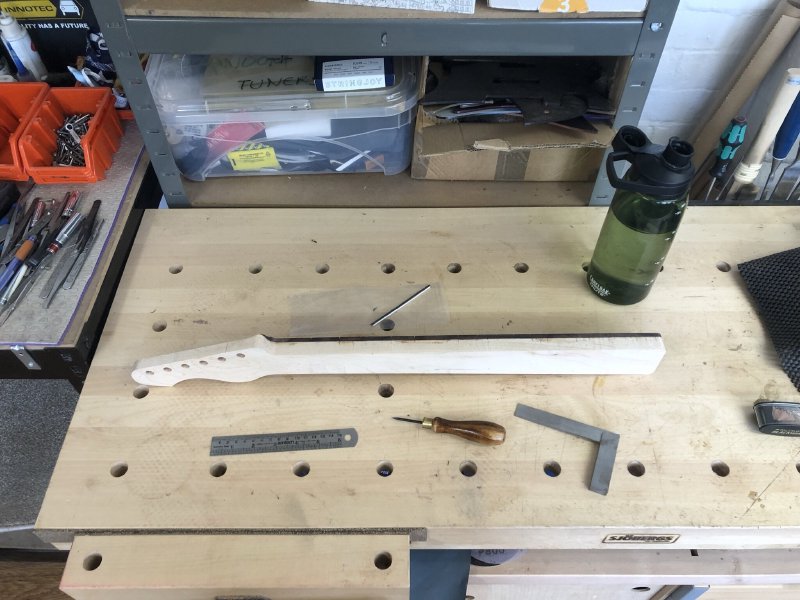
Thus I spent a day this week chewing the cud: taking a neck I started an age ago for a prototype before my recent direction change, and transforming it from a blocky approximation of a guitar neck, and turning it into something closer to being part of an instrument.
The first task was to add the side-dots to the neck. For those who don’t play guitar, a typical neck will have two sets of inlays to indicate to the player where the various frets are: there’s a set on the face of the fretboard that are most obvious when you look at an instrument, and then another more subtle set on the side of the neck that are actually more visible to the player. As a player I only tend to use these side dots, and given this neck as a nice bit of rosewood for the fretboard I decided to to skip the fretboard front inlays on this neck. I like the minimal look (my LAG acoustic guitar also doesn’t have front inlays), and given this neck currently has no customer I have the freedom to have some fun here.
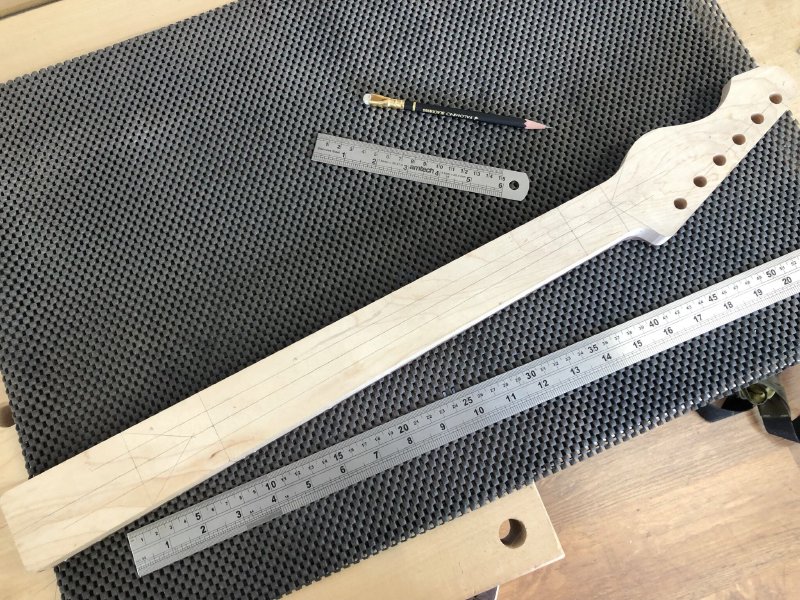
Having decided to do side inlays only, I broke out the ruler and set square and got a-measuring:
I tend to place the inlay dots on the boundary between the fretboard and the neck. Sometimes you see them a little higher, just in the fretboard material alone, which makes it easier to be a little bit out and not have it so obvious, but that has it’s own issues given at this point in my particular build the fretboard isn’t radiused, and so I don’t know how much leeway I have in height. And, I have my trusty bradawl to help me out here with getting the drill to go in true:
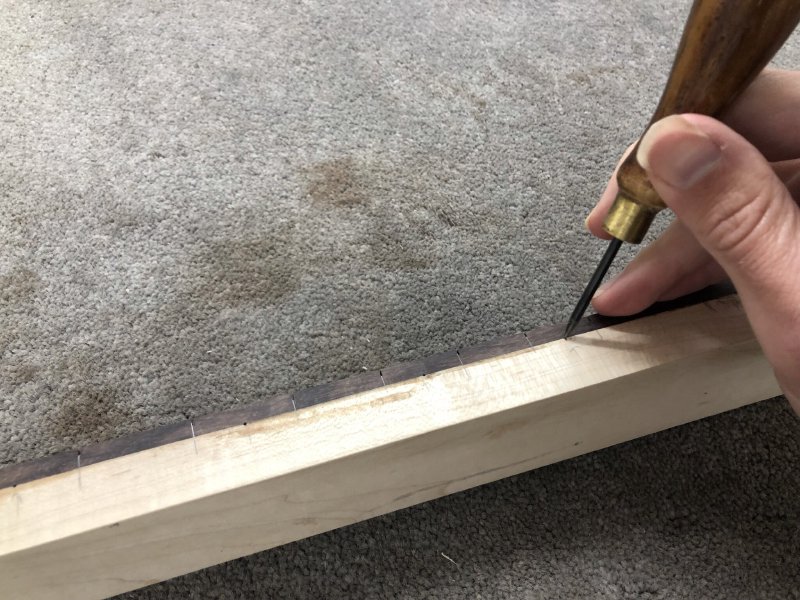
By careful application of bradawl I can guide the drill bit to go to the right place, and it’s much easier to align a bradawl tip than a spinning drill bit.
The main bit of advice I have for drilling the holes for the side-dots is to get an engineer’s drill bit set, where the bits come in increments of 0.1mm, and before you start measure the dowel you’ll be using for the inlays, and find a drill bit that is just a little bit wider than that. So, in this instance I’m using some 2mm plastic dowel for the inlays, but I find that sometimes I’ll need a 1.9mm drill bit, or sometimes a 2.1mm drill bit: each batch of dowel I buy is a little bit different. The last thing you want to do is drill all the holes and then find that the dowel won’t go in.
So correct drill bit selected, it’s time to get drilling:
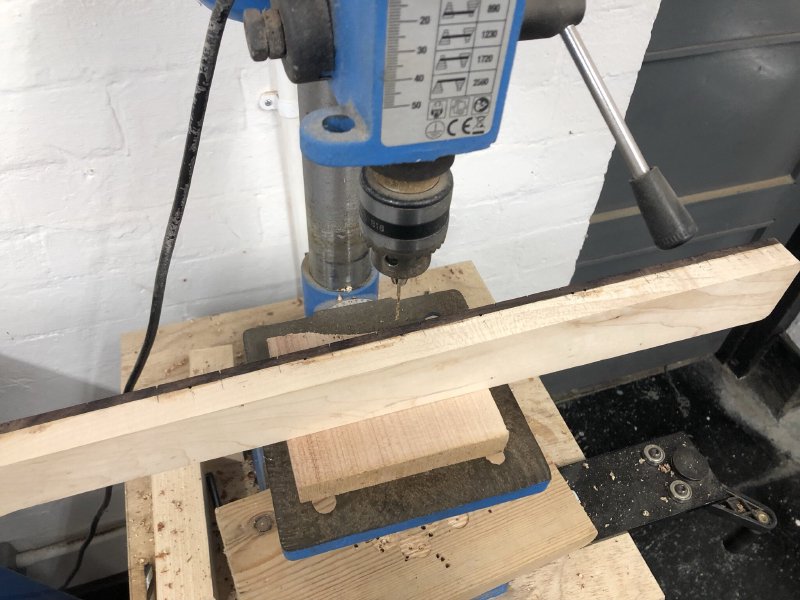
When I first did this I really did sweat about this stage, but now I’ve got more experience I know that so long as my bradawl marks are in the right place then the drilling stage will be fine. It still takes a bit of care and attention, but I no longer fear this stage.
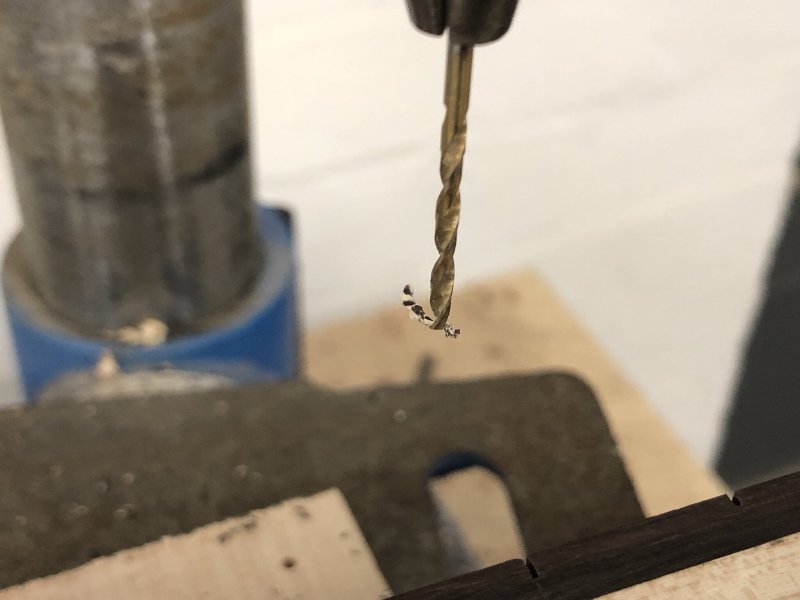
You know you’re doing an okay job when the swarf that comes off the drill bit is multi-coloured:
Holes done, the next job is to plug them. Usually I use a bit of either white or black plastic dowelling, but at some point I’d love to try using something metallic. Workshop mate Jamie, of Swannell Guitars, recently did a build where he used a glow in the dark clay, which is also a nice idea for a gigging instrument. But for this neck, I just kept things simple and went with some white plastic:
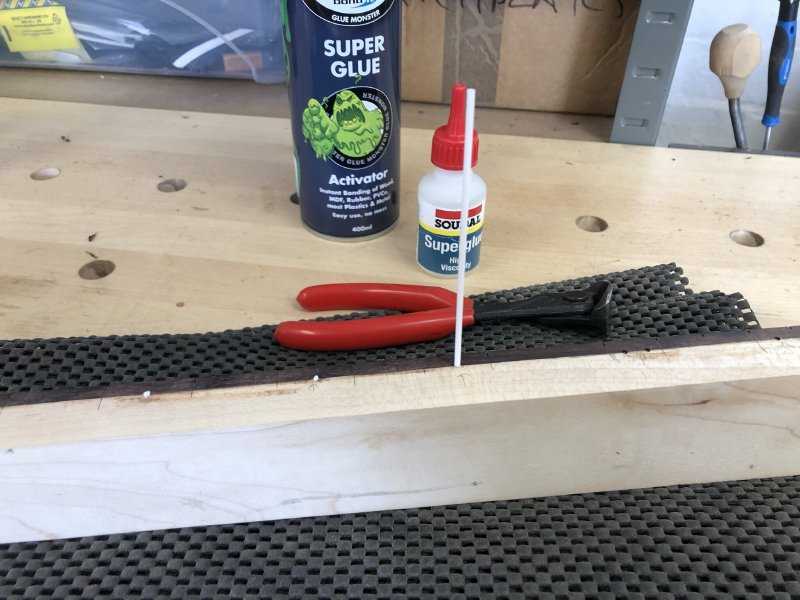
I apply a little superglue to the end of the dowel, push it in a few millimetres, and then apply superglue accelerator to make safe any glue that seeps out, and snip. The snips don’t get things totally flush, so I’ll go back over all of the dots at the end with a sharp chisel, which will not only get the plastic flush with the wood, but also remove any excess glue.

As you can see, the inlays are close enough clustered on the join line. At it’s worth remembering that normally your client isn’t expecting a machine quality finish on these things: you don’t want it to be a mess, but you also need to remember they wanted a hand built instrument, not robotically precise replica.
Inlays in, the next job was to carve the neck.
I still use the same technique for this I learned back when I started. I can’t find the original YouTube video from which I learned this, and it doesn’t look like I’ve written this technique up on the blog in full before: so to give me reference for the future, I shall do so now.
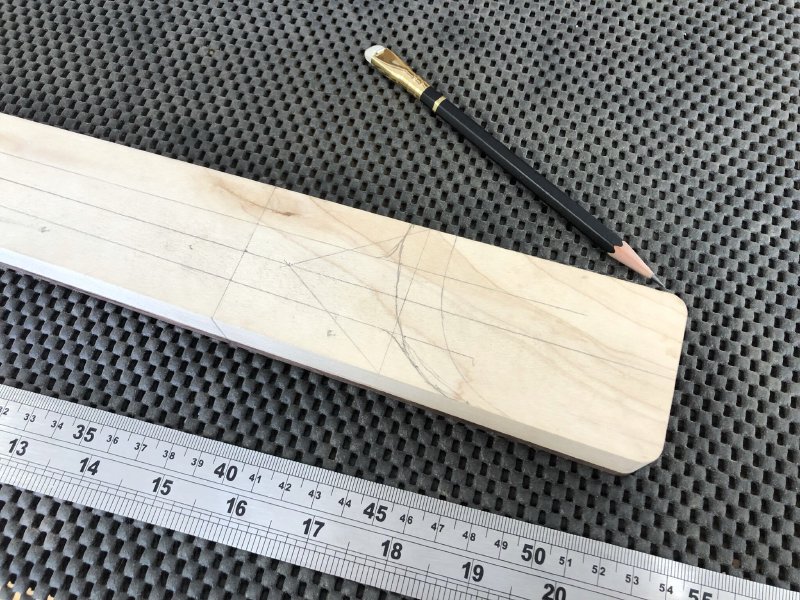
The technique has two phases: first we mark up the neck with a set of guide lines, and then we’ll do the actual carving. Here’s what it’ll look like when we’re finished with the pencil marking stage:
I start by first marking out the positions of frets 0, 1, and 12, and a centre-line on the rear of the neck. I then mark out about 7mm either side of the centre-line at the 1st fret and 11mm either side of the centre-line at the 12th fret and join those up with a line on each side: this will be how I start faceting the neck when I carve it.
Those 7mm and 11mm numbers aren’t gospel, the spacing away from the centre line will control the shape of the neck, so you should adjust them to suit what you (or rather the customer) wants: the wider apart those lines are the more of a C like shape you’ll get, and the close they are a more of a V like shape you’ll get.
I next mark the heel of the neck, so I know where to stop shaping and transition to having a flat part to attach the neck to the guitar. For a t-style guitar I’ll normally do this by marking a line 85mm up from the heel, and then drawing a triangle up to 125mm, which you an see in the above picture. This’ll work fine for a Fender style neck, however, really you want to look at the neck pocket on the body you’re going to match the neck with, and use that as a guide to where to locate this transition. In the case of this practice/prototype build, the body has a curved neck pocket that I really want to match:
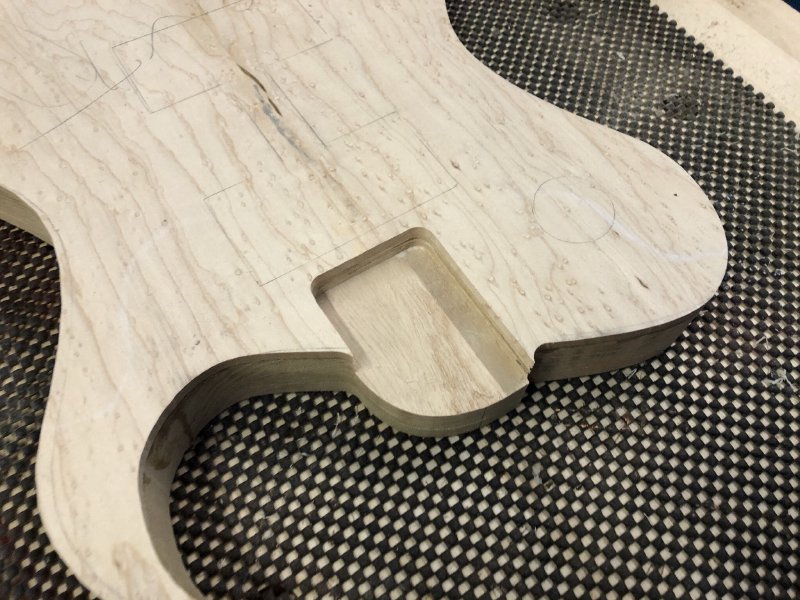
Thus I put the neck on the body and marked out where the curve was, and then after chatting to my other workshop-mate Matt of Fidelity Guitars, who also has curved neck-pockets on his guitars, I drew another line 15mm away to give me some room for the transition. My drawing is a little crude, but good enough for the task at hand:
The last bit on the back is to mark out the edges of where you want the headstock to transition - see the original picture; I normally do this by continuing the lines to where they meet in the middle near the 0th fret, but how you do this will depend on the shape of your headstock.
On the side of the neck I finally draw a line on each side about 2/3rds the way towards the fretboard along the length of the neck (a couple of millimetres below the fretboard I find usually).
Now we have all the lines on, we can get carving!
The first stage is put on an initial facet that goes between the line we drew on the side of the neck just below the fretboard and the two outer lines on the back, running all the way between the 1st fret and the 12th fret, and then transitioning out between the 1st and 0th fret, and the 12th fret and and where you marked the neck pocket out:
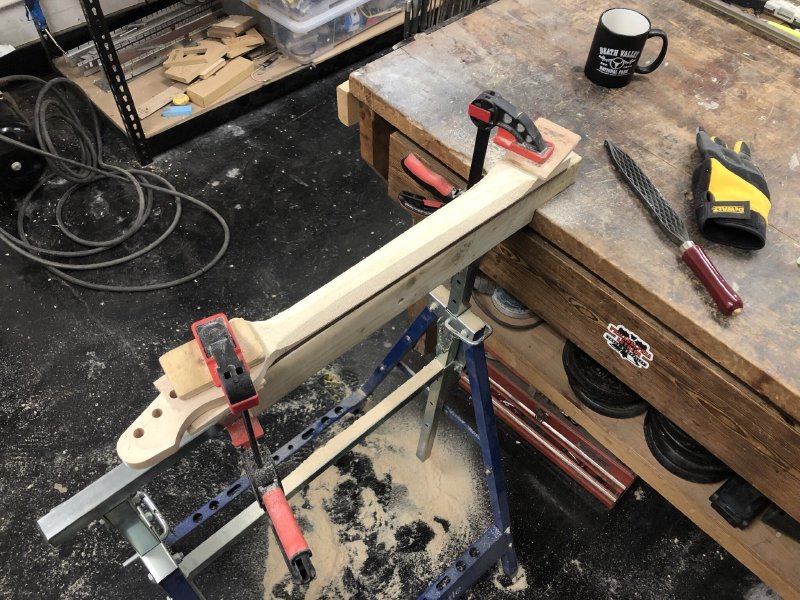
Getting this stage done will take a lot of effort, and I use the fairly brutal Shinto saw rasp you can see on the workbench in that last picture. The next stage is to facet the middle of the back where you’ve already taken down the sides. Here I’ll go in on each side at a shallow angle from the centre-line I drew out to the already faceted part, just 10 degrees or so, but it’ll vary depending on if you’re going for more of a C or V shape. Once this is in I’ll switch to the slighly less aggressive side of my rasp, and round out the facet edges (of which you now have 5 :).
At this point you have most of the material gone, but before we start fine tuning, the neck will currently be a uniform thickness along its length still, and you want the back profile to follow the way the sides taper. If I measure a neck I usually find that the neck thickness (fretboard to back) at the 1st fret is a couple of millimetres smaller than it is around the 12th fret, and I find the easiest way to do this is to get those couple of millimetres gone between the 0th and 1st fret and then using a long straight edge as a guide slowly working in the transition between this and where the neck flattens out to join the body.
Once you’ve done this, get a 30cm long strip of fabric-backed course grit sandpaper (I used 80 grit), place it over the neck and work down each side like you’re towelling it off :) This will start to work out the rasp marks and will make sure you have a nice smooth transition as you go. I’ll use a mixture of fine rasps and sandpaper to get the transitions to where I want them. I don’t use guides for this, it’s more about holding the neck and making chord shapes with your hands to work out what feels right.
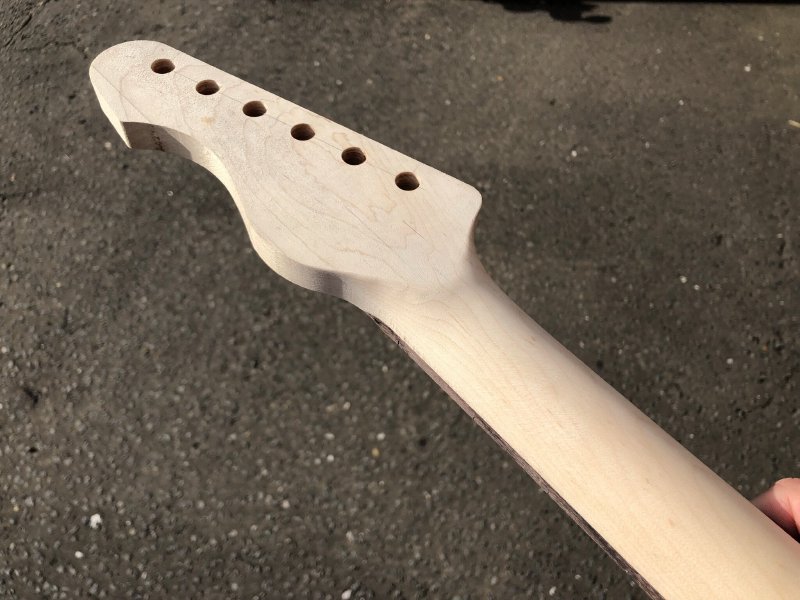
After an hour or so I was quite pleased with this neck, the first one I’ve carved in far too long. Here’s the headstock end:
and the heel end:
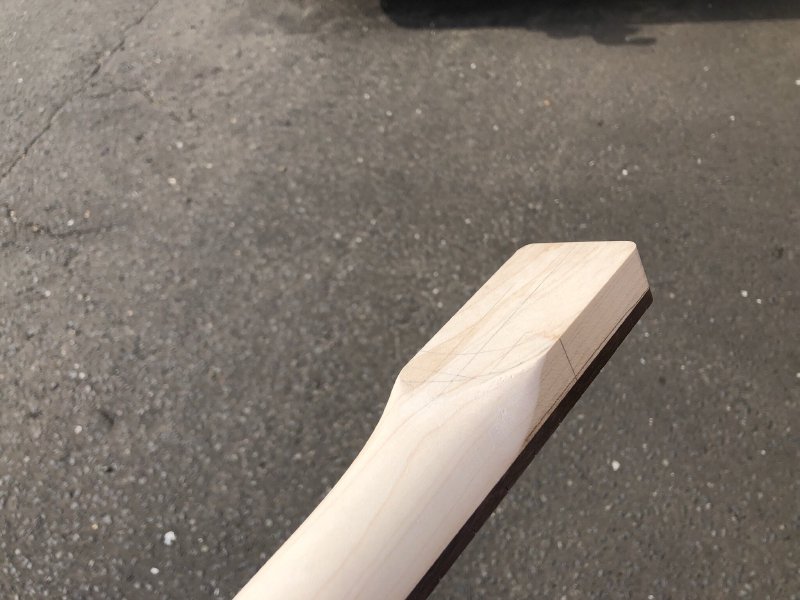
All done from a few simple pencil lines. If you look closely you can see the neck still needs a little bit of tidying up, but that’ll come later: once I’ve dealt with the nasty surprise…
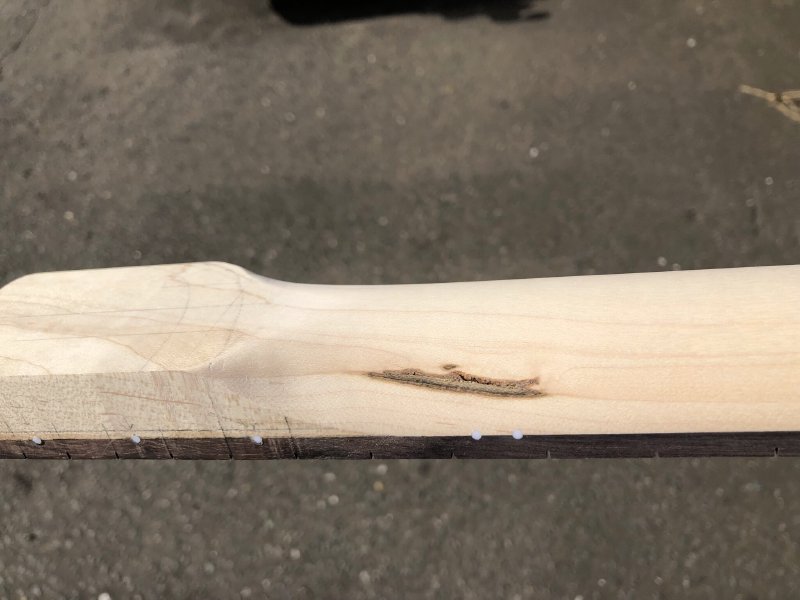
Working with wood doesn’t always go to plan. You can try buying wood from suppliers who pick bits that look suitable, but short of doing a CAT scan on every bit of wood, you don’t know what lies in the middle. On this neck, I found there was a bit of a cavity on the inside as I started carving it:
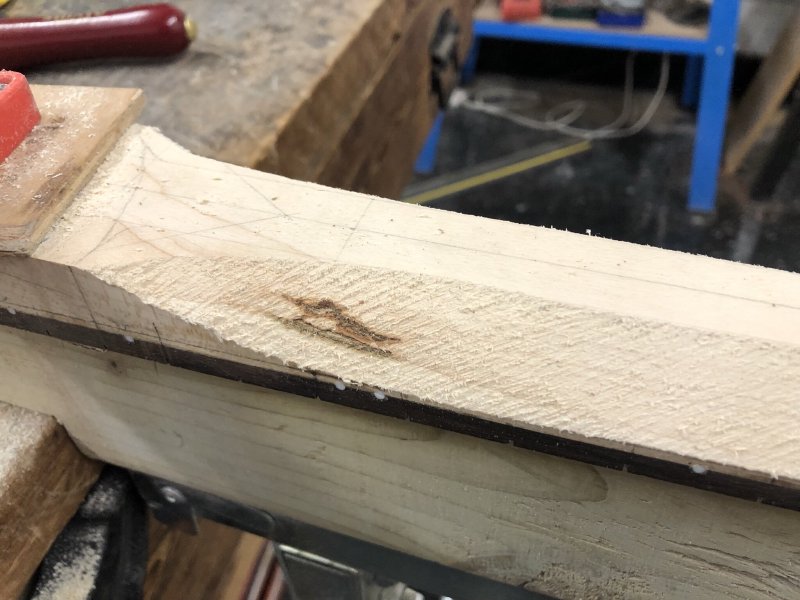
You can actually see a coloured mark on the neck in the earlier pictures where I showed the pencil lines where this is, but at that point there was no visible cavity. By the end of the carve it wasn’t quite as large an area, but it still needs to be dealt with:
If it was deeper then I’d be tempted to fill it with a coloured resin and make a feature of it, but it’s shallow enough I don’t think you’ll get a significant amount of colour left once sanded flush, so I plan to try using a clear resin on this. I could try doing the sawdust and wood-glue trick of filling holes, but I find that works better on dark wood than it does on light wood.
It’s never great finding defects like this in the wood, but it’s also an opportunity to add some character to a build, so I’ve learned to embrace these things now rather than get despondent that the wood isn’t perfect as I did when I started out.
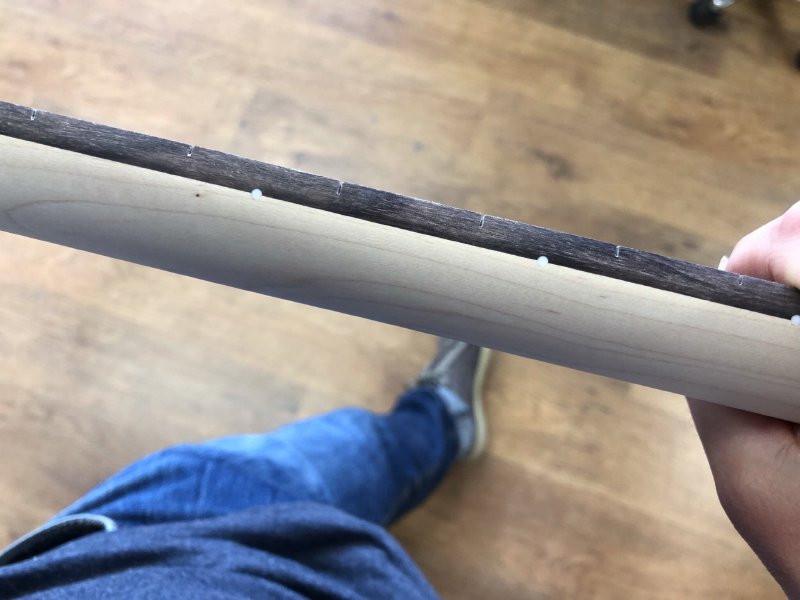
As an aside, the dots look nice and neat now they’ve been sanded down as part of the neck carving:
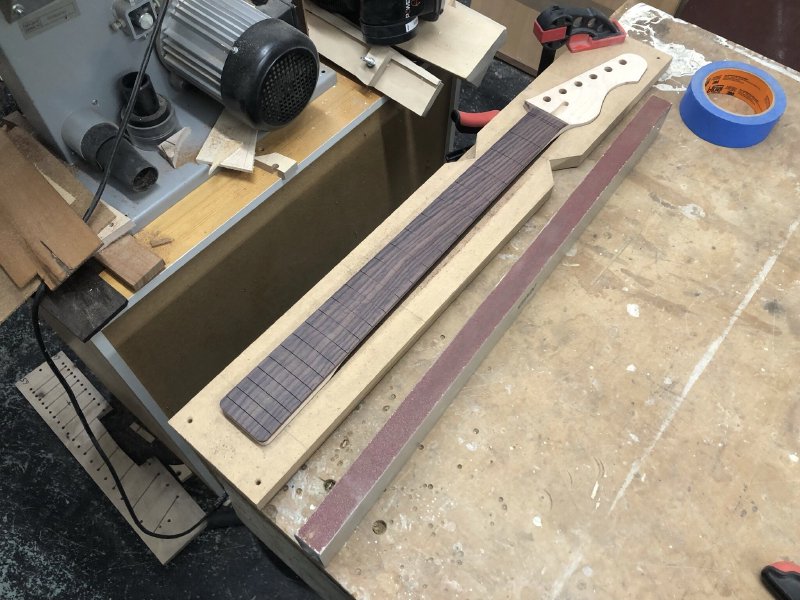
With the back of the neck in (mostly) good shape, I then turned on to the front of the neck to radius the fretboard. For this I’m still using a sanding block and a crude jig, but this is slow going!
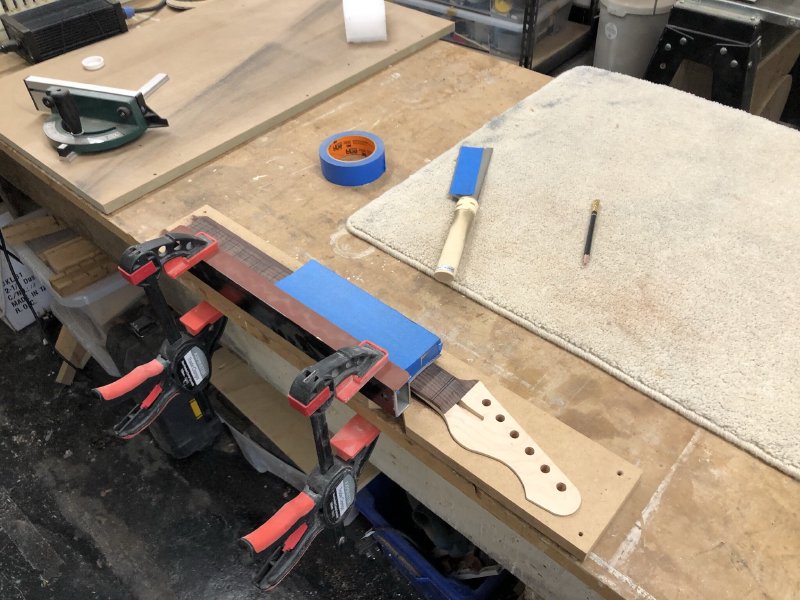
At the same time I was doing this Matt was using a hand-router with a radiusing frame to do his necks, and he did three necks in the time it took me to do one! But, these are the tools I have, so I just got on with it, and after an hour or so I was done. The fret-saw is out because as I radius the neck you necessarily shallow out the fret slots, and I need to occasionally re-cut the sides to ensure a consistent depth across the width of the neck.
Still, once done it’s looking lovely, if I do say so myself:
In that last picture I’m just using a long sanding beam to just ensure that the neck is perfectly flat along the length before I go about adding frets at the next stage.
At the end of the day, it was good to have pushed this neck forward. The next stage for this neck is to get the resin into the feature on the back of it, and to laser etch my maker logo into the headstock. After which, it’s fretting time.
But even with that still to go, it’s very satisfying to take something that was a crude approximation of an instrument neck at the start of the day and finish the day with something looking and feeling close to complete.