Getting back into the shop
Published 5 Jan 2020
Tags: cnc routing, the green tiger
A slow start to 2020: after a hectic and stressful end to 2019, I deliberately took time off to wind down over the festive break. Thus not a huge amount to report for the post new year period, but I did manage to make a start on things again, so let’s get to it.
Guitar-wise I finally made a pick-guard for the commission #10. Before xmas I’d been blocked on the volume and tone potentiometers turning up, so I could accurately position both the pick-guard and the control plate relative to the neck and body. Those did turn up between xmas and new year, so I spun up another paper prototype of the pick-guard:
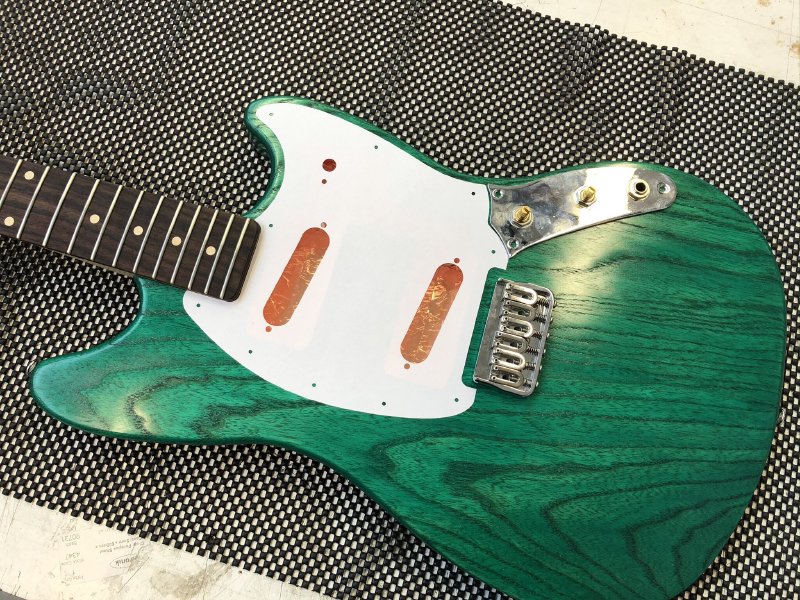
This is where I started to go slightly mad, as I realised it seemed tenths of a millimetre were causing me an issue with alignment.
The first paper prototype had fairly poor alignment:
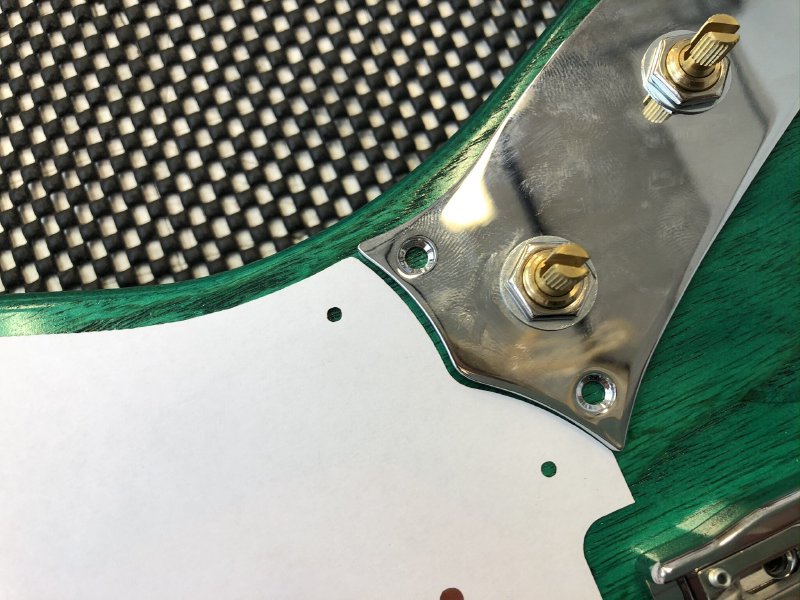
As I said last week, I really dislike this design feature of the Mustang, and hopefully you can start to appreciate why: trying to align that join is quite fiddly. I was about to start tweaking the CAD design to move the interface, when I realised I’d not compensated for the laser cutter’s kerf with this paper pick-guard. Whilst I didn’t think a tiny change like that would make a difference, retesting with kerf compensation was a lot easier than editing the CAD model unnecessarily.
The laser cutter will vaporise one to two tenths of a millimetre as it cuts, which is what I mean by the “kerf” here. If you have the laser’s focus off, the kerf could be even worse given how easily paper burns. When I exported the pick-guard design from Fusion 360 the first time I’d just saved the sketch directly. However, to compensate for the kerf I can use a Fusion 360 add-on called DXF4Laser. This lets you select a face from your design to output as a DXF, but in addition to just saving the DXF file it lets you specify a kerf amount, so it’ll adjust the outputted DXF file to compensate for the laser blasting way bits of paper.
When I retested with kerf compensation the alignment was much better:
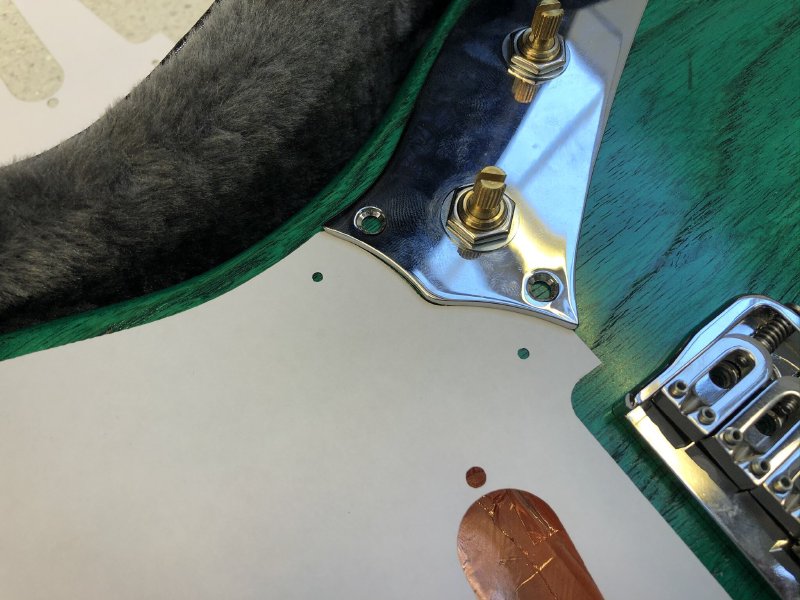
It’s still not perfect, but with this interface it’ll never be an air-tight gap, and when you use material with actual depth to it the gap is much less noticeable. I was surprised and skeptical that the kerf adjustment was enough to make that sort of difference, as normally tenths of a millimetre in this sort of build doesn’t make such a significant change, but clearly here it was enough to make the difference between fit and not.
So, in the end it seemed everything did fit with my existing pick-guard design, so next it was onto the CNC router to make a fresh pick-guard.
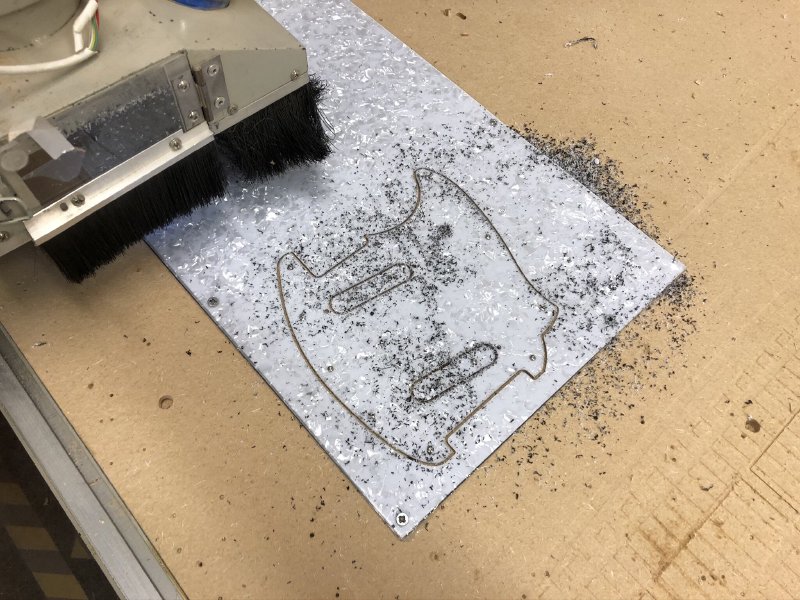
This went okay, but only because I decided not to put on the chamfered edge to the pick-guard using the CNC router. The MDF sacrificial bed on the CNC router at Makespace really needs replacing (which is my job, but I’ve not had the time), as it’s now been levelled several times - any more and we’ll start skimming the mounting screws. The downside of this is that the middle of MDF really isn’t that strong; and where I made the mount holes for the pick-guard it caused the fluffy inner of the MDF to mound up, distorting the shape of the flexible PVC that I was making the pick-guard from. Had I tried to use a V-cutter to put the chamfer on the pick-guard I’d have got a very wavy edge rather than a nice straight edge, as the v-cutter would remove more material where the PVC sat higher and less where it sat lower.
Rather than fret about this I decided just to use a small cabinet scraper instead to add the chamfer:
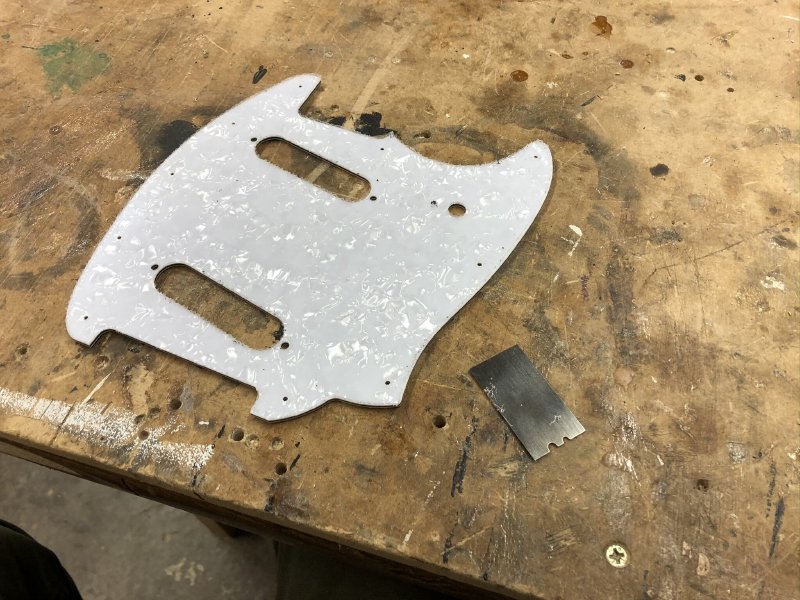
This’ll give me a nice smooth finish on the chamfer, but just means I have to put in a bit more elbow grease than I expected, so finishing that is a job for the coming week.
That was all the time in the shop, but I did do some other bits of admin this week, just as a reminder that it’s not all fun bits of making. First up, I had to set up my new laptop, and I’m sufficiently jaded to technology these days that this gets filed under “chore” rather than “fun” :)
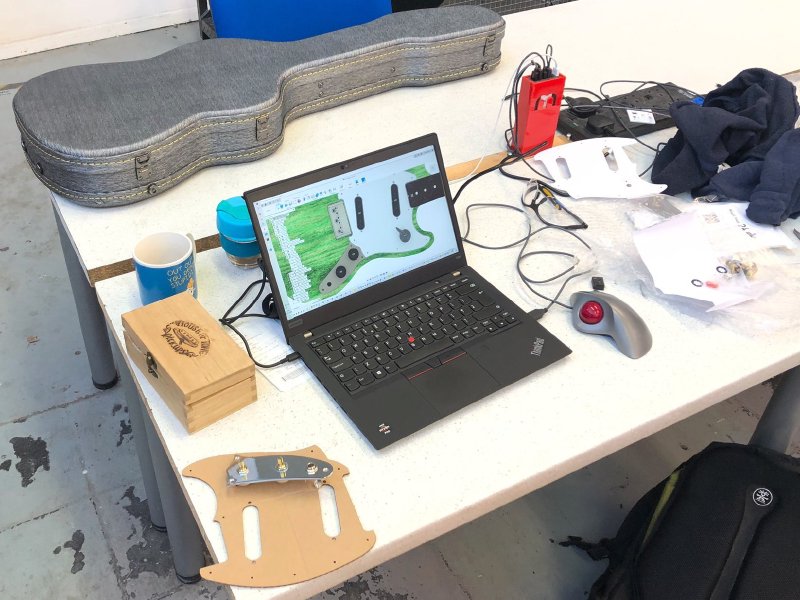
After using a Mac for many a year, I’ve decided to switch to a PC laptop this cycle, just to see how things have changed, particularly on the open source Linux side of things. I’m keen to see how open source CAD/CAM tools work, and whether I can yet make a truly open source guitar design at some point. Joe Hinchliffe (aka concretedog, who I met at Wuthering Bytes last year) has been writing some tutorials for Hackspace magazine on doing CAD/CAM in FreeCAD, so I look forward to trying them out.
But for now, most of my guitar design work is a mix of Fusion 360 and Adobe Illustrator, so I’ll be using Windows for that. I had a fun time extracting not just my design files over from my old computer, which was the obvious stuff, but additionally all the little things you forget like installed fonts (e.g., the one I use in the Electric Flapjack logo!).
As a test that I’d got everything moved across okay (turned out I hadn’t, so this was a good test) I decided to make some new business cards that used an outline of a guitar design exported from Fusion 360:

It’s not much, but it was a fun way to give the laptop a new workout and stretch my design muscles a little. About eight years ago I used to do mobile apps, and whilst I was never awesome at design of UI and icons, I was passable thanks to practice (i.e., making lots of really bad designs, and reading some books on the topic) and knowing not to try to be clever as I didn’t have the chops to pull that off. I feel sad that I’ve let that little bit of design muscle atrophy since, so perhaps I can make that an aim for 2020 to try do a bit more simple design work for myself.