A week in the shop
Published 12 Jan 2020
Tags: playing, the green tiger, wiring
The main focus this week was on trying to finish up commission #10. I made good progress, even if I didn’t quite get as far as I’d hoped at the start of the week.
First up, I finished adding the chamfer to the pick-guard using a scraper - not the most exciting job, but this is why we have podcasts. I also had to spend a little time with the scraper getting the neck pocket area on the pick-guard just right, as it came off the CNC router a little too tight for my liking, and I didn’t want it pinching into the neck and marking it. This done, I was then able to position both the pick-guard and the control plate at last:

Looking good, but there was a small issue here with the control cavity sizing. It’s slightly hidden by the reflected light, but you might be able to see that the tone potentiometer isn’t in position, there’s a hole in the middle of that chrome plate. This is due to there not being quite having enough room, just by a hair. I could have just moved the control plate over slightly, but then that’d have made less of a snug fit between the pick-guard and the control plate, so I opted to get that fit right and then widen the control cavity slightly where it was interfering with the pot. There was only a fraction of a millimeter or so required here to give it room.

First off I put down some masking tape to protect the body, and also to let me mark out where the control plate wanted to sit and the location of the tone control, so I had some references to go by when removing material. That done I then removed the control plate along with some of the shielding tape in the area I needed to widen.
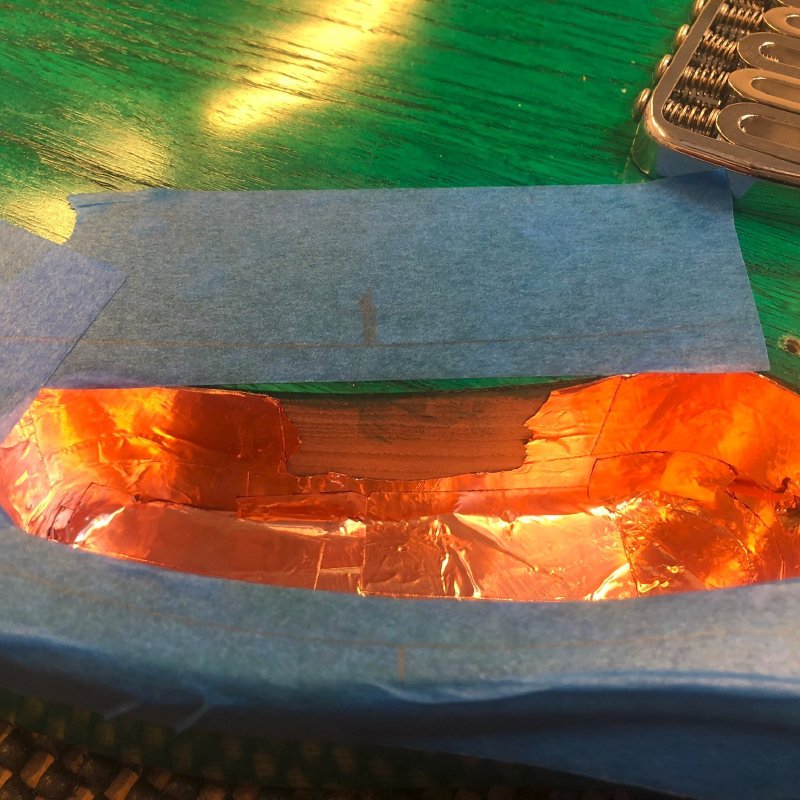
You can just make out the pencil line behind the cavity on the masking tape that is the edge of where the control plate sits, so I have plenty of room to spare here (for scale that’s about 10 mm). Five minutes or so with some 80 grit sandpaper and I had enough room to get the tone pot in there without it resting on the cavity wall, and still plenty of support around the control plate.
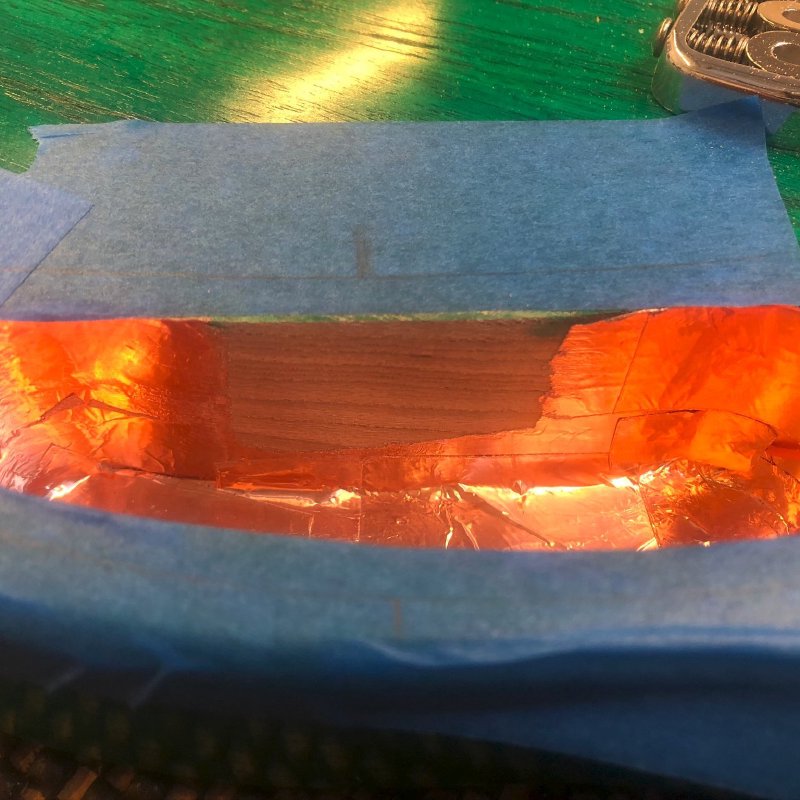
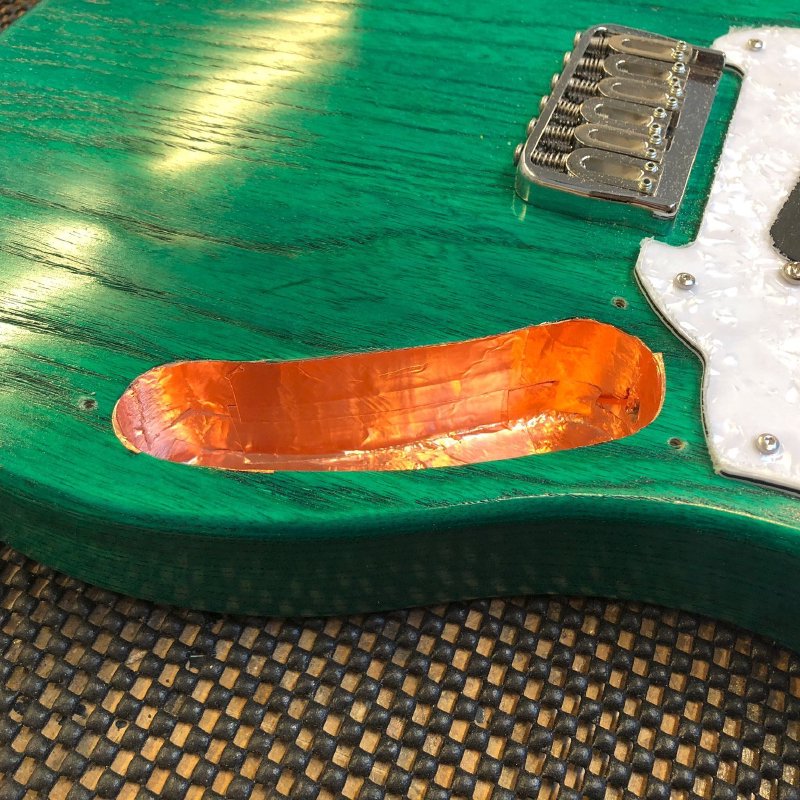
You can see now there’s less wood compared to the previous picture, but not by much; as I said, it wasn’t out by much. I added some fresh shielding tape, and you’d never know surgery had happened.
Now I could put everything together finally, with all the major electronic components in place:
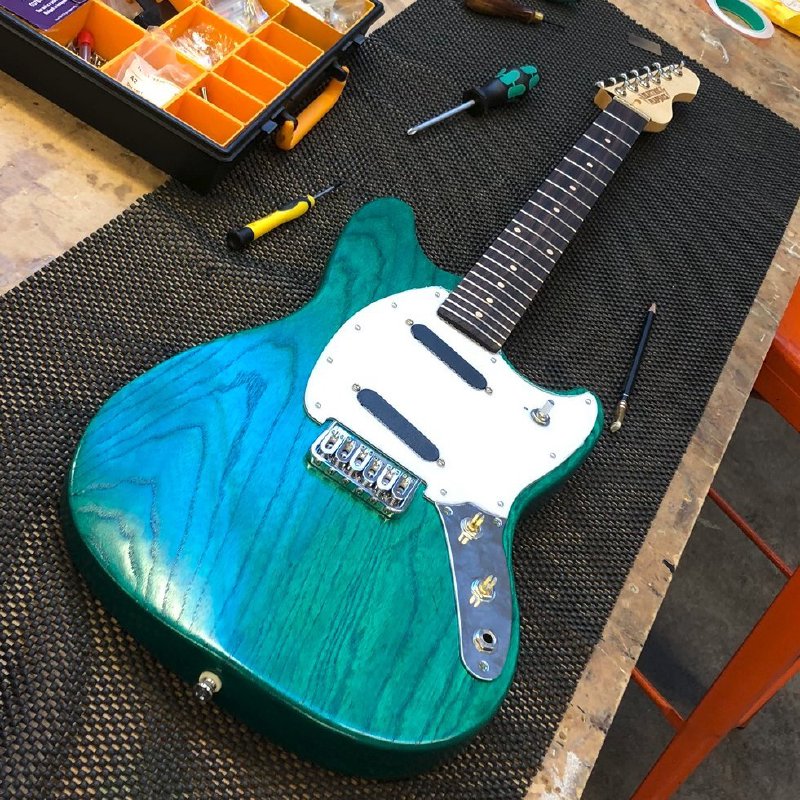
The slight inaccuracy in control cavity shape (i.e., why did I have to do this in the first place) comes down to this guitar being hand made versus CNC routed. I was just fractionally off with the alignment of the template versus my CAD model. Unfortunately the control cavity on this Fender design doesn’t leave much margin for such errors, so hence the surgery. There’s nothing particularly noteworthy about this exercise, other than just to show some of the detail that goes into when you make these things by hand and you want to get everything perfect.
With everything in place, the next task was to solder up the electronics. For these Mustang style builds I tend to treat it as a three stage job: first wire all the bits mounted on the control plate, then second wire all the bits on the pick-guard, and then finally put the two parts together on the body and solder the last two wires in situ. It’s another oddity of the Mustang design that you essentially have to solder everything in place such that you can’t easily remove it before you can test it.
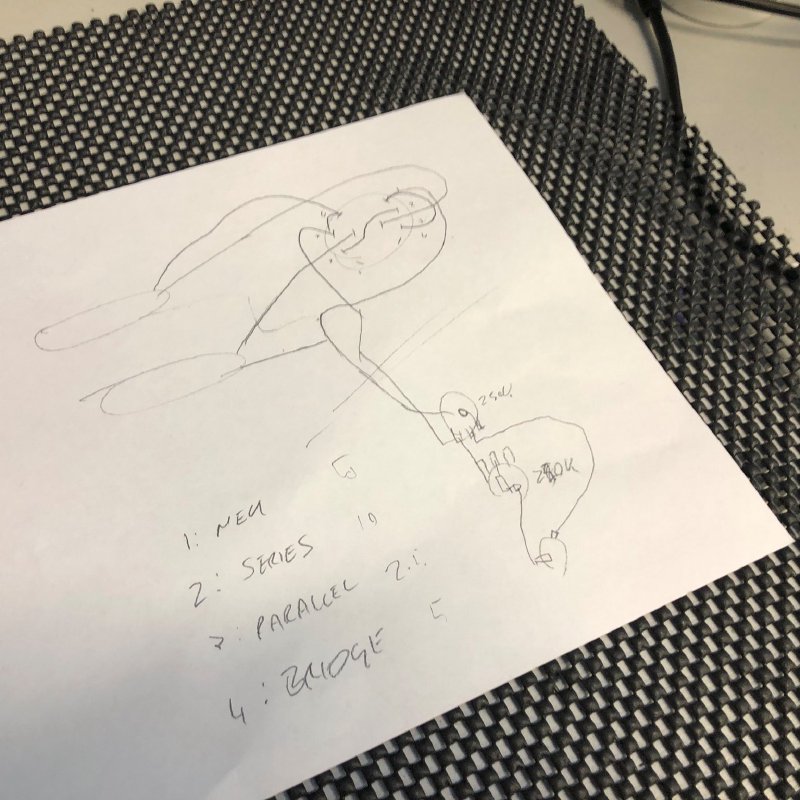
I had to remind myself of the design again, as it’s not a standard wiring I use (I use a four position rotary switch to let me have both series and parallel pickup options). I really need to document this properly in a PDF or such to give to clients, but there’s not standard libary of guitar electronics parts I’ve found that makes me happy. Hence I never save this diagram on a computer, and why I have to draw it out by hand each time. Sigh.
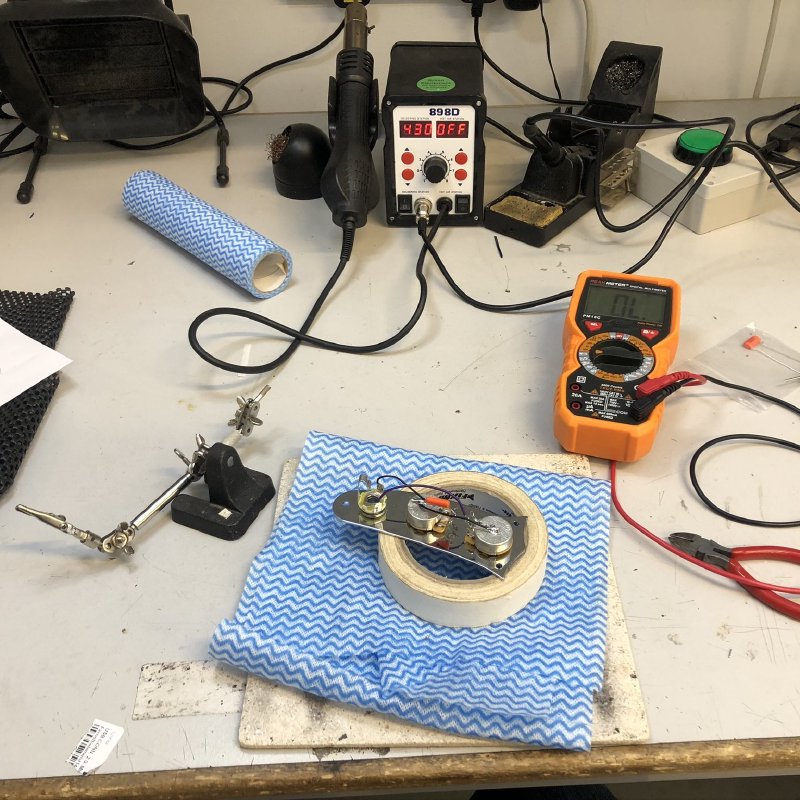
Still, diagram done, first up I did the control plate:
Then the pick-guard:
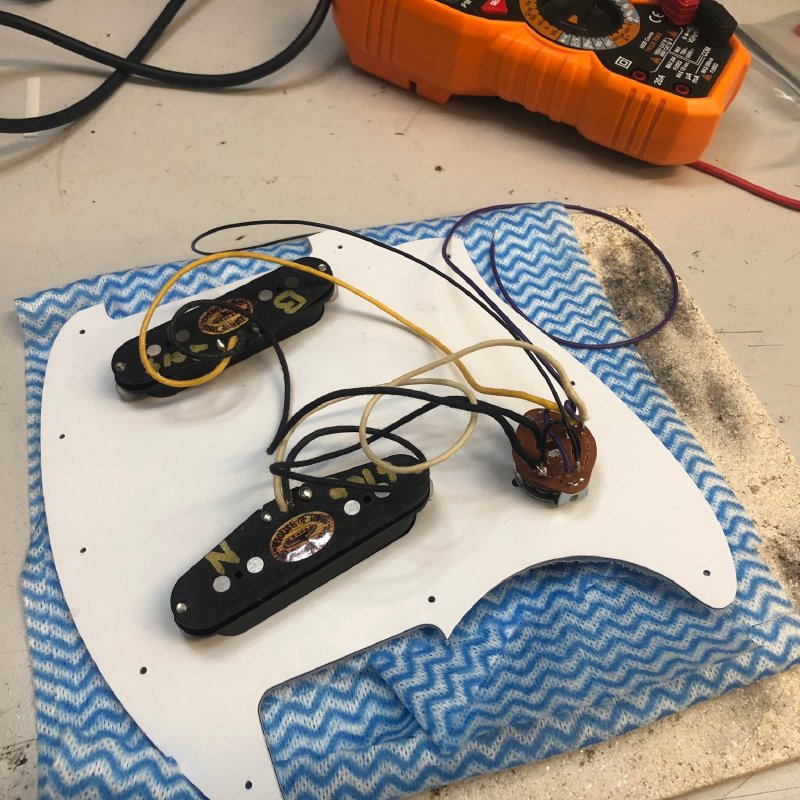
At this stage I check everything I can with a multimeter to make sure it all seems correct. Now I have to mount the pick-guard, threading two connection wires through a hole in the body from the upper pickup cavities to the lower control cavities, and then solder the two halves together:
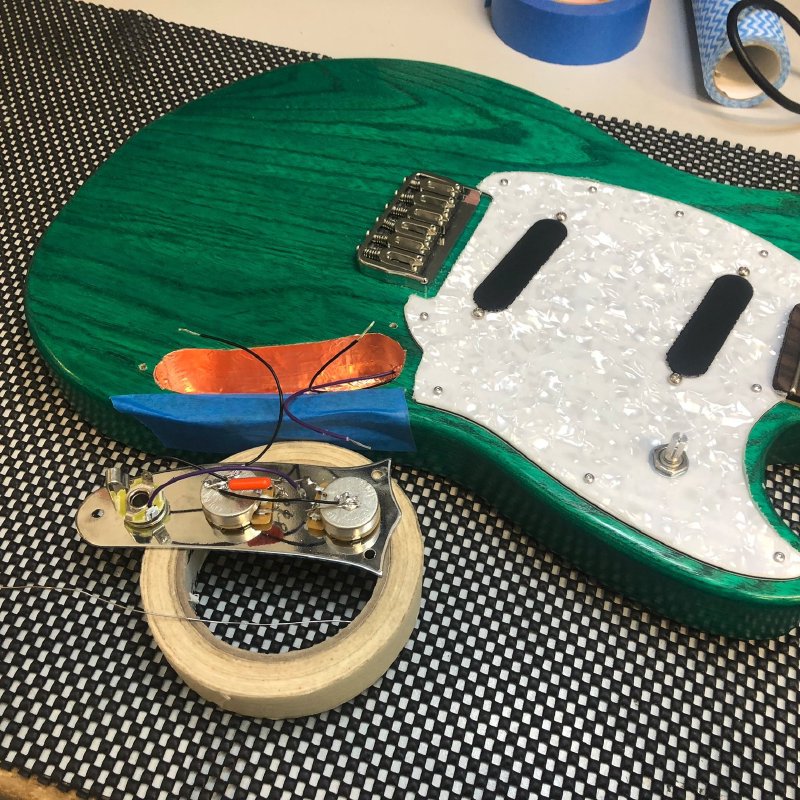
(as an aside, this photo montage is also showing you the things I do to try and stop things getting scratched whilst I solder them!)
Thankfully my diligence paid off, as I put a single string on the guitar, plugged it into the amp, and confirmed that everything worked! phew! It lives!
I had planed to string the guitar up at this stage, but I realised that the nut slot wasn’t flat, instead having a slight radius to it. This meant that as I went to add additional strings it was rocking like a see-saw in the slot, which is clearly suboptimal. Thus no closure on that front this week - but signs are good that this one will be wrapped up in the coming week, all going well.
I got a nice surprise this week when someone contributed a code change to my fretboard generator to add some new functionality. Robert Roth of Chol Guitars decided that it’d be nice if the tool not only generated the fret positions in the resulting design files it generated, but also the bridge position. In hindsight, that seems an obvious oversight, but this is the joy of making things like this open source - Robert spotted my oversight and quickly fixed it, and now everyone can benefit from his effort!
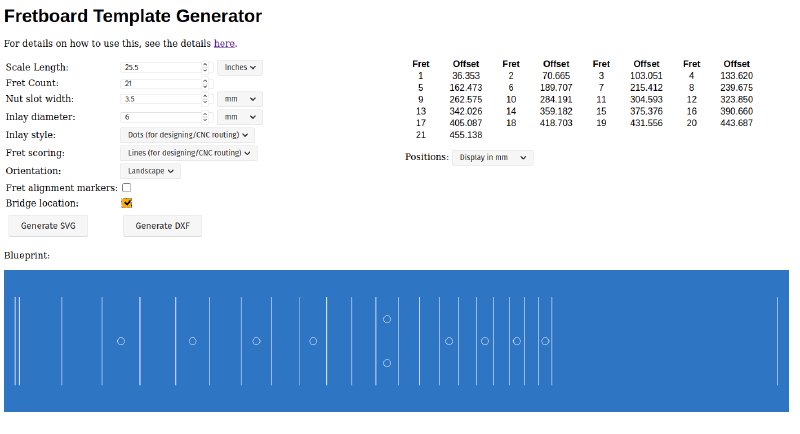
You can have a go on the updated tool here, and if you want to follow in Robert’s footsteps then you can find the code here.
The new stickers and business cards I designed last week turned up:
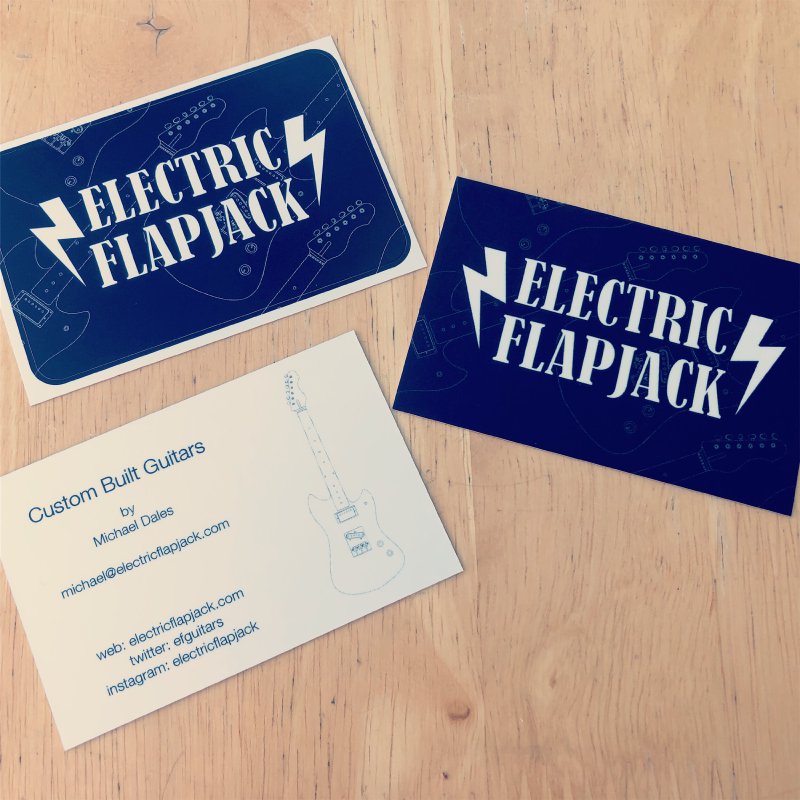
The stickers have definitely come out better, with the background guitar design showing more prominently, but I’m happy with them both. If you would like a sticker or two then let me know!
I also didn’t just make guitars, I managed to get out and play some guitar this week with a couple of Makespace members, which made a nice change:. Alex, Michael, and I headed over to Rhinocorn Studio in Cambridge for a bit of a jam:

Amusingly I’d swapped guitars with Alex at this point - he’s playing the guitar I made for me, and I’m playing his Fender Strat. Whilst I like my guitars, I’m always eager to try out other guitars to see what I can learn from them: how do they feel, how do they sound? There is no one perfect guitar out there, different guitars suit different players, different music, and different moods, so I think it’s important to keep trying other guitars out there to see what might inspire your next build.
But just as important, it’s also nice to just play music once in a while and enjoy the labours of all this effort :)