A week in the shop
Published 20 Jan 2020
Tags: 3d printing, beard fuzz, pyrography, soldering, the green tiger
It’s been a slow week in the shop. As I wind down my activities in Makespace, just finishing off the existing close to completion guitar, and holding off the other two builds until I’ve moved to my new home, it means that I don’t have another build to switch my focus to when I need to wait for something on the main build. Normally that’s the joy of a couple of builds on the go at once: when you get blocked on one you can move to the next. Instead I’ve just been trying to fill that time with software contracting to help me cope with the fact the guitar building will have significantly higher monthly outgoings now on.
On the in progress guitar, having finished the electronics last week, this week I went to fit the nut and the strings. This didn’t go as smoothly as it has gone in the past, as I unintentionally had left a slight radius in the nut slot, so when I fitted the nut and started to string the guitar up it behaved a bit like a see-saw, which is clearly wrong. This happened because I cut the two edges of the nut slot at the same time I cut the fret slots, which follow the radius of the fretboard, and this time I failed to compensate for that adequately - clearly the allure of following the fret slot depth guide I have marked on my fret saw was too much for me to fight :) As such, when I used a small chisel to remove the material between the two slots I’d sawn I’d ended up with a curved slot too.
To fix this, I went back and levelled out the middle of the slot somewhat:
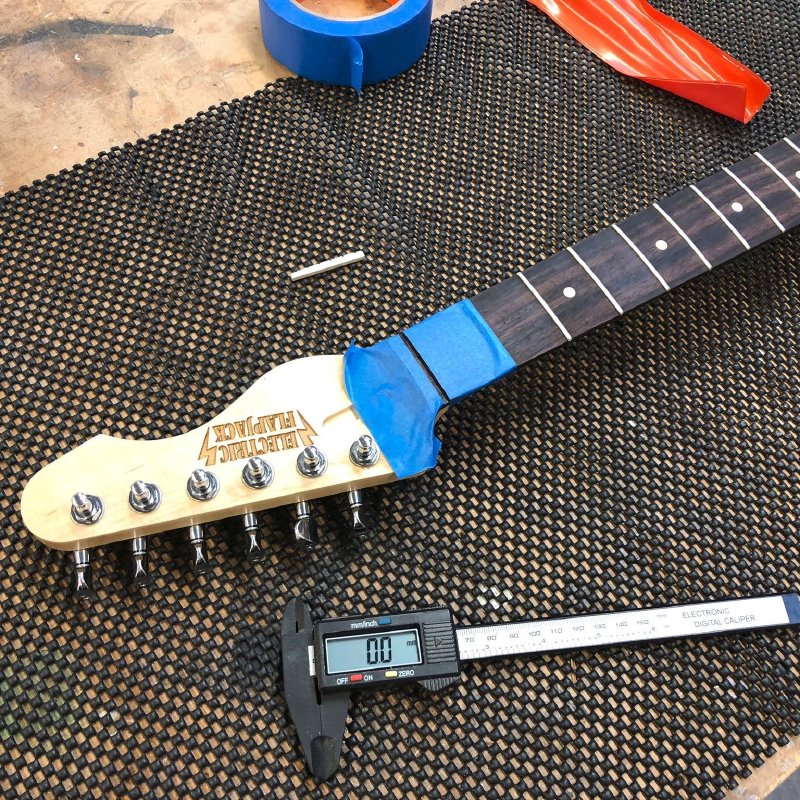
Unfortunately, in the process of removing material from the bottom of the slot with my chisel, and I’m not sure why, I managed to make the nut slot fractionally wider, and thus my nicely filed to fit nut no longer fitted the slot perfectly, so I had to amazon prime a replacement (is that a verb yet?). That turned up two days later, and I sanded it down, fitted it in the slot, and strung the guitar up at last!
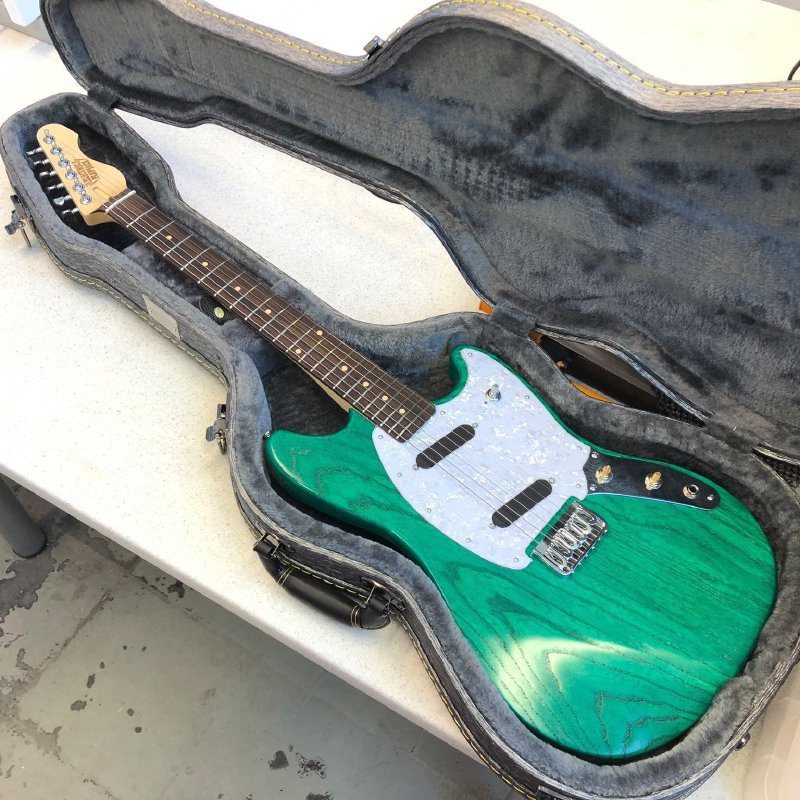
Now is the boring bit: I wait a few days to let the guitar bed in under tension. Whilst it’s very tempting to cut the nut string slots to depth, set up the bridge, etc. the moment the strings go on, the guitar is going to spend the next day or two shifting subtly under tension (the strings exert about 110 kg of tension!), so I want to first let the guitar settle in to this reality before getting everything lined up.
So not an exciting week, but there are points in a guitar build where you just have to wait.
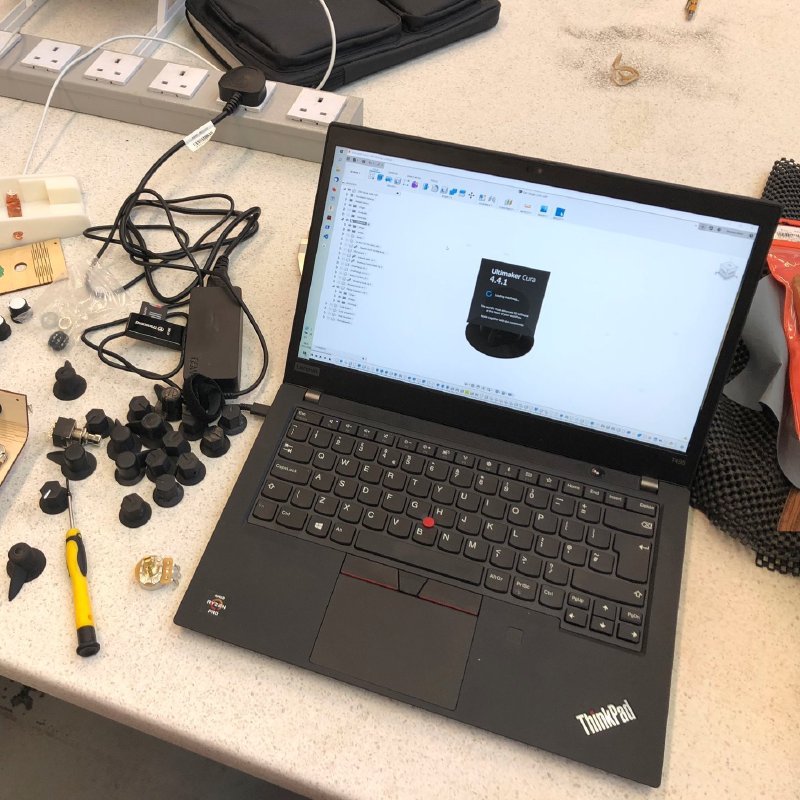
One thing I could do in the mean time was return to 3D printing the controls. Whilst I was happy with the place I got to with the many, many test prints I did earlier, I still needed to make the actual ones for the guitar:
One thing I needed to tweak was how to secure the control knobs in place. I want to do this using a 3mm grub screw, which is common on many controls, but between my own lack of 3D print experience and the detail level of the printer I’m using, it’s best for me to add the threading for that grub screw after the print, not as part of the print. To do this I used a tap bit, which is effectively like a screw but for cutting the threads that a screw will sit in when you can’t use self tapping screws.
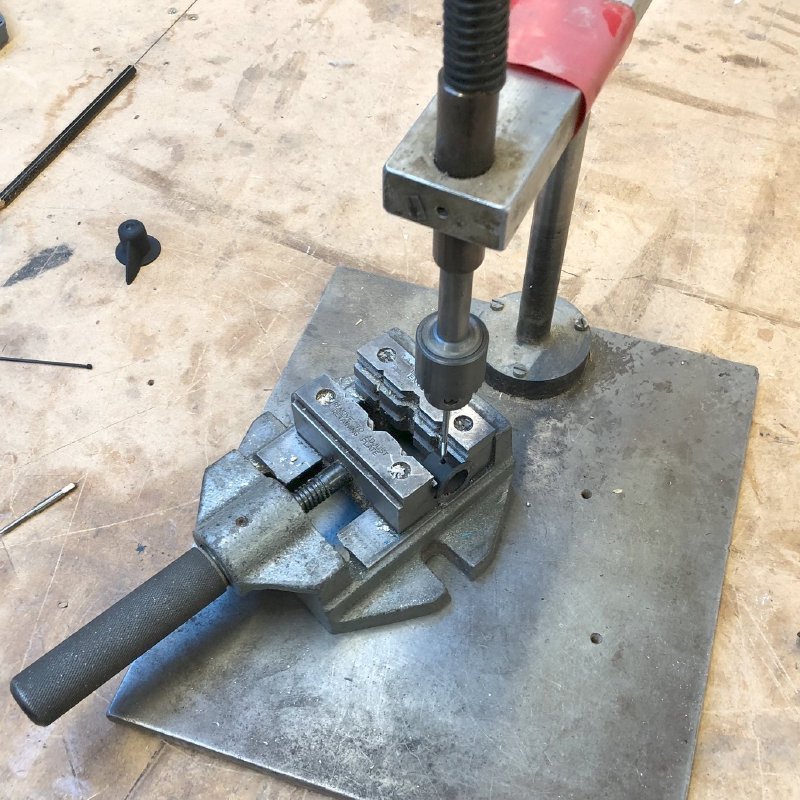
It’s a bit of a fiddly operation, but I did a couple of test runs and this seems to work fine with the ABS plastic I’m printing in (I have done this before, but it was with resin prints using a different 3D printer I no longer have access to).
Makespace didn’t have a small enough tap bit for this, but thankfully another member did and let me borrow it (thanks Aleric!), and I ordered my own set of small tap bits for the future. Whilst I don’t plan on making a habit of 3D printing my own controls, tap bits are one of those tools you don’t need often, but when you do it’s very vexing not to have them to hand.
Whilst hanging out in the workshop I had the pleasure to talk to new member Luke Boothman, who does some amazing pyrography on guitars, like this one from his instagram:
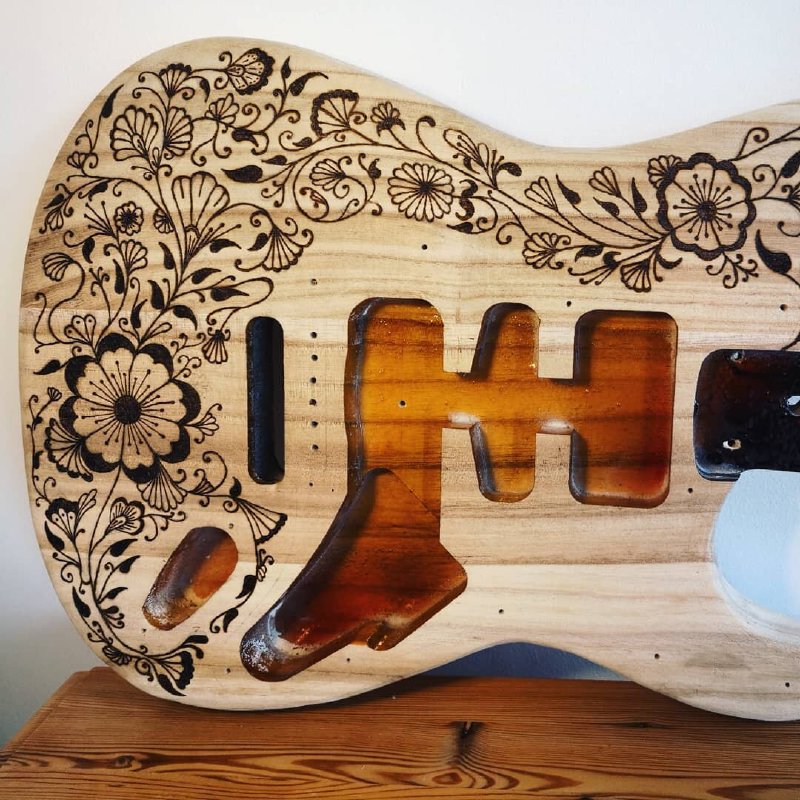
I had planned at one point last year to do some pyrography work, but due to everything else going on I had to put that on pause, so this might be a good time to think about that again. I gave Luke some samples of the woods I use, so he can burn me some test patterns and I can then check how they react to the various finishes I use - it’d be sad to get excitied about how pretty it all looks and then it turn out the way I finish the guitars won’t work (measure, measure, cut…).
Hopefully if this does turn out to work with how I finish the guitars then it’s something I’ll be able to offer customers on future builds! If you have an existing guitar that you’d like burnt, then give Luke a shout via his instagram!
I did a little bit of re-soldering on one of the fuzz pedals I made last year, as the recipient was having noise issues. I have a bunch of theories why this might be, but the first place to start was by removing the ground loop I’d unwittingly created by grounding the input jacks via the circuit and the case, so that I can start debugging from a more sane position.
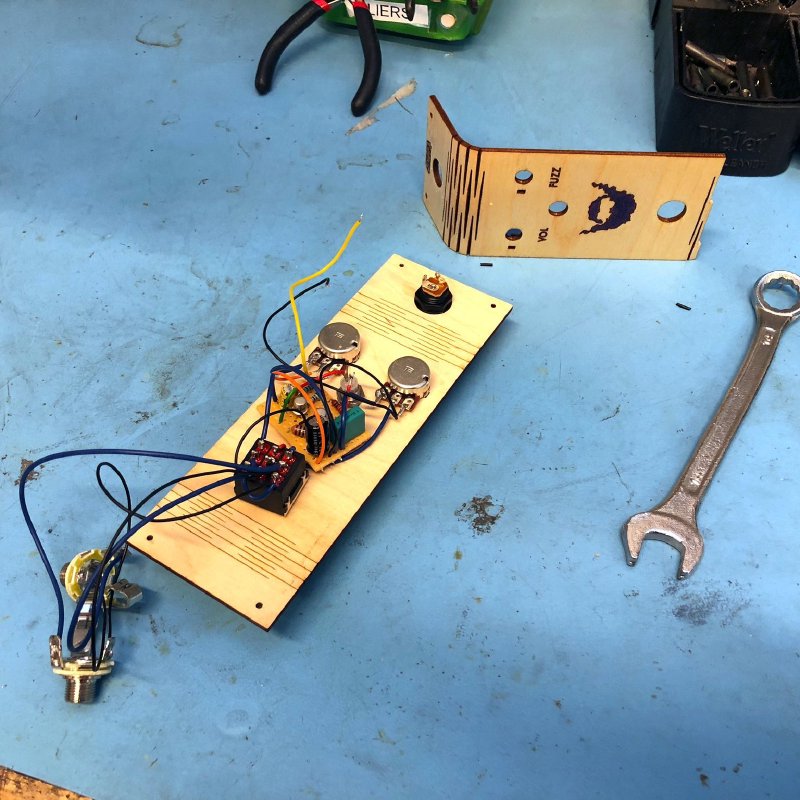
Unfortunately in the process I accidentally broke the original case lib (as you can see in the picture above to the top), but thankfully had a spare lid left over from when I made them. It turns out that the laser cut hinge is nice, but a bit of a weak point for impact damage. I guess between being made of thin strips of wood and being under tension when bent it doesn’t make much to get that energy to release itself in a breakage when bashed.
In actual use the unusual pedal design has held up fine, but it’s just an interesting footnote to the project that I’d not consider this living hinge based design one I’d want to support in the field as it is a bit fragile in practice.