A Week in the Shop
Published 15 Oct 2023
Tags: correcting, delfinen, glue, hästen, staining, verkstaden
A quick review
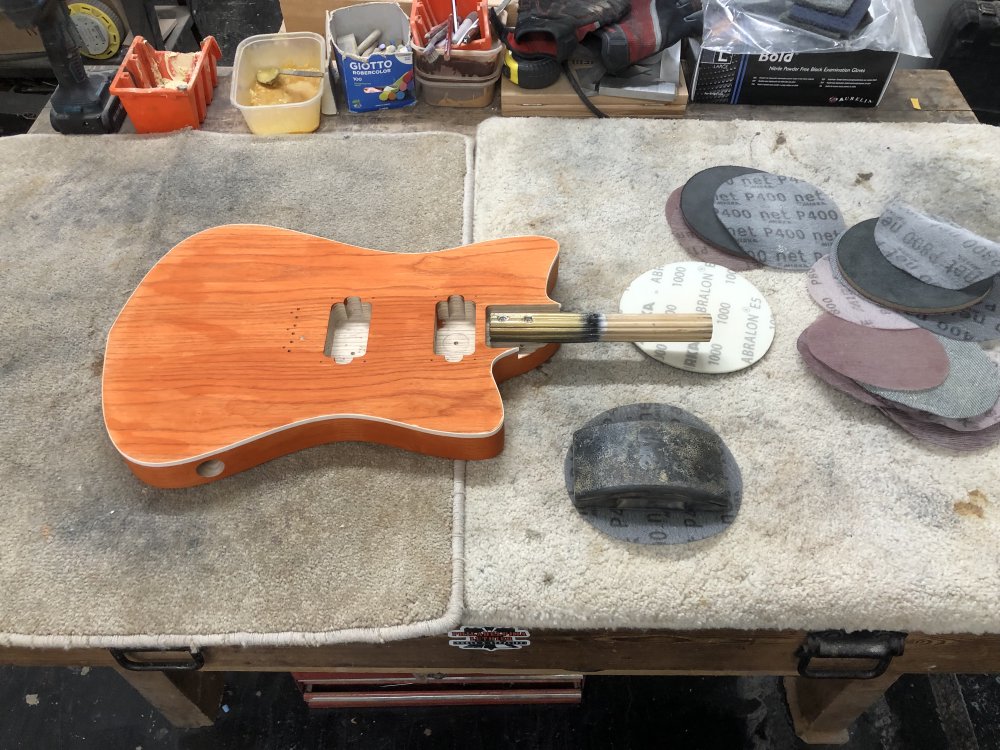
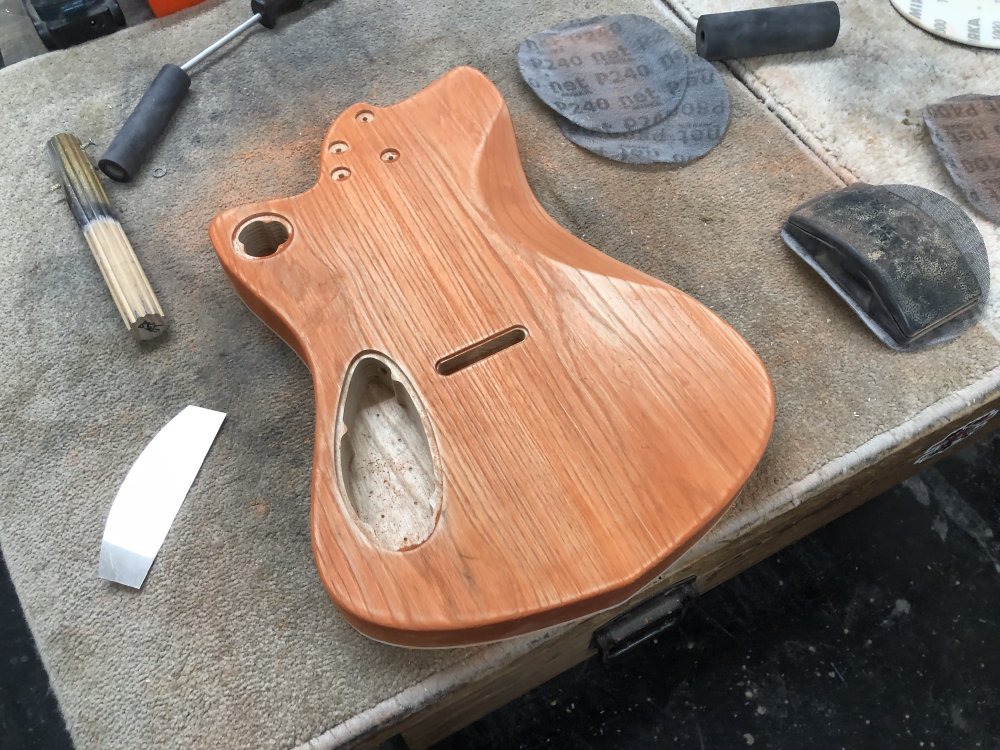
It’s nice to come into the workshop when there’s three guitars that are in the late stages of being built, as there are pretty things to look at, and you get a real sense that you’re building instruments rather than making just piles of wood dust as slowly as possible.
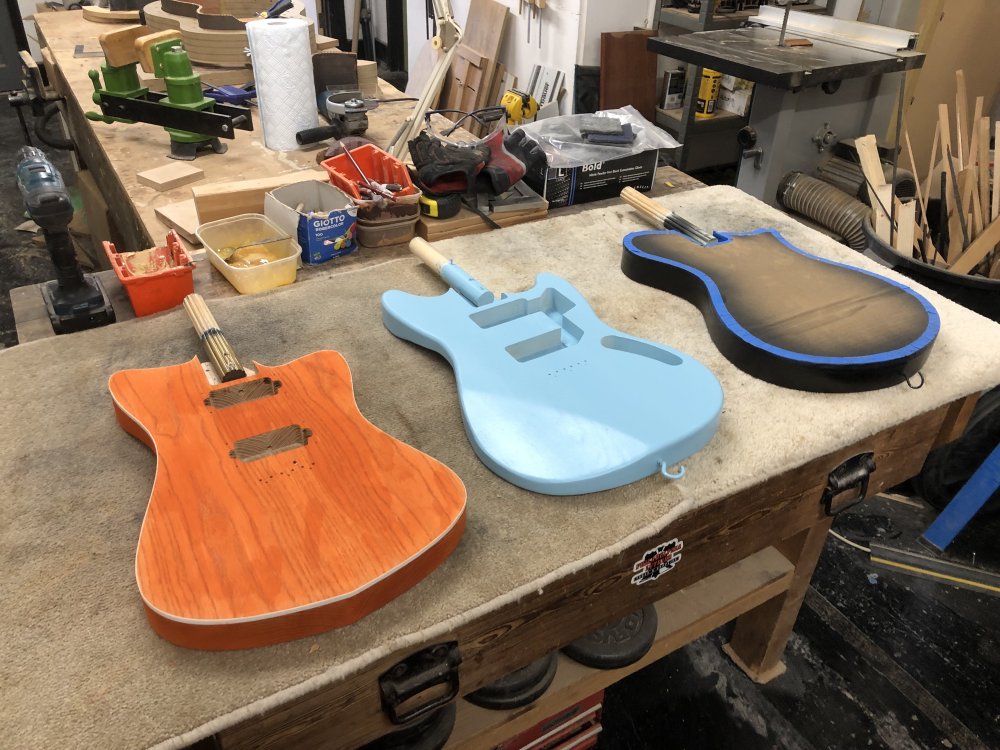
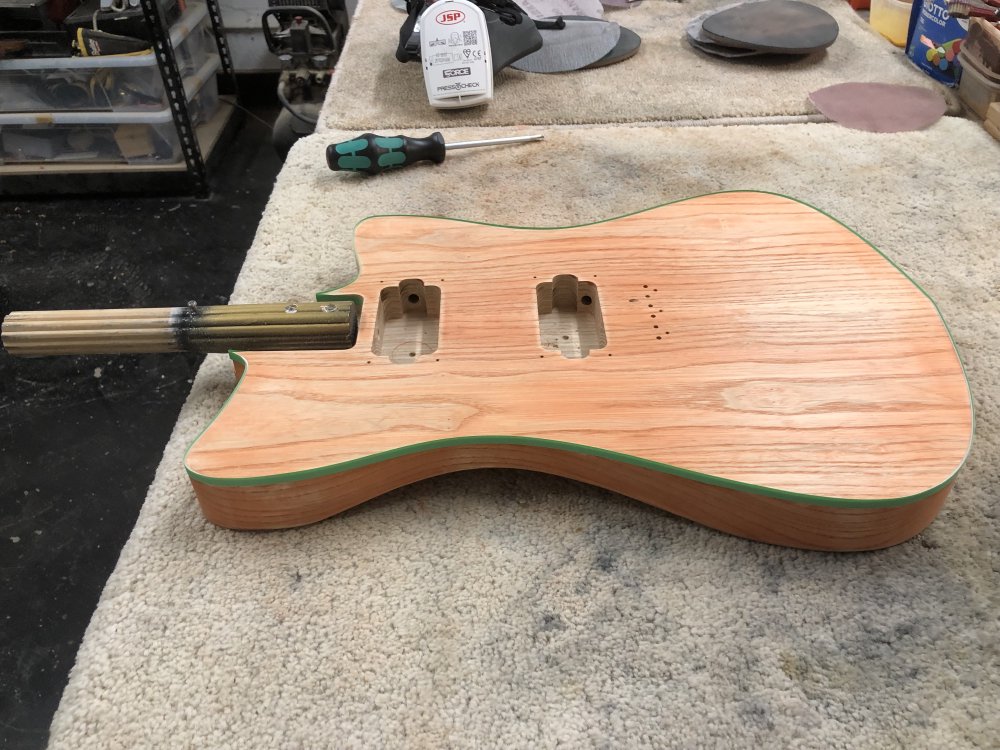
Most of this week’s post will talk about Delfinen on the left there, so I’ll skip over to the second one along, Hästen, which has now had two coats of sonic blue on it:
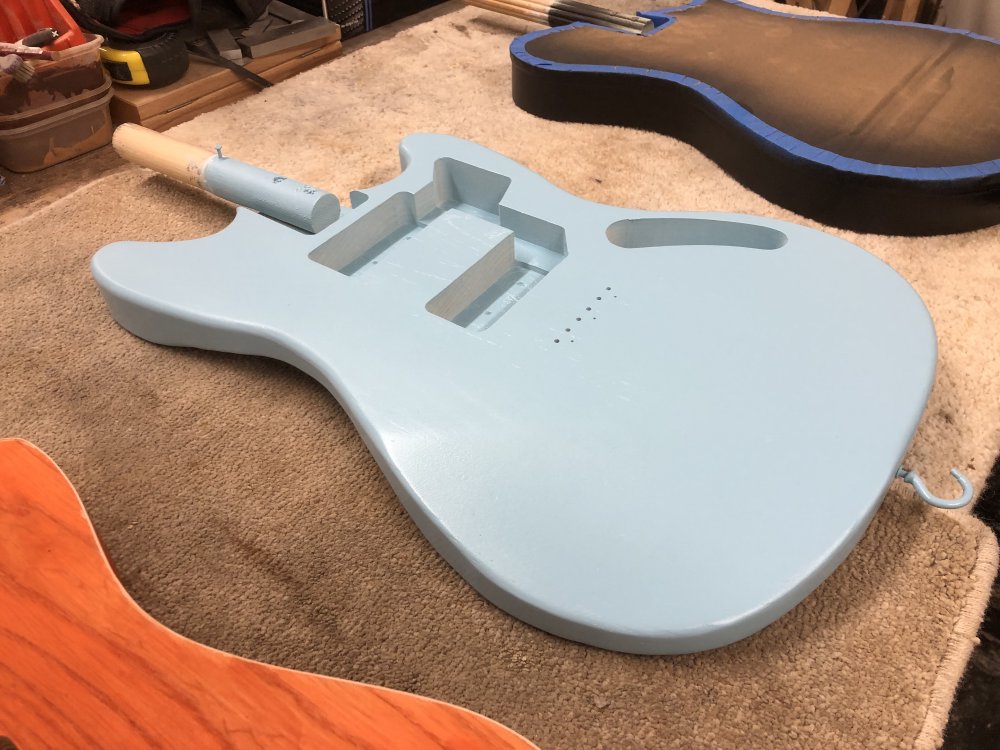
It’s looking good, not bad for my first go. I like that despite the layers of grain filler and primer you can still get a sense of the wood grain under there. I imagine that’s not to everyone’s tastes, but to me I like that you still can connect with the wood that is under the paint (part of why I like using wood stain normally).
The last guitar on the last guitar on the workbench, Verkstaden, only got one if its two paint layers last time, because I managed to overspray in one area making it look layered, and I assumed I’d have to sand it back and start again. Looking at it now that it’s dried, it’s actually flattened out okay, leaving just a slightly different shine to that part:
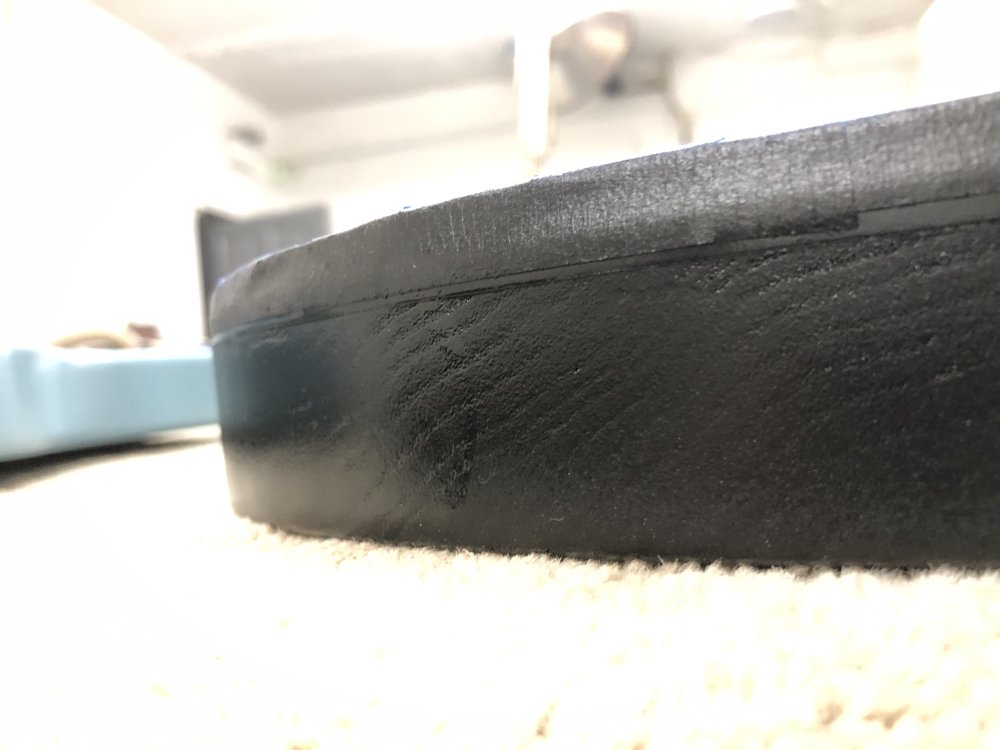
I imagine the gentlest of sanding here will take it back, and I can then get back on with the painting.
But before then, it’s time to go deal with things that went wrong last week with the orange stain on Delfinen.
Delfinen
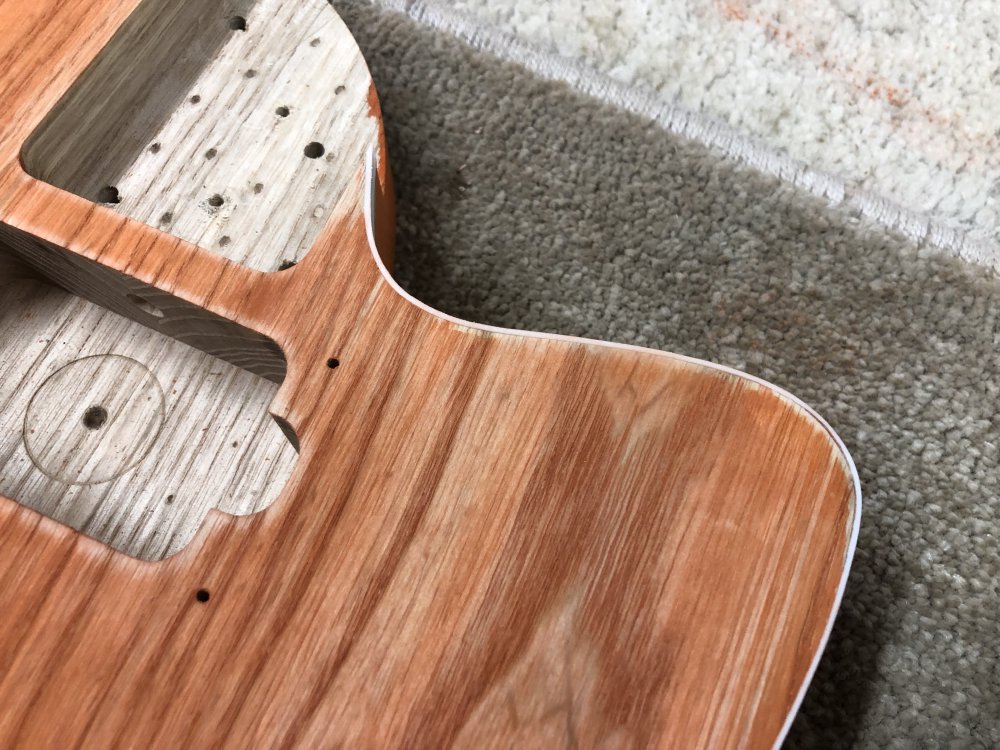
Last week, after applying the first coat of stain to Delfinen I found that there were areas where the stain didn’t take, notably here on the lower cut-way:
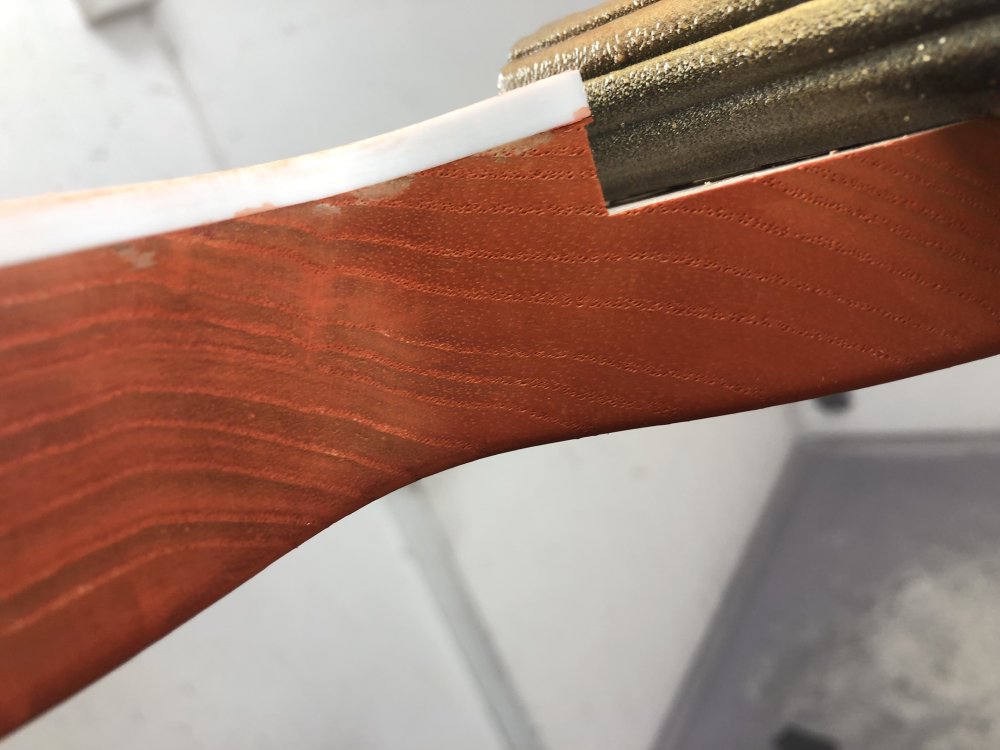
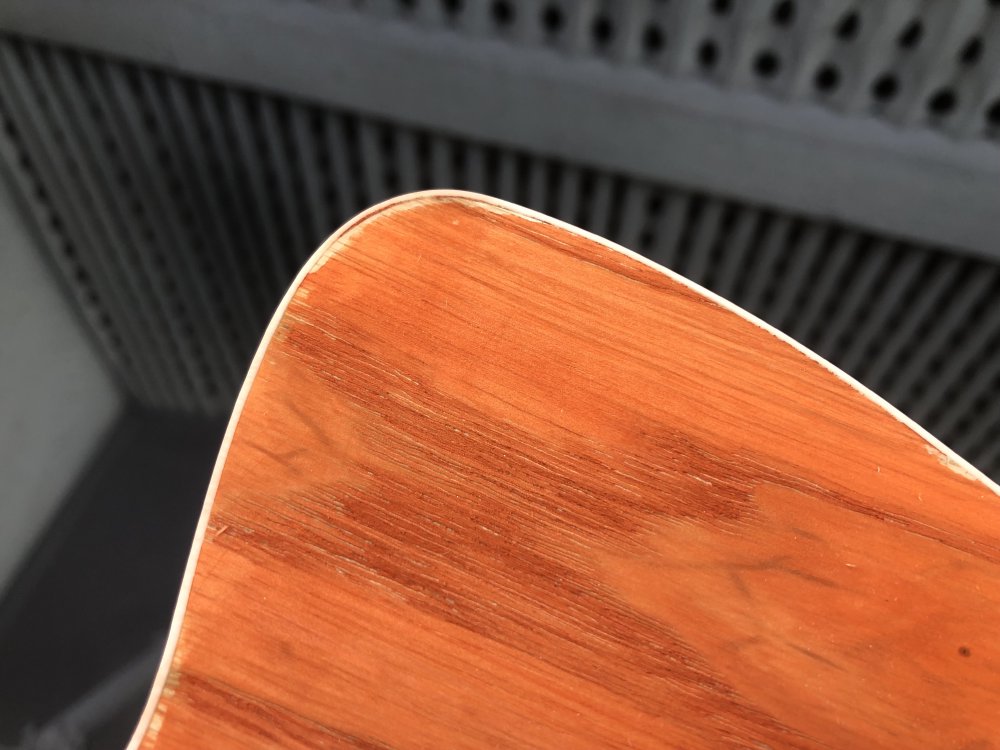
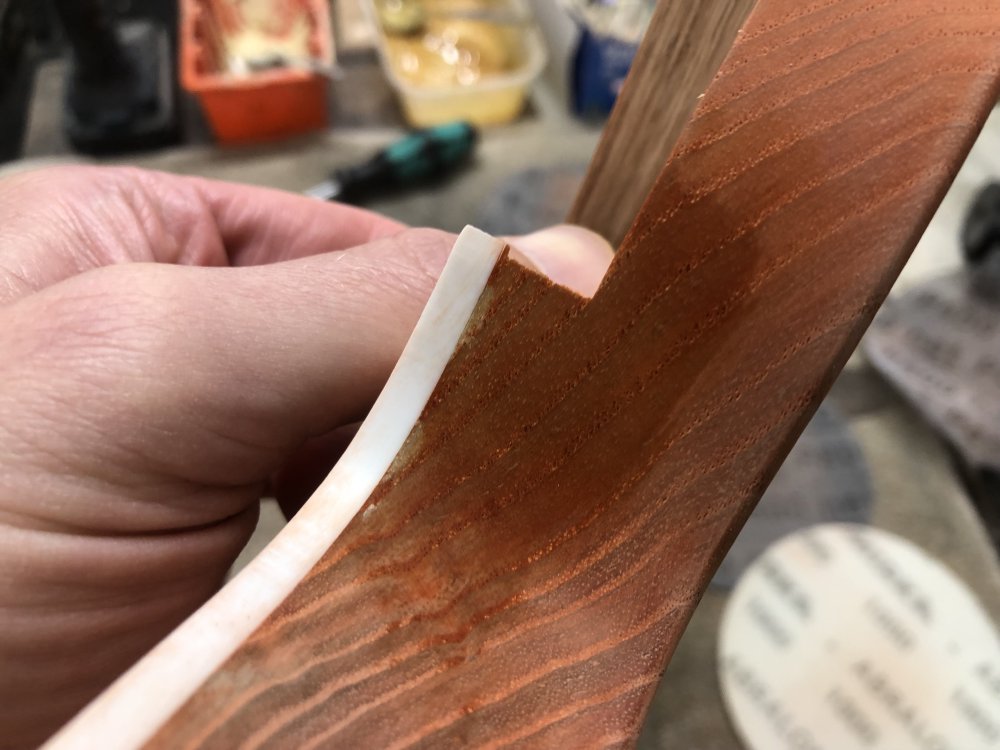
And similar on the top edge where I’d had to re-glue the binding:
In addition to those two, the staining had shown up a scratch on the back that I’d missed when sanding, but became immediatly emphasised by the stain:
I went through a list of possible corrective techniques last week, and I opted to start with the less drastic one, which was to just have another go at removing as much glue from the top as I could, using a combination of sanding and scraping. Slow work, but for the chance to save a finish I was really otherwise pleased with I felt it was worth the time.
The main tool here is the curve-edged scraper , which let me try to get the surface glue that staining had exposed off in the most targeted fashion, and then going back over with sanding afterwards to get the finish back to a consistent look. This removed a lot of the original stain, but that’s fine.
Whilst I was going through this process, my workshop make Jamie, who makes fine acoustic guitars, saw what I was doing and expressed his sympathy. I realised at this point that I’d missed a trick - all the tutorials and guidance I’d watched and been given on binding where for solid-body electrics that were going to be painted, and actually because I was staining this guitar, it’d probably have done me good to chat to Jamie sooner or watch some tutorials online about acoustic guitar binding, where glue management is much more key, because any mistakes will be really visible. A good learning for next time.
Still, if I ever wanted to do a relic look, this was good practice :)
Under the right light you could definitely see some glue on the surface where the stain hand’t taken, as you can just see here the slightest of reflections on the bigger area of problem:

Once I’d thought I’d got rid of the glue I went over with water, checking that the wood went dark, and then if there was any double I’d go over it again.
Once I was done, it was time to accept that this new peach style guitar wasn’t the look I was going for, and I was going to need to get back to staining. That said, I can see doing a faded stain deliberately like this might be fun in the future, with say a denim blue? Or perhaps doing a dark colour, sanding it back, and then doing a lighter colour?
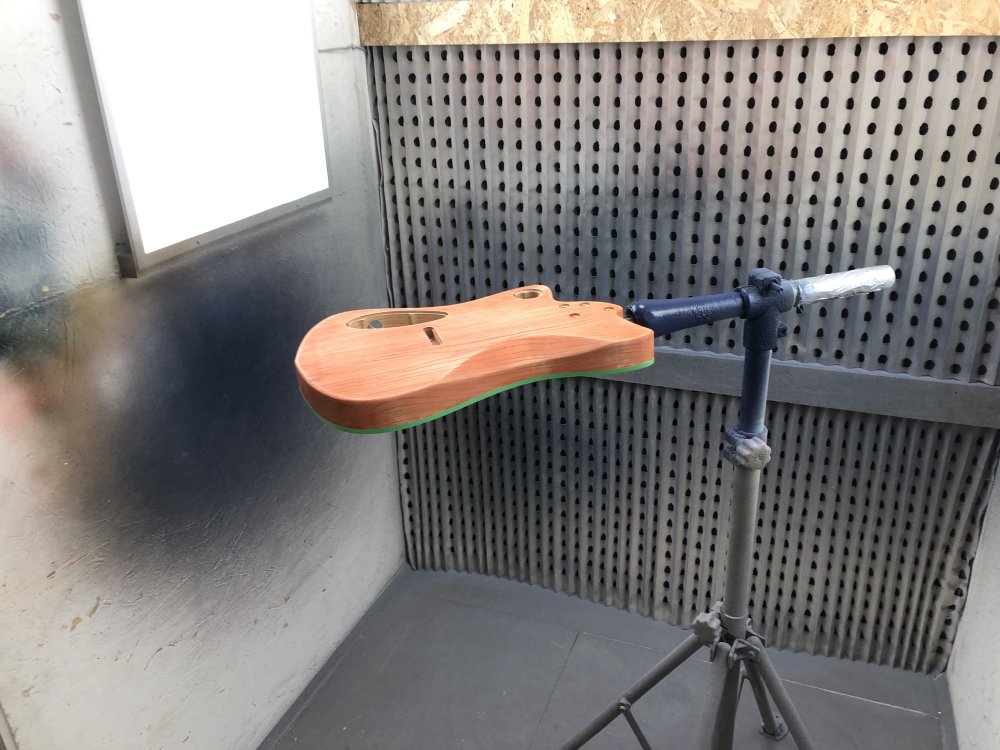
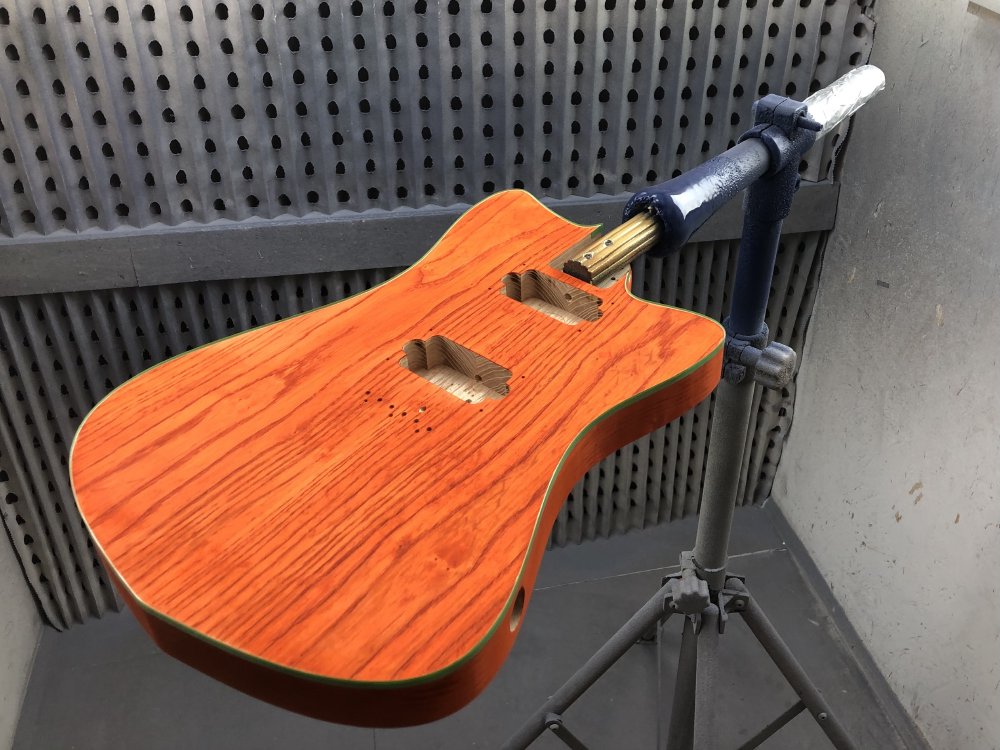
But for now, it was back to taping up the binding and getting the stick back on for mounting it in the spray-booth.
And back to the booth for staining. I definitely like having the spray-booth for staining both for the light and the handy jig for holding the instrument as I work over it.
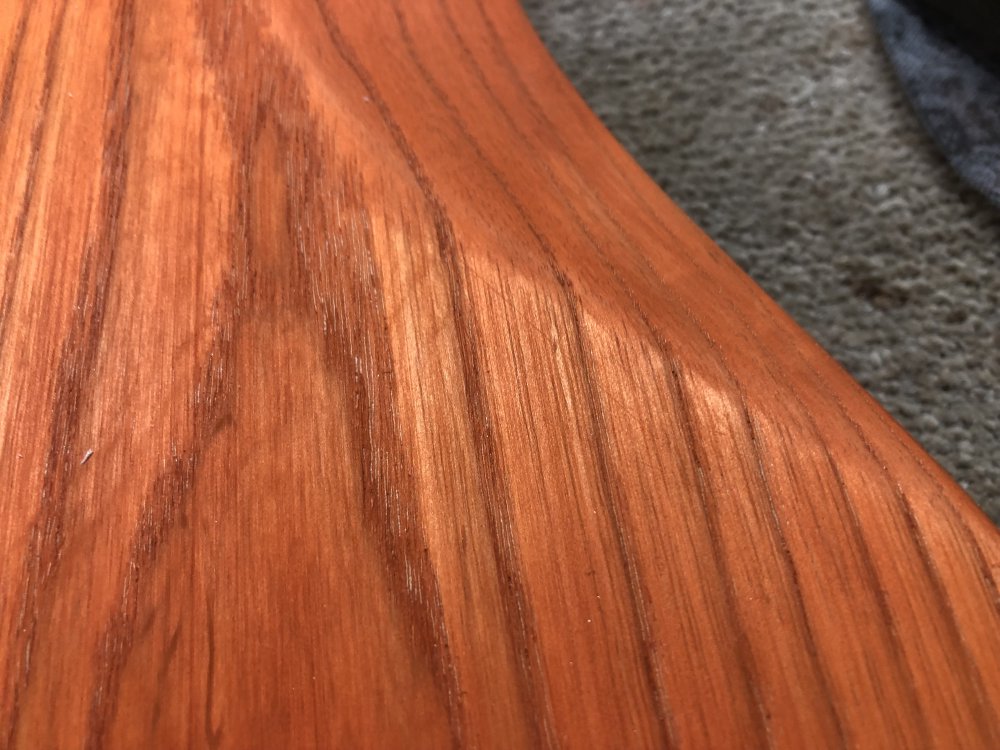
A bit of time later, and I had a nice uniform coat of orange back on the guitar. I was a bit worried about how the orange would take given I didn’t totally strip back the original coat, but the finished look seems fine.
As for the areas that gave me problem before, they’re much better:
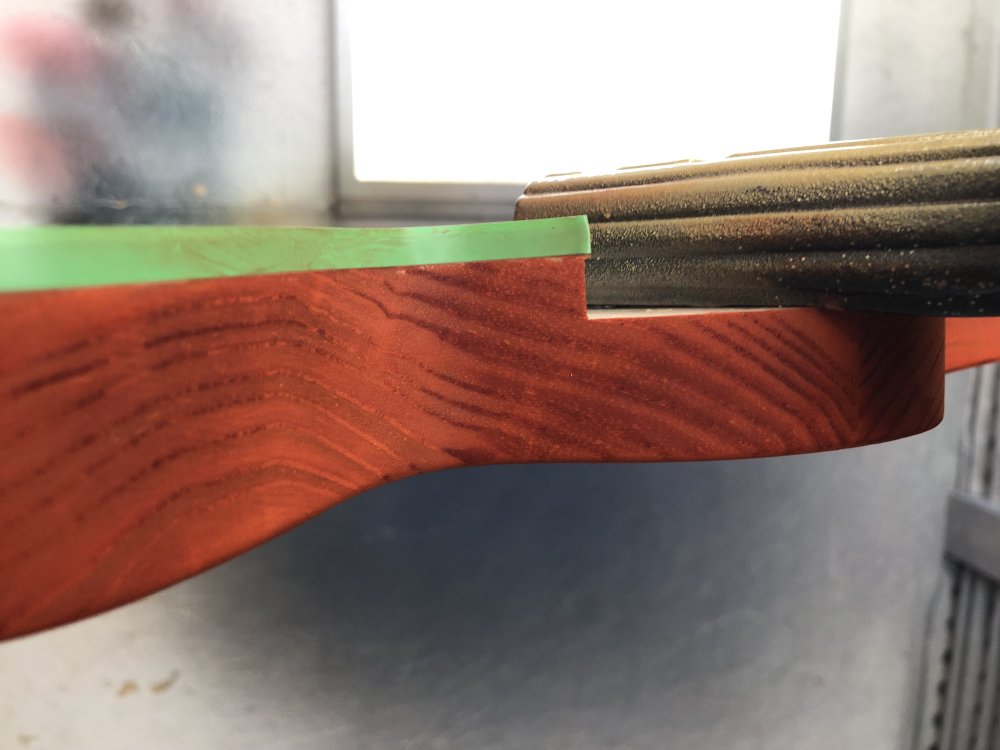
It’s not perfect, which pains me a little, but it’s good enough for now, particularly given this guitar is a prototype model rather than for a client. It’s at the stage where if this is the first thing you notice about the guitar then I’ve had more significant failings as a guitar builder, and I’ll learn to get better at binding in future builds.

This whole process took the better part of a day, which is an expensive mistake. I did try to show up the areas where the glue might get in the way with water, and that hand’t really shown me anything, and Jamie suggested he uses a mixture of water and alcohol, as that tends to get into the wood quicker, so perhaps I could try that next time. But I think the main thing next time will be to learn more about binding before starting and thinking more about it from an acoustic perspective than a painted over perspective.
Hästen
Not much else happened this week, but what I did do was in a similar vein. When I’d used cleaning fluid on the neck for Hästen to get rid of the fret-work detritus, although I’d wiped it clean, some had got under the frets, and slowly crept out afterwards leaving slight blotches. Yet more hard to photograph issues:
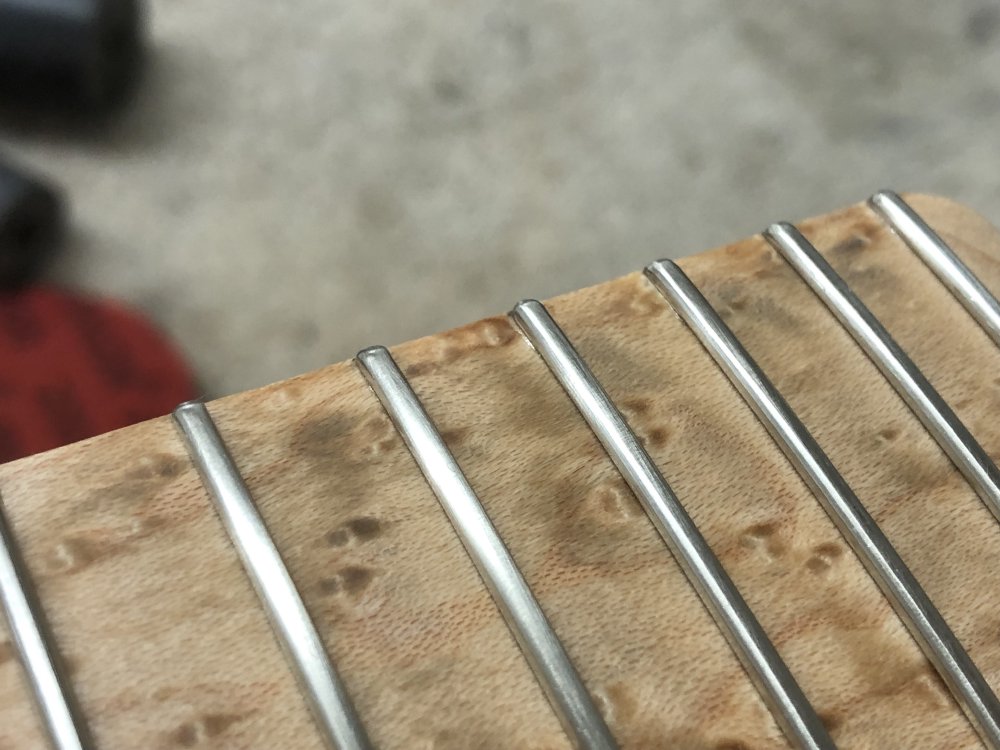
I spent a little time using a razor blade to scrape that back ready to begin oiling this neck. Attention to detail or a slow descent into obsessive madness, you decide :)