A fortnight in and out the shop
Published 10 Nov 2020
It’s been a quiet couple of weeks whilst I got on with non-guitar things. This is in part due waiting on a few things, one of which will finally mean I have all the tools I’m used to using in my workshop (other than a laser-cutter), and that one in particular I’m happy to report is finally here: I now have a band-saw!
At the start of last week I got a call from Norfolk Saw Services, to say that the band-saw I reserved was finally with them, however they weren’t able to deliver it, so would I like to come collect it? I was a little unsure whether it’d fit in our car, so I asked them for the box measurements and dashed out with a tape measure and confirmed that our little i3 could accommodate a boxed up band-saw and a couple of days later found myself driving up to Norwich from Cambridge to collect it.
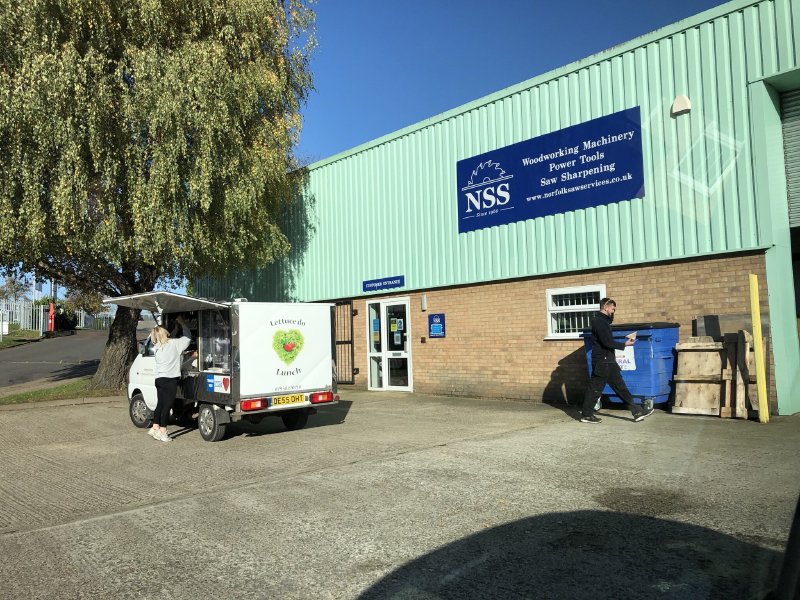
Having bought things from them in the past, it was nice to get to see the actual NSS premises: they have a well laid out showroom area that perhaps I’ll take a better look at next time I’m up - unfortunately I didn’t have time to hang around, as I needed to be back in Cambridge promptly for a call later in the day. So after getting there and paying for it, we loaded up the car with 111 kg of band-saw and I tootled back home.
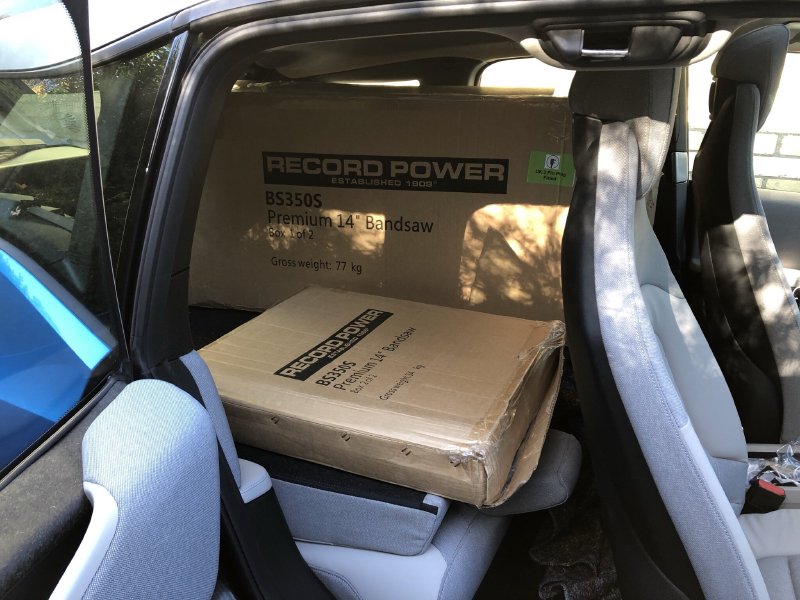
As many people have pointed out to me - I could clearly have fitted a second one in the car, so a bit of a missed opportunity I guess.
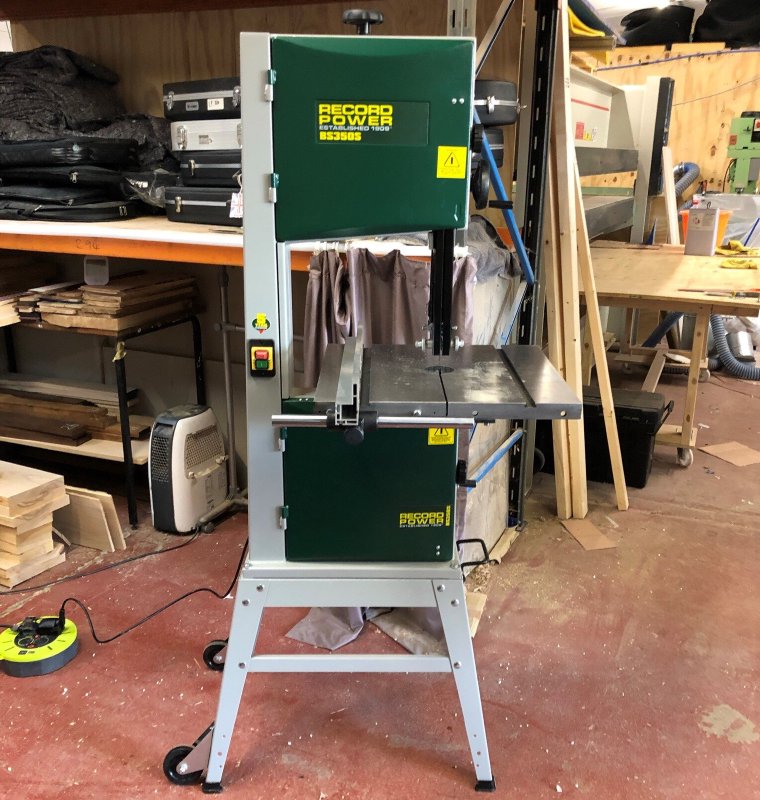
The following day I headed into the workshop, and spent a good few hours putting together the band-saw and setting it up. Thankfully I had a good idea of what’s required in band-saw setup thanks to the guidance I got whilst at Makespace from fellow workshop maintainer Graeme Durant. Graeme oversaw Makespace’s workshop upgrade from a small bench-top band-saw to a free-standing industrial unit, and I got to help along the way. Thus when it came to setting-up this unit, which sits somewhere between the two, I had some hands on experience to call upon. That said, I did still watch Record’s overview guide video as a refresher, which does a good job of making a reasonably dry topic watchable.
I was also helped out by my workshop-mate Matt and, from the other side of the building, by Ian, who runs the drum company that is co-located in the workshop I now work out of. Ian’s had an extensive career in woodworking and the machines there-of, so he helped get the band-saw up and running faster than I would have otherwise on my own - as ever there’s benefits to working in places where other people do similar things even if they’re not exactly the same as what you do.
After a few hours of manual labour it was ready to rock:
We still need to find a proper home for it in the workshop, but I was able to do the basic setup and do some test cuts to check it was working:
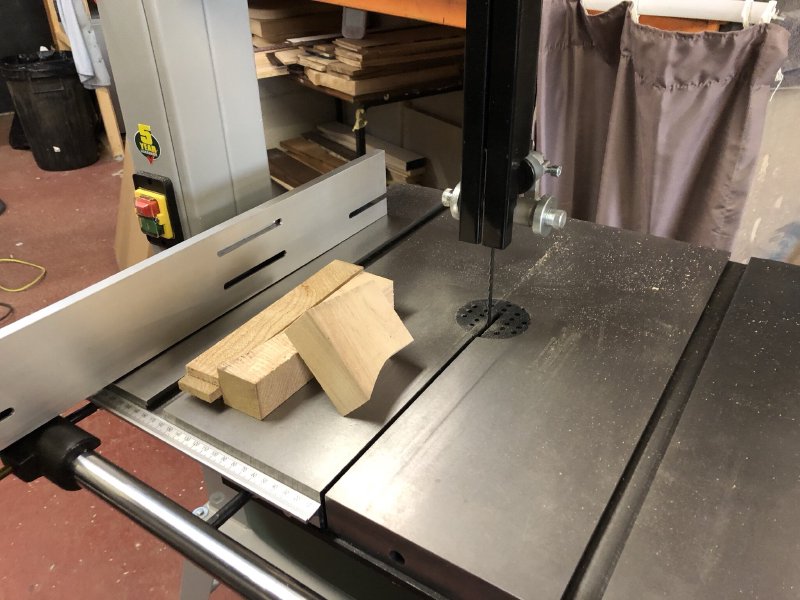
I can confirm it makes bigger bits of wood into multiple smaller bits of wood well :)
The band-saw isn’t quite ready to use yet though, at least for my requirements: I need to swap the blade to something more appropriate to my needs. There’s a wide range of band-saw blade types, mostly to do with teeth spacing and blade depth to suit different jobs; the blade that came with the band-saw is well suited to chopping up large bits of wood, but less so for the slightly finer work that I need to do in the near future. Thankfully I have such a blade ready, so this week I’ll fit that and get on with my paused builds again.
When cutting the test bits of wood it was clear to me that I’d made the right choice in this machine. This particular model, the Record BS350S, is technically over-specified for what I need, but one of the things I learned from my time helping run the Makespace workshop was that for certain items the bigger the machine is, the safer it is to use and the easier it is to get a good usable finish. This may seem counter-intuitive at first, but on the old bench-top band-saw we used to have at Makespace we were always fighting with it to cut wood even a couple of inches thick, which means you’re stressing the machine, and the finish you get is probably burned slightly or has marks from the machine. When we switched up to the more industrial unit the same bits of wood were trivial for this machine, meaning both you and the machine were more relaxed, you were more in control, and got a better finish to boot, so from that point of view it was much safer as we were always well within the operating limits of the machine, rather than bumping up against them.
So despite the extra cost I deliberately picked the band-saw one above the minimum I thought I’d need for guitar building, so that I’d be well within the machine’s capabilities and life would be easier making the guitars. There’s enough to worry about on a guitar build, but now I know that the bits I make on the band-saw will not be one of them.
Obviously it’s not always easy to afford these things, so if you can’t afford to do this don’t worry too much about it, but if you can then I think it’ll help you get along, and gives you room to grow if you decide to take on say roughing your own timber or such.
Speaking of Makespace, I was back in there to use the laser-cutter on two occasions this laser fortnight. The first time I was in there to cut a pick-guard for a custom bass guitar that Matt was building. As I’ve mentioned in the past this has become a semi-regular occurance, and I think I’d gotten too used to making these pick-guards and the laser-cutters in Makespace being well maintained that perhaps I got a bit cocky, but for whatever reason I was quite surprised when it took me three goes to cut this one guard!

It’s not a great picture, but the issue was that the laser wasn’t consistently cutting through: you can see that the top line has cut through nice and clean, but on the bottom edge it’s not managed to penetrate all the way through. I tried seeing if it would just tear the last bit, but it just started to shatter around the seam, which is what’s happening in the lower left of the picture.
Before cutting a pick-guard like this I always do a power/speed test in the corner of the material to account for material variance and how clean the lenses are on the laser-cutter (if someone has been cutting wood that made a lot of smoke, you’ll need to up the power a bit for instance). However, despite my testing I still got this variable behaviour. It might have been that the material was slightly flexing along its length, or wasn’t quite a uniform thickness, but it took me two more goes before I got the power right and made a clean pick-guard, which you can see in place here:

Picture taken from Matt’s instagram, where you can see more pictures of this and the lovely guitars he makes.
The second visit to Makespace was to cut a test pick-guard for the strat clone I’ve been fixing up. As mentioned before, it has odd sized pickups, slightly narrower than standard strat pickups, so before I cut the final pick-guard in red tortoiseshell I thought I’d make a quick test one to check my sizes were right. The only spare acrylic I had in stock was transparent, so that’s what I made it with:
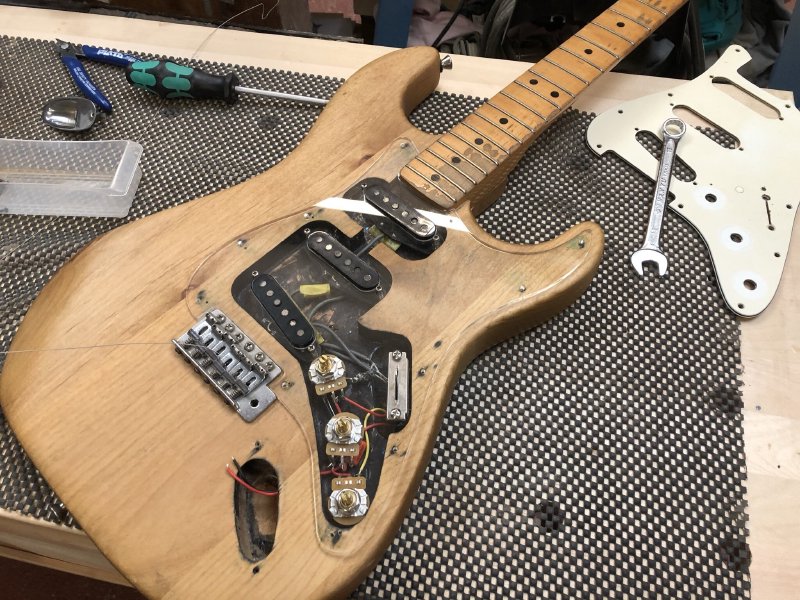
I have to say, I’m not normally a fan of this sort of thing, and I think it looks a bit better in person, but on this guitar, it works as a look. I think the natural wood finish and the somewhat lived in look of this guitar shine through. The guitar’s owner agrees, so that’s just about a wrap for this guitar, I just need to solder back up the jack, give it a last clean, and it can return home.
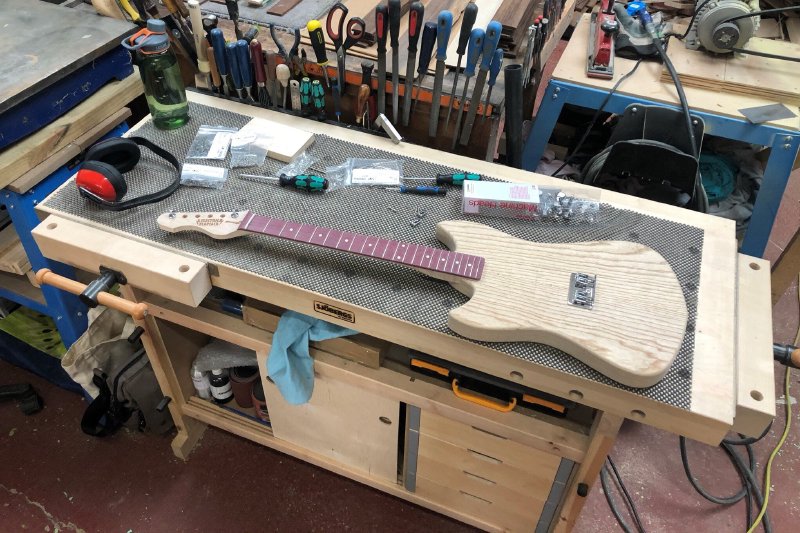
Whilst in the workshop this week I did string up the Corvette build at last, after I managed to source some shim washers. This guitar’s headstock is slightly too thin for modern style tuners, so I needed an extra set of shim washers to help the tuners sit properly. After searching high and low for the washers themselves I just gave in and embarrassingly bought a cheap set of tuners on ebay and stole the washers from them. It’s a bit wasteful, but I’ll endeavour to find a user for the tuners at some point.
The one issue I did spot with this is I need to adjust the headstock transition, as the washers couldn’t sit flat due to where the radius starts:
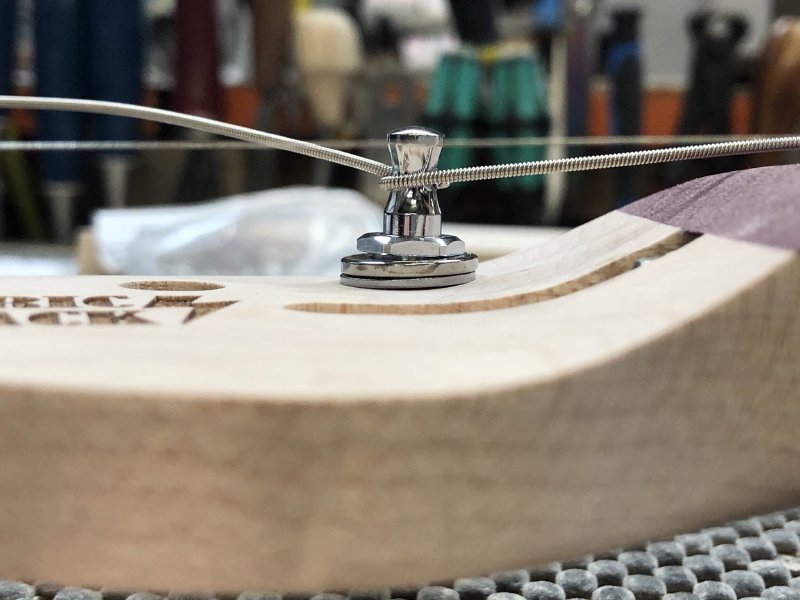
Some very carefully targetted sanding should sort that out, though I have to careful as the truss rod is now at the same height as the transition, so I’ll be sanding the truss-rod if I don’t watch out! The joys of debugging a new design.
I mentioned a few weeks ago that I needed to renew my Fusion 360 start-up license, and I wasn’t sure whether or not I still qualified: it turns out I do, which is a relief having just spent all my pennies on a band-saw.
The phrasing of the form to apply definitely made it sound like they were after your more-traditional fast-acceleration startup: for example they asked how you were funding things and offered options of “VC funding”, “angel funding”, etc., all of which are miles away from my plans. However it seemed that selecting “other” and entering “organic growth” was acceptable, for which I’m very grateful. To be clear I see access to the no-upfront-cost start-up license for an advanced tool like Fusion 360 as a privilege rather than something I’m entitled to, so it is appreciated that Autodesk continue to support small makers like myself in this way.
I did try stretching my Fusion 360 CAM legs a little this week; it’s been a good while since I thought to CNC route something, but Matt and I were trying to help another local luthier out with a job, and so I’ve been seeing if I can create toolpaths for Matt’s X-Carve CNC router from Fusion 360 to let us do more complex shapes than the X-Carve’s Easel software will let you do out of the box. Hopefully more on this in the coming weeks!