A week in the shop
Published 11 Mar 2019
This last week has been a bit rushed with me context switching between bits of contract work, but the recovery offset has been oiled now and is spending a week just curing (I forgot to take pictures, sorry). As I reported last time I’m still having issues with oiling the fretboard: oil seems to build up behind the frets and seep out during curing. As before this meant having to sand back some of the fretboard finish and re-do it, which means I need to change something here.
I’ve chatted to someone else I know who uses oil on fretboards, and he says he similar has to be wary of this, so it’s not just me, but what I don’t understand is why I didn’t hit this on the first few guitars, just the recent batch. Either my technique of applying it has changed in some subtle way I don’t realise, or perhaps the current batch of oil is off relative to the stuff I used before. Either way I need to find a solution for this.
I also picked up some lovely examples of orange/red/copper effect acrylic to see how that works for the pick guard against the iridescent blues of this guitar (thanks Matt!).
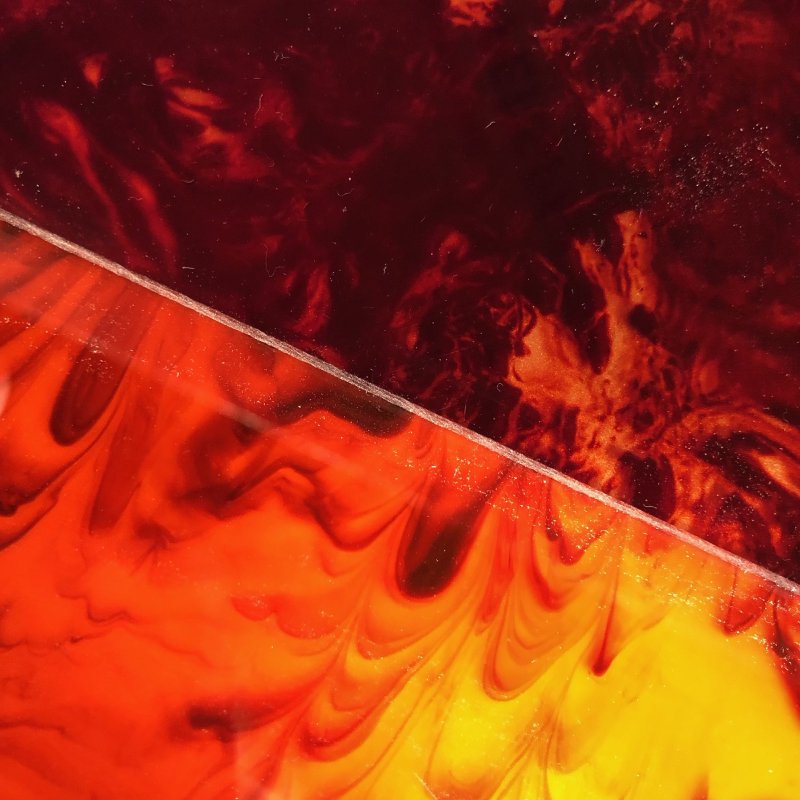
I hope to find time this week to pick one out and make the guard.
I’ve not yet had time to try out the new CNC Router controller we fitted last month in anger, thought I’m pleased to see other Makespace members have been using it successfully. I think it’ll take me a while to gain confidence on it, so I’m going to find time to cut a neck on it with some of the cheaper bits of wood I have kicking around. As prep for that I have gone back to Fusion to tweak a neck design I made a while ago for a t-style but never made. Workshop is scarce right now now, so I suspect it’ll be the week after next before I get to sit down and try this, but for now I can do the tool-path prep.
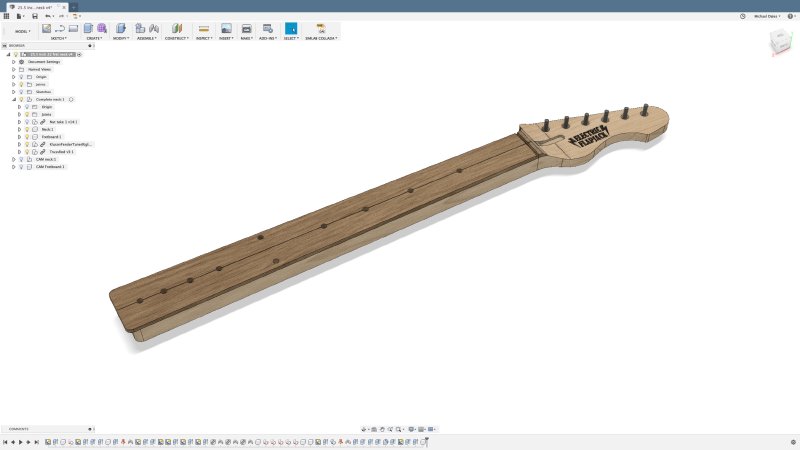
In addition to the testing of the CNC Router Controller, I also have some Pau Ferro wood to try as an alternative to wenge (which I was using as an alternative to rosewood). I’m hoping that’ll be easier to work with in terms of cutting the fret slots and getting the frets in, whilst still having some interesting texture to it. And when I go to finishing it I’ll try a new batch of oil to see if that helps with the issues I was having above.
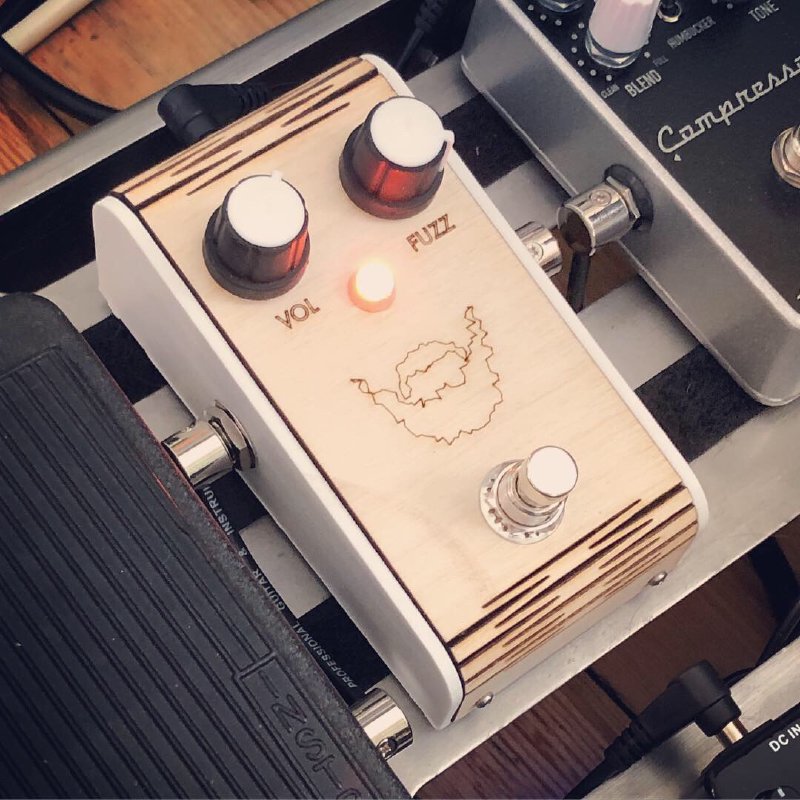
I finished a full unit of the fuzz pedal I was talking about this last couple of weeks, and I now have it on my pedal board in use. It sounds awesome in its final form, and definitely better than the breadboard mock up I had, which I suspect is down to finding good quality parts off Mouser rather than whatever parts I could cobble together from my own spares box and the Makespace trove.
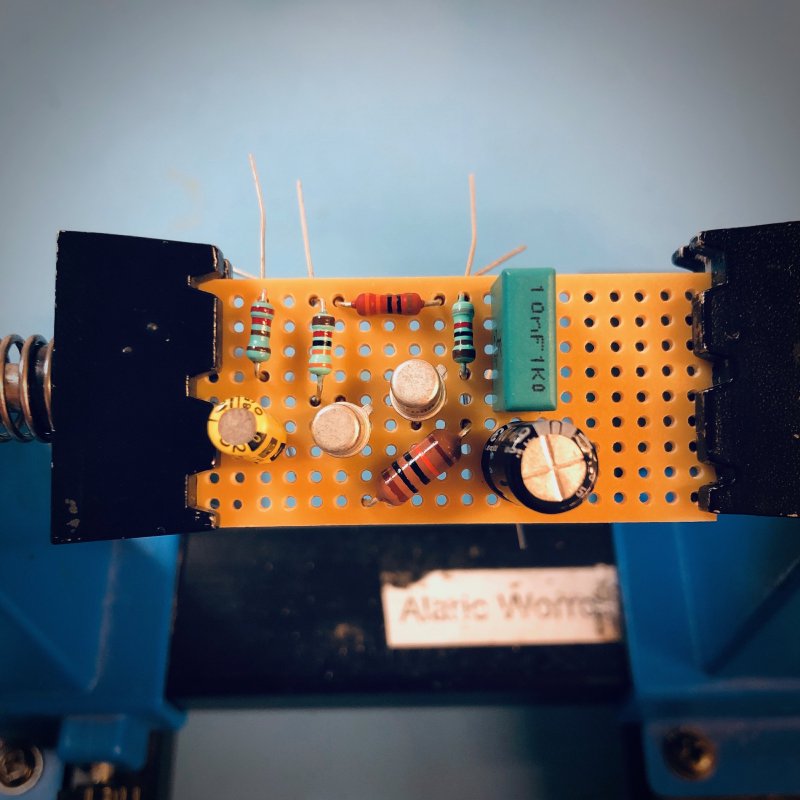
Making the verboard to fit the case was slow work: there isn’t much room inside the case, so most of the time was spent getting the wires between the components to be relatively neat (it isn’t neat, but it’s at least cut to sizes that’ll work inside this small case). Next time I design a pedal I’ll need to spend more time on how to mount the electronics in the case.
The other thing that slowed it down was I embarrassingly accidentally got the transistors in backwards (i.e., I mixed the base and emitted pins around), and then had to find what was wrong and then fix it, all of which wasted an hour. I did however measure both the transistors’ gain value to ensure I put the higher gain transistor first to give me maximum distortion when needed: my thanks to Adrian at Makespace for educating me there.
Still it was worth all the effort, as I’m over the moon at how good it sounds: it goes from that Rolling Stones Satisfaction style fuzz through to almost Big Muff territory if you dime both the dials, doing a very nice White Stripes somewhere in there. It also responds well if you back off the guitar volume, cleaning up nicely, letting you use it for more blues lighter distortion if you play around. The only thing I’m eager to change is the resistor that controls the LED brightness on the case, as currently it’s quite blinding :)
At some point I’ll put together some video of the sounds, and a page documenting the whole build, but time has been short and my playing when I did make an attempt to record it was awful (the moment I turn the camera on my playing falls apart).
In the middle of the week I finally got around to syncing up again the metalwork company who made the folded metal piece for my prototype pedal board to discuss some of the things I wanted tweaked before I did a small production run.
It took a little while, but in the end I got to speak to the person who actually does the work turning designs into metal, and all the things that had worried me he was able to put to rest. It’s unfortunate we didn’t speak sooner, as he spotted in the old email thread from when I first put together the order for the prototype that I’d offered to tweak the design if it’d help them with manufacture, and he gave me some requests there. Although they’d made the prototype fine, if I make the tweaks it’s more likely that the finished result will have a better finish, so it’s worth me doing.
The downside is this means that I either have to make another prototype (which is costly) or just trust things will work for the initial run, which is a bit frustrating. Given they’re relatively minor tweaks and I’ve checked their impact on the current prototype with some callipers, I’ll probably go for it and fingers crossed all should be well. So tweaking that design and getting the CAD files over is on my todo list for the week.
I ran a couple of events at Makespace this last week: the first was the fourth Fusion 360 Show & Tell even, and the second was an attempt to run an introduction to the workshop at Makespace to show what you can do there and make it all seem a little less intimidating. Both are my attempts to try and turn serendipitous events into something more structured.
Like any complex bit of software, Autodesk Fusion 360 (the CAD/CAM software I used for most of my guitars and other bits) is full of things you either didn’t know existed or alternative ways to do things you thought you did understand but it turns out there’s multiple approaches you can take. I realised late last year that whenever I happened to chat with one of the other regular members at Makespace that uses Fusion 360 I’d find I’d not only learn something new about Fusion, but it was almost always something that would let me either improve my designs or workflow. Rather than rely on bumping into people I started organising these meetings, held ever other month, where a couple of Makespace members will share how they designed and build a thing using Fusion 360. The talks are deliberately focused on the how, so that the audience gets to be exposed to how other people work and hopefuly get that learning I was getting accidently through conversations.
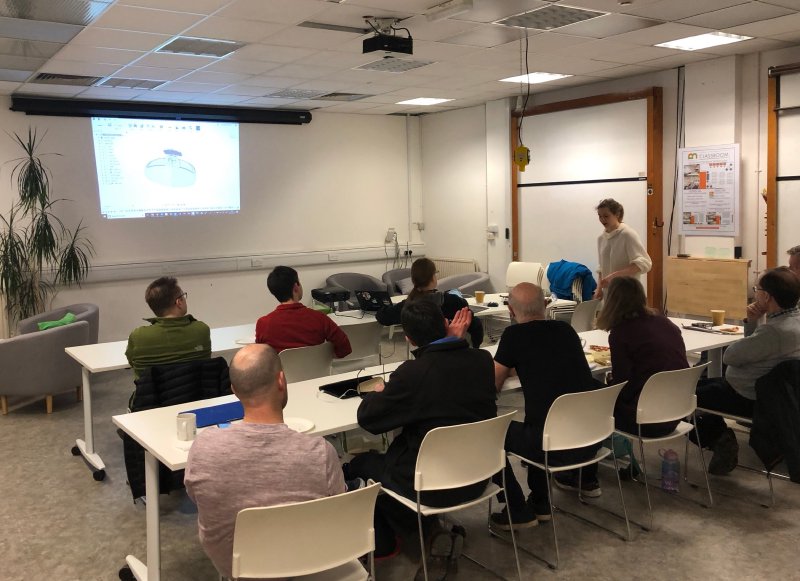
So far this attempt to take serendipitous learning and make it a regular thing in my calendar seems to be working. This was the fourth such event, and this week we had one person talk about how they’re using Fusion 360 for a complex product in their startup, and another about how they fixed a broken shower, and both talks taught me something i didn’t know about a tool I use regularly. Definitely this has been a valuable return on the little time it takes to organise, so if you are at a community workshop I can highly recommend trying this kind of thing out.
The second event was my attempt to help accelerate other people along the path that I’ve been walking for the last few years (and continue to walk still) as I’ve gone from someone who’s done no woodwork or other manufacturing to someone who is at home in the Makespace workshop. I originally found the workshop a mysterious and intimidating place, but it was thanks to random people who happened to see me struggling and lend me a hand that I was able to learn and make progress. Whilst that is wonderful and I hope doesn’t stop, it’s hard to rely on that sort of help, so I ran a sort of two hour introduction to the workshop to show Makespace members who’d not done woodwork before what they could achieve in the workshop, what possibilities were, and just generally make it seem less intimidating. Hopefully this will encourage some of them to have a go at things they might otherwise not have.
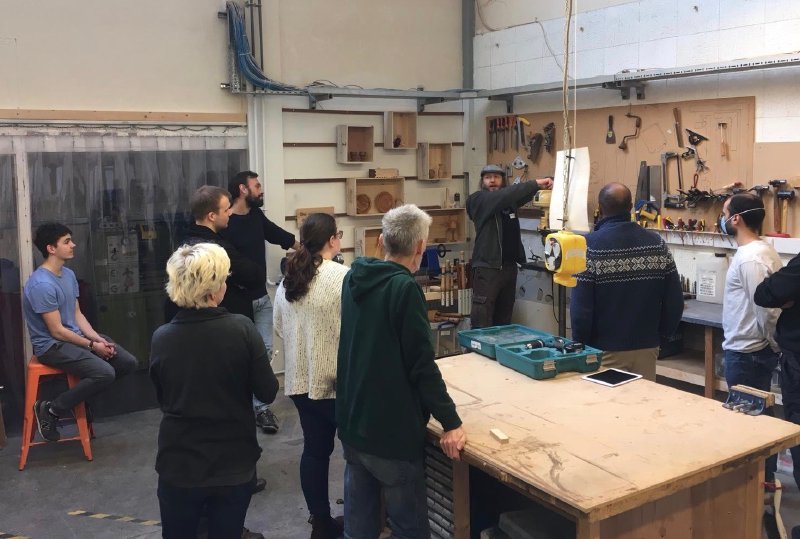
I got positive feedback for running the event, so I hope it was of use. In reality you’ll never really know if such a thing works, but I figure that as we try and improve both the physical workshop at Makespace and the sense of community amongst those who use it, anything that might mean new people come in and try new things already armed with a little knowledge is a good thing.
Last year I came up with a couple of guitar designs I was happy with, but I think there’s room for improvement, so I’ve tried drawing some more shapes, none of which I’ve been happy with. I decided it was time to try and work out what it is I liked about some designs and not others, by looking through a lot of existing designs. Thus I ordered a couple of books to plow through: 1001 Guitars to Dream of Playing Before You Die (terrible book title, but okay book so far), and I pre-ordered Electric Guitar Evolution: Classic 50s and 60s Models from Past to Present, as that era of guitars I find myself more drawn to.