Using a laser cutter to make fretboards
Published 6 Dec 2017
Tags: fretboard, laser-cutting, tips and tricks
There’s many ways to approach most problems when building a guitar, and the method you pick will be in part dictated by which tools you have access to at the time. As such, when it came to making my own fretboard for the first time, rather than buy new tools for the job, I first had a look to see what things I had access to at the maker space I work from that might help. This has resulted in my using a combination of low tech and high tech in a way I’ve not seen used anywhere else, so I thought I’d document the approach.
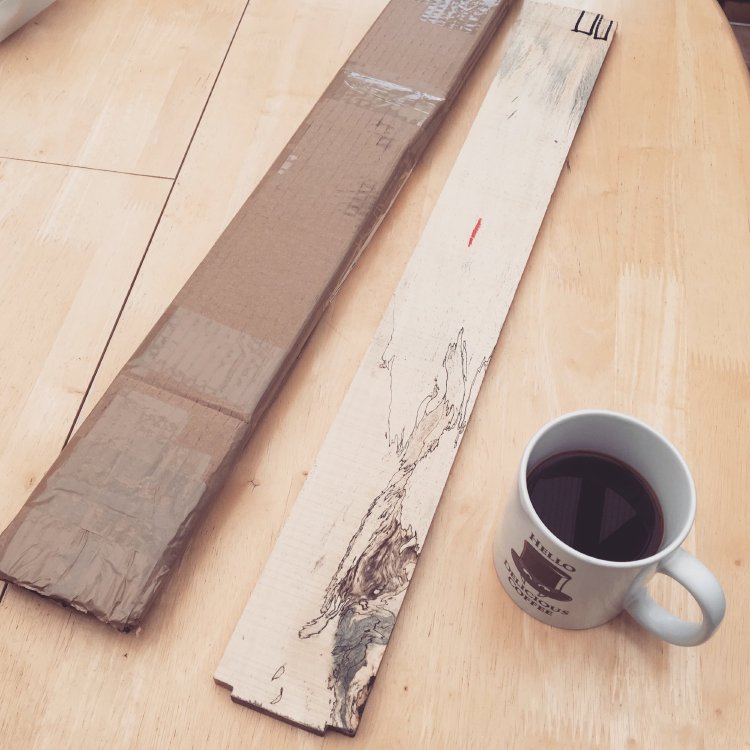
To start with, I’m making necks with a maple back and a glued on fretboard, so I start with a piece of wood thickened to around 6mm that I’ll use for the fretboard. I leave this wider than the neck itself, and I’ll use a hand router to make it flush with the neck once glued in place.
My aim here is to make very narrow slows so that I don’t have to glue the frets in. Fretwire has a toothed piece called the tang which will stick into a slot in the fretboard. The tang is typically 0.5mm in width, so ideally you want your slot to be slightly smaller.
The main tool I have access to that my technique is based around is a laser cutter. A laser cutter is basically a machine into which you place a bit of wood and it has a laser head that can be moved over the piece in 2D to either cut or etch the surface, depending on how much power you provide to the laser. It’s a really good tool for cutting sheets of ply wood or etching nice designs into thicker bits of wood. But the question is, can we use it to cut fret slots? To work this out, I spent an evening playing with various powers and slot designs until I ended up with something that worked:
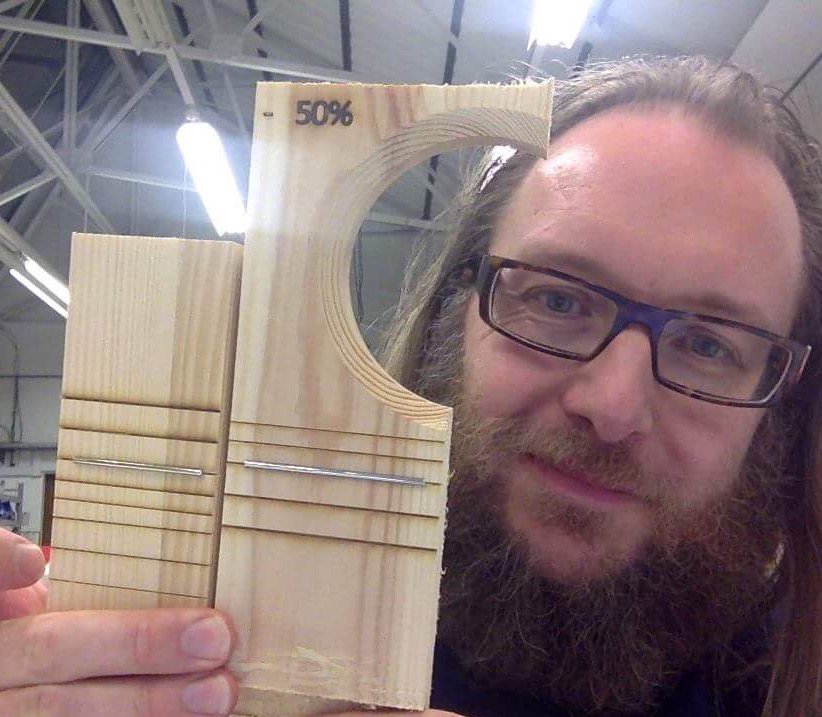
In the end I realised I couldn’t reliably cut the slots using the laser. To cut the wood you need quite a high power beam, which will cause some charring around the slot, and it’s hard to control how deep the slot is; normally you’re just cutting through the piece, so it’s not an issue, but there’s no reliable way to specify you want to cut to a given depth, and even if you can estimate the right power, the depth would vary with the wood density and the mood of the laser cutter that day.
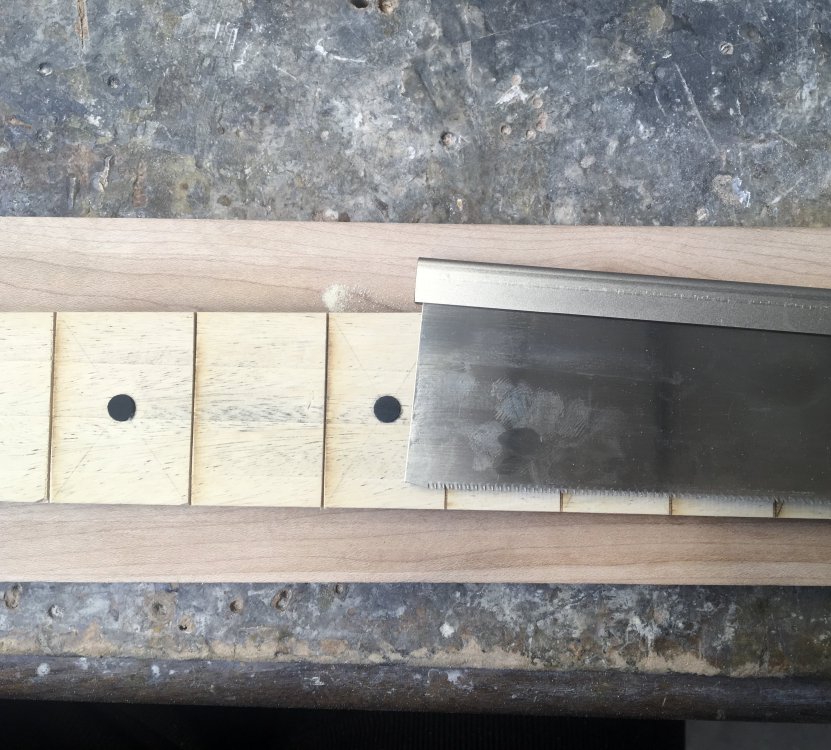
So instead I use a hybrid approach: I use the laser cutter to etch a 0.5mm grove that is tenths of a mm deep for each fret slot, and I use that as a guide for a simple back saw to cut the slots by hand. With a suitably narrow saw (I have a Japanese Dozuki back saw that has a 0.3mm wide blade) I can then hammer in my frets without needing to use glue to hold them in.
The nice thing about the laser cutter for this is that etching the slots takes a couple of minutes at most, whereas if I’d tried to use the CNC router to do the same task it’d have easily taken an order of magnitude longer. You can get a sense of the speed from this video:
The final result works quite well, and I think is a nice combination of new tech to ensure the slots are accurately positioned, and old tech to cut the slots for that hand built quality that people want in a custom guitar.
So, if you have access to a laser cutter (a common tool at a community maker space, which is how I access mine), then all you need to do this technique a design file that’ll generate the slot patterns to feed to the laser cutter. Which is why I wrote the fret design generator tool - simply tell that the scale length and fret count, select the laser etching option, and you have a design ready to feed to the laser cutter software. If you give this technique a go, do let me know, I’d be keen to see if it works for others as it has for me!