A brief week in the shop
Published 14 Sep 2020
Tags: laser-cutting, neck, verkstaden
Out of necessity I’ve taken to planning out my time in the workshop currently. I’m still struggling to get the time I want in the workshop, so whilst I’m there I want to make the most of what I’ve got. Thus, before I go in I make sure I have an action list of what I’m going to do next, and not just “build more of that bit”, I have it broken down into actions for each thing I’m working on, of the order of “use this tool on this piece to do this change”; for example: use the hand-router and template on the neck to make the truss-rod cavity is one I did this week. I try to order them so that everything has some sensible order to them, but things don’t always run smoothly so I’m not too wedded to that; the main thing is just to be using the precious workshop time I have to move things forward rather than sitting around trying to figure out what I can do next.
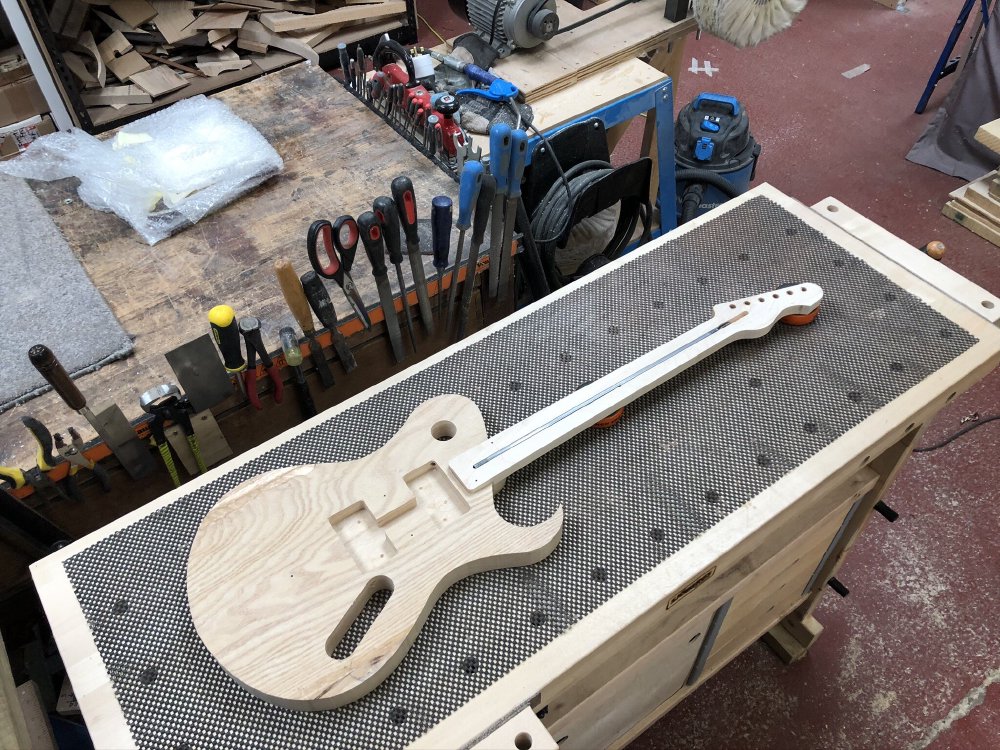
Thus whilst this week I only got half a day workshop time, I still got a lot done. First up it was the task I used as an example above, getting the truss-rod cavity routed into the neck:
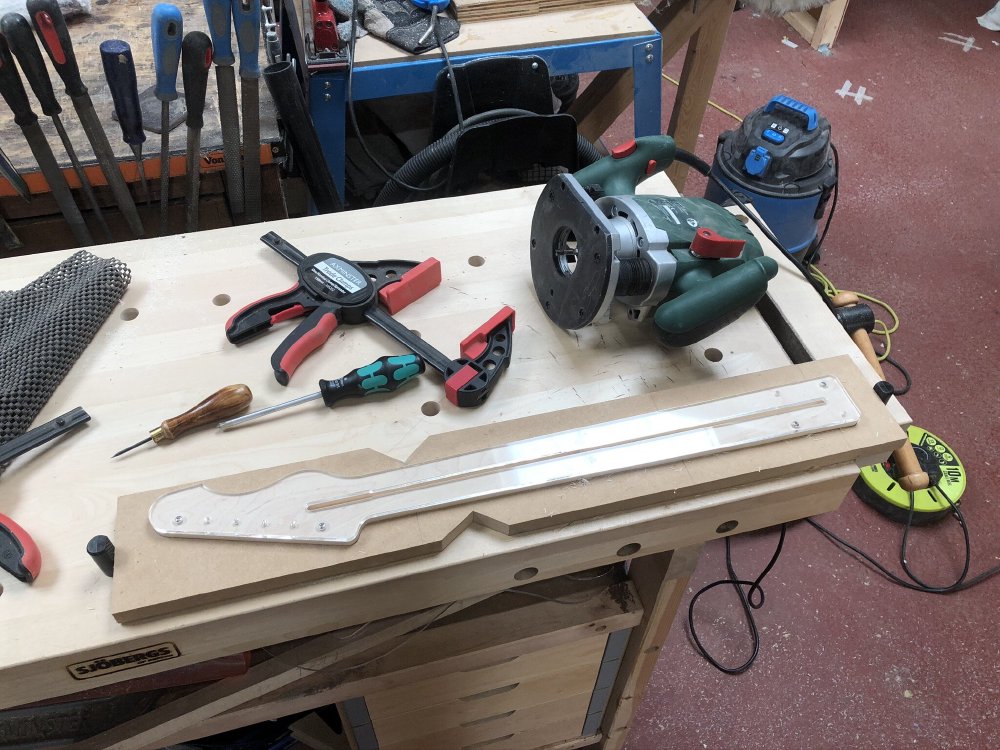
Cutting the narrow slot down the middle of the neck to let me insert the truss-rod is always a fiddle to do by hand-router, and is about the only bit where I miss having a CNC-router to do the job for me. You have to use a very delicate 1/4" follow-bit, and the template I use, which is also the one I use to cut the outside of the neck, is very narrow to balance on, so I have to be very careful not to tilt or wobble the tool. Next time I make a neck template I’ll not try to do both tasks in the same template, I’ll have one for the outside and one for the truss-rod cavity, just with common screw mounts for alignment. This will also save me from having to use double sided tape to prevent the template bowing in at the middle when routing the outside of the neck due to how little material there is at that point in the template itself.
Still, slow and steady got me there, and that was one task off the list.
The next task was to make the holes for the tuning pegs. Because I’m not using a CNC-router these days I’ve switched from making staggered holes to suit vintage-style tuners to a straight through 10 mm hole that moderns style tuners use. I personally prefer the vintage tuners, but pragmatically most my clients are less concerned about that, and it’s easier to make one hole in the right place than two overlapping holes in the right place.
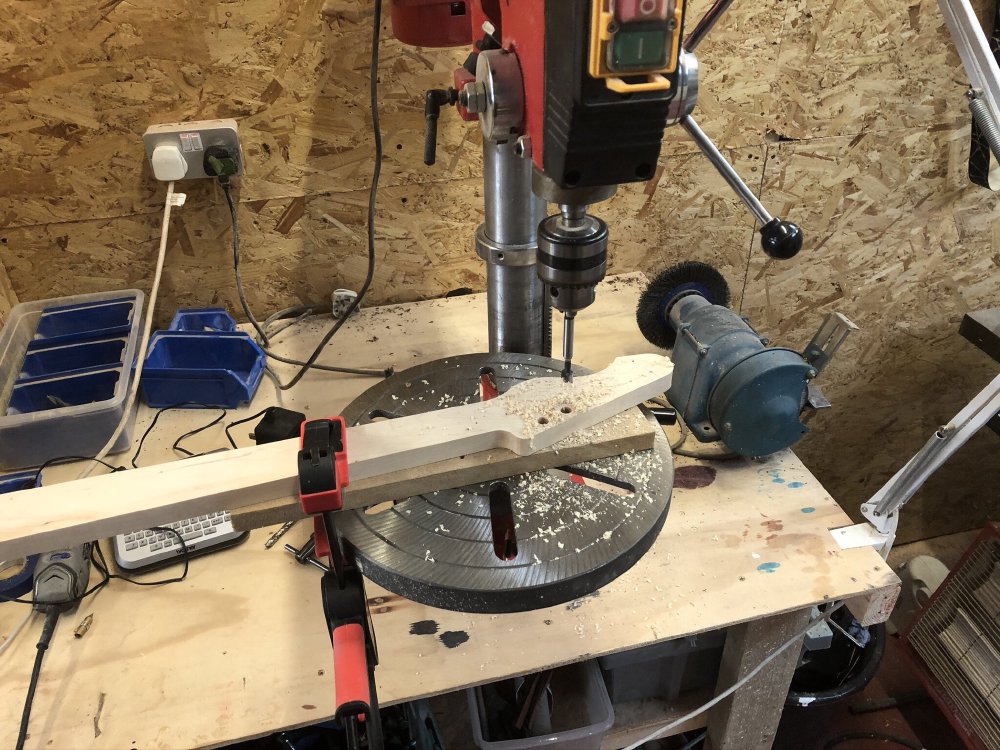
As those of you who read the last workshop notes will note, I got trained on the bigger pillar drill in the new workshop, which was essential for getting things accurately drilled here.
So, another job down, what’s next on that todo list? Well, at this point I can’t do the next thing I want to do on the next without a band-saw (more on this below), so I switched to the body for this guitar.
The first item I did was an easy one: to drill the holes that will let me run wires between the various sections. In theory I could have routed those given this guitar has a cap, but I was worried that’d the channels would make my template not rigid enough, similar to what I mentioned above with the neck template, so I opted to do it the old fashioned way with overly large drill bit:
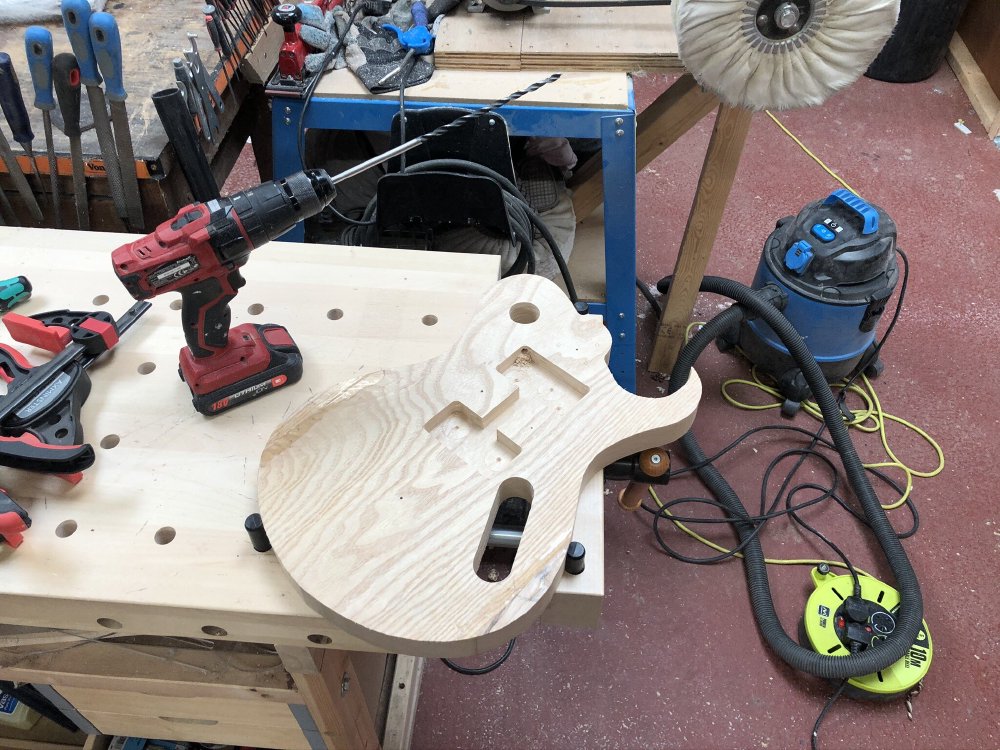
One thing I was able to take advantage of here was the bench-dogs on my new workbench. For most of my tenure at my old workshop we didn’t have bench dogs and so I lived in ignorance about how useful they are, but now I’m able to properly take advantage of them and I’m loving it. If you’ve not used bench-dogs before, it’s the reason my workbench has all those holes in it (it’s not just to let dust accumulate on all my stuff I store under the bench). You get these little rubber bungs (the bench dogs) that sit in there, and corresponding ones that sit in the vice, and you can trap things between them, basically making a horizontal clamp.
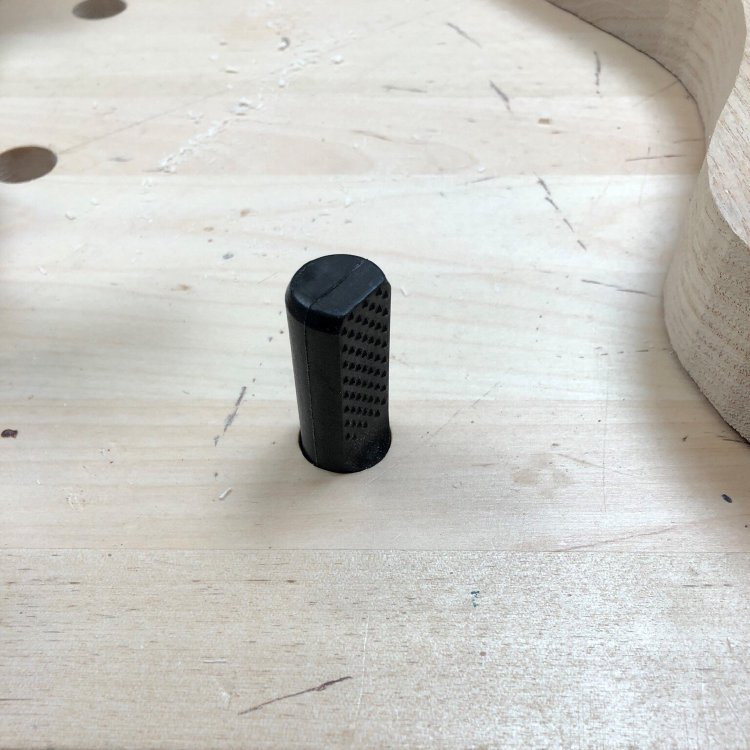
It’s hard to see in that picture, but the Sjoberg bench-dogs have a flat grippy edge that you can angle to hold irregular shapes well, like I was doing above when drilling where I have two mounted in the vice and one in the bench, and you can see in the first picture I used them to hold the neck in place without having clamps getting in the way whilst I routed the truss-rod cavity on the neck. A simple thing, but I’m really enjoying having them.
The next item on that list was to make the neck pocket, and here I realised I’d make a slight mistake in my ordering last time! I have a two templates for the body, one with whole outline of the body, and then a second one that has the top of the body with the neck pocket cut out. I use the first one to whizz around the outside, and then the second one is mounted and I use that to make the neck pocket:
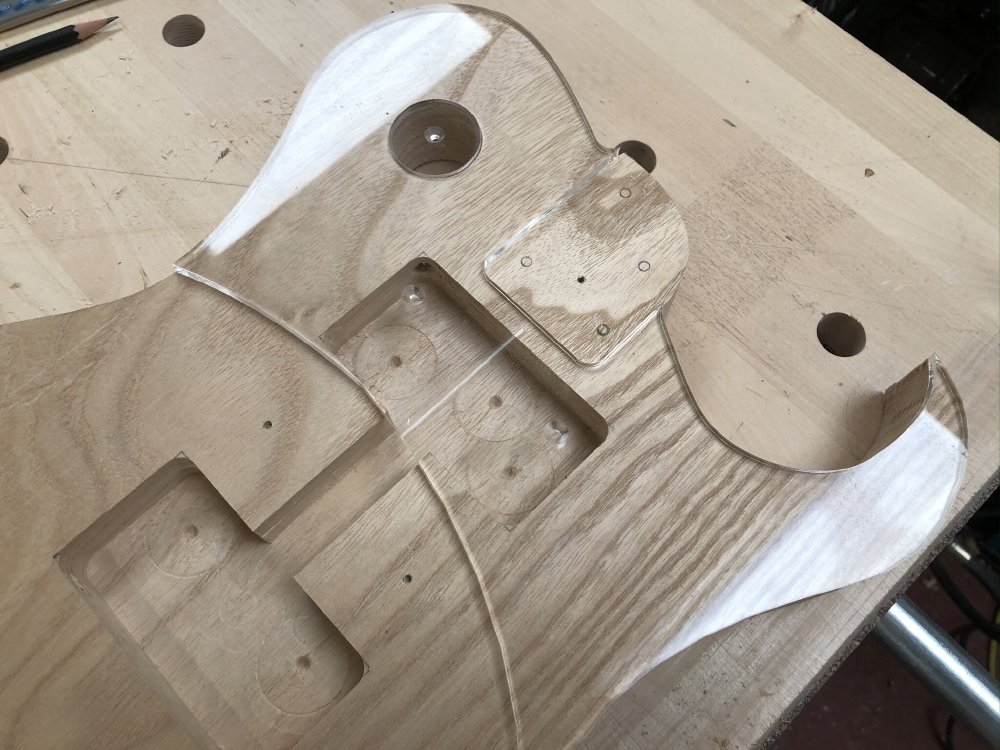
Only, you might notice here that the screw holes to mount this second template to the body are where I removed the material for the pickup cavities! 🤦♀️
When I designed the template I assumed I’d cut the neck pocket before I removed the material for the pickups, but alas I got things in the wrong order, so now I can’t mount my template as I’d hoped! Thankfully, using a combination of clamps and bench-dogs I was able to get the template to stay in the right place and secure the body to the workbench whilst I routed out the pocket. Not ideal, but I got there in the end.
With that, I reached the end of my task list for the afternoon. It was only a half day, but I feel I got a lot done for my half day, so headed home content with the limited progress.
For the next bit of work on the neck I need a band-saw, and unfortunately mine will not arrive for quite a long time. I went to order one, but it seems they’re out of stock everywhere right now, and so what should be a one week lead time is now 6 to 7 weeks! I’m a bit saddened by this, but there’s nothing I can do about it, so for now I’ll just need to keep carting bits of guitar back to Makespace when I need a bandsaw. Thankfully the Makespace workshop is still open, so I’ll head down there to do my band-saw work again until mine eventually arrives.
In last week’s post I talked about getting the pick-guard designs from my workshop host Matt from TurboCAD into something I could laser-cut. Thankfully all that prep work paid off, and I was able to head in and get things cut. My DXF files loaded into Laser Cut first time:

And then out came the pick-guards themselves:
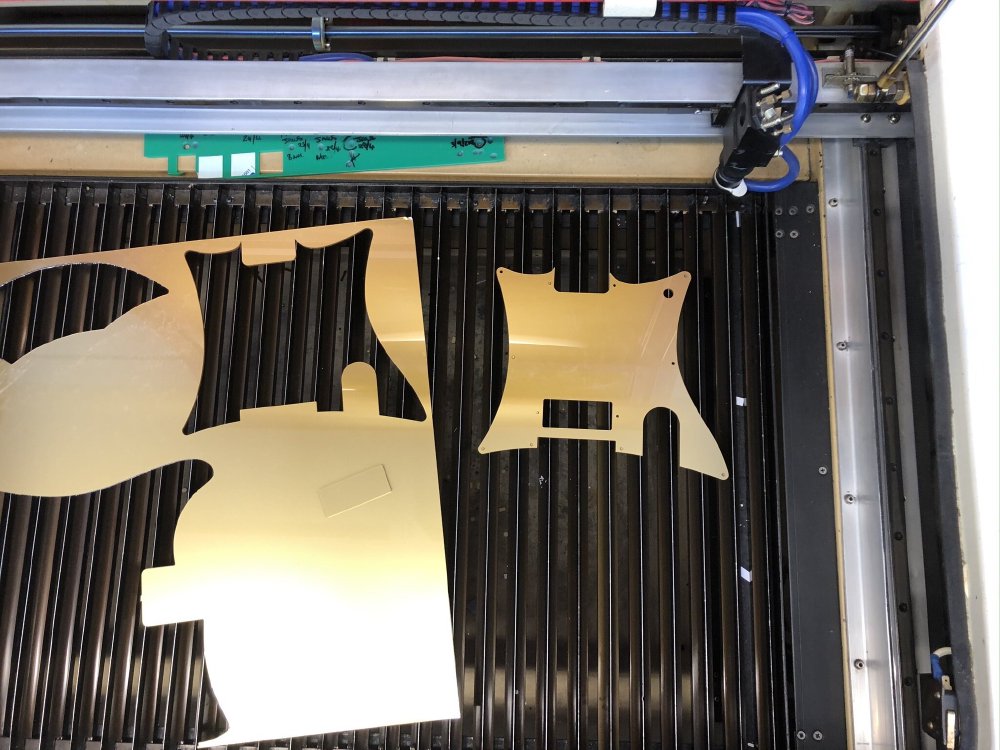
In total I made six of them for Matt, and despite each one being a subtly different shape (to allow for pickup preferences etc.) so I had to setup the design for each one in Laser Cut I did so in less than the time it’d have taken him to mill just one (but lets not talk about all the time I spent fighting software last week to set this all up :).
I also used some of the left over acrylic Matt had for some of his pick-guards to make a couple of pickup mounts from the design I also showed last week:
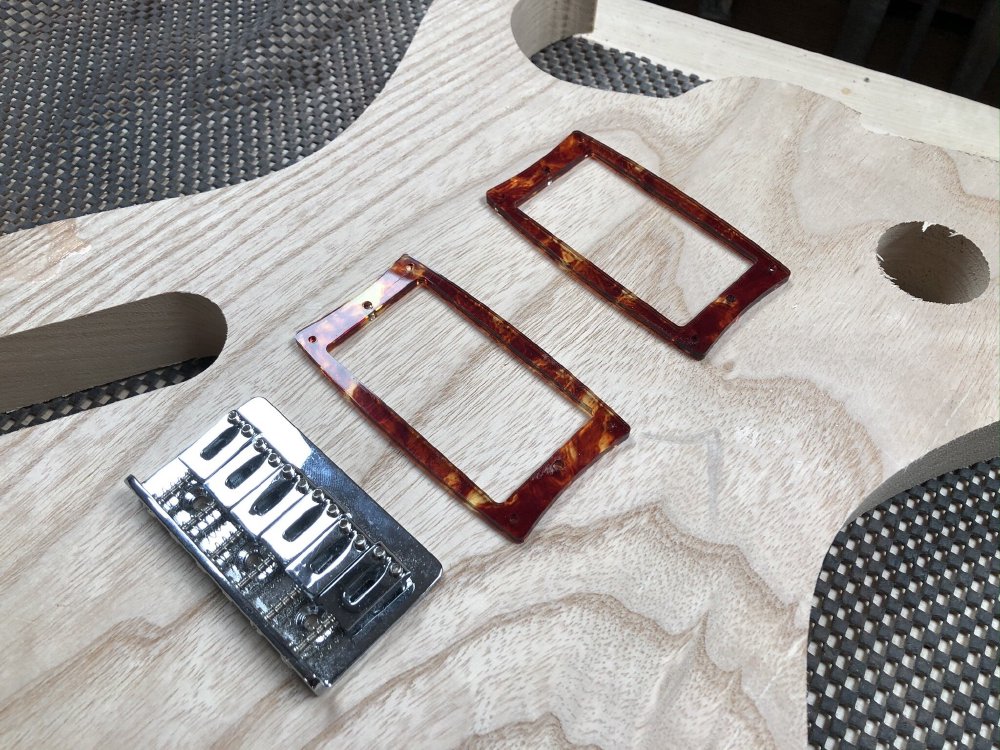
I’m quite pleased with them. As I said last week, originally I was going to make them out of wood, and I was a little unsure about the look of that, so I’m pleased that I had the serendipity to be using some of this nice acrylic for Matt at the same time I wanted to make this pickup mounts.
Speaking of pickup mounts, I ordered a set of humbuckers from House of Tone Pickups up in Chester. I’ve used Matthew’s pickups in all my guitars other than the first two, and I’ve never been disappointed with the tones.
I’ve started looking at what’s involved in making my own bridge plates. The nice ones I usually use, made by US firm Hipshot, have gone up in price a reasonable amount since last year, to the point where I might be able to get small runs made myself where the costs make sense, based on my experience of getting metalwork made in the past.
Whilst you certainly can get cheaper bridges, I don’t want to compromise on quality (which is a discussion I started on in this post and have deleted for another day), and at the same time I’ve also wanted to be able to better match the design of the bridges to my guitars so I might give this a go. I’ve already had to do the CAD model for a basic bridge anyway for my design mock-ups and making templates:
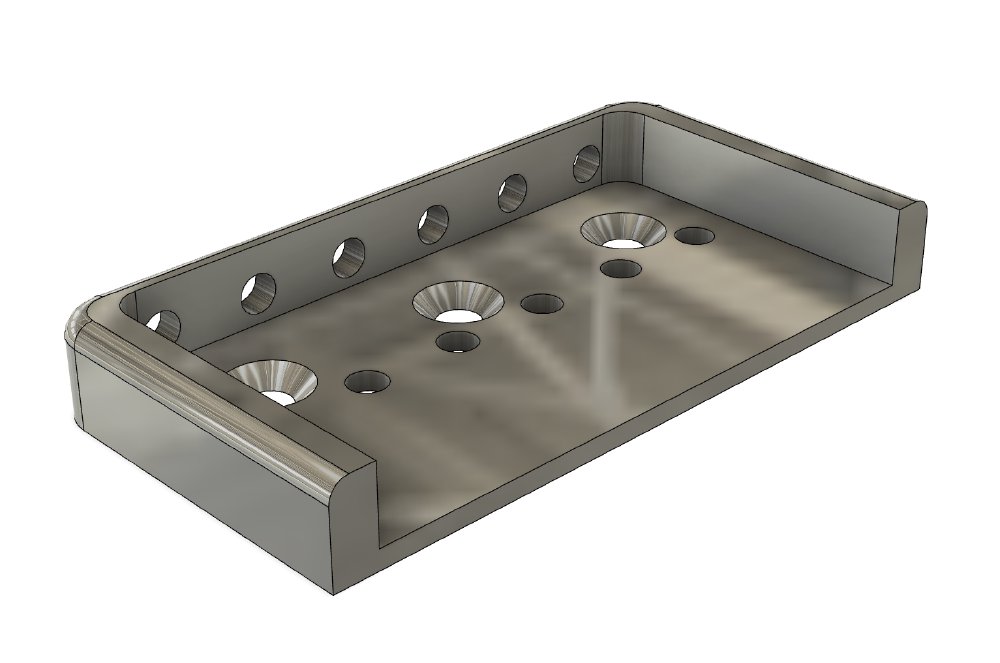
So we’ll see. In practice I imagine these would be cast rather than milled if you’re making them at scale, but for small runs CNC-milling aluminium would probably work. I did a while ago learn how to use a manual metal mill, but there’s no way I could get the curves I wanted on corners that way so didn’t take it any further at the time. The other thing I need to read up on is finishing, as most bridges you see are chrome plated - and whilst I could live without chrome, I think you’d want some finishing beyond the raw CNC finish.
Finally a random aside from this week: whilst Bosch make some nice tools, I was frustrated to find out that their spares policy is a bit crazy. The new workshop has a Bosch hand-router in it, which is lovely, but as is common with hand-routers the depth gauge has gone missing. I wanted to buy a replacement, but unfortunately Bosch only make that spare part available as part of a pack that covers a significant chunk of the router, so to replace a stick and mounting screw costs about half the price of replacing the entire router itself. 🤦♀️
Whilst I can probably bodge a replacement, when doing precision work with a power tool you ideally don’t want to be relying on something bodged. As I say, the depth gauge is often a thing that goes missing in workshops, so despite this being a nice hand-router otherwise, I really wouldn’t recommend buying one. Certainly when I had to replace the depth gauge on the Makita hand-router at Makespace it was a very easy and affordable part to get, so if you care about maintanability of your power-tools, Makita definitely have one over Bosch here.
That’s it for the last week. Now I’ve finished my weeknotes I can go work out what this week’s todo list looks like!