A week in the shop
Published 31 Aug 2020
Another slightly misleadingly named update, as I’m still not getting a huge amount of time in the workshop as I keep on top of contract work, so I only spent a day in the workshop. I hope in the coming weeks I can strike a balance as I plan more around being in the workshop rather than just fitting it around other things. The transition back from being in total lockdown is slow, but I’ve appreciated all the comments from people who’ve said they’re glad to see these posts resume - my heartfelt thanks for those.
Last week I left the body for my current build clamped up with glue setting, from where I’d cut out excess wood from the waist of the guitar and glued those on to make the lower bout. I got back and un-clamped those - the body now has enough wood in the right places to get shaping.
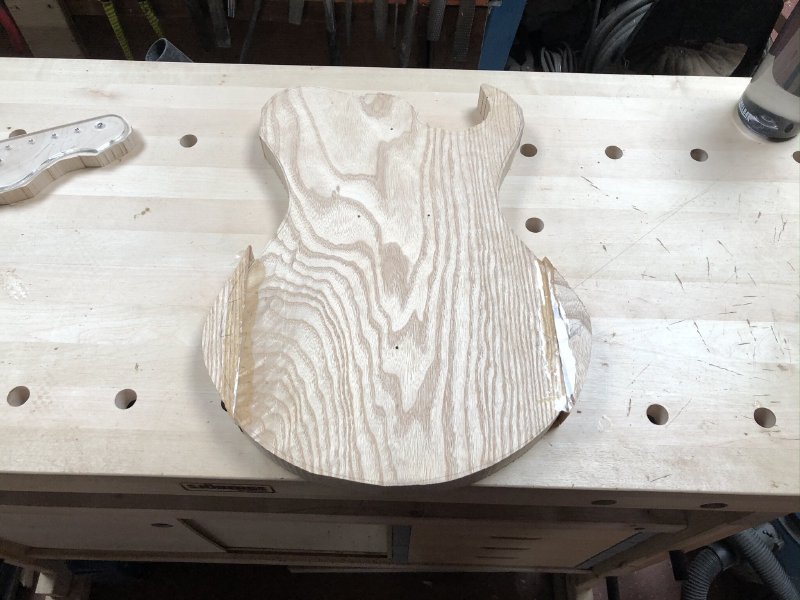
The poplar I’m using for the lower part of the body here is quite soft, so I was worried about whether the router would just shred the wood as I went around the template, but thankfully there were no issues. I am using a relatively new blade for this, so that almost certainly helps.
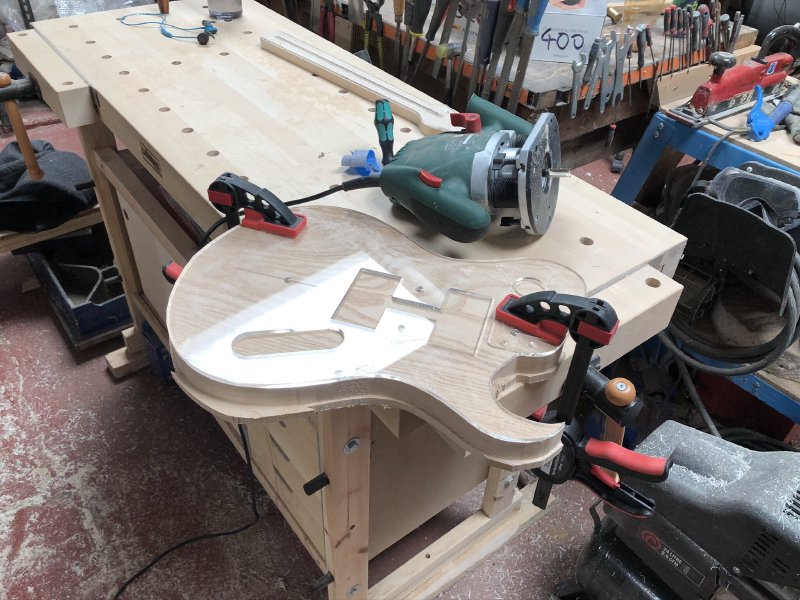
Well, I say there we’re no issues, but what I mean is there were no issues other than those of my own design. That horn on the right hand side of the body might look rock and roll, but it was very fiddly to cut with the hand-router as there’s very little material there to support the hand-router itself. this meant I had to be very careful not to accidently let the hand router tilt such that I cut more off to the back of the body than I do at the front. By being slow and careful it was fine, but it’s another example of how a design might look good on the computer screen or in a drawing, but that’s not necessarily the same as being able to make that with the tools you have.
I’ve probably said this before, but really the hand-router isn’t an ideal tool for this job: what I really should be using is a table-router, where the router blade protrudes from a flat table, so everything is well supported. With that doing the outside of both the body and neck would be quicker and less fraught around bits like that lower horn and the headstock on the neck. That said, I’d still need a hand router for the internal cavities.
Speaking of which, those were next, but only after a quick trip to the pillar drill:
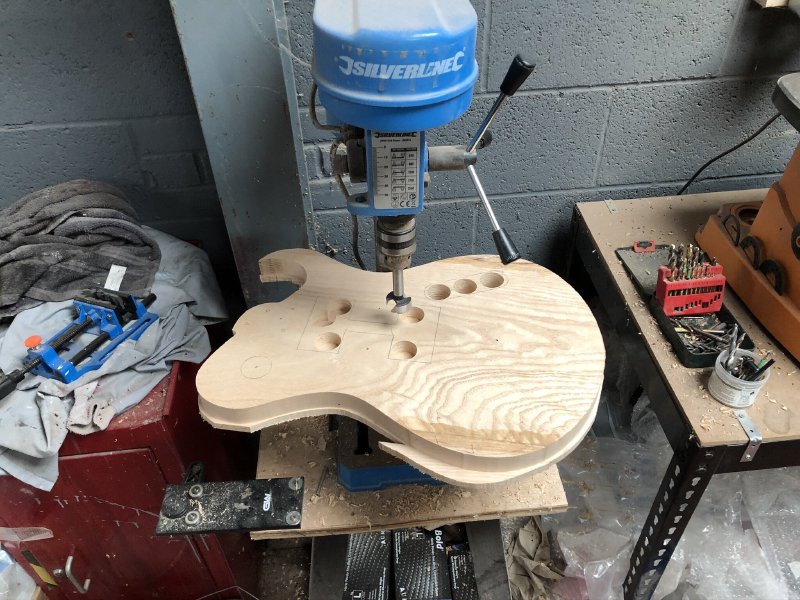
A router is really a finishing tool, so just as I used a bandsaw to get rid of the most the excess wood on the outside, here I’m using a pillar drill with a wide forstner bit to get rid of the bulk of the wood in the cavities - down to the right depth for the pickup cavities and all the way through for the electronics cavities (there will be a cap of maple glued to this lower part of the body, so you won’t see these from the front when it’s all put together).
This isn’t an ideal sized pillar drill for what I’m doing here, but it was the one I could use at the moment. The workshop does have a much better pillar drill, but I’ve not been shown how to use that particular one yet, and didn’t want to risk messing it up given I was in on my own that day. Certainly I don’t want to be using this when it comes to the more important holes that will need to interface with things like the tuners and the neck mounts, but for roughly removing excess wood this is fine. The issue is flex as I try to drive a wide bit through a body of that depth, and of the plate supporting the body being too narrow to ensure a good grip (or indeed lacking space to let me clamp things properly).
With the excess from the cavities removed it was back to the hand-router. Once the body was routed out I then returned to the neck and routed around the edge of that too. I had hoped to do the truss rod channel on the neck, but for that I need to do a more precise drill operation to a specific depth, so really did want the better pillar drill. Also, given I’m out of practice this had taken me a few hours and I was quite tired, so it was definitely time to call it a day before I got sloppy. Besides, the job wasn’t finished for the day - I still had to clean up after myself!
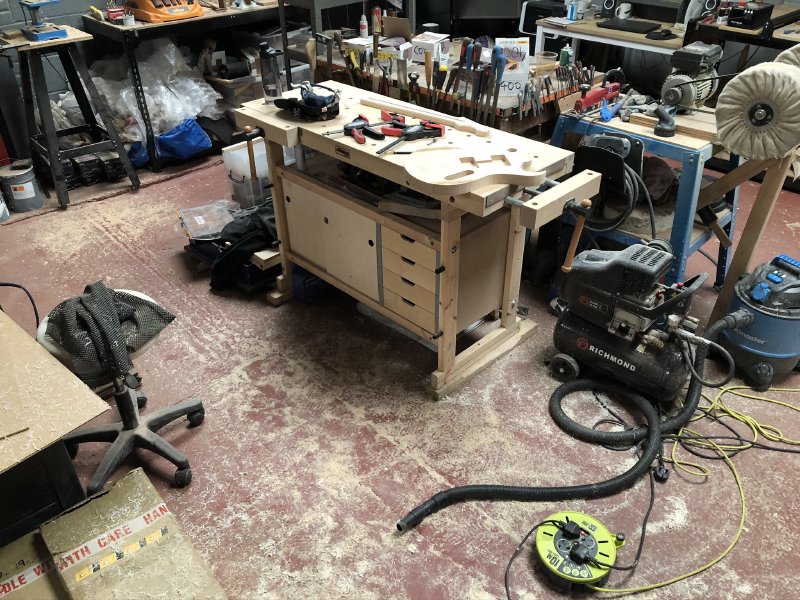
Routing makes a lot of mess, so I had to go around with the dustpan and brush and vacuum cleaner to get the workshop nice and clean again.
Still, the end result is starting to show promise:
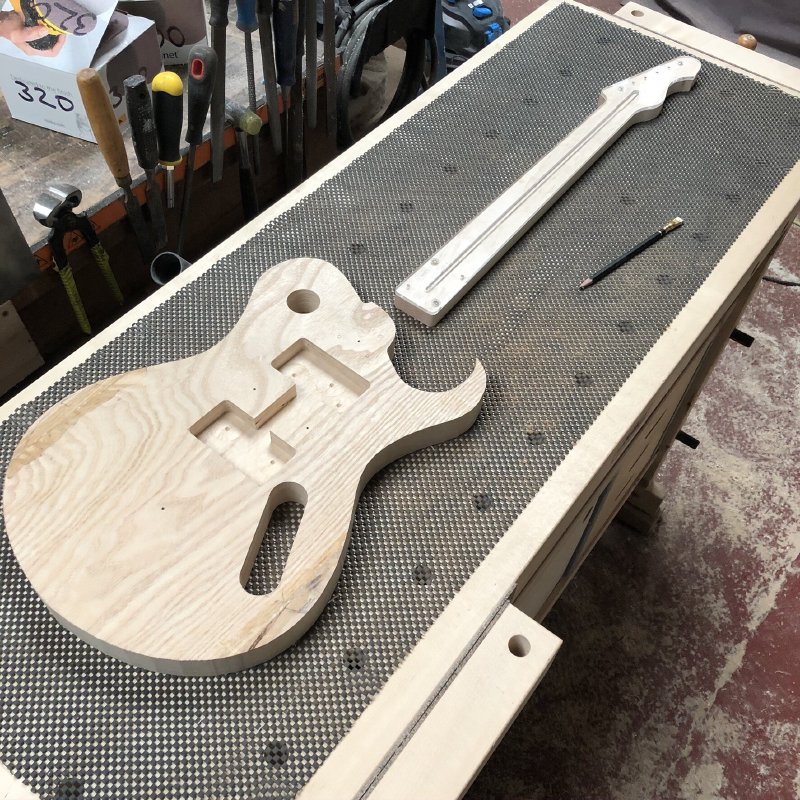
This is the first time that I’ve seen this body shape at life size in three dimensions, and to my relief it’s looking good. I have a full size 3D printed version of the double cut version of the same design, but not of the single cut version.
Next week I’ll look to cut the neck pocket, glue on the cap, and get properly started on the neck.
Despite low workshop hours, I did get a couple of other things done. I attended DoES Virtual MakerNight again, which as ever was a nice way to catch up with some fellow makers.
I also ordered a couple of lucky dip cigar boxes from CGars, to see if any would be the right size for another cigar box guitar build. They do sell boxes with precise measurements, but they were all very fancy and thus expensive, so I went for the a shot at the cheaper lucky dip selection and took my chances.

Unfortunately neither are quite the right size for what I have in mind, but I’m sure I’ll find a use for them as storage if nothing else. If anyone has a cigar box that they’d be willing to part with subject to dimensions do get in touch. I’m sure we can arrange a suitable exchange.