A few days in the shop
Published 17 Jun 2019
This week was a short one workshop-wise due to having to travel to attend the funeral of my Grandad. He was a big part of my childhood, and the funeral impacted me more than I expected, and I had to take some time to come to terms with it. I wrote some thoughts up about it here, but it’s another reminder that our span of existence is finite, so you should try get on with things where you can.
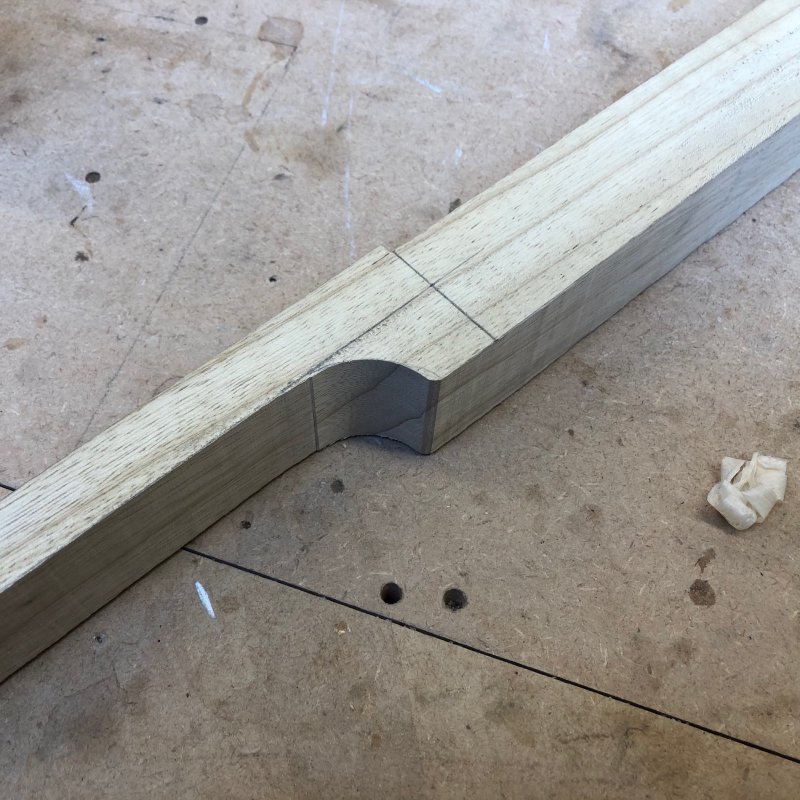
I moved along the cigar box guitar a little this week. Having roughed out the neck on the bandsaw at the end of last week I started trying to get it fleshed out properly. First up was an easy job: I used the spindle sander to round out the neck to body transition, which needed a tighter radius than I could get on the bandsaw:
The next task was adding wings to the headstock. I’ve always wanted to make a guitar with an angled headstock (like you’d find on a Gibson or PRS guitar, as opposed to the flat headstocks I normally make), and the cigar box guitar seemed like a good opportunity to give that a try. The wood I had to make the neck was large enough I could make an angled headstock without having to resort to scarf joints, I could just cut it all out with the angle included. To get the full-on traditional angled headstock I wanted to make it broader than the neck is, which is typically done by glueing on wings. So I took some of the excess material from cutting the neck and with the bandsaw quickly made some wings, and giving both head side of the headstock and wings a run over with a small hand plane to let me get a nice jointing surface.
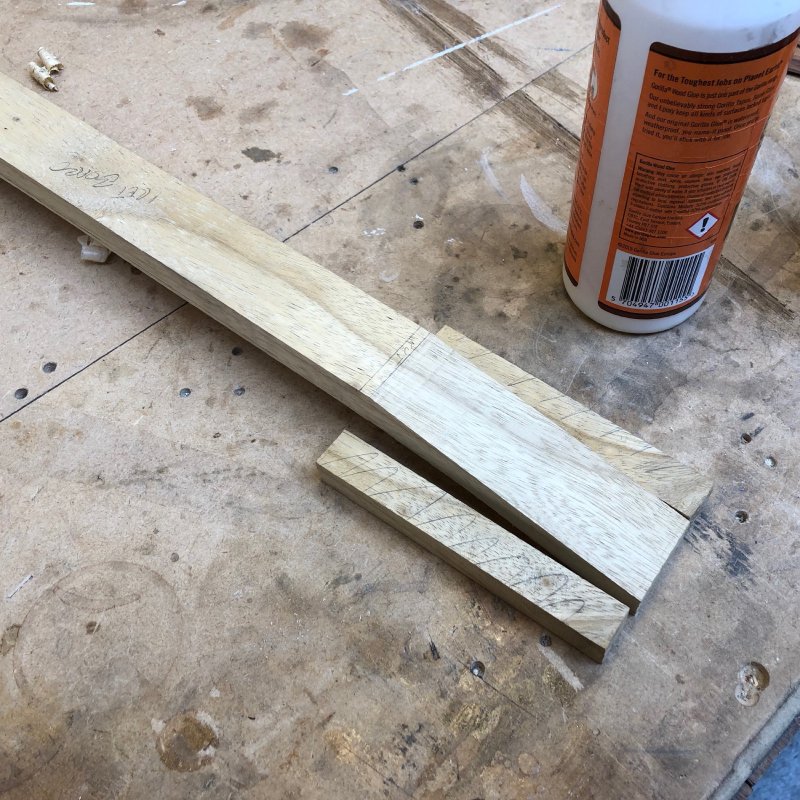
I cut the wings slightly deeper than the headstock to make it easier to align them when gluing, but that then meant I had to find a way to trim them down afterwards.
On the top side I just used a small No 4 hand plane (after first removing most of the excess glue with a chisel). This worked quite well, leaving me with a nice flat surface and very little indicator of the seam other than the grain pattern (this is why you should always hand plane surfaces you’re going to join!). Originally I had planned to put a veneer on the headstock to hide the joints, but it’s come out sufficiently well I don’t think I’ll do that now.
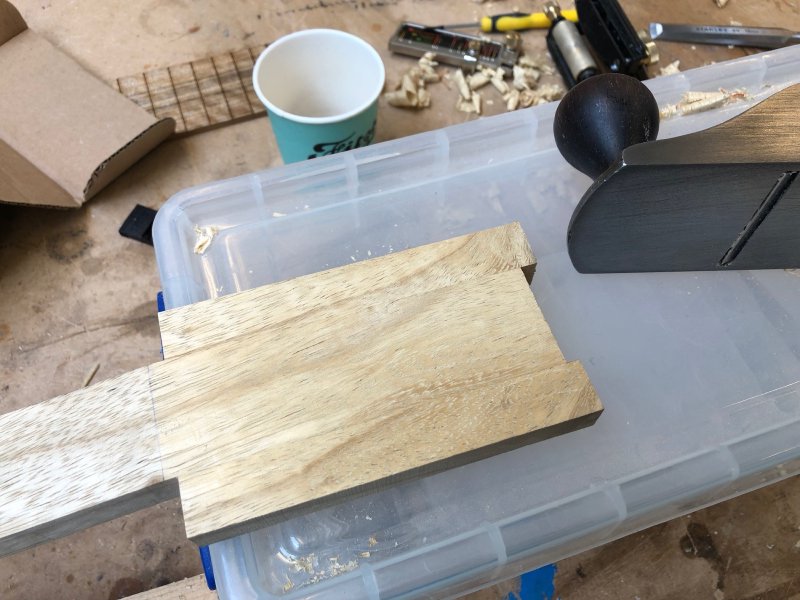
Planing the top side flat also means it’s already got a nice smooth finish without the need for lots of sanding, which is always a win.
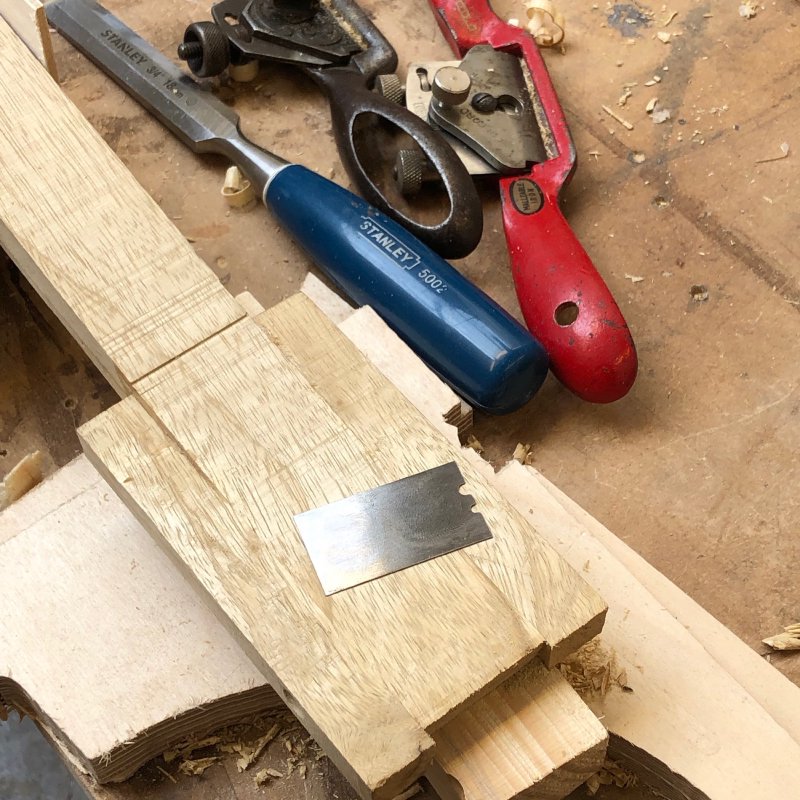
The rear side was much more challenging due the the fact you can’t get a hand plane in there due to the neck to headstock transition. On the rear. In the end I used a combination of a chisel, a scraper, and a spoke shave to get this smoothed out. It still needs work but the wings are at least now level with the rest of the headstock. But given the relationship here between the neck and the headstock will change as I carve the neck I decided to finish this off once I’ve done that.
Before I carve the neck I wanted to glue the fretboard on to give the whole thing more rigidity. First step here was to laser etch the fretboard using a design made with my online fretboard design generator. Whilst the aim is to do as much of the cigar box by hand as possible, getting the fret spacing right is important, and I wrote the code to generate the fretboard design by hand… ;) Also, the laser etching doesn’t cut the slots properly, it is just giving me a slight guide to where I’ll need to saw the slots.
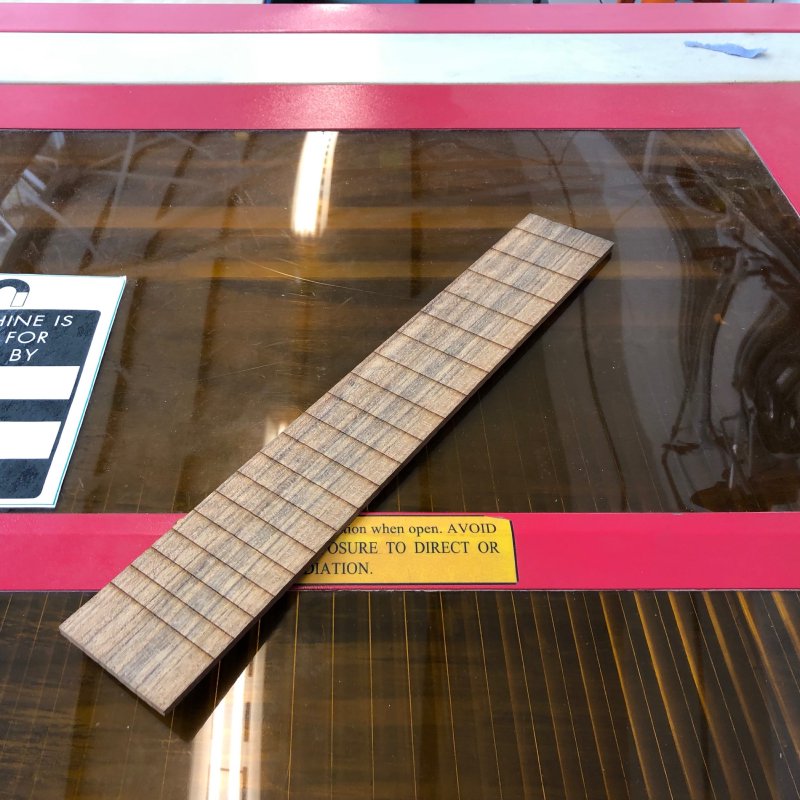
Here I did make a slight mistake of assuming that the lattice frame that makes the bed in the laser cutter was perfectly aligned such that I could use it as a guide, but alas it is not. So when I etched the fret slots using the bed as a reference I ended up cutting them at a slight angle off true! I’ve attempted to compensate for this when I glued the fretboard on, and I’ll get to find out tomorrow if I was successful, but it’s just Yet Another Example of that mantra Measure, Measure, Cut! My mistake was in assuming the bed was aligned and not measuring it myself - still at least I learned it on a fun project rather than something where I was more invested (normally I use paper on the bed to give me an outline as the fretboard is tapered by this point).
The wood for the fretboard is a new one to me, Ovangkol, which I got at random when buying some other wood in my effort to find a non-rosewood fretboard material that is just as easy to work with and has some nice figuring to it. This visually fits the bill, and I test cut some frets on an off-cut with my japanese pull saw and it has a nice even texture. You can see if I’m still happy after cutting 18 fret slots next week.
I also put the jack socket for the electronics into the cigar box body, which made it clear to me that the body will need some reinforcement, as the cigar box walls are quire thin and with the material removed to let the neck run through it’s quite flexible now, and probably won’t take the weight of a guitar cable on it. Once the neck is in place I’ll have to make sure to attach the walls to the neck to give them rigidity.
As mentioned last week I ordered a new demo amp. Whilst I love the amp I made, which is still my daily player, it’s got one particular sound it does well, and that’s it. For a demo amp I wanted something as versatile as possible:
- Great sound dynamics to show off the guitars (i.e. high end solid state or valve)
- Loud, so those who gig can get a proper sense of the guitar at volume
- Quiet, so I can demo the guitar in Makespace or at shows without being thrown out
- Headphones, for events where no loud noise is acceptable
- Variety of tones, so you can dial in Fender-like and Marshall-like and everything in between
I looked at many options, but in the end found a good deal on a Blackstar HT-20R, which seems to tick all the boxes. It is a 20 Watt valve amp with a 2 Watt option and headphones out. It even has USB audio put too, which makes recording quick demos easy without having to mic up. It also has a good number of voices, with a clean and overdrive channel, and then two “voices” in each of those (AFAICT, it just pushes the pre-amp harder when you switch to the second voice). Those channels and voices are switchable with an included foot-switch, so it’s quite easy to set up and then play with a variety of sounds without much hassle.
To test it out I booked a session at Rhinocorn Studios in Cambridge. Whilst I can play the 2 Watt mode at home, the 20 Watt mode definitely is too loud for home :)

It sounds really good, and I think will make an excellent demo amp. The Fender-y and Marshall-y tones that are available via the ISF control on the amp are not *very* Fender-y or Marshall-y, but it’s enough to give you the jist. It’s quite a neutral sounding amp, so not something I’d probably go to for my daily amp (I liked something with more of a distinct character), but that’s perfect for what I want it for in a demo amp that should let lots of people with different tastes find a sound they like in it.
If you’re in the Cambridge area and fancy trying one of my guitars, it’s suddenly got much easier to do so!
I’m still getting the new thicknesser Makespace has purchased set up. I wrote up a first pass of the risk assessment Makespace requires for any heavy kit like this. I’d never written a risk assessment before, so I just based it on a combination of existing Makespace risk assessment documents and other such documents for thicknessers I found on the Internet. Hopefully it’ll at least be a good start to making the directors happy.
Next up Jonathan (who helps run Makespace day-to-day) and I tested out the extraction coupling on the thicknesser. We didn’t have enough 100mm diameter hose to hook it up properly, but we were able to confirm that if you have the extaction hooked up the to thicknesser then it makes hardly any waste.
Jonathan had plenty of ”test” wood to double check this with - I thought I’d make Makespace buy this for me, but I think Jonathan is even more excited about it than I am :) I was also able to help out another member who was trying to make a trophy plaque get his wood nice and even - he let me run his material through the thicknesser rather than have him hand plane it, saving him a lot of time: it’s nice that this tool is already helping Makespace members with their projects even before being available to the wider community.
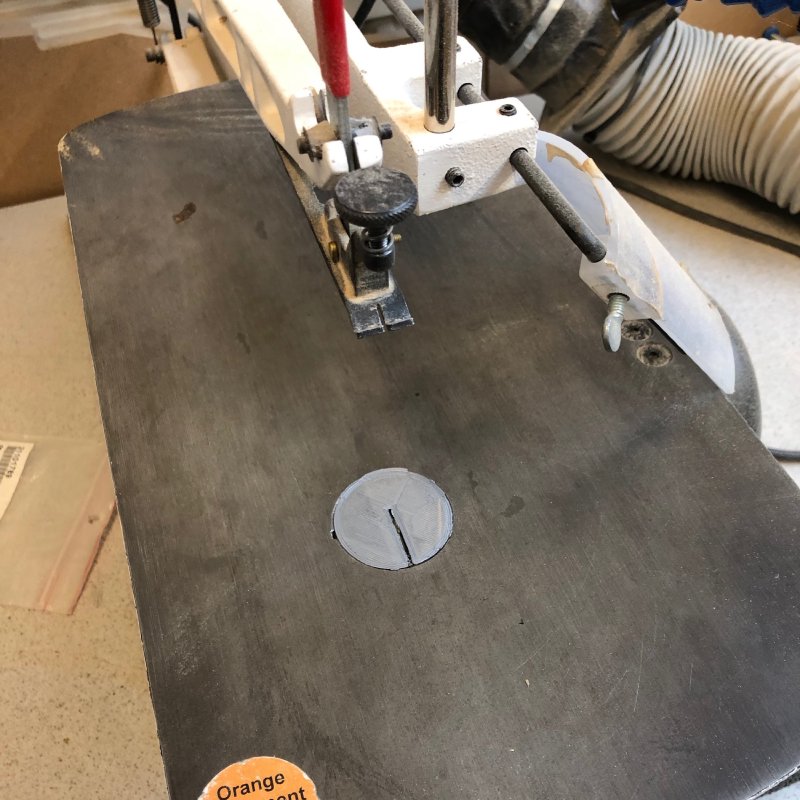
I did some other jobs around Makespace - CNC Router training and maintenance took up a large chunk of Saturday and some of Sunday, and I 3D printed a missing part for the scroll saw (I already had the design as I 3D printed one the last time it went missing!).
It’s always a fine line between working on your own projects and investing time into the workshop to help the broader community. Both need doing, but you need to find a balance that lets you move your projects forward whilst creating the right environment in which to work.